Chapter 8 of The Modern Pioneer Cookbook Curriculum is all about homemade condiments and flavor boosters! Students will have fun, hands-on activities to make fermented ketchup, homemade salad dressings, and fermented salsa—all while learning valuable kitchen principles like low-waste cooking, maximizing nutrition, and self-sufficiency. These simple yet rewarding recipes teach the importance of real, whole foods and how even condiments can play a vital role in a nourishing, traditional foods kitchen. (This lesson experience includes three free activity downloads!)
Thanks for Your Support: This curriculum material is offered free for families, homeschoolers, co-ops, teachers, grandparents, and lifelong learners. If this resource helps your family and you would like to support the creation of future Mary’s Nest curriculum materials, consider becoming a Sweet Friend Supporter on Patreon.
Affiliates note: As an Amazon Associate I earn from qualifying purchases. My content may contain affiliate links to products and services. If you click through and make a purchase, I’ll receive a small commission. It does not affect the price you pay.
Table of Contents
- About The Modern Pioneer Cookbook Curriculum Lesson Experience Series
- Getting Started with Fermenting
- Discussion: Homemade Condiments
- K-4 Activity: Shopping the Perimeter of the Grocery Store
- 5-8 Activity: My Salad Recipe
- 9-12 Activity: Exploring Condiments
- Recipe: Fermented Ketchup
- Tasting: Fermented Ketchup
- Interdisciplinary Lesson Extensions
- Final Thoughts
About The Modern Pioneer Cookbook Curriculum Lesson Experience Series
Hi! My name is Jamie O’Hara, and I’m a homeschooling mom, curriculum writer, and former classroom teacher. I recently had the pleasure of helping Mary Bryant Shrader create The Modern Pioneer Cookbook Curriculum, which includes extensive lesson plans for grades K-12 to complement Mary’s bestselling book, The Modern Pioneer Cookbook.
- Get The Modern Pioneer Cookbook Curriculum (Free and over 250 pages!)
- Get The Modern Pioneer Cookbook
- Read The Modern Pioneer Cookbook Curriculum Lesson Experience Article Series
Now, I’m excited to embark on a journey of experiencing these lessons with my own children, ages 6 and 8 (and sometimes my 3-year-old, too). I’ll be facilitating a total of 14 lessons, one for each chapter in The Modern Pioneer Cookbook Curriculum. As we go through the curriculum, I’ll document our experience to share with all of you!
Getting Started with Fermenting
Chapter 8 of The Modern Pioneer Cookbook teaches us how to make our own condiments at home. The table below summarizes the recipes, principles, and learning objectives for each lesson.
| Grade Band | Recipe | Traditional Kitchen Principles | Learning Goals (Students will…) |
| K-4 | Fermented Ketchup | 1. Homemade food 2. Low-waste kitchens | ● Discuss the role of fermented condiments in a homemade, low-waste kitchen ● Explain what it means to “shop the perimeter” of the grocery store ● Prepare fermented ketchup |
| 5-8 | Homemade Salad Dressings | 3. Real, whole foods 4. Seasonal eating | ● Discuss the importance of making condiments from real foods ● Define condiment and list several examples that can be made at home ● Prepare homemade salad dressings |
| 9-12 | Fermented Salsa | 5. Maximizing nutritional value 6. Preservation for self-sufficiency | ● Discuss how fermented condiments and homemade flavor boosters help to maximize the nutritional value of food and encourage self-sufficiency ● Summarize important points about making condiments at home ● Prepare fermented salsa |
All three recipes are simple and straightforward. Each salad dressing takes about 15 minutes to make, and they are ready to eat right away. The ketchup is just as easy to mix together, but it needs to ferment for two days before going into the refrigerator. The salsa requires the most work because you need to chop the tomatoes, onion, and cilantro and mince the jalapeno. Like the ketchup, the salsa also needs to sit and ferment for 2 to 3 days.
Planning for Students of Different Ages
Students of different ages can work together on any of the recipes in Chapter 8. In addition, all three lesson activities are appropriate for all ages, with minor adaptations.
- The K-4 activity entails making a map of a grocery store to illustrate the practice of shopping the perimeter. Older students can put more detail in their maps than elementary students.
- The 5-8 activity invites students to write their own salad recipe. Younger students may need some writing support.
- The 9-12 activity allows students to choose one of three creative projects. (Option 1 in the 9-12 activity would probably be easiest for younger students.)
Discussion: Homemade Condiments
I started the discussion by asking my children to recall the pickles we made for the Chapter 5 lesson. I asked if they remembered how we made them or what made them so healthy. I elicited from them that the pickles were fermented, making them rich in probiotics, and that probiotics help us digest our food. I had my children flip back in their kitchen journals to read the definition of fermentation they wrote down when we worked on Chapter 5:
- Fermentation (lacto-fermentation): breaking down the sugars in food and creating lactic acid
My kids named a few other examples of fermented foods, such as sauerkraut, yogurt, and sourdough starter.
I pointed out that pickles go well with burgers and asked my kids what else they like with their burgers. My son quickly exclaimed, “Ketchup!” Everyone was excited to learn that we would be making our own fermented ketchup at home.
I asked my children why they think people would choose to make fermented ketchup at home rather than buying it at the store. They said that when you make ketchup at home, you can choose “good ingredients,” while the ketchup sold at the store might contain ingredients we want to avoid.
Next, I asked my kids where to find ketchup at a grocery store. They pointed out that ketchup can be found on a shelf, not in a refrigerator. I explained that homemade ketchup can be made without fermenting it, but that when we ferment it, it lasts longer. When I told them that we’d be using some of the brine from the pickles we made, they were impressed. “That’s so cool!” said my son, while my daughter pointed out that repurposing the brine is a great way to minimize kitchen waste.
Creating a Cozy Kitchen
We concluded the discussion by reflecting on how homemade condiments contribute to the feeling of a cozy kitchen. As Mary writes in The Modern Pioneer Cookbook:
“Making homemade condiments might seem like small side recipes, but these little things add up to creating the foods and meals that nourish our bodies well beyond what we can buy in a store. We can see this even when it comes to something as simple as ketchup! Instead of serving sugar-laden, overly processed tomato product, you’ll enjoy a fermented ketchup made from tomatoes (even homegrown tomatoes, maybe, in time) that are teeming with gut-loving good bacteria.”
A homemade meal is made that much more special when it is served with homemade rather than factory-made condiments.
K-4 Activity: Shopping the Perimeter of the Grocery Store
The K-4 activity introduces students to the idea of shopping a grocery store’s perimeter. The goal is to focus on the fresh foods near the outer walls of the store—the fruits and vegetables, meat, fish, eggs, and dairy. After shopping the perimeter, we can visit the interior aisles for single-ingredient foods like flour, oats, honey, rice, and beans. Ideally, the countless processed foods on the interior shelves are avoided altogether.
The student’s goal is to create a map of a grocery store, showing fresh foods around the perimeter and processed foods in the interior. Depending on your student’s age, you may want to discuss grocery store layout in advance. If your students are younger, ask them to describe a store they visit often. You can start by asking them to identify the first foods they see when they walk in the door. Once they grasp the idea that they can find fresh foods around the perimeter, have them work on their maps.
If you have older elementary students, you might ask them to make their maps without any guidance from you. When they’re done, you can go over it with them and make adjustments as needed, teaching the concept as they work.
My children drew store maps in their kitchen journals. I also made a two-page worksheet that you can download. Page 1 contains a layout of a grocery store, and page 2 contains a variety of food pictures. Students can draw foods on the grocery store layout on page 1 or cut pictures of foods from page 2 and paste them on page 1. (My kids included their 3-year-old brother as they tested the worksheet for me.)
Building Elementary Math Skills
By third grade, most students learn the math concepts of perimeter and area. Thinking about the perimeter of the grocery store helps to bring this math concept to life. Many students’ experience with perimeter may be limited to adding up the sides of a shape in their textbook.
Whether perimeter is new or a review to your students, take some time to go over the definition:
- Perimeter: the outer border of a certain area
After your students complete their grocery store maps, encourage them to measure all four sides of their store. Then, instruct them to calculate the perimeter by adding those measurements together.
Introducing Perimeters
If perimeter is a new concept for your students, consider giving them additional practice. Encourage them to calculate the perimeter of their favorite books, a table, or a small box of food.
Another idea is to make a perimeter art project. Take out a piece of paper and ask your students to decorate the perimeter. They can draw patterns around the perimeter or glue pipe cleaners or lace around the edges to trim it. You might have your students draw a picture and then frame their drawing by decorating the perimeter of the page.
Reviewing Perimeters
If your students are already familiar with perimeter, consider asking them to compare and contrast how perimeter is calculated for different shapes. For example, squares have four equal sides, so only one side needs to be measured (and added to itself four times). Rectangles have two sets of equal sides, so only the length and width need to be measured (and each added twice).
You can also go over how to calculate the perimeter of irregular shapes. You may want to ask your students if they know the formula for area as well.
5-8 Activity: My Salad Recipe
Middle school students explore the topic of condiments in more detail than elementary students. They learn the following definition:
- Condiment: something that is added to prepared food to give it extra flavor
This lesson offers excellent opportunities for a fun discussion about condiments. The discussion guide in the curriculum lesson plan lists fifteen examples of condiments you can use to play a condiment guessing game. Another option is to pick one condiment and name as many variations as you can, such as all the different salad dressings you know or the various kinds of barbecue sauce made in different regions. Similarly, you might discuss the unique condiments used in other cultures and ethnic cuisines.
In the 5-8 lesson, students choose one or more salad dressing recipes from page 180 of The Modern Pioneer Cookbook. For their activity, middle schoolers write their own salad recipe to go with the dressing. This activity requires English Language Arts (ELA) skills as they think about word choice, clarity, and conciseness. Student can write their recipes in their kitchen journals or on a piece of paper, such as with the My Salad Recipe worksheet.
9-12 Activity: Exploring Condiments
High schoolers, who will be making fermented salsa, explore the topic of homemade condiments in more detail. They compare and contrast aerobic fermentation, which uses air, and anaerobic fermentation, which keeps the air out. They learn about three different ways to make a fermented condiment, as well as some facts about apple cider vinegar.
The curriculum content is guided by the two overarching themes of the 9-12 lessons: maximizing food’s nutritional value and preserving food for self-sufficiency. You can download a printable worksheet to help facilitate the 9-12 discussion.
Students have the chance to be creative with these three additional activity options:
- Option 1: Draw a cozy kitchen where everything is homemade. Include lots of condiments and label them clearly (e.g., “fermented ketchup,” etc.). You can base the cozy kitchen on your home kitchen, or it can be your dream kitchen.
- Option 2: Imagine you have your own cafe that only serves traditional, made-from-scratch foods. Create a menu for your cafe, making sure that every menu item uses at least one condiment from Chapter 8.
- Option 3: Imagine you have a small business selling traditional foods and homemade fermented condiments. Draw a picture of your store, labeling each fermented condiment that you sell.
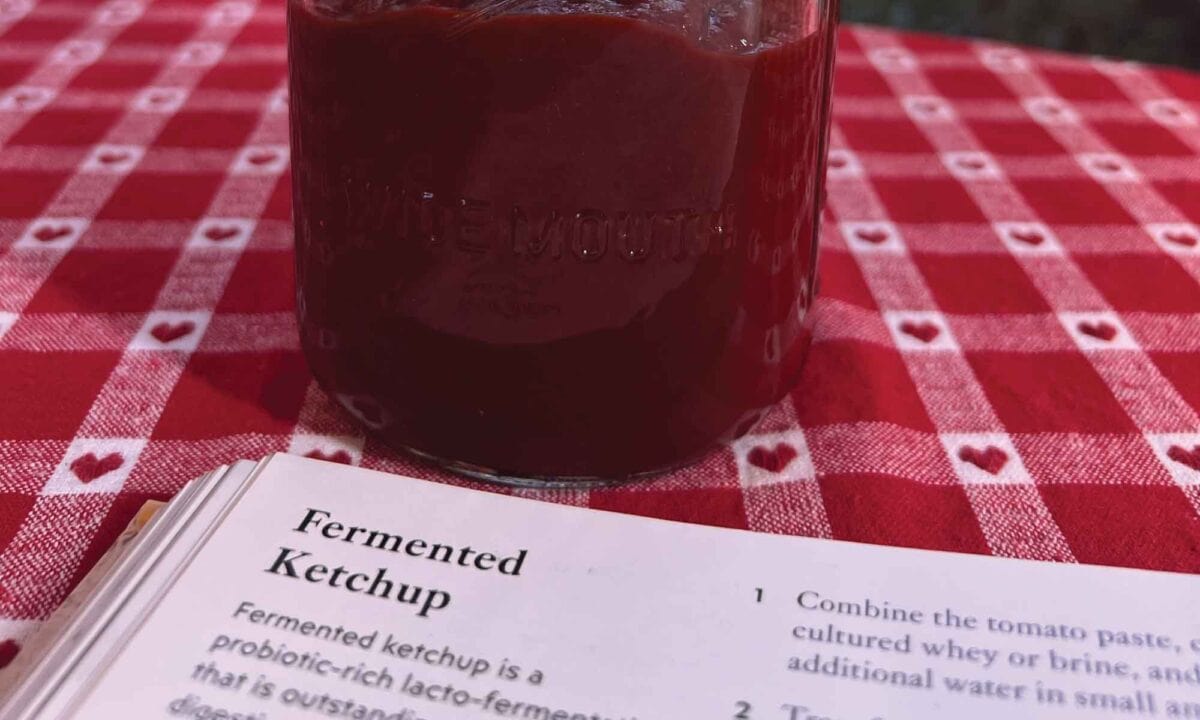
Recipe: Fermented Ketchup
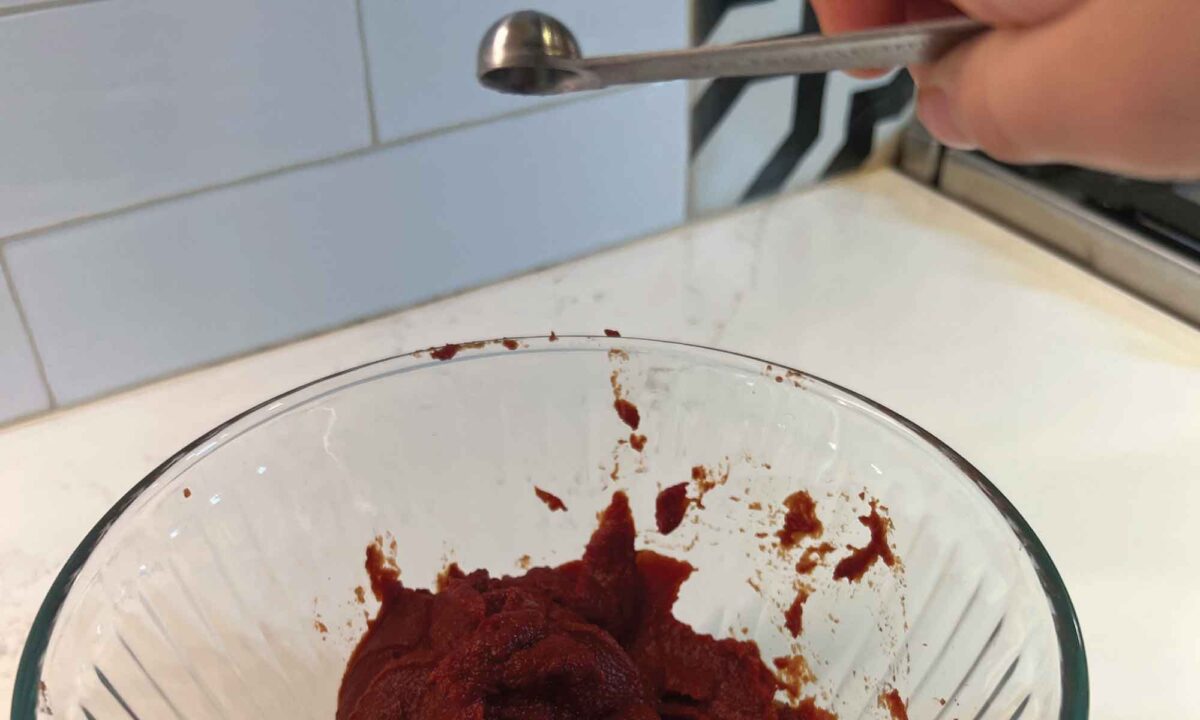
We gathered our ingredients and supplies to get started with our fermented ketchup recipe on page 186 of The Modern Pioneer Cookbook. We needed tomato paste, ground cloves, ground cinnamon, fine ground sea salt, unrefined whole cane sugar, brine from the pickles we made previously, and chlorine-free water. We also needed a medium-size bowl and a quart-size jar with a lid.
I worked with my children to carefully measure the ingredients and let them add everything to the bowl. They mixed it all together, letting their 3-year-old brother help. We transferred the mixture to the jar, secured the lid, and placed the covered jar in a closet that stays cooler than the rest of the house.
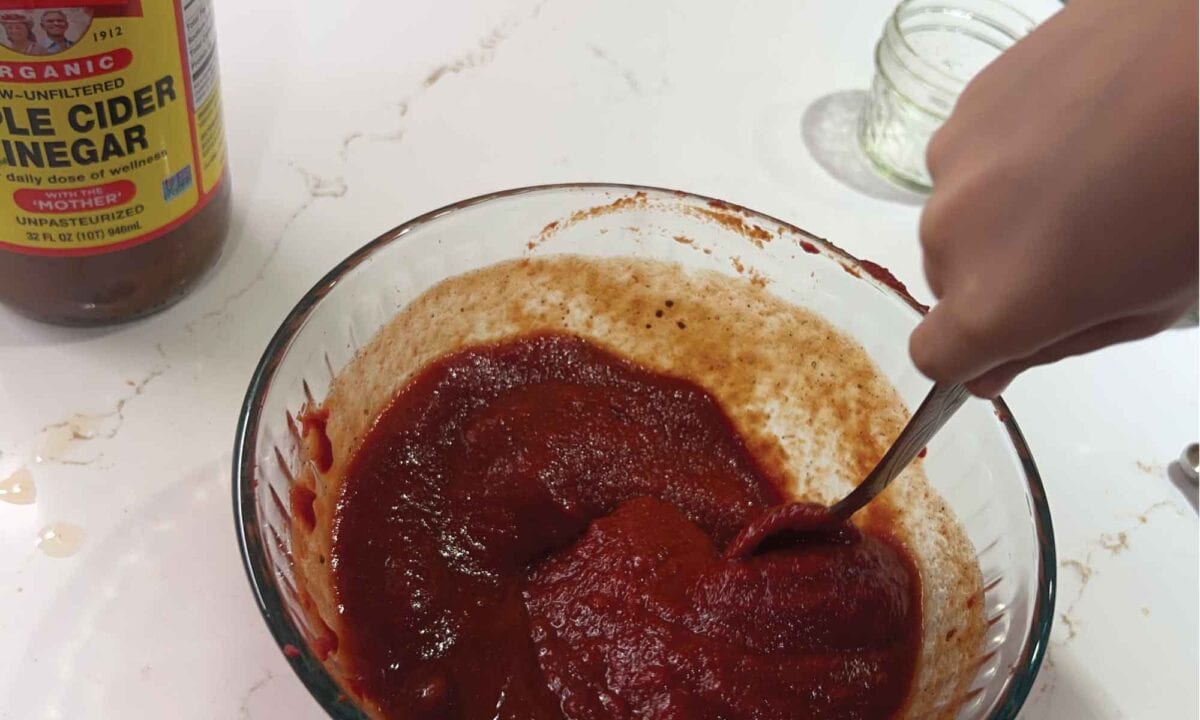
Two days later, we mixed Worcestershire sauce and raw apple cider vinegar into the ferment and placed the jar in the refrigerator.
Tasting: Fermented Ketchup
All three of my children were excited to taste the ketchup. Everyone liked it, but my 3-year-old loved it the most. He probably would’ve eaten half the jar if I let him! My older children agreed that their homemade ketchup tasted “different, but very good!”
We chatted about trying the ketchup on different foods throughout the week, including burgers and eggs. We also talked about the next recipe we’ll be making: Deep-Fried Beef Liver Nuggets with Fermented Ketchup.

Interdisciplinary Lesson Extensions
Because the ketchup ingredients mix together so quickly, we had more time to explore the lesson’s interdisciplinary extensions. These are some of the extensions we used:
- History: The first ketchup recipe is from the United Kingdom, and it uses mushrooms rather than tomatoes. Other early varieties include cucumber ketchup and anchovy ketchup. Would you like to try making any of these? As a family, see if you can find an old recipe. How does it compare to the ketchup recipe you used in this lesson?
- Culture: Historians are not sure exactly where the name “ketchup” came from, but there are a few theories. Which word do you think sounds the most like ketchup?
- Keh jup (Cantonese Chinese)
- Kê-chiap (Hokkien Chinese)
- Kicap (Malay)
- Escaveche (French)
- Escabeche (Spanish and Portuguese)
- Art: Design a label for your ketchup jar! You can use a small piece of paper and tape. (This was our favorite extension activity!)
- Kitchen Economy: How long will your fermented ketchup stay fresh? Check page 186 of The Modern Pioneer Cookbook (step 6).
- Decision-Making: What will you eat your ketchup with? Explain your choice.
- Social-Emotional Learning: Ketchup is one of those things that can make our least favorite foods taste a lot better. What are some ways to make your least favorite tasks (e.g., cleaning your room) feel a little more enjoyable?
Final Thoughts
Using my experience facilitating this lesson, here are my ultimate takeaways for anyone getting ready for Chapter 8:
- If you’d like to make homemade apple cider vinegar to use in your ketchup or salad dressing, keep in mind that it takes 30 days, so plan ahead.
- Because the recipes in these lessons are not very time-consuming, be sure to check out the interdisciplinary extensions at the end of each lesson plan.
- Finally, I suggest watching Mary’s videos with your students before getting started!