Get to know all The Modern Pioneer Cookbook Curriculum has to offer in this first lesson experience. You’ll have fun creating your own kitchen journal and roasting your first chicken. What a wonderful way to start on your traditional foods journey! (This lesson experience includes one activity download.)
Thanks for Your Support: This curriculum material is offered free for families, homeschoolers, co-ops, teachers, grandparents, and lifelong learners. If this resource helps your family and you would like to support the creation of future Mary’s Nest curriculum materials, consider becoming a Sweet Friend Supporter on Patreon.
Affiliates note: As an Amazon Associate I earn from qualifying purchases. My content may contain affiliate links to products and services. If you click through and make a purchase, I’ll receive a small commission. It does not affect the price you pay.
Table of Contents
About The Modern Pioneer Cookbook Curriculum Lesson Experience Series
Hi! My name is Jamie O’Hara, and I’m a homeschooling mom, curriculum writer, and former classroom teacher. I recently had the pleasure of helping Mary Bryant Shrader create The Modern Pioneer Cookbook Curriculum, which includes extensive lesson plans for grades K-12 to complement Mary’s bestselling book, The Modern Pioneer Cookbook.
- Get The Modern Pioneer Cookbook Curriculum (Free and over 250 pages!)
- Get The Modern Pioneer Cookbook
- Read The Modern Pioneer Cookbook Curriculum Lesson Experience Article Series
Now, I’m excited to embark on a journey of experiencing these lessons with my own children, ages 6 and 8 (and sometimes my 3-year-old, too). I’ll be facilitating a total of 14 lessons, one for each chapter in The Modern Pioneer Cookbook Curriculum. As we go through the curriculum, I’ll document our experience to share with all of you!
Getting Started
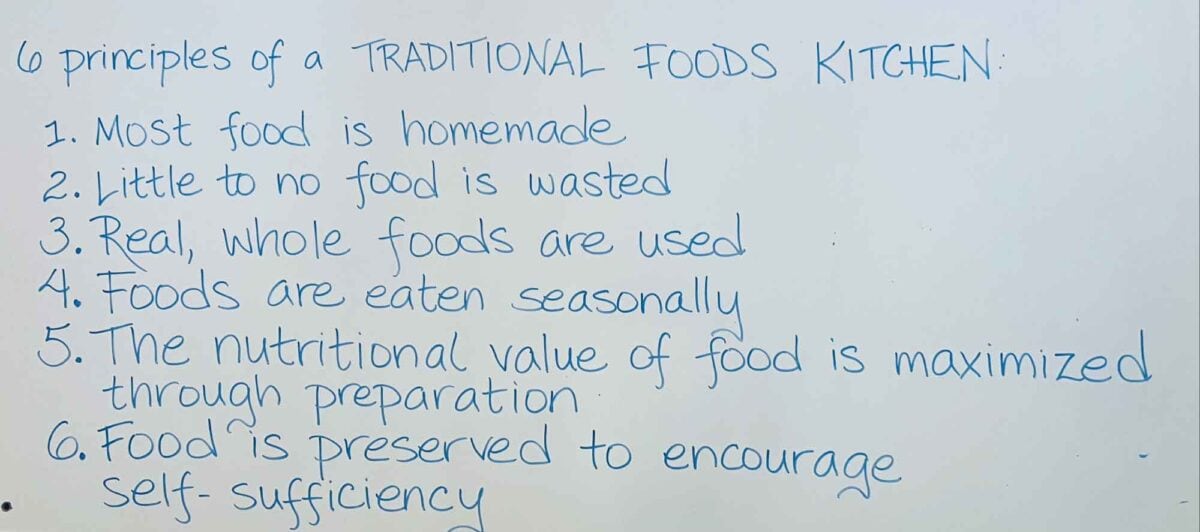
Chapter 1 of The Modern Pioneer Cookbook Curriculum introduces you to the six principles of a traditional foods kitchen:
- Food should be homemade as much as possible
- Waste should be eliminated or minimized
- Real, whole foods are best
- The rhythm of seasonal eating is a valuable tradition
- Food should be prepared in ways that maximize nutritional value
- Food preservation is an important part of self-sufficiency
The six principles are divided into three groups to correspond to the three grade bands:
- K-4
- 5-8
- 9-12
For each of the three grade bands, you’ll find 14 lesson plans corresponding to each chapter in The Modern Pioneer Cookbook. The K-4 lessons teach the first two principles of a traditional foods kitchen; the 5-8 lessons teach the third and fourth principles; and the 9-12 lessons teach the last two principles. Each lesson contains a discussion, an activity, and a recipe.
All three grade bands prepare the same roast chicken recipe for the first lesson. (This is the only recipe in Chapter 1 of The Modern Pioneer Cookbook.) This recipe is ideal for getting started in the kitchen, and it’s also Mary’s favorite recipe for beginner cooks. Minimal ingredients and equipment are required. And, as Mary emphasizes in Chapter 1 of the cookbook, roasting a whole chicken is an “essential life skill” that you and your children can rely on for years to come.
Activity: Kitchen Journals
When I was working on The Modern Pioneer Cookbook Curriculum, I wanted to make each lesson plan flexible enough to be facilitated in chunks. Although most lessons start with a discussion, you can arrange the three main lesson components (discussion, activity, and recipe) as needed.
When I facilitated the Chapter 1 lesson, I started with the Kitchen Journal activity rather than the discussion. I wanted my children to have their Kitchen Journals ready so they could take notes when we discussed the chapter’s ideas.
I decided to have each of my children make their own kitchen journals so they could personalize them and write or draw whatever they wanted without having to take turns. We used 5.5-inch by 8.5-inch sketchbooks, unlined, to encourage drawing (lined paper is fine, too!). The pages were nice and thick, and although my children chose to use colored pencils this time, they’ll be able to use markers without worrying about the ink bleeding through.
I liked that the front cover had a transparent pocket, so my kids could design their own covers on a piece of paper and slide it inside. This is a great option for anyone with perfectionist tendencies because you don’t have to worry about permanently altering the notebook. It’s also ideal for anyone who may want to change their Kitchen Journal cover at a later point in time (or create four seasonal covers to rotate through the year?). However, you’re definitely not limited to a book with a transparent cover pocket. You can use any kind of notebook. Simply have your students design their cover on a separate piece of paper and help them glue it to the notebook’s cover.
Designing the Kitchen Journal Cover
When it came to designing the covers, I only gave my children two guidelines:
- They had to include the words “Kitchen Journal.”
- They had to illustrate the cover.
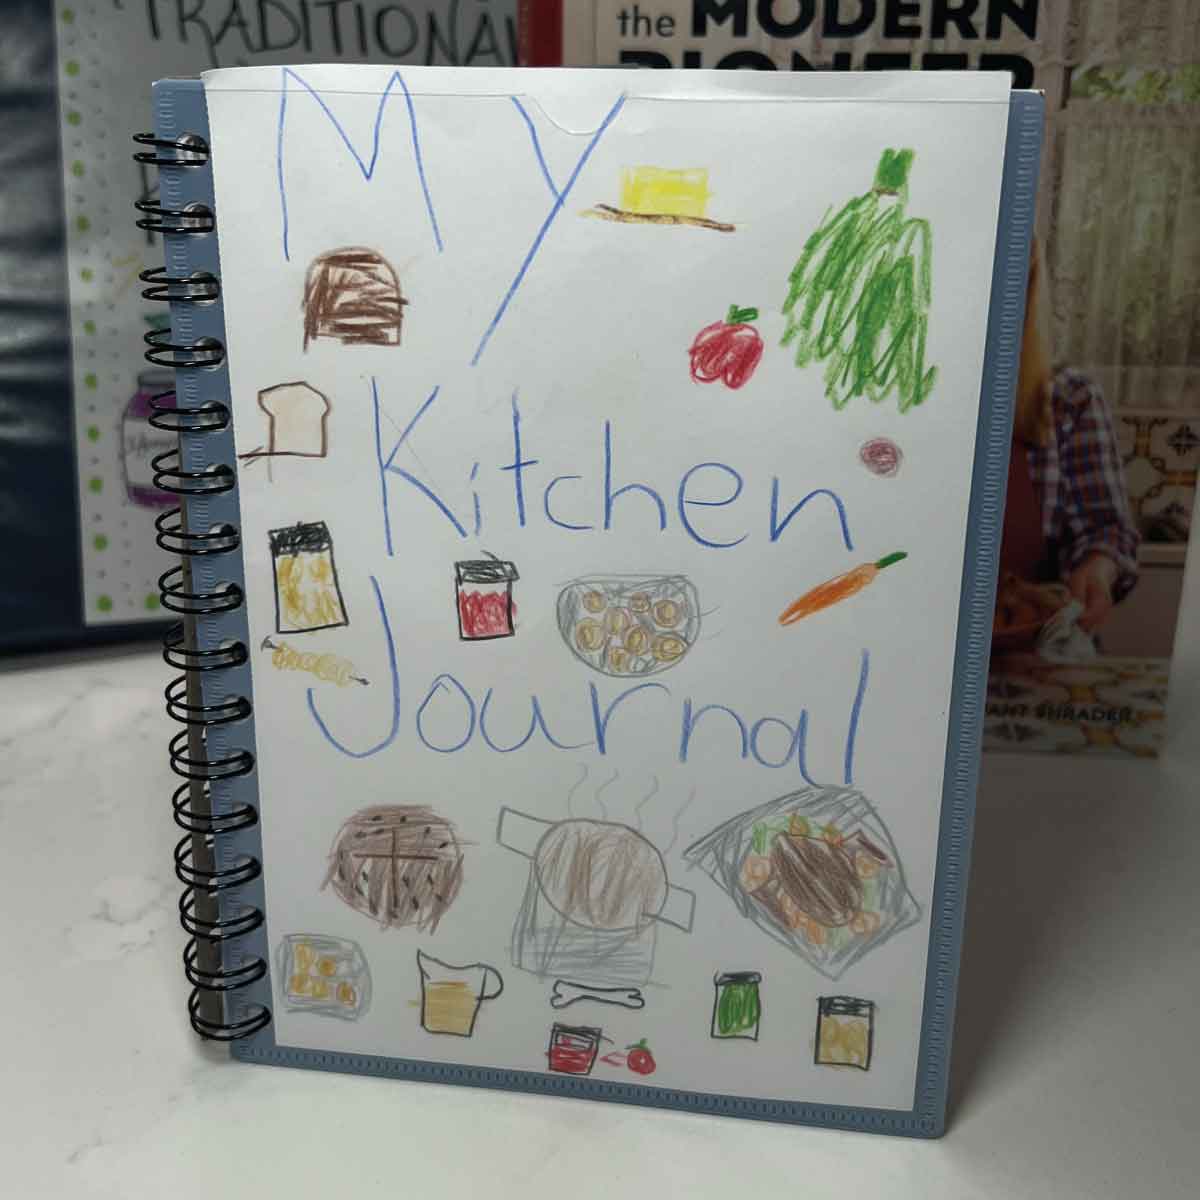
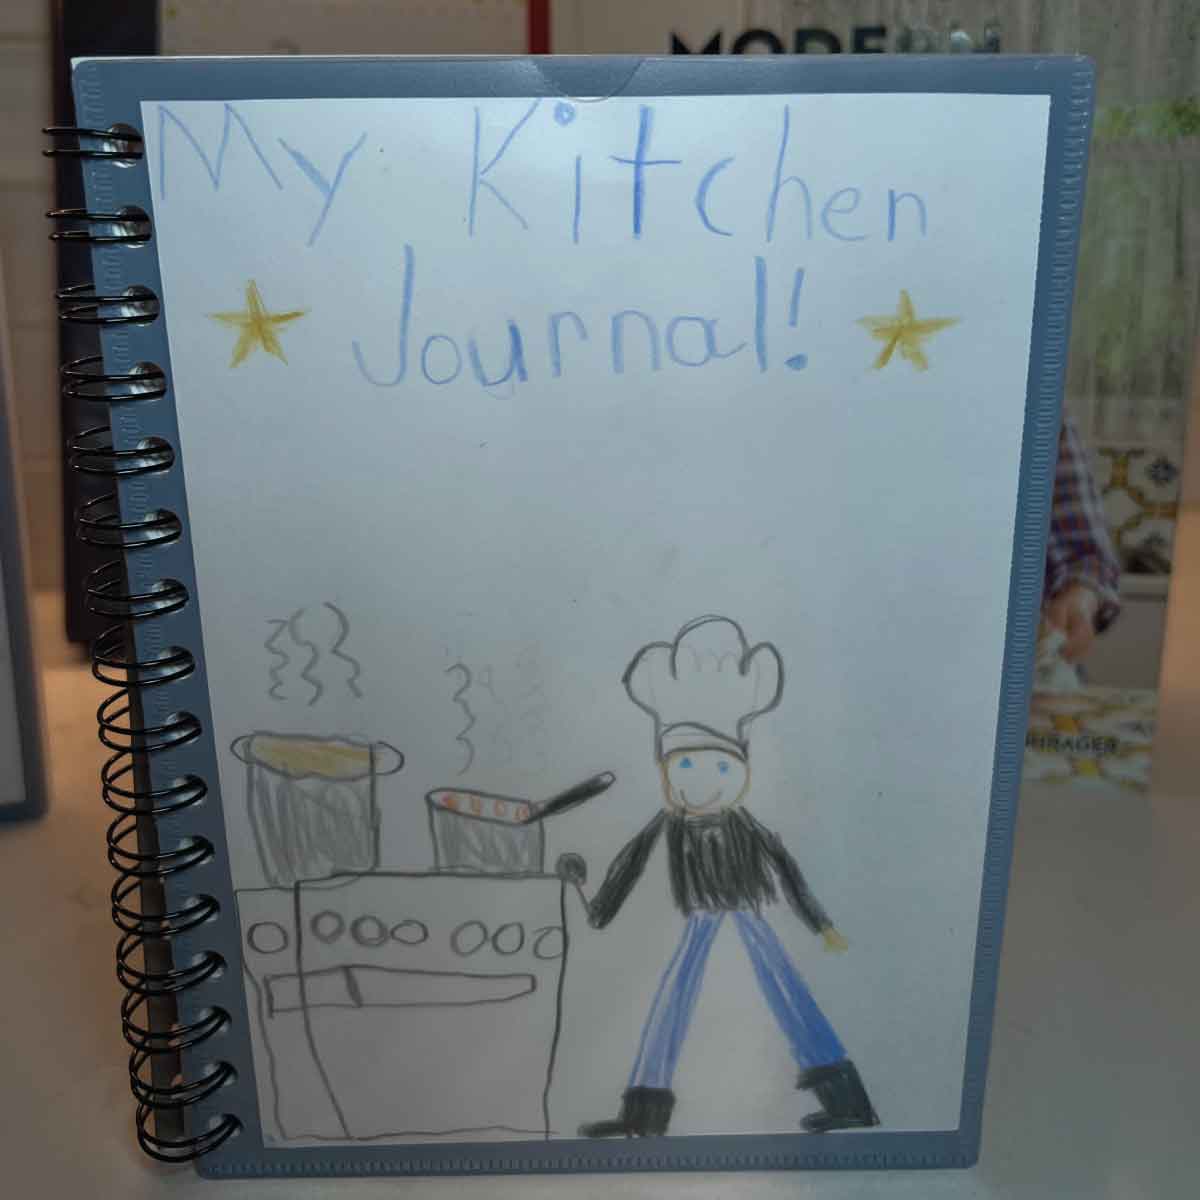
My 8-year-old looked through The Modern Pioneer Cookbook for inspiration and drew pictures of the foods we would be making over the next few weeks. My 6-year-old’s drawing focused on the experience of cooking rather than specific recipes from the cookbook. He drew himself (in a chef’s hat!) standing at the stove, watching over steaming pots.
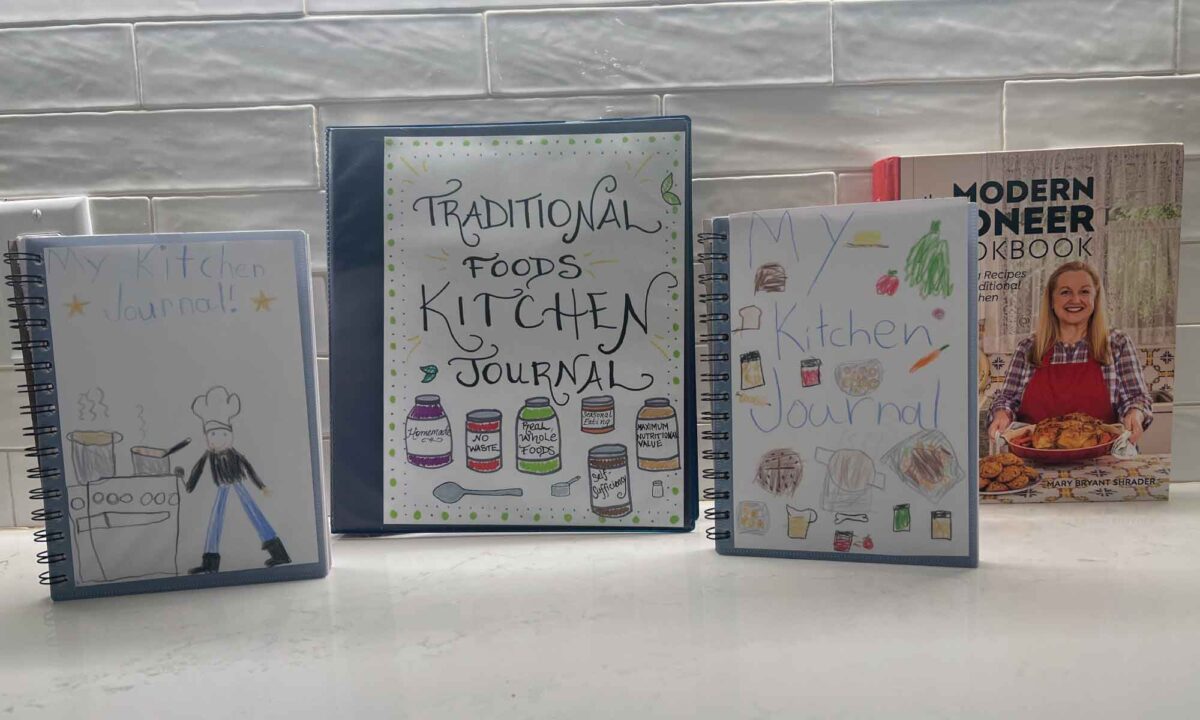
Creating a Master Kitchen Journal
In addition to the two small sketchbooks, I also decided to use a full-sized binder for my own Kitchen Journal. I think of the binder as a master copy for our family, while the kids’ books are more about their learning experiences.
A binder makes it easy to include materials you may want to print out, like The Modern Pioneer Cookbook Curriculum lesson plans, recipes, articles, or any of the free checklists on the Mary’s Nest website. The ability to add and remove pages is really helpful for keeping an organized adult Kitchen Journal, while more durable notebooks or sketchbooks work great for younger kids.
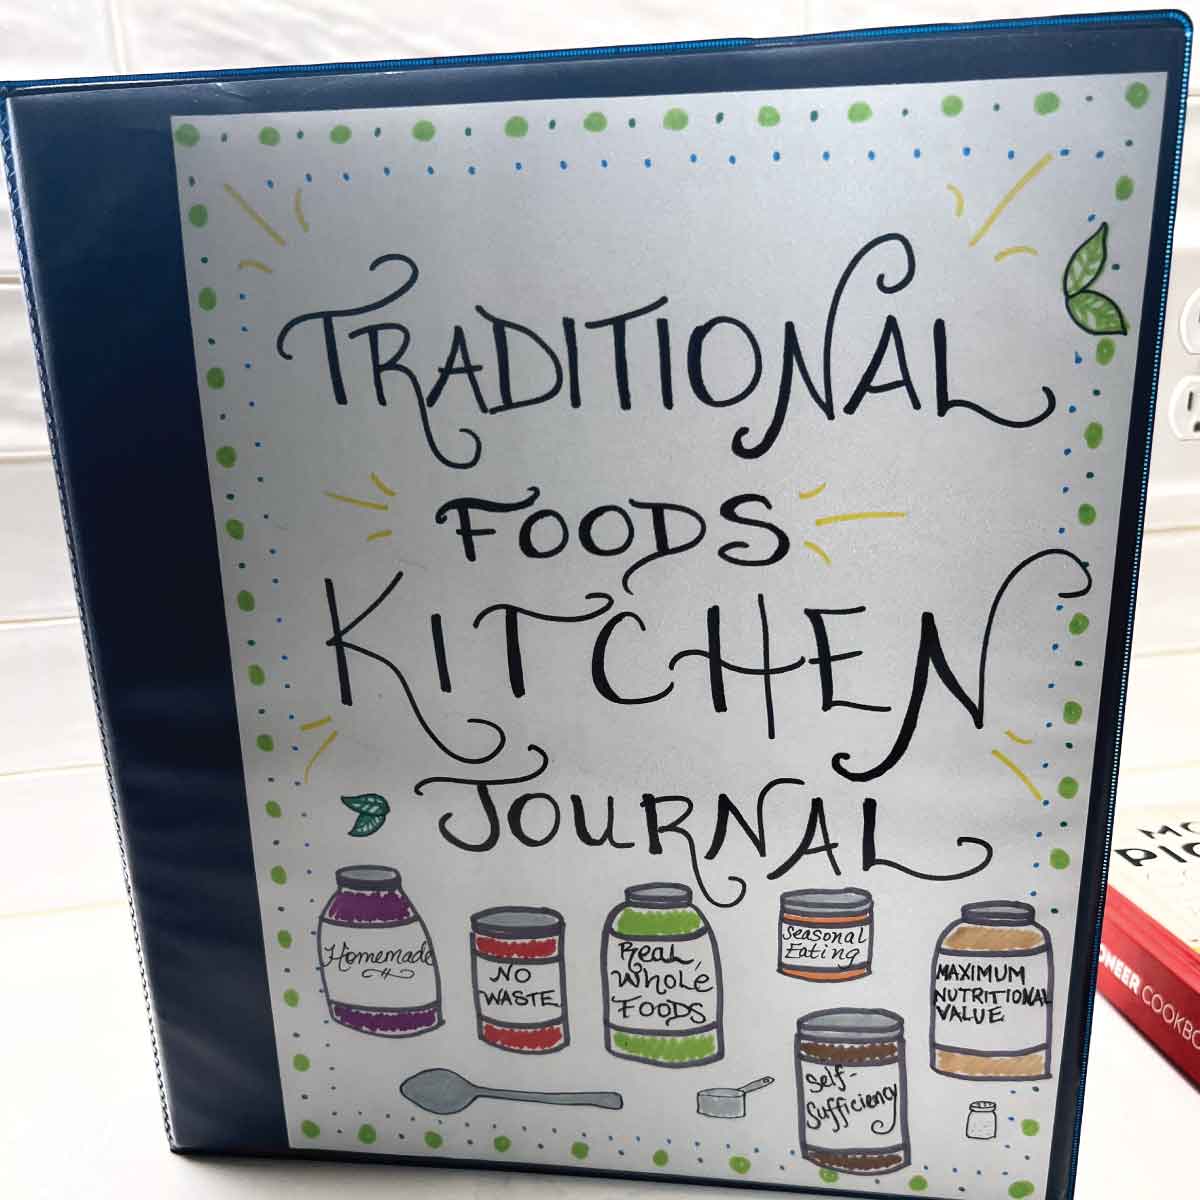
I wasn’t too worried about designing a cover for my Kitchen Journal binder, but my children insisted I make one just as they did! After writing a gigantic title, I thought about including the six principles of traditional foods kitchens on my cover. But because it was an afterthought, it looked cramped, so I decided to redo it on the computer. I printed it out and had my kids color the labels on the jars. If you’d like to print out your own copy, download your copy of The Modern Pioneer Cookbook Curriculum Front Cover Template.
Overall, the Kitchen Journal activity was fun, and we all enjoyed the chance to be creative with it. Decorating our covers together gave us some time to start talking casually about the upcoming lessons and recipes. If you and your students make your own Kitchen Journals, be sure to share them with Mary on social media @marysnest
Discussion: Principles of the Traditional Foods Kitchen
After we made our Kitchen Journals, we moved on to the discussion. The Chapter 1 discussions introduce the principles of the traditional foods kitchen, summarized in the chart below:
| Grade Band | Principle |
| K-4 | 1. Homemade food 2. Low-waste kitchens |
| 5-8 | 3. Real, whole foods 4. Seasonal eating |
| 9-12 | 5. Maximizing nutritional value 6. Preservation for self-sufficiency |
I followed the K-4 lesson plan because I have a first-grader and third-grader, but we went over all six principles of the traditional foods kitchen rather than only the first two. I wrote the six principles on the board, and we took some time to define the more difficult words taught in the higher-level lessons (such as “maximize” and “self-sufficiency”).
I highly suggest that, for Chapter 1, you talk about all six principles with your students. This helps them to see the big picture of the traditional foods kitchen. (Feel free to adjust vocabulary for younger students. For example, you can use the word “independence” instead of “self-sufficiency.”)
Connecting the Principles
It wasn’t long before my children started to notice the connections among the six principles of traditional foods kitchens. For example, once my 6-year-old had a good understanding of self-sufficiency, he pointed out that doing things for ourselves includes making homemade food, thereby connecting the first and sixth principles. Similarly, my 8-year-old noticed a link between the second and third principles, pointing out that if we eat whole foods and cook “nose to tail,” we will be wasting less. I added to this game of connections by pointing out that preserving food for the winter months (the sixth principle) is part of an ancient seasonal rhythm of eating (the fourth principle).
We also talked about different degrees of the same principle. For example, when we were discussing examples of homemade versus store-bought foods, my children both noted that even though we were going to make a homemade roast chicken, we purchased the ingredients from the store. They explained that we would need a productive farm to achieve the goal of making everything at home.
Homemade Food and Low-Waste Kitchens
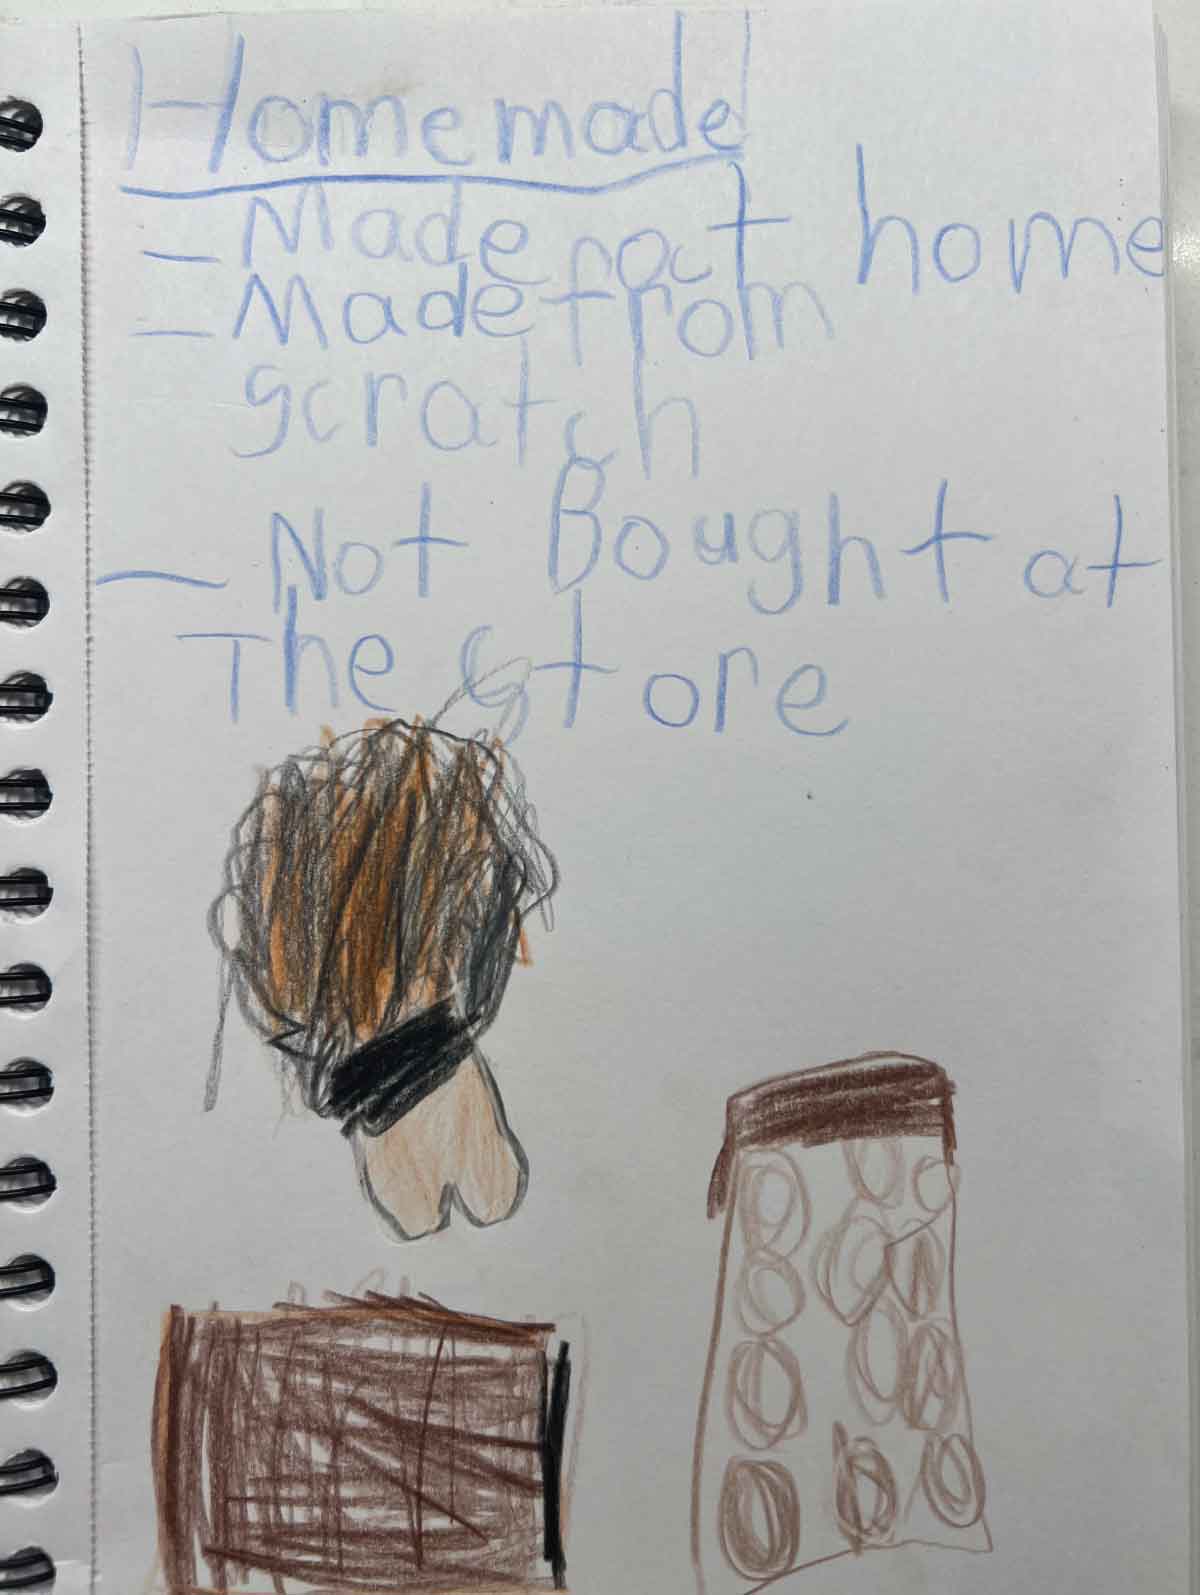
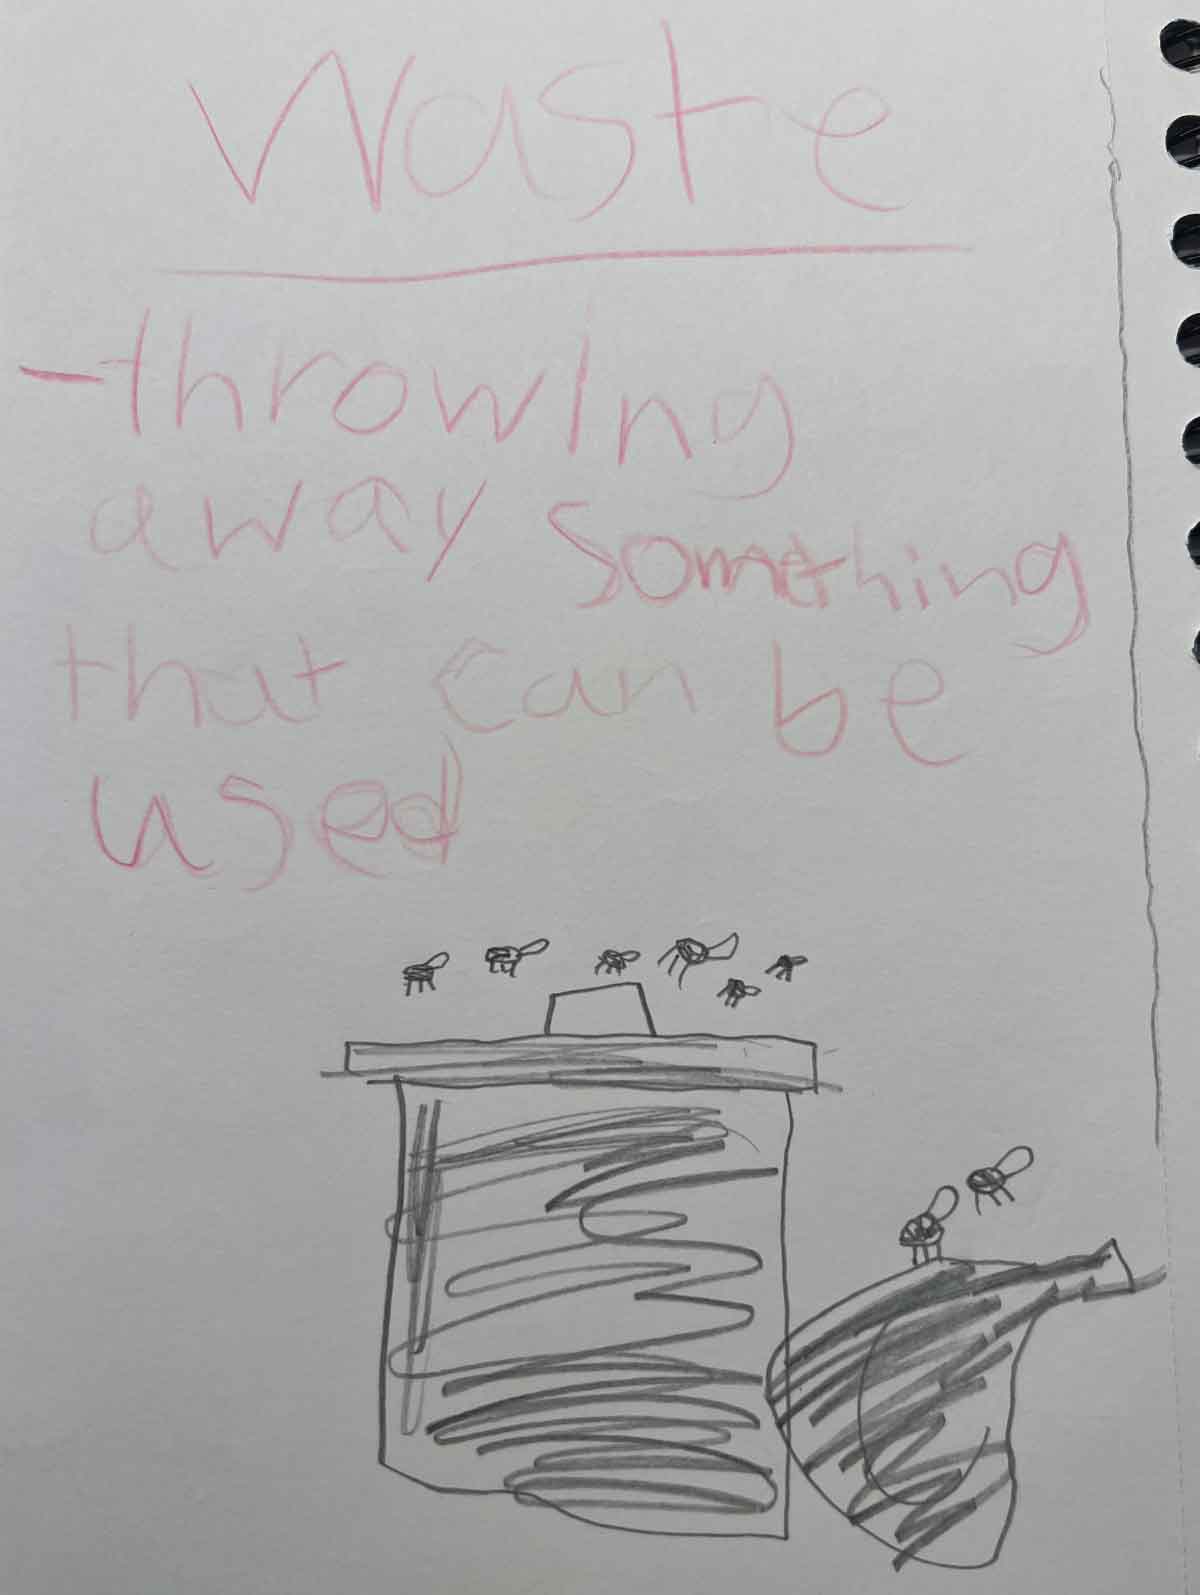
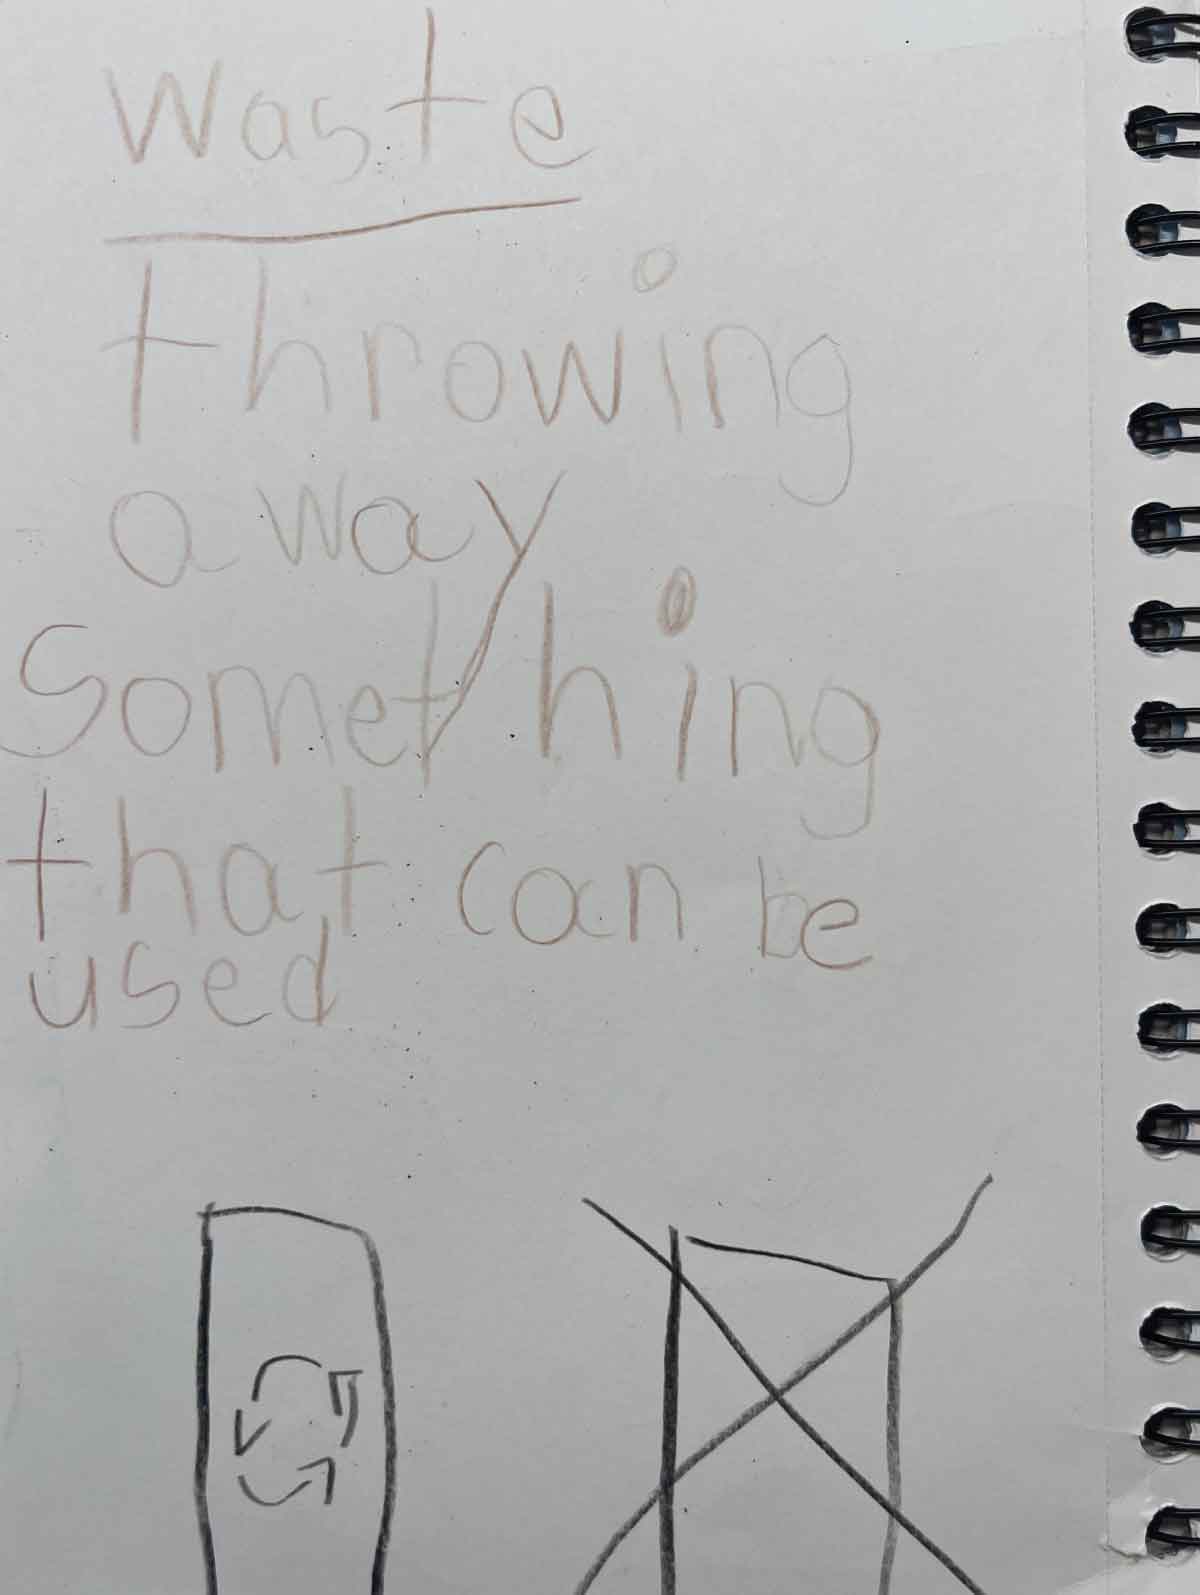
Although we outlined all six principles, we spent the most time discussing the K-4 themes of homemade food and low-waste kitchens. Both children wrote down the definitions of “homemade” and “waste,” adding some illustrations for each.
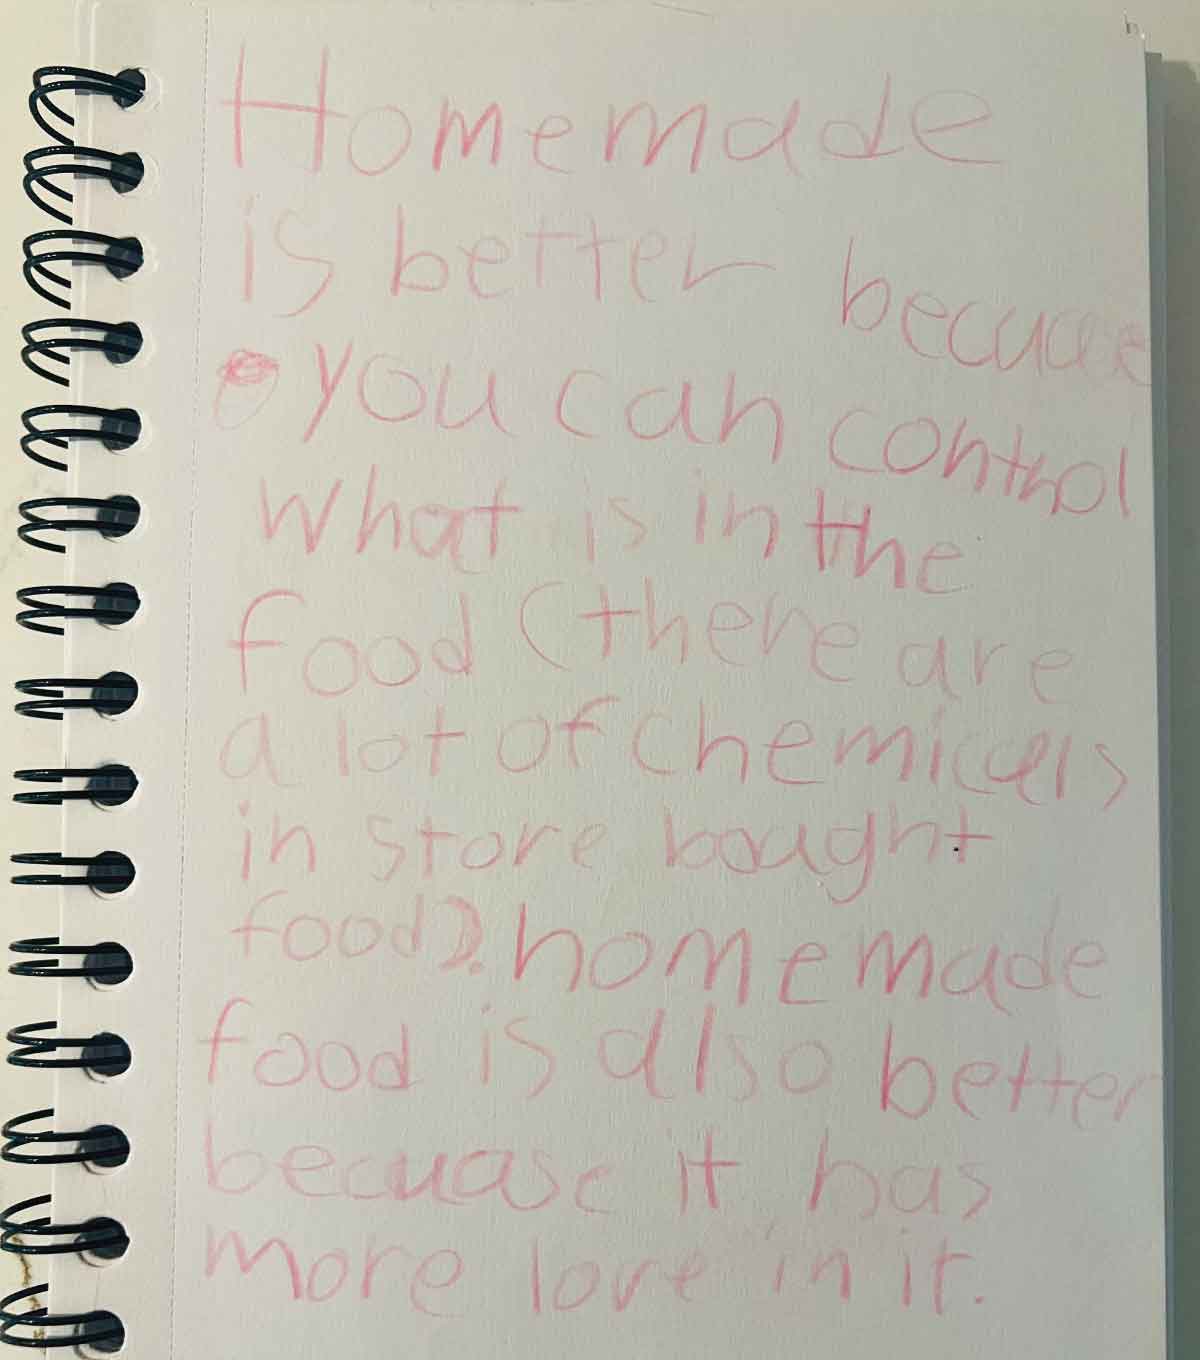
My third-grader wrote more notes than my first-grader. She added a list of some of her favorite homemade foods (complete with illustrations), as well as an explanation of why homemade food is better than store-bought. She wrote, “Homemade is better because you can control what is in the food (there are a lot of chemicals in store-bought food). Homemade food is also better because it has more love in it.” Who would disagree with this 8-year-old’s wisdom?
Homemade Food: Kitchen Journal Examples
Low-Waste Kitchens: Kitchen Journal Examples
Making Real-Life Connections
While discussing the principles of the traditional foods kitchen, try to help your students relate these ideas to their own food experiences, preferences, and opinions. Young people of all ages and abilities thrive when they make real-life connections to what they’re learning.
Don’t hesitate to prompt your children based on your familiarity with what they like to eat, what they’ve helped cook, and so on. For example, you might say something like, “What homemade foods does Grandma make from scratch?” Or, “What are your favorite real foods? Do you eat anything that is not made from real, whole foods?”
Recipe: Roast Chicken
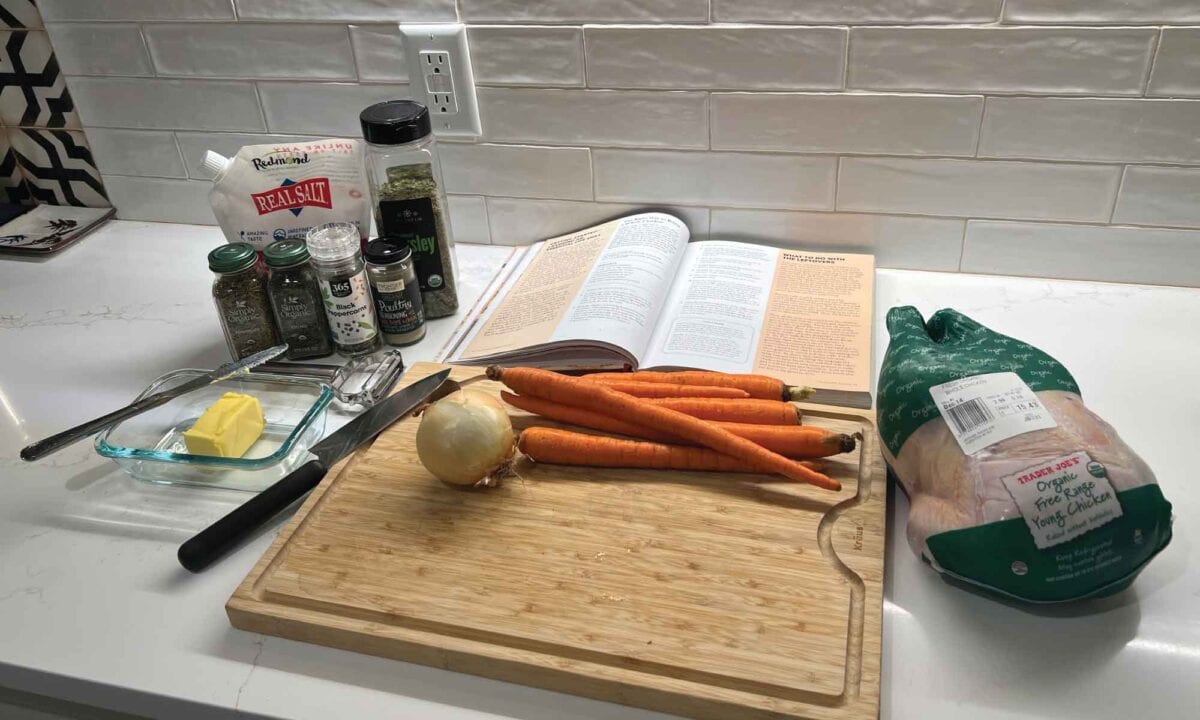
After our discussion, we were ready to start cooking. We gathered our tools and ingredients. My children were pretty familiar with everything because roast chicken is a common meal in our home. But always take the time to check in with your students when you’re gathering ingredients and supplies. Make sure they can name everything and describe its purpose.
Safety Guidelines
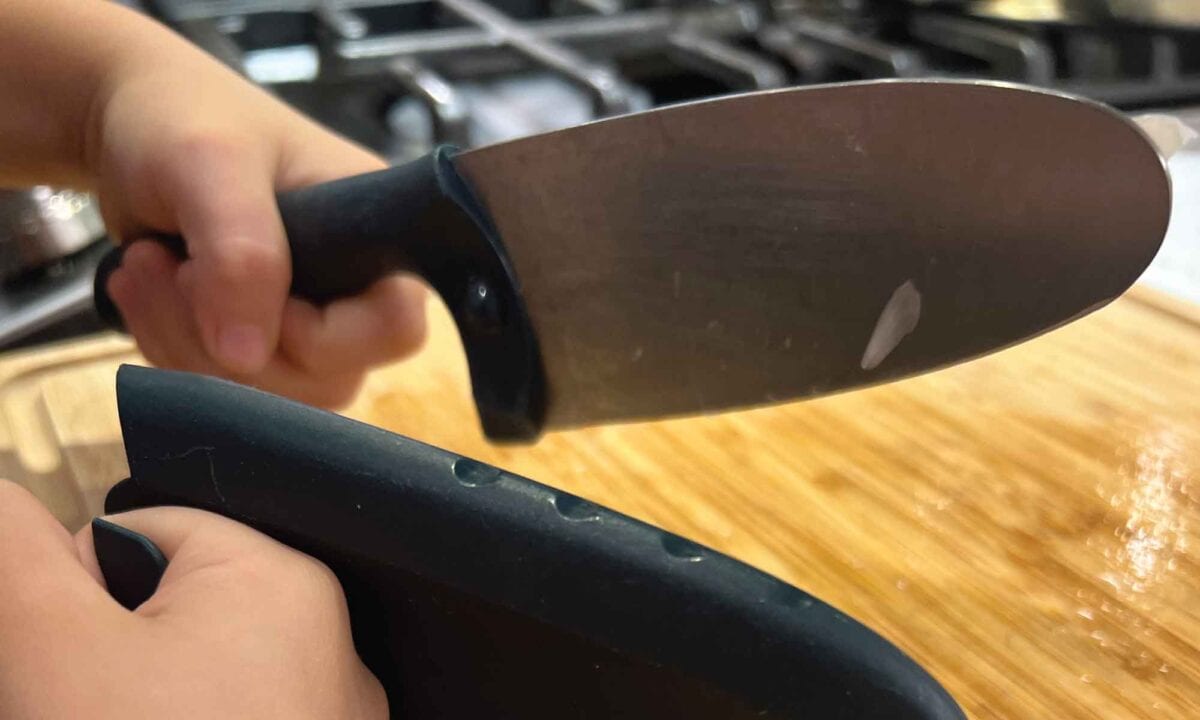
Next, we went over safety guidelines, including the importance of washing hands after touching the raw chicken. We reviewed some basic knife skills, including how to grip the knife handle, how to grip the food to be cut, and how to move the knife from its tip to its heel. We have a children’s chef’s knife with a rounded tip and a finger guard, but you don’t have to purchase one to get younger kids chopping. Just make sure the knife your children use has a blade no longer than 6 inches (unless your children are taller than 5’4”).
Following the Recipe
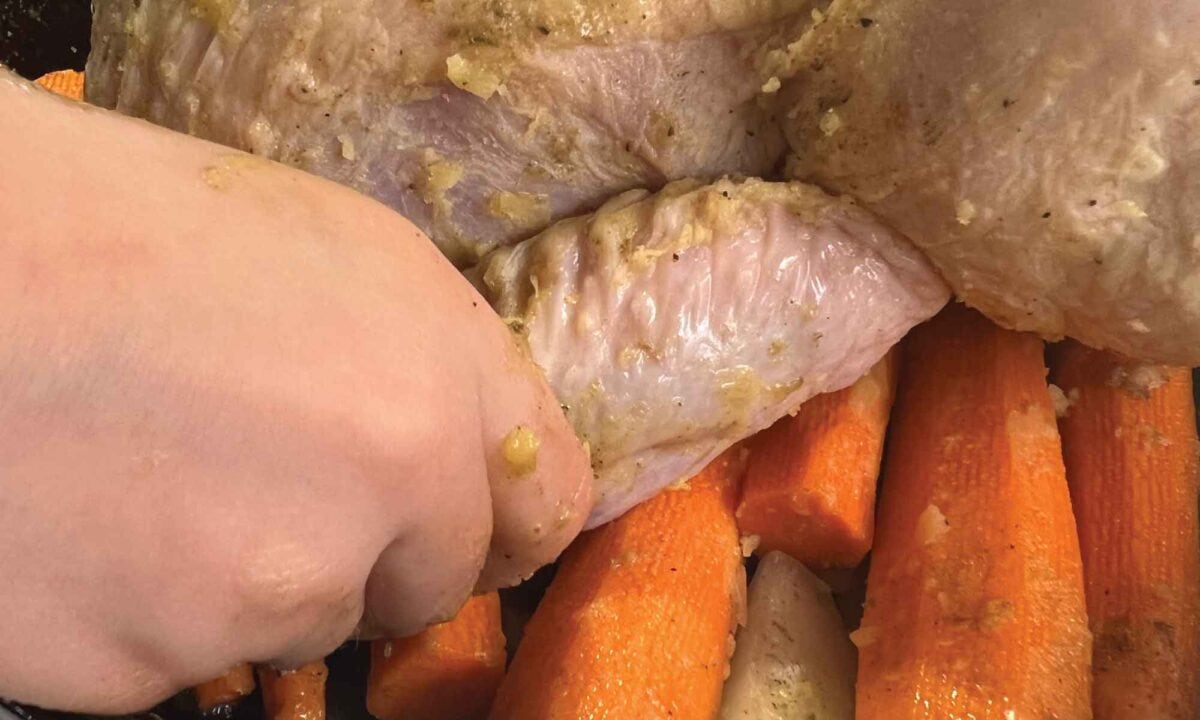
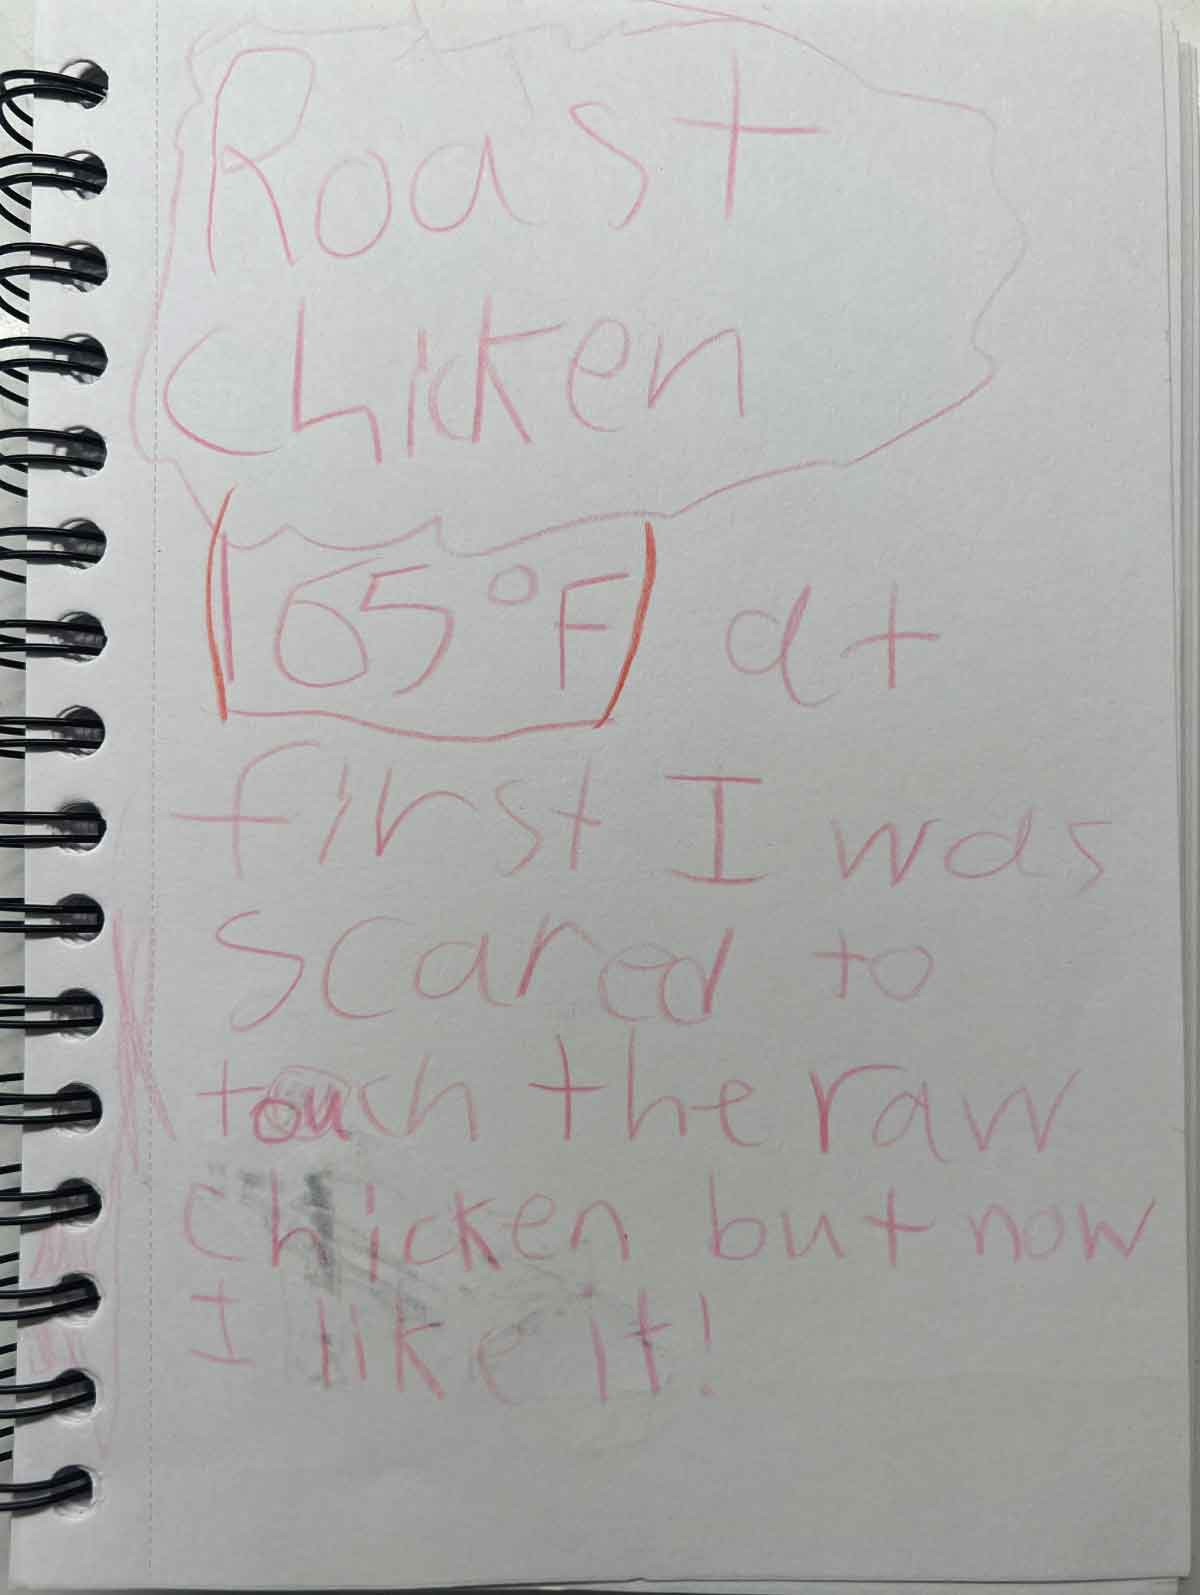
For many kids, the biggest deal will be handling the raw chicken. My daughter was grossed out by the idea of touching it, but only at first. Once she got started, she was fine. In fact, when we discussed the cooking experience later, she said that handling the raw chicken was her favorite part!
Then, we went over the recipe and followed it step by step. We made sure to save the vegetable scraps in a freezer-safe container. After eating the chicken, we also saved the carcass and bones. We’ll be making bone broth from these scraps next!
Using Butcher’s Twine
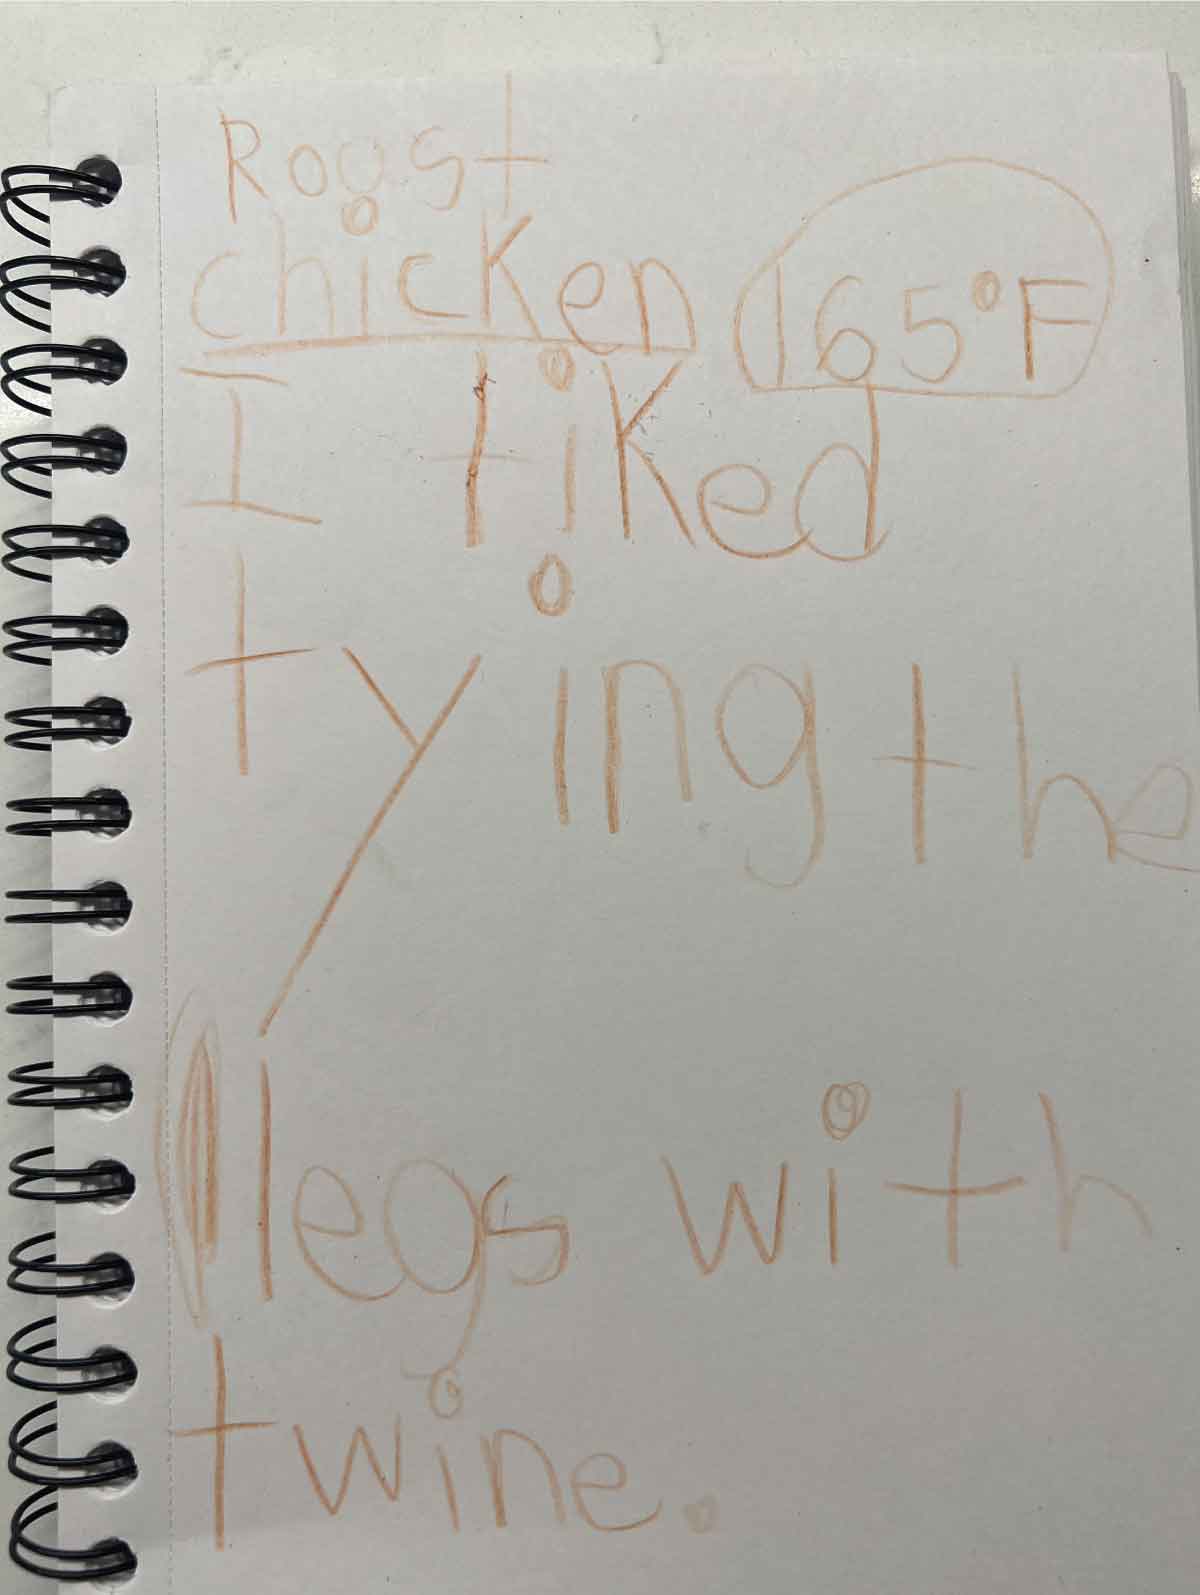
My son really enjoyed tying up the legs with twine. We had a fun conversation about the twine itself. We discussed the need to use special twine for baking and roasting because not all string can be used safely in the oven. We also clarified that even though the butcher’s twine is made for food and is safe for the oven, it’s not edible!
I let my children work together to tie up the legs. I didn’t help at all. It was a little awkward, and it came out a little loose, but that’s okay! Don’t aim for perfection when cooking with your children. Letting my kids do it themselves led them to evaluate their work. They noticed it could’ve been tighter, and hopefully, they will apply their own feedback next time. If I had taken over to do it “right,” they may not have been as self-reflective.
Empowering Children
Roasting a whole chicken is not very complicated. If I were working with older children, I would empower them to complete as many recipe steps as possible on their own. It’s also great to give older children opportunities for decision making. For example, you can ask your older students to choose which herbs to use on the roasted chicken. You can also encourage them to decide how brown the chicken skin should be. The more ownership they take, the more confident they’ll be to get involved in cooking on a regular basis.
While we waited for the chicken to cook, I had my children use their Kitchen Journals to write down their favorite part of the process. We also worked on some of the interdisciplinary extensions at the end of the lesson plan, including the math, science, history, and decision-making prompts. I plan to return to some of the extensions we didn’t have time for, such as the art activity that suggests upcycling or decorating aprons.
Roast Chicken: Kitchen Journal Examples
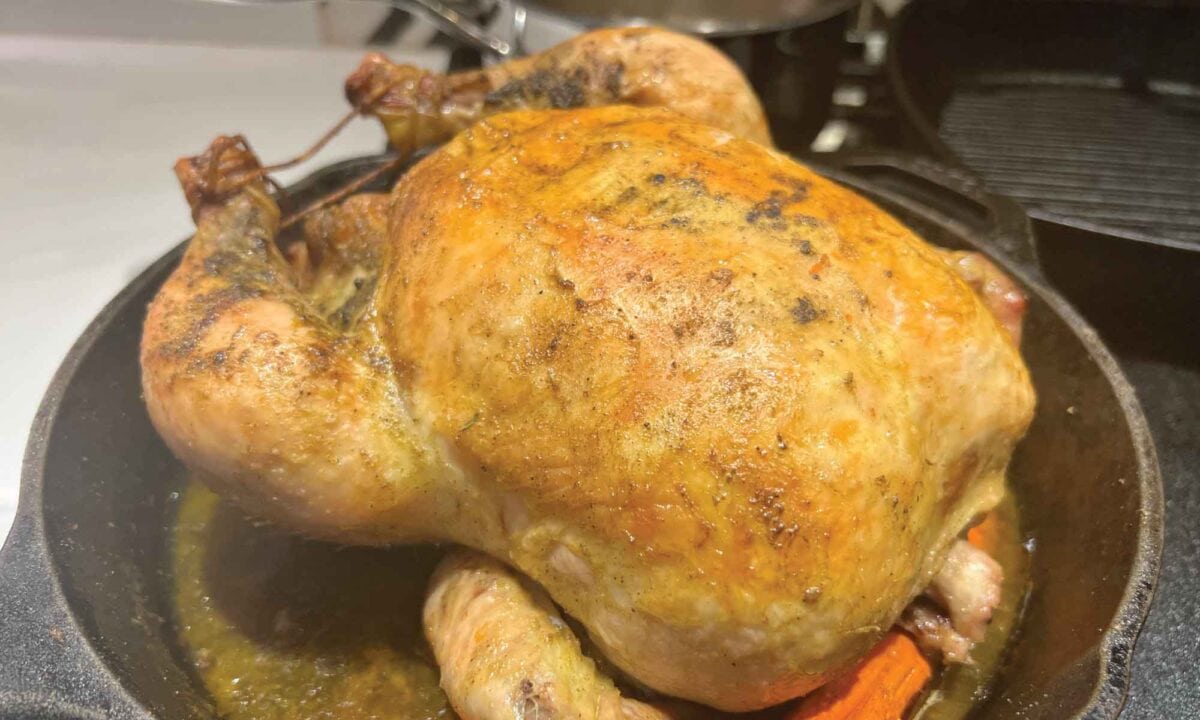
Time to Eat
Finally, it was time to eat. I didn’t have to worry about anyone not liking the chicken because we eat it often. However, I was surprised to hear how much more my children liked the chicken they made themselves! They kept saying things like, “This is the best chicken ever!” and “This is the most delicious chicken I’ve ever had!”
Final Thoughts
Using my experience facilitating this first lesson, here are my ultimate takeaways for anyone getting ready for Chapter 1:
- Put some thought into how to set up your Kitchen Journals (such as what kind of notebook or binder to use) because you will be using them over and over throughout the curriculum.
- Facilitate the Kitchen Journal activity before the discussion so that students have a place to take notes while you talk about the principles of the traditional foods kitchen.
- Be flexible about structuring the lesson, keeping the constraints of time and attention spans in mind. It’s okay to spread out the lesson components over 3 days, working on a different segment each day.
- Don’t aim for perfection. This applies to the Kitchen Journals, the discussion, and the roast chicken itself. Focus on process over product, prioritizing your learners’ experience over flawlessness. Most of all, have fun with it!
Finally, don’t forget to save your chicken bones and carcass. You can use these scraps to make bone broth for the Chapter 2 lesson!