Chapter 3 of the “Modern Pioneer Lesson Experience” dives into the art of rendering leaf lard, tallow, and schmaltz. Jamie and her kids tackle rendering tallow from suet, exploring its historical and practical uses. This lesson experience offers tips on sourcing fats and equipment and discusses the benefits of real fats. This fun, hands-on experience brings traditional cooking skills to life, blending education with practical know-how. (This lesson experience includes four activity downloads!)
Affiliates note: As an Amazon Associate I earn from qualifying purchases. My content may contain affiliate links to products and services. If you click through and make a purchase, I’ll receive a small commission. It does not affect the price you pay.
Table of Contents
About The Modern Pioneer Cookbook Curriculum Lesson Experience Series
Hi! My name is Jamie O’Hara, and I’m a homeschooling mom, curriculum writer, and former classroom teacher. I recently had the pleasure of helping Mary Bryant Shrader create The Modern Pioneer Cookbook Curriculum, which includes extensive lesson plans for grades K-12 to complement Mary’s bestselling book, The Modern Pioneer Cookbook.
- Get The Modern Pioneer Cookbook Curriculum (Free and over 250 pages!)
- Get The Modern Pioneer Cookbook
- Read The Modern Pioneer Cookbook Curriculum Lesson Experience Article Series
Now, I’m excited to embark on a journey of experiencing these lessons with my own children, ages 6 and 8 (and sometimes my 3-year-old, too). I’ll be facilitating a total of 14 lessons, one for each chapter in The Modern Pioneer Cookbook Curriculum. As we go through the curriculum, I’ll document our experience to share with all of you!
Getting Started with Animal Fats
In Chapter 3 of The Modern Pioneer Cookbook, we learn how to render animal fats. This chapter contains three recipes, and each recipe corresponds to a different grade band in the curriculum. The table below summarizes which recipes are used for which grade bands and the traditional foods kitchen principles that are highlighted at each level.
| Grade Band | Principle | Recipe |
| K-4 | 1. Homemade food 2. Low-waste kitchens | Rendering Pork Leaf Fat to Make Leaf Lard |
| 5-8 | 3. Real, whole foods 4. Seasonal eating | Rendering Suet to Make Tallow |
| 9-12 | 5. Maximizing nutritional value 6. Preservation for self-sufficiency | Rendering Chicken Fat to Make Schmaltz |
One of the benefits of The Modern Pioneer Cookbook Curriculum is that you can mix and match different parts of each lesson to make the experience work best for your family. Although my children are in the elementary grades, we decided to make beef tallow rather than lard for this lesson.
Where to Find Chicken Fat
If you have a good amount of chicken fat left over from the whole chickens you’ve been roasting, you may choose to make schmaltz, even if your students aren’t at the high school level. That’s one of the benefits of schmaltz: if you prepare chicken often, you won’t need to purchase any fat for rendering.
Where to Find Suet or Leaf Fat
To get suet (from cows) or leaf fat (from pigs), you can call local butchers and farmers to see if they have it for sale. We ordered our suet from U.S. Wellness Meats. We bought a 5-pound package of ground suet for just over $30 using the Mary’s Nest promo code (MARYNEST). This made almost 3 quarts of rendered tallow. If that seems like a lot to you, keep in mind that tallow has a long shelf life. Kept at room temperature, it can last for a year, and if it’s frozen, it can stay fresh for 2-3 years. Lard has a slightly shorter shelf life, and schmaltz has the shortest.
Choosing the Right Equipment
Overall, the recipes in this chapter are pretty simple. The most thought you’ll have to put into each recipe is making sure you have the right equipment and ingredients beforehand.
- If you’re making leaf lard, you’ll need a large stockpot.
- If you’re making tallow, you’ll need a Dutch oven. (Alternatively, you can use a heavy-bottomed pot.)
- If you’re making schmaltz, you’ll need a skillet with a lid. (Cast iron is a good choice).
For all three recipes, you’ll also need:
- Fine mesh strainer
- Heatproof bowl
- Flour-sack towel
- Heatproof storage jars
Discussion: Cooking Fats
I started by telling my children we’d be making beef tallow and showing them the picture on page 63 of The Modern Pioneer Cookbook. I explained that tallow is a cooking fat made from a special type of beef fat called suet (the fat around a cow’s kidneys). I showed them the package of ground suet so they could compare it with Mary’s photo of the smooth rendered tallow.
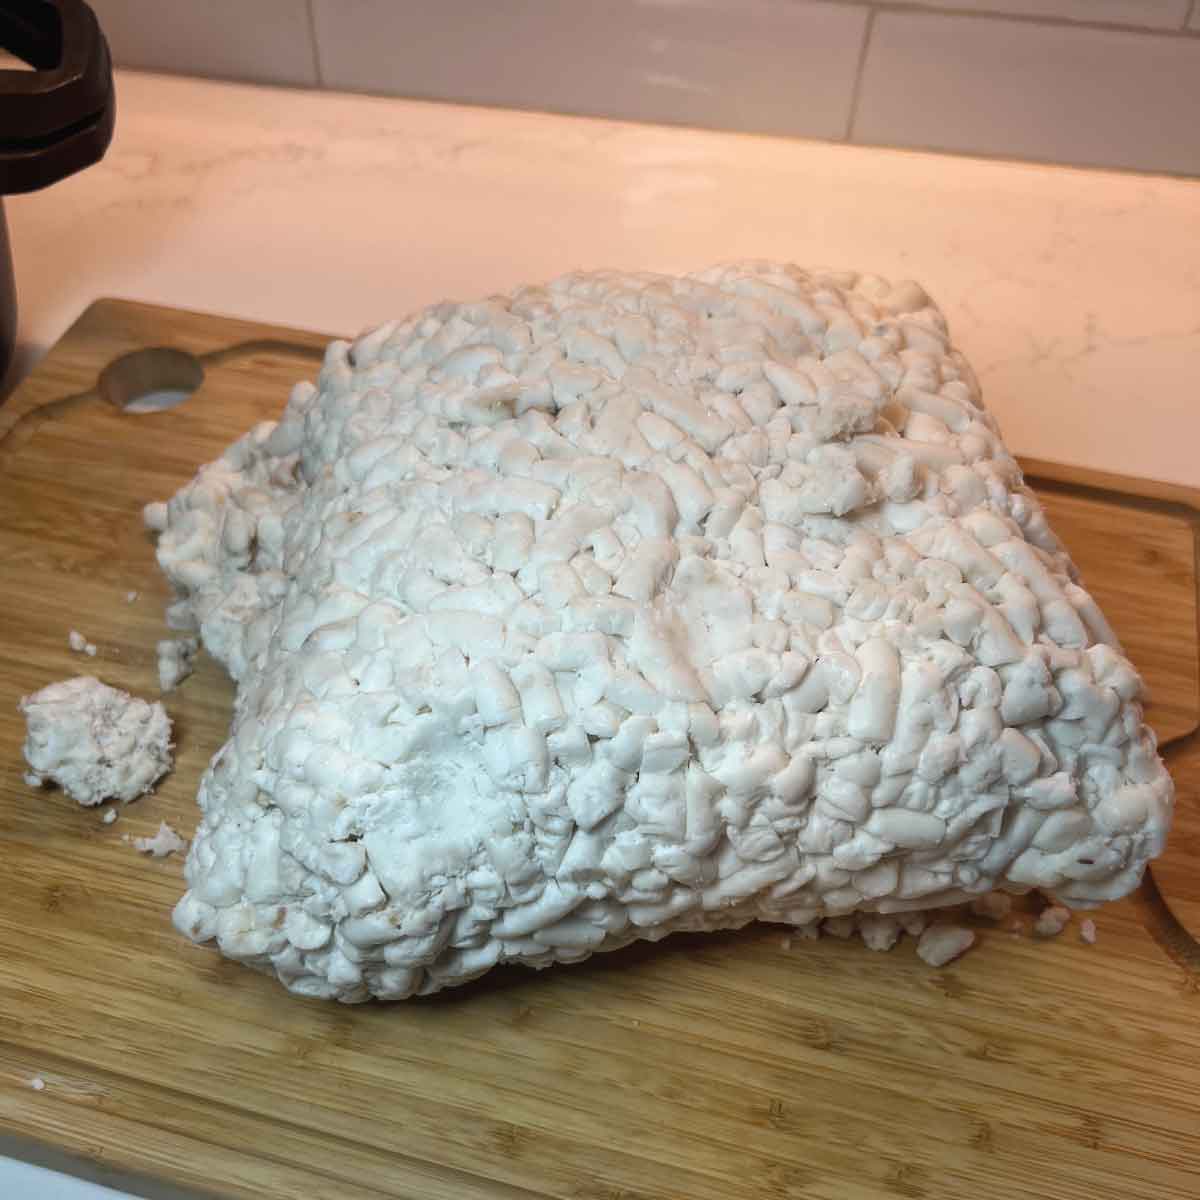
At this point, I shared the definition of render: to melt down fat to remove any water and solid parts. My children wrote this in their kitchen journals, and we talked about what the “solid parts” might be like. I explained that the solid parts left over after straining the melted suet are called cracklings, and they can be eaten as a snack. My son was very excited.
Discussing Fats and Oils
Following the discussion guide, I asked my children what fats and oils we tend to use at home. They listed butter, coconut oil, beef tallow, bacon grease, olive oil, and avocado oil.
I explained there are three types of cooking fats:
- Animal fats
- Dairy fats
- Plant or seed oils
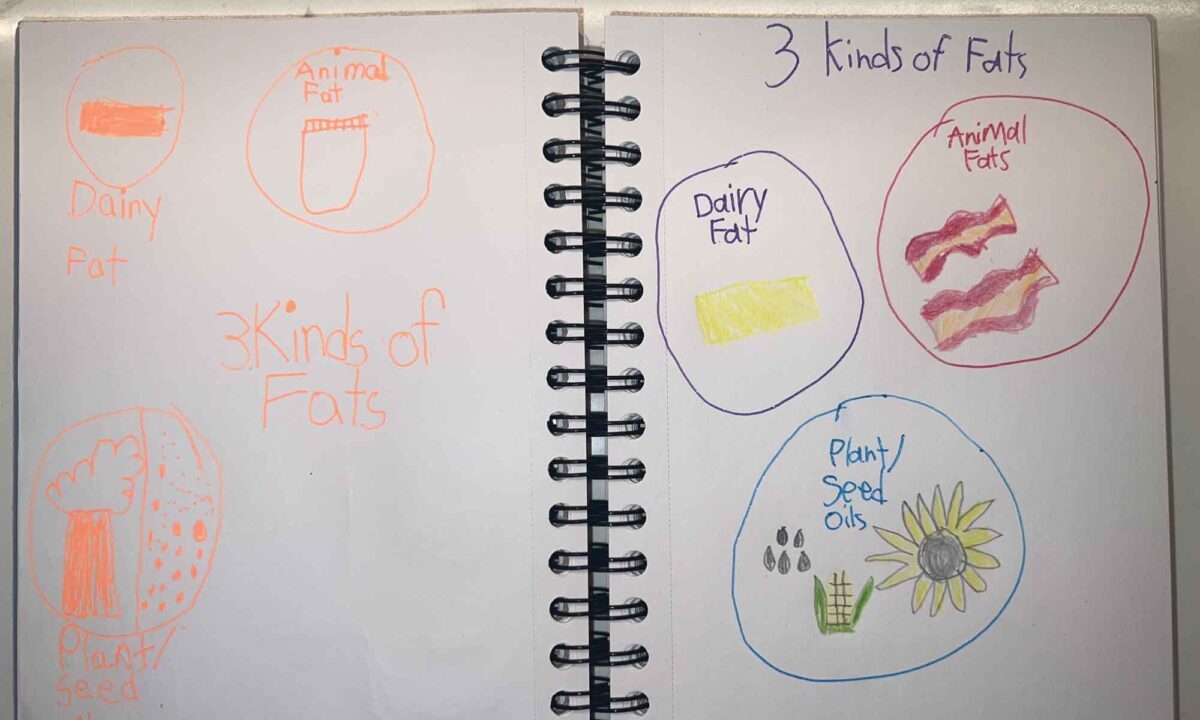
I had my kids write this down in their kitchen journals, and we discussed some examples of each. If you’d like to print out a worksheet for this purpose, you can download it here:
Focusing on the Lesson Principles
After comparing and contrasting the three types of cooking fat, we focused the discussion of cooking fats on the two principles of the K-4 lessons: homemade food and no-waste kitchens. My children compared the practice of rendering fat at home to the habit of buying fats and oils at the store. They also pointed out that fat is often trimmed off meat cuts before cooking. We talked about how those trimmings can be rendered instead of being thrown away.
In the 5-8 lesson, the discussion focuses on how rendering fats is part of cooking “nose to tail.” It also introduces the idea of “fat season,” or the practice of rendering facts according to a seasonal rhythm.
In the 9-12 lesson, the emphasis is on maximizing nutritional value and preserving food for self-sufficiency. For older, advanced, or interested students, feel free to follow the discussion guides for all grade bands, starting at K-4 and working up to 9-12.
Activity: Uses for Fats
After our initial discussion, it was time to return to our kitchen journals. I asked my children why we use fats and oils in cooking. They shrugged and said they didn’t know until I rephrased the question: “What would happen if we tried to cook or bake without any kind of fat or oil?” They offered a few answers, emphasizing two in particular: the food would stick to the pan, and baked goods would be really dry.
Different Uses of Fat
I asked my kids to make a list or draw pictures to represent the different uses of fat. Then, I asked them to brainstorm other uses for fat that aren’t related to cooking or eating. We touched on all of the examples in the lesson plan:
- Moisturize skin
- Make candles
- Make soap
- Make lip balm
- Season a cast iron pan
- Anything that needs some grease
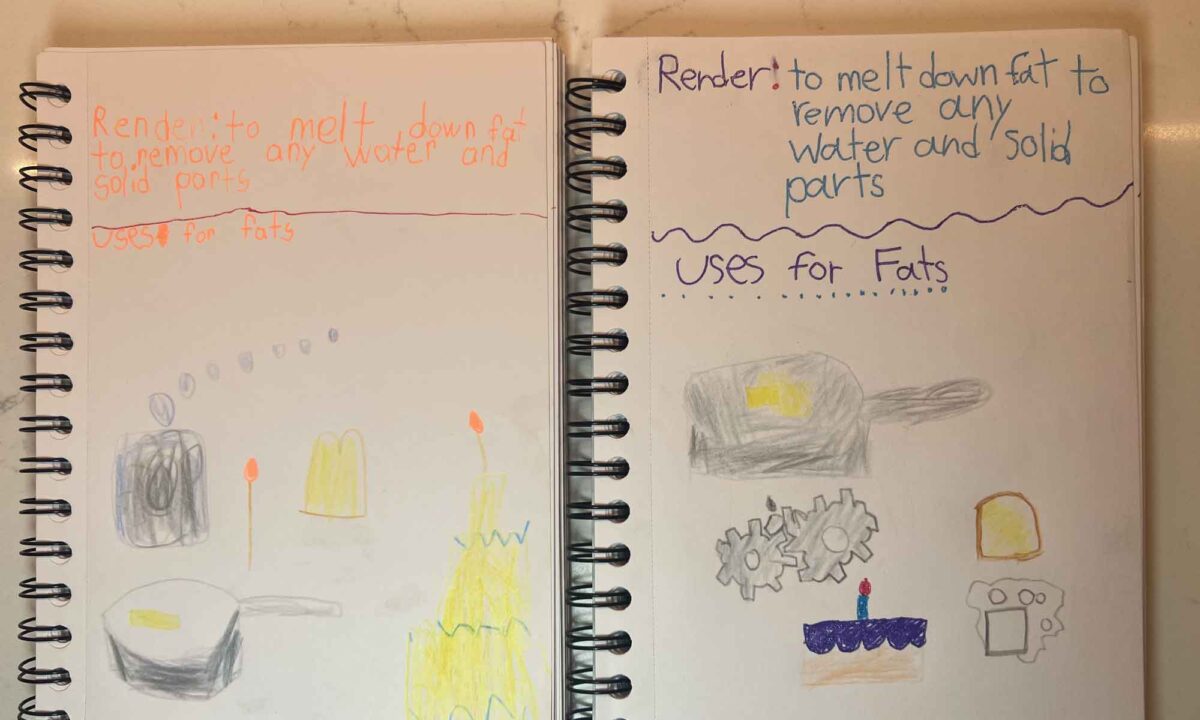
My children added a few more drawings to their kitchen journals. You can join in on this activity with this download:
History Question
At this point, I flipped to the Interdisciplinary Extensions section in the 5-8 tallow lesson of The Modern Pioneer Cookbook Curriculum. I asked my children the History prompt:
Humans have been rendering beef tallow since ancient times, and they didn’t only use it for cooking. What else do you think tallow might have been used for in the ancient past?
I thought this prompt was a good extension for our lesson because it built on the question my kids were already thinking about but through a historical lens. This inquiry got them thinking about the importance of making items like candles, soap, and ointment in a society without so much technology and convenience.
My children thought back to what they had already learned about how Native Americans used fat, such as rubbing it on canoes and rawhide, to preserve them and make them more water resistant.
At this point, my first-grader was ready for a break, but my third-grader wanted to go a little further. I flipped to the discussion portion of the 5-8 lesson, and we went over the basic steps of the rendering process.
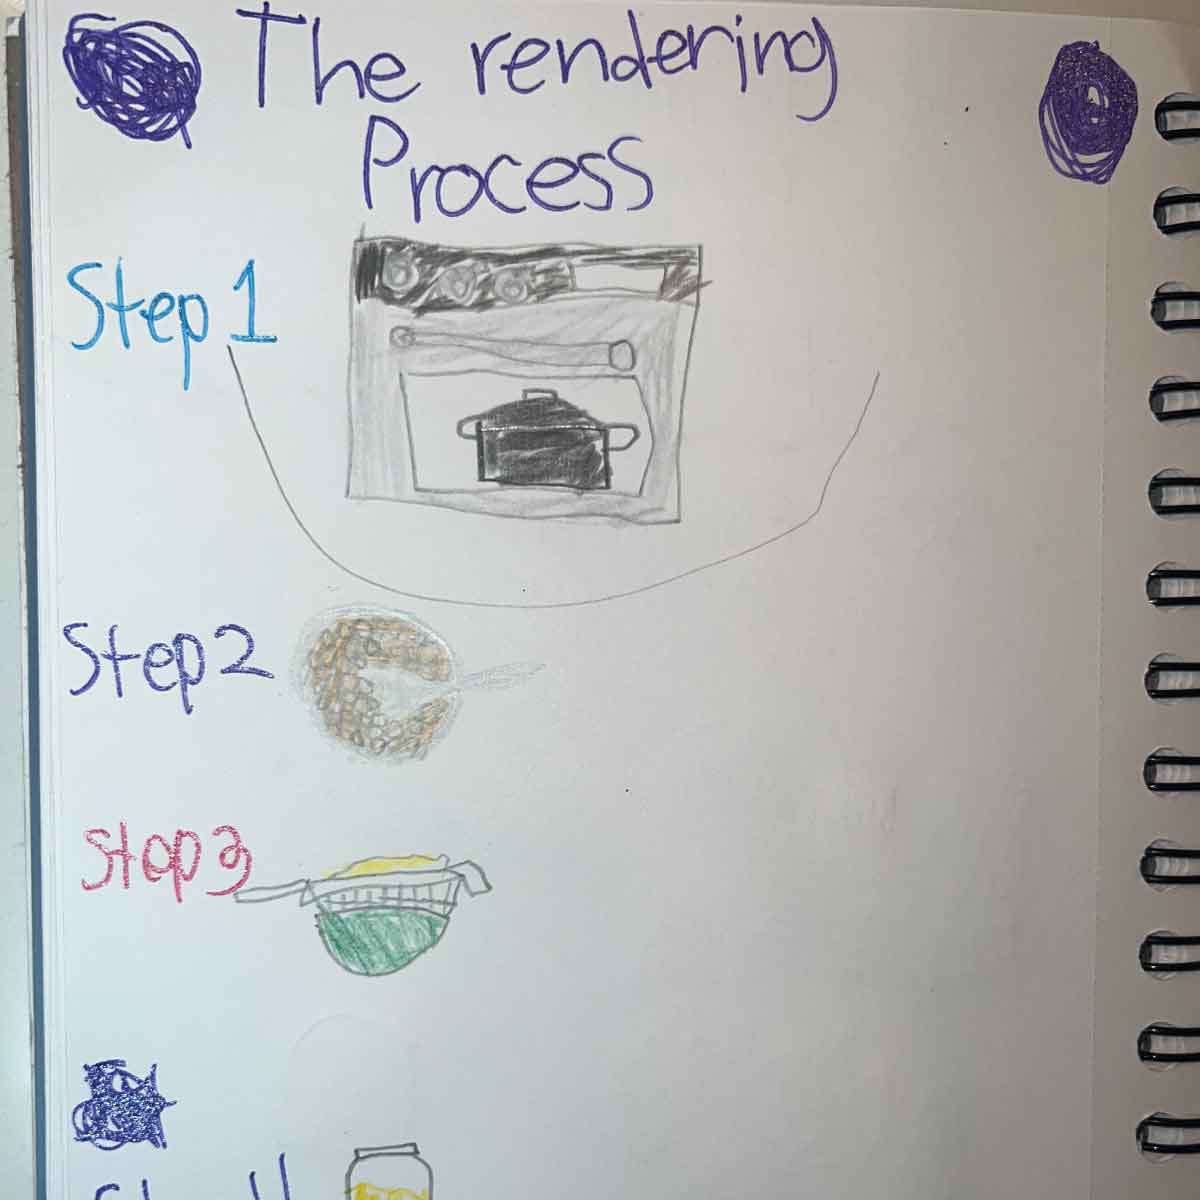
My daughter made an illustrated guide of the four steps in her kitchen journal, and then went over the steps with her younger brother. You can download her illustrated guide activity here:
Grades 9-12 Activity and Download
The 9-12 activity for the Chapter 3 lesson is a little more complex, and I didn’t touch on it with my first- and third-graders. The lesson asks high schoolers to compare and contrast the three types of fats rendered in Chapter 3 of The Modern Pioneer Cookbook, specifically lard, tallow, and schmaltz. A completed chart might look something like this:
| Lard | Tallow | Schmaltz | |
| Animal Source | Pork | Beef | Chicken |
| Type of Fat Used | Leaf fat (from around the pig’s kidneys) | Suet (from around the cow’s kidneys) | Chicken fat and skin |
| Smoke Point | 370°F (188°C) | 400°F (204°C) | 375°F (191°C) |
| Other Notes | ● Great for baking ● Great for sauteing | ● Great for frying ● Fat rendered from beef fat trimmings (not suet) is softer and doesn’t last as long | ● Used in many Eastern European Jewish recipes ● Has a mild chicken flavor ● Great spread on bread |
If you’d like a printable for this part of the 9-12 lesson, you can download one here:
Researching Fats In-Depth
Several years ago, when I was training to become a Community Food Educator at farms and markets in New York City, I read “Fats: Safer Choices for Your Frying Pan and Your Health” by Caroline Barringer. My fellow trainees and I were shocked to learn about how harmful it is to cook with most vegetable and seed oils, even if they’re organic.
Today, this topic is gaining more attention on social media, leading to a bit of controversy. If I were working with older students, I’d be excited to explore the question of fats in more depth. These are some possible research topics to look into with your high schoolers:
- Classification of fats
- SFAs: Saturated Fatty Acids
- MUFAs: Monounsaturated Fatty Acids
- PUFAs: Polyunsaturated Fatty Acids
- Benefits of eating fats and the potential harm of fat-free diets
- Fat stability and rancidity
- Industrial processing methods, including heat extraction and hydrogenation
- Safest oils to cook with
The 9-12 lesson plan has Interdisciplinary Extensions that focus on some of these topics. In particular, look under the Writing, Science, and Nutrition headings.
Recipe: Tallow
As I mentioned earlier, this recipe is not difficult. First, we gathered our suet and our Dutch oven. In Mary’s video of rendering tallow, she dumps the package of ground suet into her pot and breaks it up with a wooden spoon. I opted for the messier route!
I wanted my kids to experience the texture of the suet and practice their knife skills, so I put the suet on a cutting board and had them cut it into small pieces. It was an exce sensory experience for them to observe how crumbly the suet got. It was also a good way for my kids to exercise their knife skills. They could practice the “tip down” motion with a food that is easy to cut through and doesn’t roll around on the cutting board.
My children took turns cutting and scooping the suet into the Dutch oven. It took much longer than it would’ve if I had done it myself, but that’s okay! For these lessons, we’re not trying to be as efficient as possible; we’re trying to create learning experiences for our students.
We put the Dutch oven, full of suet, into the preheated oven and patiently waited for it to render. We checked on it periodically, noticing the change in the state of matter from solid to liquid and watching the cracklings as they darkened and floated to the surface before sinking to the bottom.
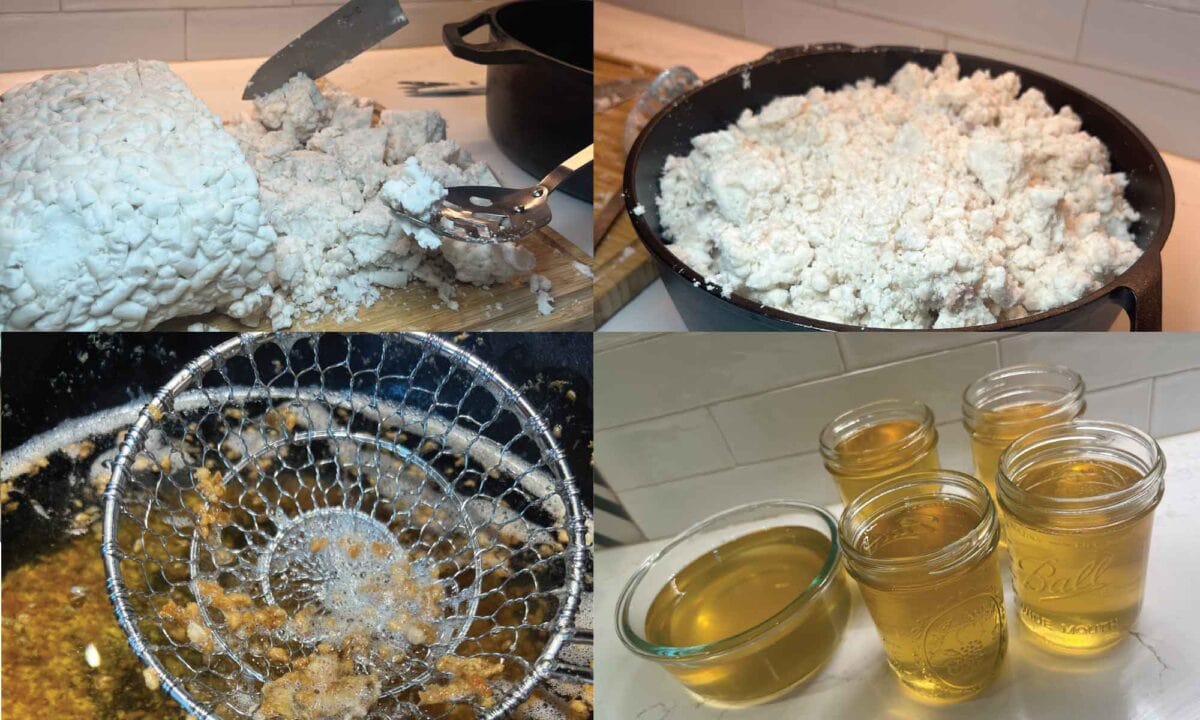
After about six hours, the fat was fully rendered. We scooped out the cracklings and strained the tallow through a flour-sack towel and mesh strainer. Instead of picking up the heavy Dutch oven, I had my children use a ladle to scoop most of the tallow into the strainer and bowl.
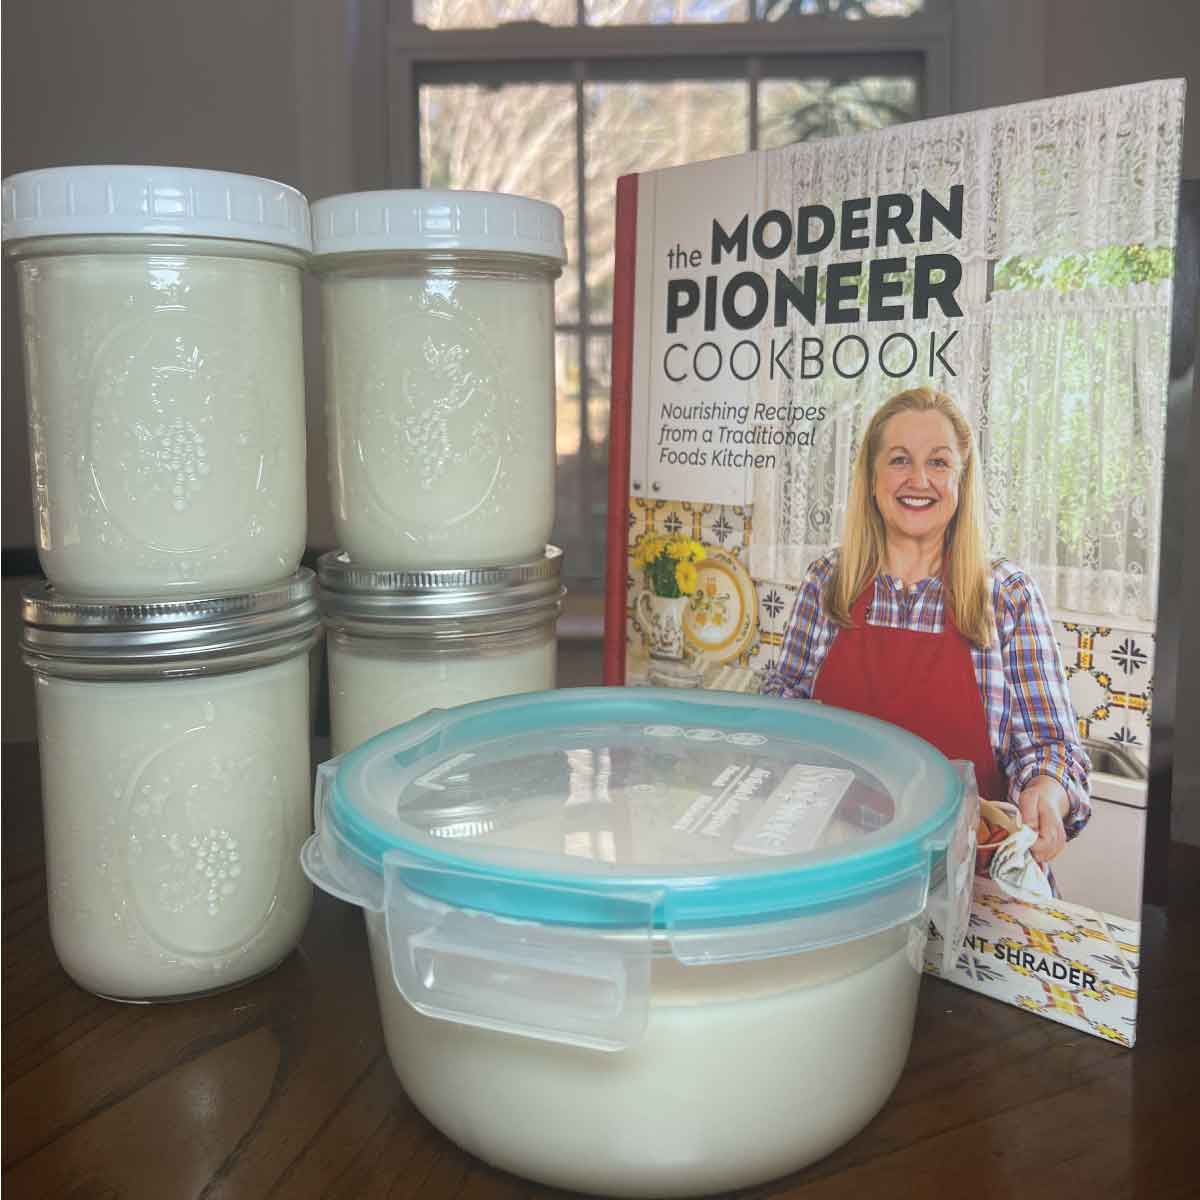
We filled four 16-ounce jars as well as a medium-sized glass container. Mary suggests using shallow storage containers for tallow because it’s so solid at room temperature that it can be difficult to scoop out of tall jars. Next time, I’d like to invest in a set of squat jars that would be good for this purpose.
Tasting
Although my children have had chicharrones before, no one in our immediate family had ever tasted beef cracklings. We found them to be softer and chewier than we expected, and we were a bit disappointed. At first I thought we removed them too early, but I wanted to heed the recipe’s warning about not burning them.
After reviewing Mary’s video on rendering tallow, I realized that we should have put the cracklings back in the oven to get a little crispier! I think we would have enjoyed them more if we had done that. But no worries! These lessons are learning experiences, even for the adults. Next time we render tallow, we’ll put the cracklings back in the oven before snacking on them.
Once the tallow was fully cooled, I let my children taste a tiny bit of it. When I asked them to describe it, they just said, “It tastes like oil.” So, if you’re worried about tallow having a “beefy” flavor, my children found it to be pretty neutral-tasting. I told them that tallow is delicious for deep-frying foods such as french fries and that we’d be using our tallow to make Deep-Fried Beef Liver Nuggets with Fermented Ketchup for the Chapter 9 lesson.
Final Thoughts
Using my experience facilitating this lesson, here are my ultimate takeaways for anyone getting ready for Chapter 3:
- Like the bone broth we made in the Lesson 2 Curriculum Experience, rendered fat can take a while. Both the lard and the tallow will take at least 5-6 hours. The schmaltz, on the other hand, renders more quickly—in under an hour. Therefore, keep your students’ schedules and time constraints in mind as you choose one of the three fat rendering recipes.
- If you make tallow, consider using some of it to make a rich skin moisturizer. Simply add your favorite oils (such as coconut, olive, and essential oils), cool the mixture, and whip it. Mary has a superb recipe for tallow balm.
- If possible, plan to use shallow glass storage containers or squat jars to store your tallow. It will be easier to scoop it out once the tallow has hardened.
- Consider watching Mary’s videos with your students before getting started. It can be helpful to see exactly what the process will look like in advance.