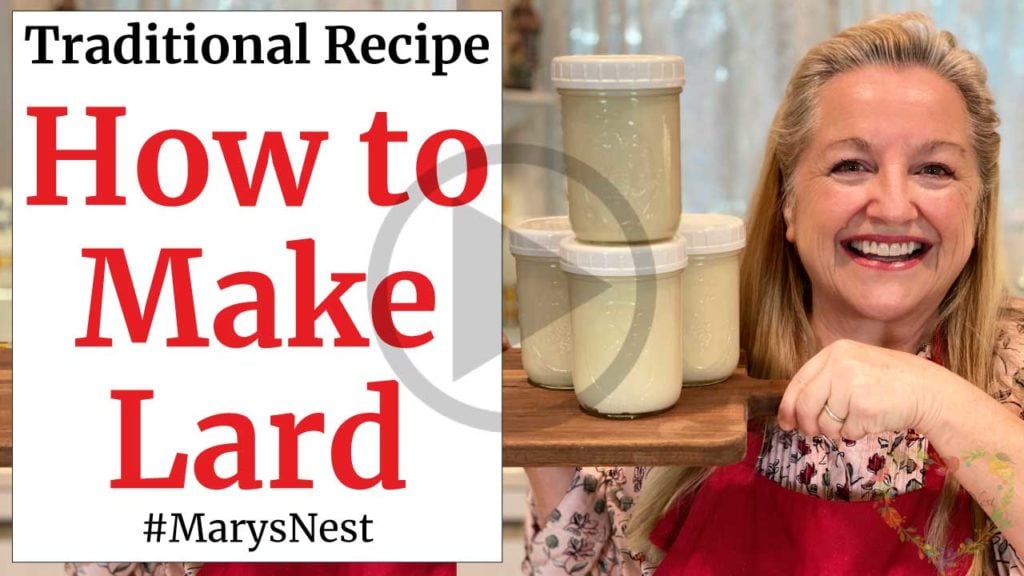
Lard is regaining its acclaim as a healthy fat for cooking. I’ll show you how to easily make lard by rendering pork fat, but not just any way. I’ll show you the right way with the tips I share in my recipe video and this recipe post.
Affiliates note: As an Amazon Associate I earn from qualifying purchases. My content may contain affiliate links to products and services. If you click through and make a purchase, I’ll receive a small commission. It does not affect the price you pay.
Table of Contents
- What Are the Benefits of Lard?
- Tips for Making Lard the Right Way
- The Modern Pioneer Cookbook
- Three Ways to Render Animal Fat
- How to Use Rendered Animal Fats
- How is Lard Used in Baking?
- Making Creams from Animal Fat
- More Pork Recipes
- Looking for Pork Fat or Beef Suet?
- Download Your Free 36-Page Pantry List
- Kitchen Academy Videos
- How to Render Pork Fat to Make Lard Recipe
- Shop for items used in this blog post or video
What Are the Benefits of Lard?
First things first. You might be wondering, “Why would I ever want to render pork fat to make lard? I heard it was so bad for us!” Unfortunately, that is a misconception that many folks have.
But truth be told, lard has been vindicated. This is terrific news for those of us who are traditional cooks. Lard actually contains nutrients that are beneficial to our health, including lots of vitamins.
Here are just a few of the surprising benefits of lard:
- High in cancer-fighting Vitamin D.
- Contains choline that may help to stave off Alzheimer’s and liver disease.
- Rich in monounsaturated fats that may lower bad cholesterol while maintaining good cholesterol, thereby lowering heart disease.
Scientists have extensively studied the vitamins in lard. As you’ll discover from the following research links, you’ll learn more about the health benefits of foods rich in Vitamin D, Choline, and Monounsaturated Fatty Acids:
- Natural Vitamin D Content in Animal Products
- The Role of Vitamin D in Cancer Protection
- Choline as a Prevention for Alzheimer’s Disease
- Choline: An Essential Nutrient for Public Health (including liver health)
- Mayo Clinic Nutrition and Healthy Eating – The Benefits of Monounsaturated Fatty Acids
Tips for Making Lard the Right Way
Now that we’ve cleared up any misconceptions about lard, let’s talk about a few tips for how to best render pork fat to make lard.
When it comes to rendering animal fat, including pork fat, there are two essential tips you need to follow to make sure that your final product comes out perfect every time.
Tip Number 1: Never Add Water
First, you never want to add water when rendering animal fat. It’s completely unnecessary.
You may think that the water will help your fat from burning as it is rendering, but if you are worried about burning, that means that your oven temperature is too high.
Tip Number 2: Keep Your Oven Temperature Low
Second, make sure you keep your oven temperature very low when you are making lard or rendering another animal fat. This is a low and slow process. You want to make sure that you never set your oven temperature higher than 225°F.

Order YOUR COPY Now!
The Modern Pioneer Cookbook
Seasonal ingredients, traditional techniques, and nourishing recipes. Over 85 traditional, from-scratch recipes! Discover for yourself how you can use simple ingredients and traditional techniques to cook the modern pioneer way.
Three Ways to Render Animal Fat
There are three ways to render animal fat:
- Stovetop Method
- Dutch Oven Method
- Stockpot and Colander Method
In two previous videos, I showed you:
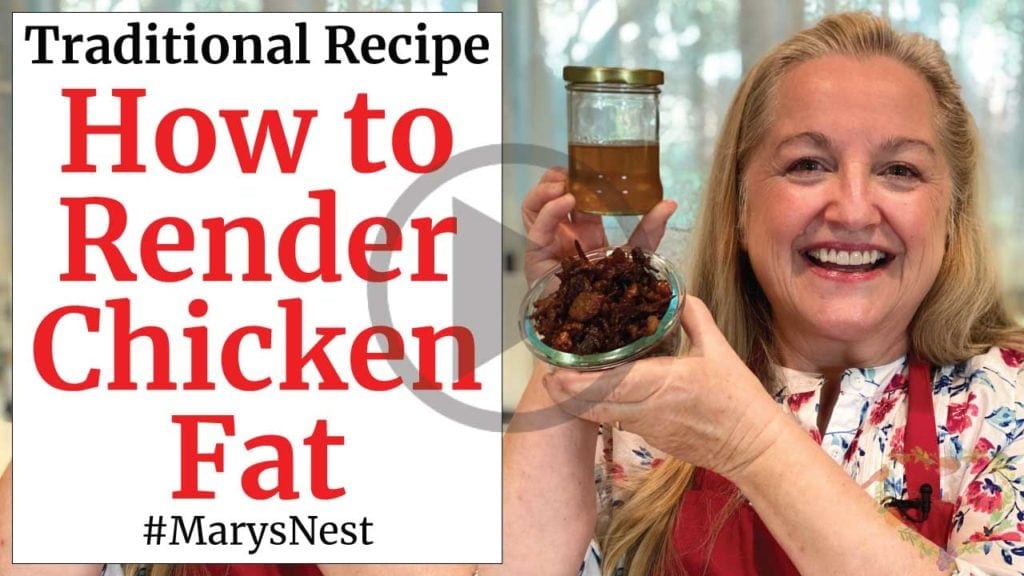
- How to render chicken fat to make Schmaltz using the Stovetop method.
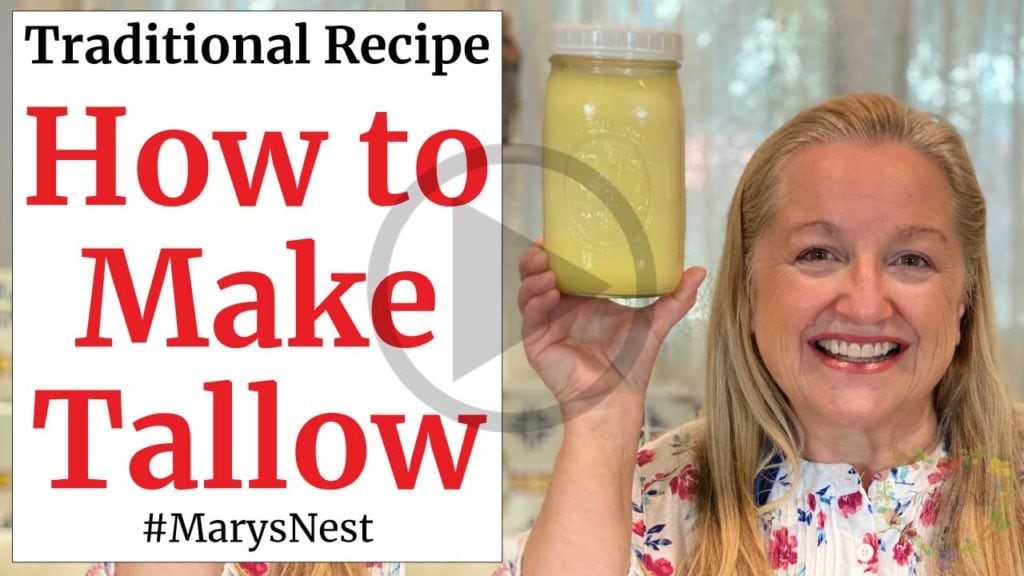
- How to render suet to make tallow using the Dutch Oven method. (Suet is the beef fat from around the kidneys of the cow.)
Learn more about these two methods in the following recipe videos.
Rendering Fat with the Stockpot and Colander Method
Both of these methods are relatively easy, but my favorite way to render animal fat is by using a stockpot and a colander or mesh strainer. This method requires the least amount of straining to remove the cracklins’ from your liquid, which means less work. So I’m all for that!
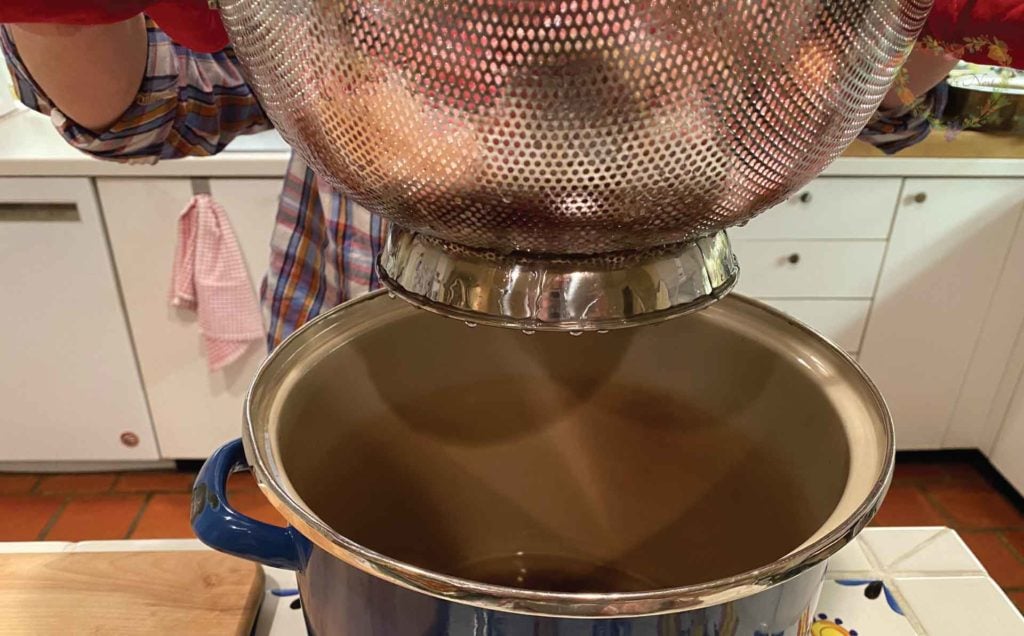
Be sure to watch my recipe video for making lard where I walk you through the entire process of rending pork fat using a stockpot and a colander. The process really couldn’t be easier:
- Place the chopped pork fat into the colander.
- Place the colander over the stockpot.
- Pop your colander and stockpot into your oven.
- In about 6 hours, your stockpot will contain beautifully melted lard, and the cracklings will remain in the colander.
Be sure to print out the full recipe for all the ingredients and directions for making lard.
How to Use Rendered Animal Fats
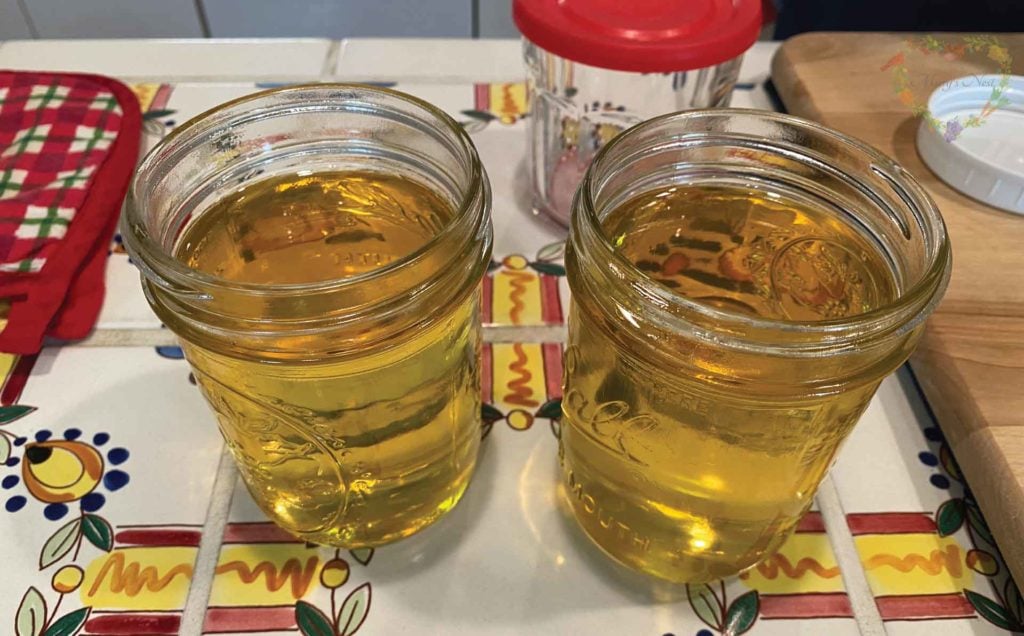
Animal fats include tallow, lard, or Schmaltz. Once you render your animal fat, you’ll be ready to cook with it. Tallow has a very high smoke point, which is the temperature you can heat your fat without it becoming damaged. Tallow is an excellent fat for deep frying.
If you like apple fritters, be sure to try the recipe in the video below where I fry the fritters in tallow—just like grandma did!

Lard and Schmaltz have a slightly lower smoke point, but they are well-suited for pan-frying and sautéing. When it comes to making chopped chicken livers, Schmaltz is a must-have ingredient!

How is Lard Used in Baking?
For the traditional cook, there is one universal truth: lard makes the best pie crust! 😉 So if you have been using the solid vegetable shortening in a can to achieve a beautiful flaky pie crust, throw out that processed fat right now and replace it with lard!
A mixture of lard and butter will give you the texture and flavor you want in the perfect pie crust. And if you can find pork leaf fat so that you can render it to make leaf lard—all the better.
What’s So Special About Leaf Lard?
Bakers prize leaf lard because it is the fat that comes from around the kidney of the pig, as opposed to the back of the pig. This pork leaf fat creates a beautifully pure lard with no pork flavor or aroma, making it perfect for baking your favorite sweet treats.
But don’t worry if you can’t find pork leaf fat. Even the back fat from the pig can make excellent lard. It’s always perfect for cooking or baking savory foods, and it can work well in sweet baked goods that have stronger flavors like cinnamon and chocolate.
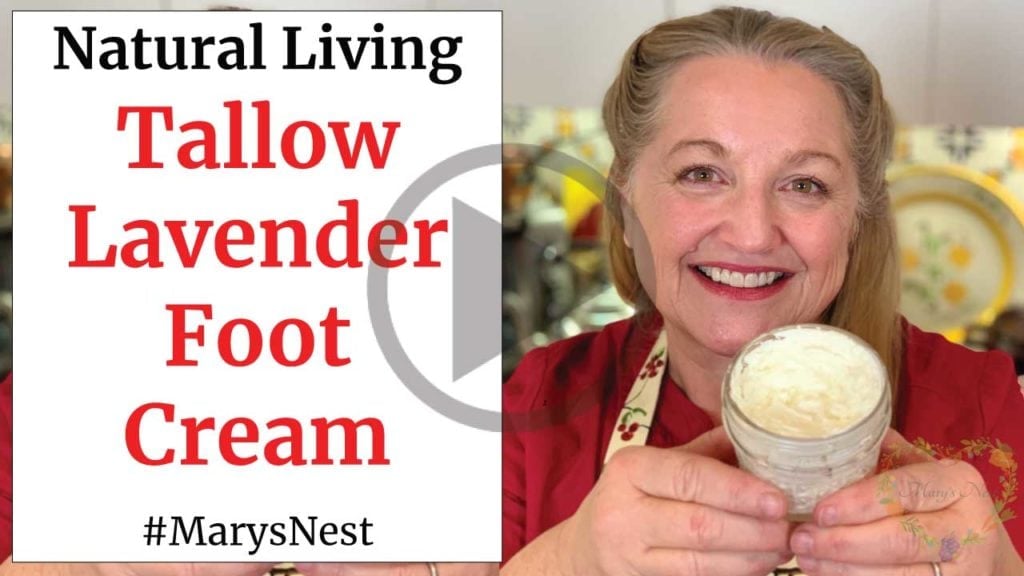
Making Creams from Animal Fat
Even though our focus here is on lard, I really can’t finish this blog post without filling you in on a little secret about tallow. Now, I know that making creams from animal fat may be a stretch for some of you, but trust me. A face balm or a foot balm made from tallow is going to be one of the best things you can ever do for your skin.
I’m in my mid-60s, and I swear by it! You will never have to buy a fancy, high-priced beauty cream again! Tallow is great for nourishing the skin on your face and keeping wrinkles at bay. And NO, you will not smell like beef! 😊
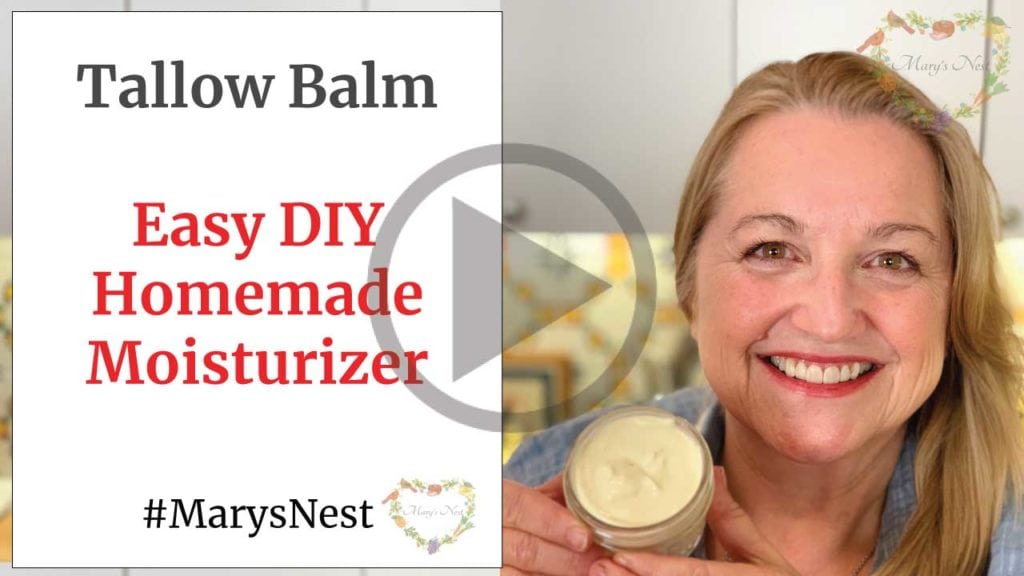
And if you suffer from cracked heels, a few nights of using tallow balm on your feet will have you waking up to smooth heels! Just remember to wear socks to bed! This is a very rich cream, and you only need a small dollop.
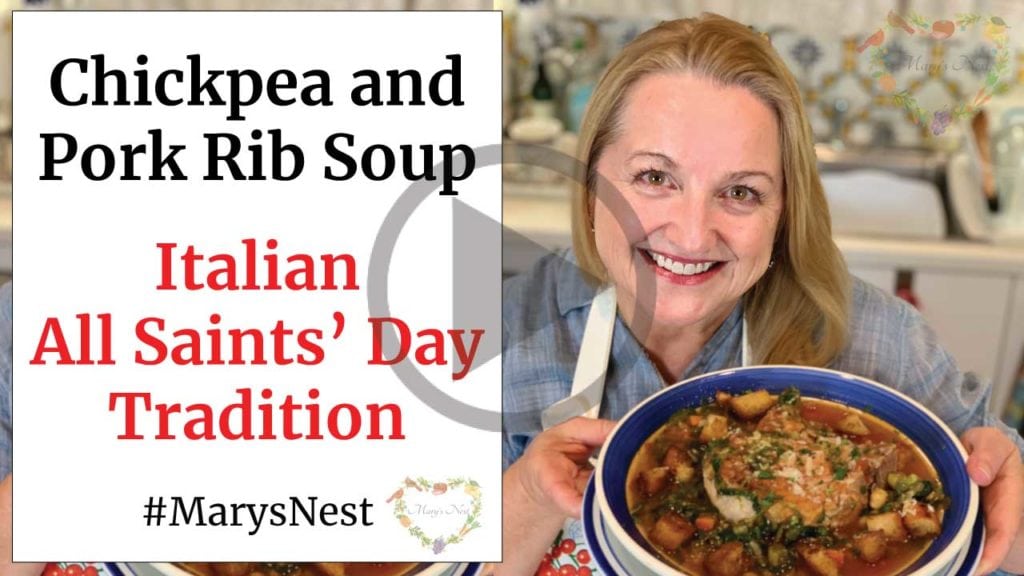
More Pork Recipes
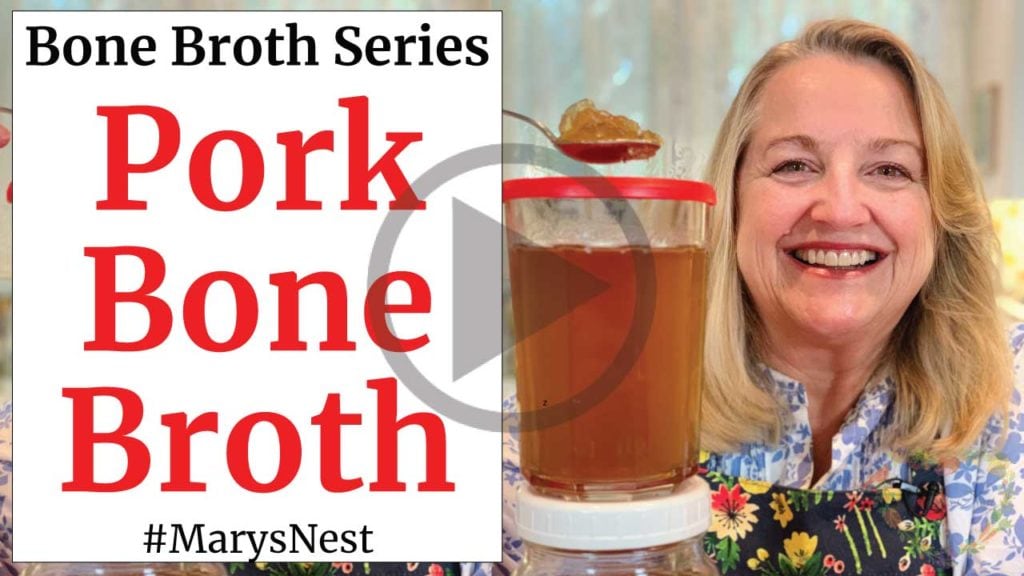
Learn how to make pork bone broth in a slow cooker for a nutritional powerhouse of collagen to nourish your skin, nails, hair, and gut health. Plus, this recipe makes great Ramen Broth too!
If you have pork ribs or pork chops, try these recipes for warm and delicious meals.

Looking for Pork Fat or Beef Suet?
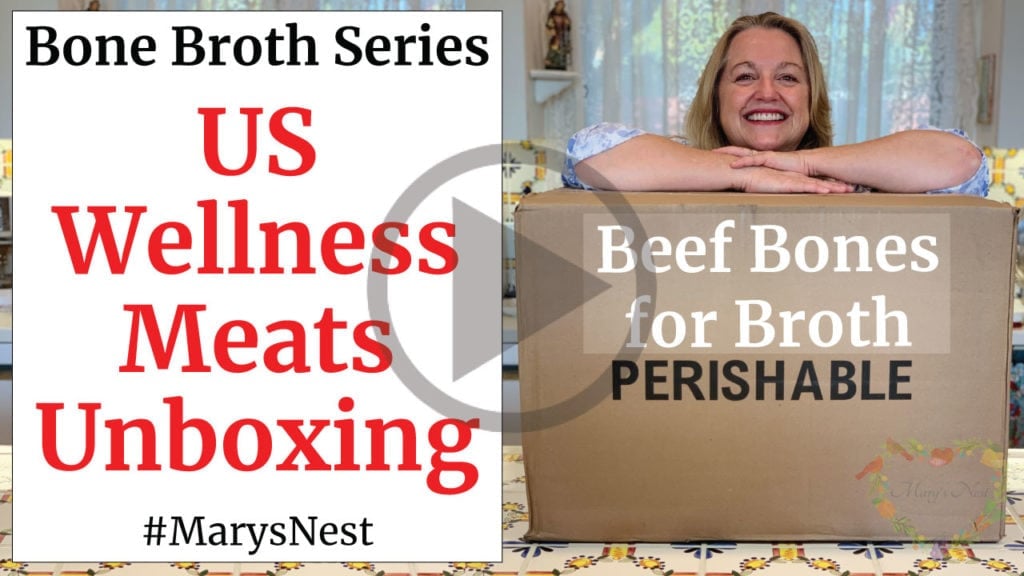
If you can’t find pork fat (either back fat or leaf fat) or beef suet at your neighborhood supermarket or farmer’s market, check out US Wellness Meats for all of these nutrient-rich fats that you can render at home to make lard and tallow.
And if you are not up for rendering your own animal fat, US Wellness Meats will come to your rescue. They sell lard, leaf lard, and tallow already rendered for you! (See the list below for product links.)
- Use my one-time discount code MARYNEST and my link to save 15% off regular-priced items on your US Wellness Meats order. You can shop for a variety of products, including:
This post is not sponsored. I’m a long-time customer of US Wellness Meats because I have always been impressed by the quality of their products. Check out my US Wellness Meats unboxing video to see the types of products you can get, including bones for beef bone broth!
Download Your Free 36-Page Pantry List
Incorporating rendered animal fats into our cooking is a hallmark of a traditional foods kitchen. If you are on your journey transitioning from a processed foods kitchen to a traditional foods kitchen, and you want to toss out that can of solid vegetable shortening and restock your pantry, be sure to download my free 36-page Traditional Foods Pantry List.
This extensive pantry list is not just a list of foods; it is full of links to recipe videos, helpful articles, and more. You will find this eBook to be the most comprehensive list of the traditional foods you can make and purchase to stock your pantry.

Kitchen Academy Videos
Are you looking for more traditional foods videos? If so, I invite you to join the Traditional Foods Kitchen Academy. Members of this optional paid YouTube community get access to exclusive videos, live streams, and other members-only perks. Plus, your YouTube comments include a special members-only badge.
In the following members-only video, I talk about the Importance of Cooking with Traditional Fats: Animal Fats.

Stay in Touch with Mary’s Nest
- Subscribe to My YouTube Channel for Traditional Foods Videos (Free) - When you subscribe, be sure to click on the notification bell that will let you know each time I upload a new video.
- Subscribe to Mary’s Traditional Foods Newsletter (Free) - Get a free 36-page eBook for signing up: How to Stock Your Essential Traditional Foods Four-Corners Pantry.
- Join the Traditional Foods Kitchen Academy - For more detailed videos and exclusive members-only perks, join my YouTube membership community.
- Order The Modern Pioneer Cookbook - Get a hardcover book of Mary's nourishing recipes from a Traditional Foods Kitchen. This bestselling cookbook is published by Penguin Random House with their DK imprint.
- Order The Modern Pioneer Pantry - Get Mary's latest hardcover cookbook about preserving food and making delicious meals from your Four Corners Pantry. Mary's second cookbook is also published by Penguin Random House.
I look forward to having you join me in my Texas Hill Country Kitchen!
I’d like to receive more tips and recipes from Mary’s Nest.
How to Render Pork Fat to Make Lard
Equipment
- Large stockpot (I used a 10-quart stockpot)
- Colander or mesh strainer with handles
- Large glass bowl
- 4 pint-sized jars with lids
Ingredients
- 5 pounds Pork fat, cut into 1" cubes or run through a meat grinder You can use either pork back fat or pork leaf fat
Instructions
- Preheat the oven to 200°F.
- Place pork fat into a colander or mesh strainer.
- Place colander or mesh strainer over a large stockpot, preferably a 10-quart tall stockpot. (You need a tall stockpot because it is important that the colander or mesh strainer does not touch the rendered lard as it drips into the stockpot from the colander or mesh strainer.)
- Place the stockpot with the colander or mesh strainer filled with the pork fat into the oven.
- Allow the pork fat to begin to render for one hour.
- At one hour, open the oven door and check on the pork fat. Using potholders, carefully lift the colander or mesh strainer while keeping it over the stockpot. You should see that the pork fat has begun rendering, and the lard should be dripping down into the stockpot. (See video.)
- Using potholders, carefully lower the colander or mesh strainer back on top of the stockpot and close the oven door.
- Raise the oven temperature to 225°F and allow the pork fat to continue to render for at least five hours.
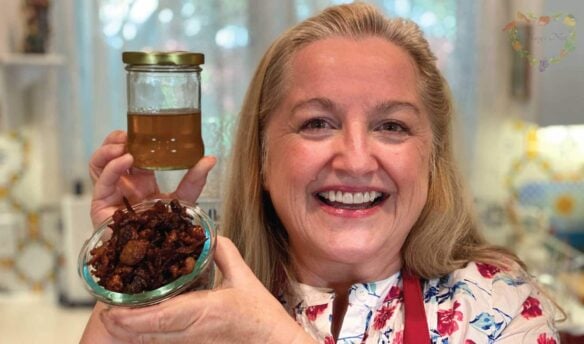
- After five hours, open the oven door and look at what remains in the colander or mesh strainer. These are pork cracklings. They are bits and pieces of meat and blood that do not render into lard. If they appear brown and crisp, you have successfully rendered all the lard from your pork fat.
- Turn off the oven, and using potholders, carefully transfer the stockpot with the colander or mesh strainer to a heatproof surface.
- Transfer the cracklings from the colander or mesh strainer to a paper-towel-lined plate and allow them to cool slightly. These are best enjoyed when freshly made as they will become soggy if refrigerated.
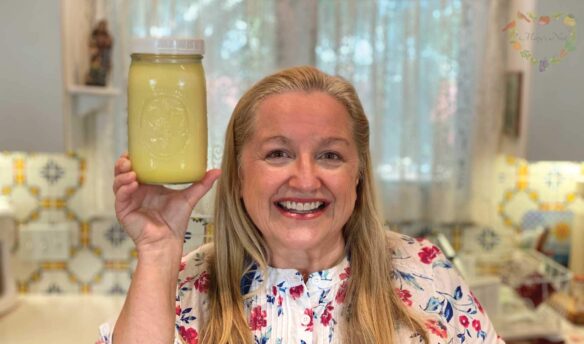
- Next, using potholders, pick up the stockpot by its handles and pour the lard through a mesh strainer placed over a bowl. (You do not need to line the mesh strainer with a cheesecloth or flour sack towel.) This extra step ensures that you will remove any small bits of cracklings that may have leached into the lard.
- Using a ladle, transfer the warm lard into clean pint-sized jars. Allow a minimum of one inch of headspace from the top of the jar to allow for expansion if you decide to freeze the lard.
- Allow the warm lard to cool to room temperature, and then place a lid on each jar and store them in the refrigerator or freezer. The lard will stay fresh in the refrigerator for 1 year and 2 years in the freezer. (For storing lard at room temperature, see the Recipe Notes below.)
Video
Notes
Shop for items used in this blog post or video
Favorite Kitchen Supplies
- Favorite Aprons
- Spice Grinder
- Countertop Burner (On my kitchen island in many recipe videos.)
- Handheld Vacuum Sealing System
- Vacuum Lids
- Whisk
- Silica Gel Packets (Helps keep moisture from building up in your mix)
- Cast Iron Dutch Oven
- 8-Quart Slow-Cooker
- Fat Separator (Clever kitchen device to help you decant bone broth)
- Flour Sack Towels
- pH Strips (Helps you check on the acidity of your vinegar)
Amazon Shop and Shopping Guide
- Visit Mary’s Nest Amazon Shop
- Visit my Shopping Guide page
Get up to 15% off for stocking your Traditional Foods Pantry and equipping your Modern Pioneer Kitchen, including discounts from US Wellness Meats, Farmhouse Teas, Backwoods Home, Masontops, Cultures for Health, Survival Garden Seeds, Redmond Real Salt, Mother Earth News, and More!
Recommended Reading
- The Modern Pioneer Cookbook
- Nourishing Traditions
- Fat: An Appreciation of a Misunderstood Ingredient
- Books by Rosemary Gladstar:
Could this be made with bacon fat?
Hi Kathi,
Thanks for your comment. Your bacon fat, or bacon grease as it is often referred, has already been rendered. You can strain the bits and bobs out to have a type of lard you can use, but it’ll have some of the bacon’s odor and flavor.
If you render back fat from the pig, you’ll also have a type of lard that will be slightly more pure than the bacon grease, however, it too will have a pork aroma.
If you want the type of lard that has no odor, you want to find pork leaf fat. This fat surrounds the kidneys of the pig. You can render this fat into leaf lard, which is the type of lard that’s coveted by bakers, as it makes wonderful and flaky pie crusts.
However, if you want to bake with fat that has been rendered from bacon or pig back fat, you can use it when making chocolate baked goods. The slightly smokey flavor or pork flavor tends to blend well with chocolate.
Thanks again for being on this traditional foods journey with me!
Love and God bless,
Mary