Chapter 7 of the “Modern Pioneer Cookbook Curriculum Lesson Experience” introduces students to the engaging processes of soaking and sprouting, combining hands-on activities with lessons in science, nutrition, and sustainability. Younger students observe beans sprouting for planting, while older students explore advanced topics like nutrient absorption and food digestion. With activities like preparing soaked nuts, fermented oat milk, and sprouted grains, students of all ages gain practical skills and an appreciation for the value of planning, patience, and reducing food waste. (This lesson experience includes three free activity downloads!)
Affiliates note: As an Amazon Associate I earn from qualifying purchases. My content may contain affiliate links to products and services. If you click through and make a purchase, I’ll receive a small commission. It does not affect the price you pay.
Table of Contents
About The Modern Pioneer Cookbook Curriculum Lesson Experience Series
Hi! My name is Jamie O’Hara, and I’m a homeschooling mom, curriculum writer, and former classroom teacher. I recently had the pleasure of helping Mary Bryant Shrader create The Modern Pioneer Cookbook Curriculum, which includes extensive lesson plans for grades K-12 to complement Mary’s bestselling book, The Modern Pioneer Cookbook.
- Get The Modern Pioneer Cookbook Curriculum (Free and over 250 pages!)
- Get The Modern Pioneer Cookbook
- Read The Modern Pioneer Cookbook Curriculum Lesson Experience Article Series
Now, I’m excited to embark on a journey of experiencing these lessons with my own children, ages 6 and 8 (and sometimes my 3-year-old, too). I’ll be facilitating a total of 14 lessons, one for each chapter in The Modern Pioneer Cookbook Curriculum. As we go through the curriculum, I’ll document our experience to share with all of you!
Getting Started with Fermenting
Chapter 7 of The Modern Pioneer Cookbook guides you through soaking and sprouting legumes, nuts, and grains. The table below summarizes the recipes, principles, and learning objectives for each lesson.
| Grade Band | Recipe | Traditional Kitchen Principles | Learning Goals (Students will…) |
| K-4 | How to Sprout Beans, Lentils, and Whole Grains | 1. Homemade food 2. Low-waste kitchens | ● Describe the process of sprouting ● Discuss the benefits of homemade sprouted foods ● Prepare sprouted beans, lentils, or whole grains, following a recipe |
| 5-8 | How to Soak and Dry Nuts for Better Digestion | 3. Real, whole foods 4. Seasonal eating | ● Discuss the practice of soaking and drying nuts ● Explain how to properly prepare nuts ● Prepare soaked and dried nuts, following a recipe |
| 9-12 | How to Make Soaked Oat Groats and Traditional Fermented Oat “Milk” | 5. Maximizing nutritional value 6. Preservation for self-sufficiency | ● Discuss the importance of reducing phytic acid for maximizing the nutritional value of grains, seeds, and legumes ● Describe different methods of reducing phytic acid in grains, seeds, and legumes ● Prepare soaked oat porridge and fermented oat “milk,” following a recipe |
All three recipes require hours of soaking time. The good news is that you don’t have to do anything while your food is soaking! Overall, these recipes are fairly simple. The K-4 recipe is the easiest and doesn’t require any special equipment. The 5-8 recipe uses a dehydrator, but an oven is an alternative if you can set it to a low temperature. The 9-12 recipe requires a blender. As with previous recipes that require time, keep your family’s schedule in mind so your students will be available to follow up after the soaking stage.
Planning for Students of Different Ages
Students of different ages can work together on any of the recipes in Chapter 7. The K-4 lesson activity is also appropriate for all ages, as it involves sprouting beans for planting. If older students join in on the K-4 activity, you can use it as an opportunity to discuss more advanced science concepts, like photosynthesis.
The 5-8 and 9-12 lesson activities and discussions will likely be too advanced for K-4 students. However, high schoolers will be able to complete the middle school lesson, and many middle schoolers will also be able to work on the high school lesson. As always, previewing each lesson beforehand is a great idea to plan for each unique student.
Activity: Sprouting Beans
For the K-4 lesson, I recommend starting the activity before the discussion. The activity takes several days as students observe the sprouting process, so I think it’s best to get things in motion right away.
To get started, we collected our supplies:
- A plastic sandwich bag
- Paper towels
- Pinto beans
- Tape
Note that you can use any beans for this activity, such as white, black, kidney, lima, or mung beans. We also used a spray bottle of water, but you don’t need one; you can use a bowl of water or running water at the sink. We also pulled a few books off our shelf with illustrations of sprouting seeds.
Before preparing the sprouting bags, I asked my children to share their experiences with planting seeds. Next, I asked them to describe how seeds turn into fully grown plants. We talked about how water causes the seed to expand and push open its outer covering or its seed coat. The first thing that pops out is the root, then the shoot, where leaves will form. We opened our books and examined the pictures. This is also a good opportunity to go over the different parts of a plant (roots, stems, leaves, flowers, and fruit), as well as what plants need to grow (water, light, soil, and air).
I shared the following definition with my children and had them write it down in their kitchen journals:
- Sprout: to start to grow; to germinate
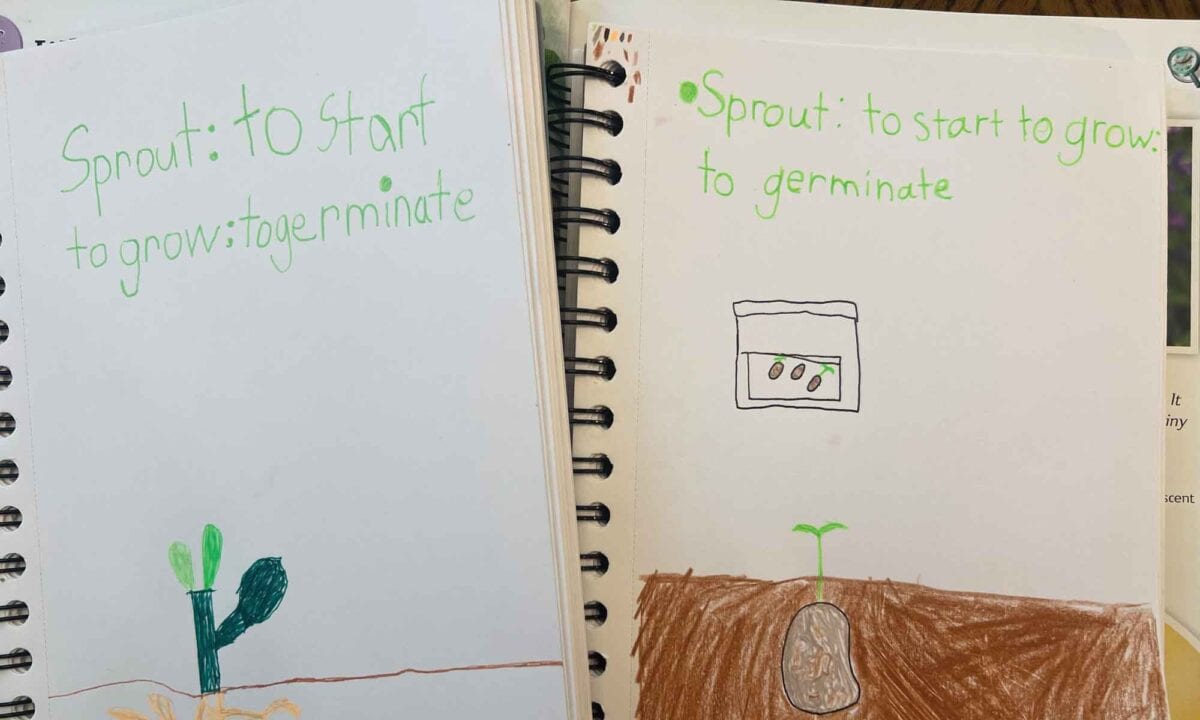
Note: You can learn how to make your own kitchen journal as part of the first curriculum experience: Chapter 1: The Modern Pioneer.
Sprouting Beans on the Window
At this point, I gave each of my children a zip-top sandwich bag and a paper towel. They folded the paper towel neatly and dampened it using the spray bottle of water. Then, they each placed three beans inside the bag. Your beans should be sitting on the paper towel. If they fall to the bottom of the bag, you can staple the bag horizontally across the middle. This allows the beans to sit in the middle of the paper towel.
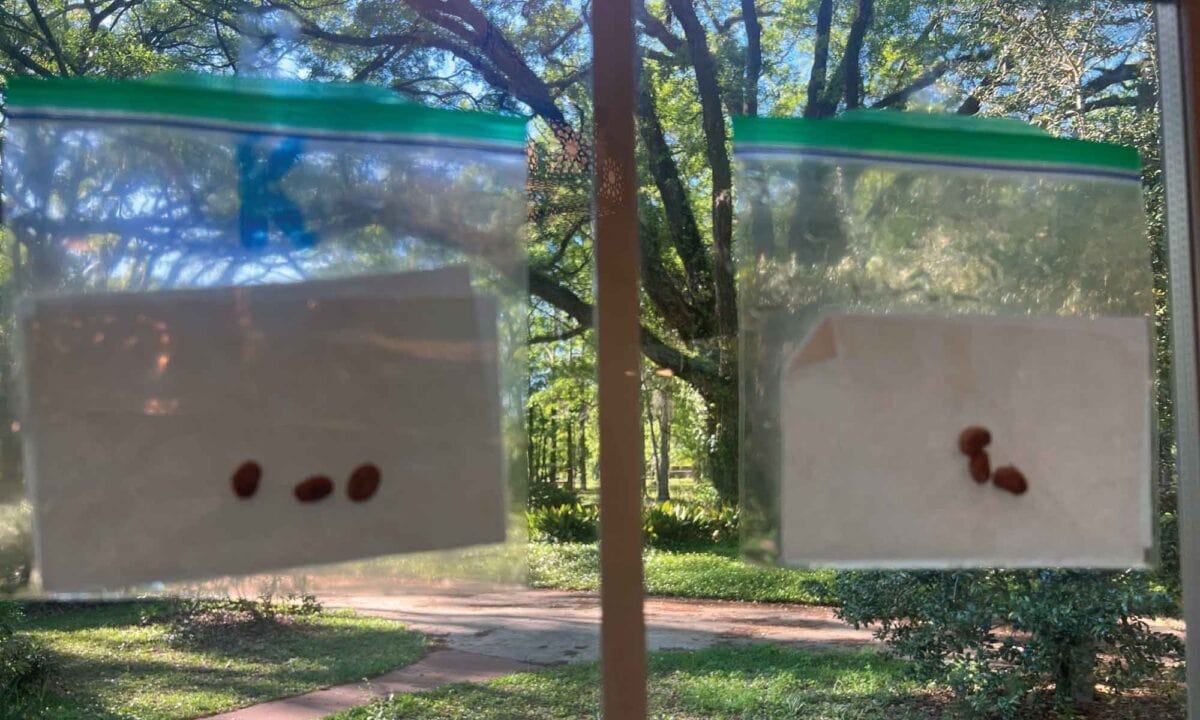
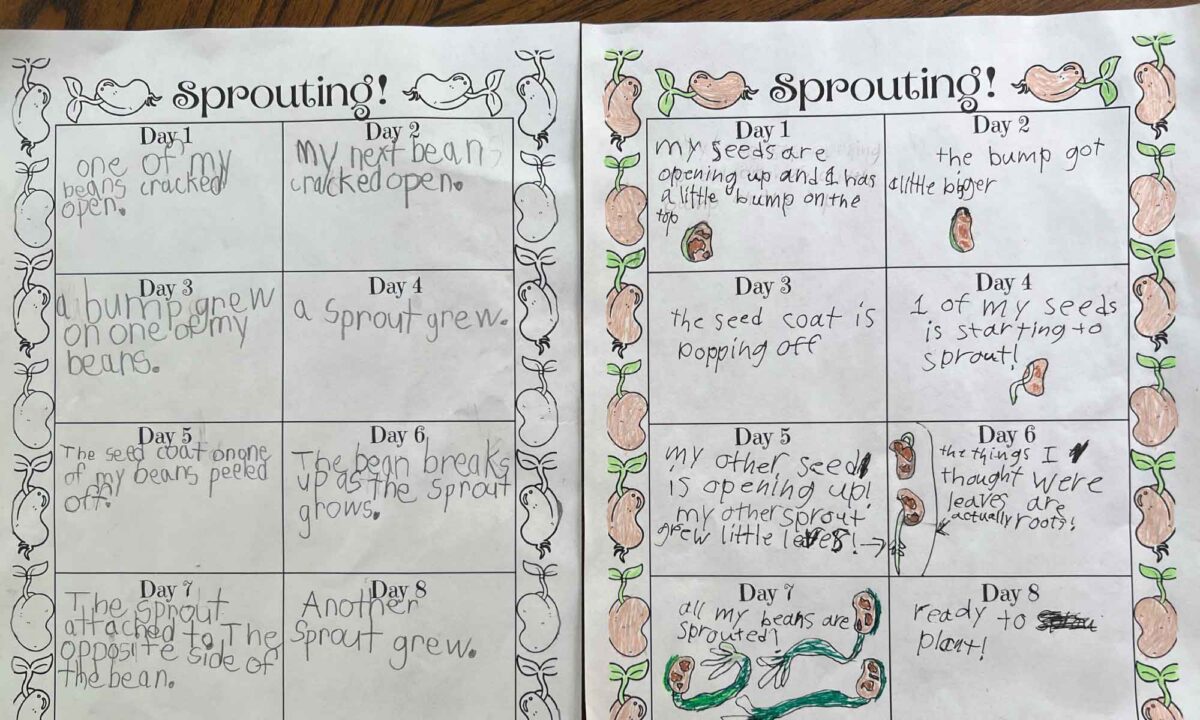
Next, my children taped their bags to the window. (Choose a window that gets moderate sun.) I explained that we would be watching the beans sprout over the next few days. My kids loved checking on their sprouts every day. They enjoyed comparing how the different beans were doing. They pointed out that my daughter’s beans first had long, “spider-like” roots, while my son’s beans grew thick, green shoots first.
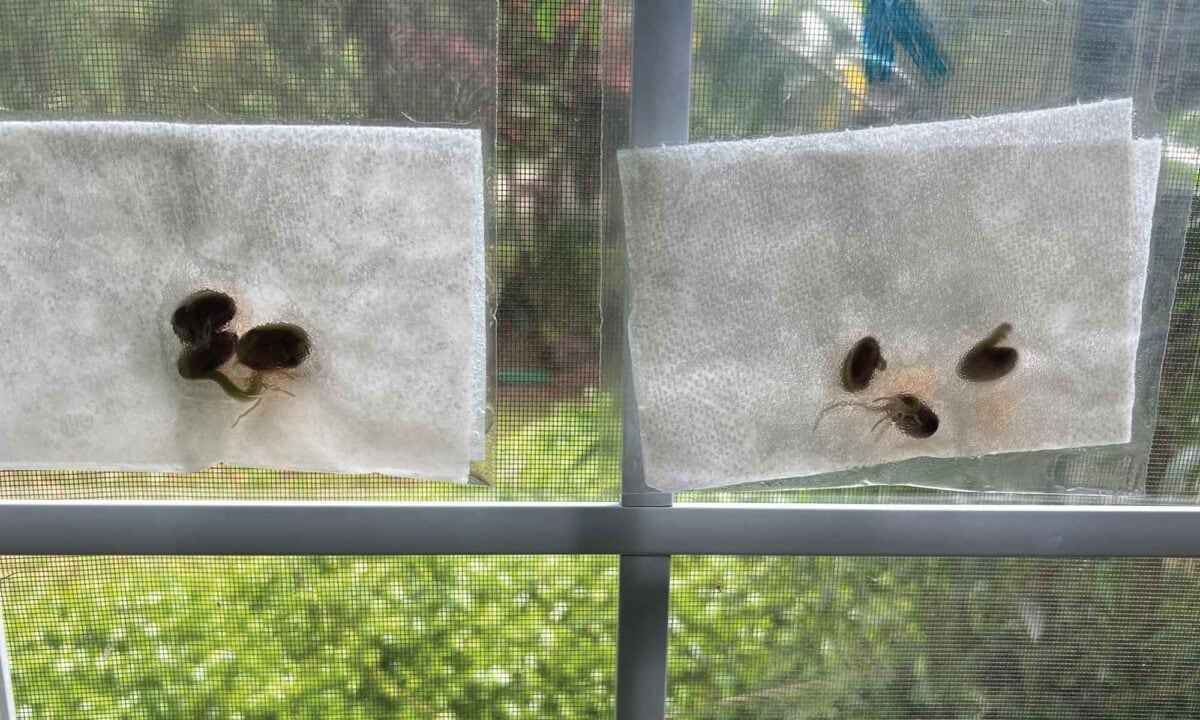
I made a worksheet my children could use to keep track of their bean sprouts’ progress. Alternatively, your students can create a mini-book tracking their sprouting progress. (Have your students cut out the pages along the dotted lines. Then, staple the pages together.) Or, your students can use their kitchen journals to record their observations.
- Download the Bean Sprouts Progress Worksheet (PDF file)
- Download the Printable Mini-Book Template (PDF file)
Activity: Tips
Your students can choose to draw pictures or write descriptions of their sprouts, and you may want to encourage them to do both. My daughter used words and images, while my son only used words.
One thing I would have done differently was make sure my children spaced out their beans evenly in the bag. My son’s were a little crowded, so his beans took a bit longer to sprout than my daughters.
Overall, this was a fun activity. After a few days, the sprouts were ready to plant!
Discussion: Sprouted Food
Once we taped our bags of beans to the window, we sat down for our discussion. I started by reminding my children that we were sprouting the beans on the window for planting but that we could also sprout food to be eaten. We talked about the sprouted bread and bean sprouts my kids have tried before. (If your students have never eaten sprouted food, ask them to imagine its taste and/or texture.)
Following the discussion guide in the lesson plan, I asked my children why they think people might want to sprout foods like beans and grains. They said, “It’s healthier,” but didn’t exactly know why. I explained that beans, lentils, and grains can be difficult for some people to digest. (This is a good opportunity to mention terms like “gluten-free” if your students know anyone who avoids gluten.) I then explained that sprouting these foods makes them easier to digest. Also, when we sprout foods, we can better absorb their vitamins and minerals.
To conclude the discussion, we shifted to the themes of the K-4 lessons: homemade food and low-waste kitchens. We talked about sprouting dry beans at home rather than buying canned beans from the store. We also discussed the idea of “wasting” the nutritional value of legumes and grains when we eat them without sprouting first. In other words, if we can’t digest the food or absorb its vitamins and minerals, it’s a form of waste. This was an interesting conversation because it helped my children think of no-waste in a broader sense.
Older Students
Middle and high schoolers dive a little deeper into this topic. They learn about phytic acid, an anti-nutrient that can block the body’s absorption of iron, zinc, magnesium, and calcium. Unlike the 5-8 lesson, which briefly introduces phytic acid, the 9-12 lesson teaches more detailed definitions of the terms anti-nutrient and phytic acid. Both upper-grade bands read several sections of The Modern Pioneer Cookbook to learn about the benefits and processes of soaking and sprouting.
In the 5-8 lesson, students soak and dry nuts. For the activity, middle school students’ task is to create a teaching/learning resource about why it’s important to soak nuts before eating them. They can choose to make any kind of resource they like, such as a poster, booklet, infographic, comic book, video, animation, or song. I created an activity checklist to help them meet the assignment criteria. (You can also use the checklist to assess their resource when they’re finished.) You can download it here.
High school students who will be making soaked oats and fermented oat milk have the opportunity to explore three other recipes from Chapter 7. This exposes them to the methods of soaking and sprouting a wider range of foods. They will choose one of these additional recipes and communicate how to prepare it using pictures only. Creating images to represent the recipe process can help reinforce cooking and communication skills.
Recipe: Sprouting Beans
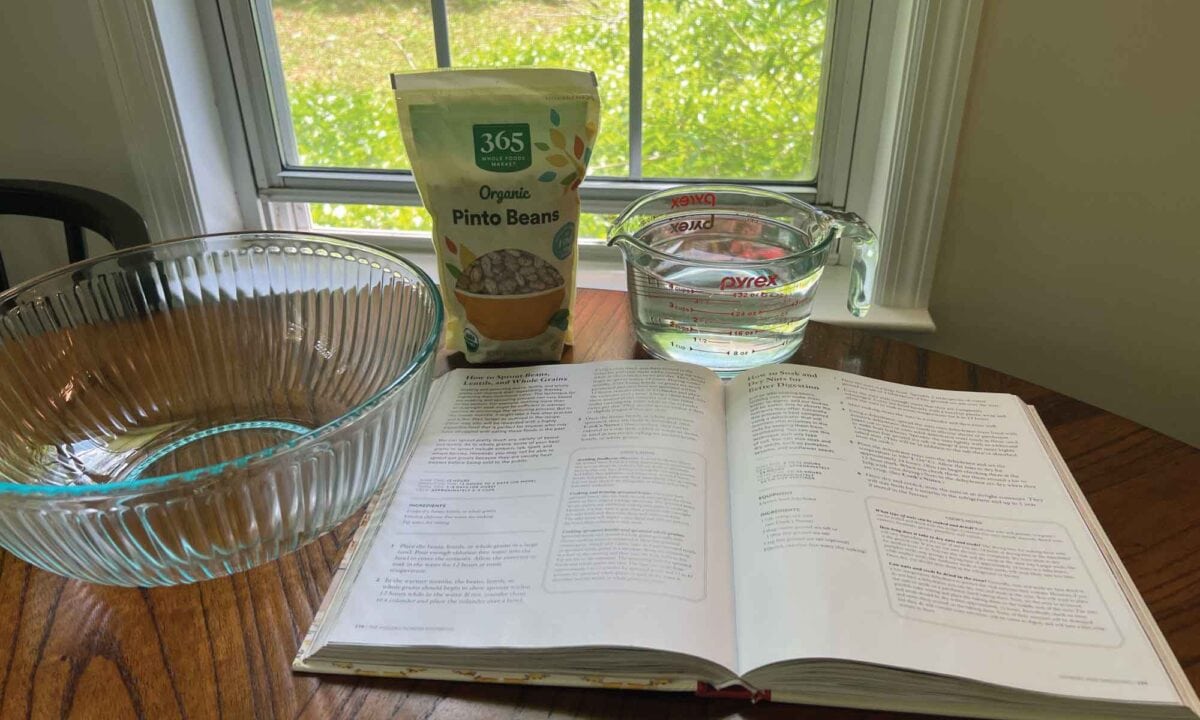
When my children and I were ready to start working on the recipe, we needed a large bowl, beans (we used pinto), and filtered water. Together, we:
- Read through the recipe “How to Sprout Beans, Lentils, and Whole Grains.”
- Measured out the beans and placed them in the bowl.
- Covered the beans with water and set a timer for twelve hours while we let the beans soak.
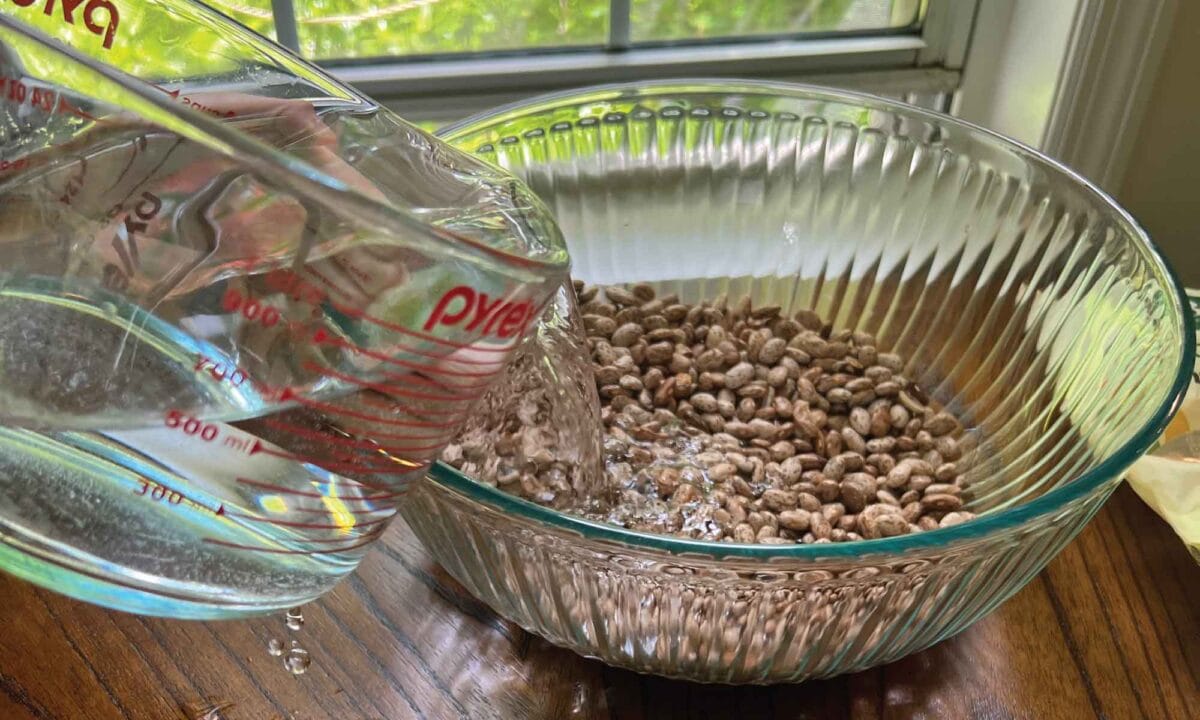
Twelve hours later, we were surprised to find that our beans had not yet sprouted. In The Modern Pioneer Cookbook, Mary says twelve hours is usually enough when the environment is warm. (We live in a warm climate, and if you read about our Chapter 5 lesson experience, you may remember that our first batch of pickles fermented too quickly because of the temperature!) However, if the beans are on the older side, they can take longer. We had just purchased our beans, but who knows how long they were sitting on the store shelves!
We transferred our beans into a colander and rinsed them. My children enjoyed hand-tossing them under the running water. About eight hours later, we noticed that the beans had sprouted.
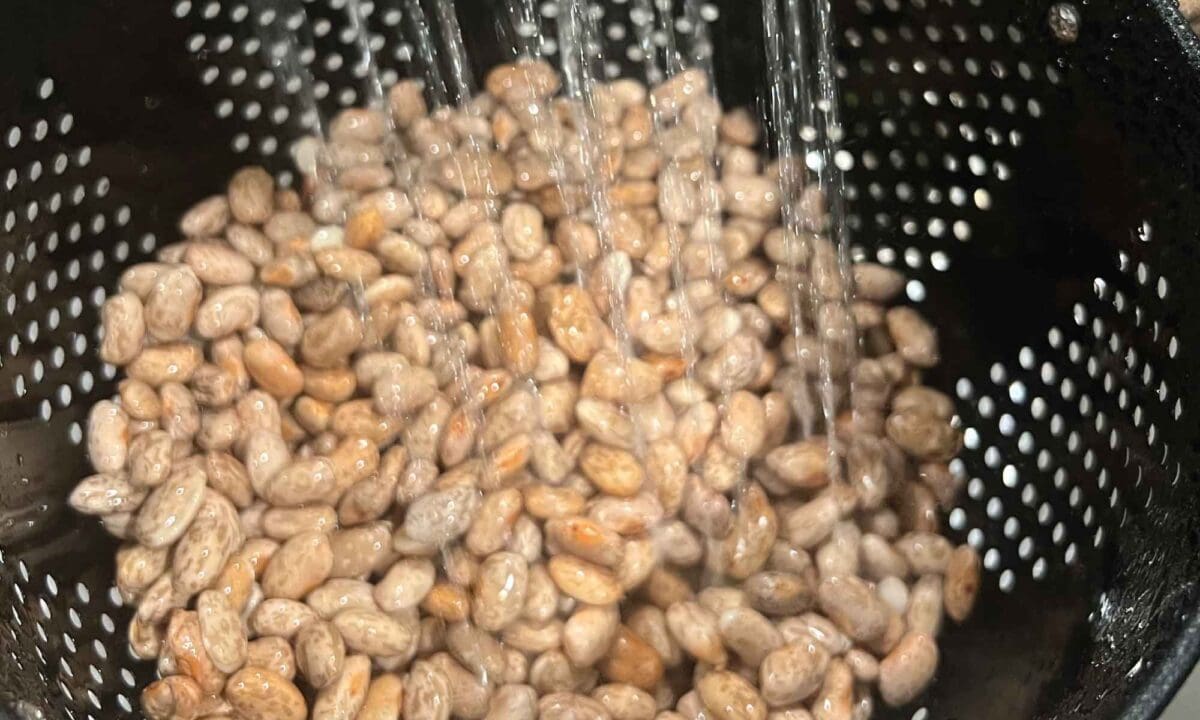
Following one of the Cook’s Notes in The Modern Pioneer Cookbook, we decided to brine the beans overnight in salty water. As Mary explains, “The salty brine will impart a nice flavor and will not prevent the beans from softening as they cook.”
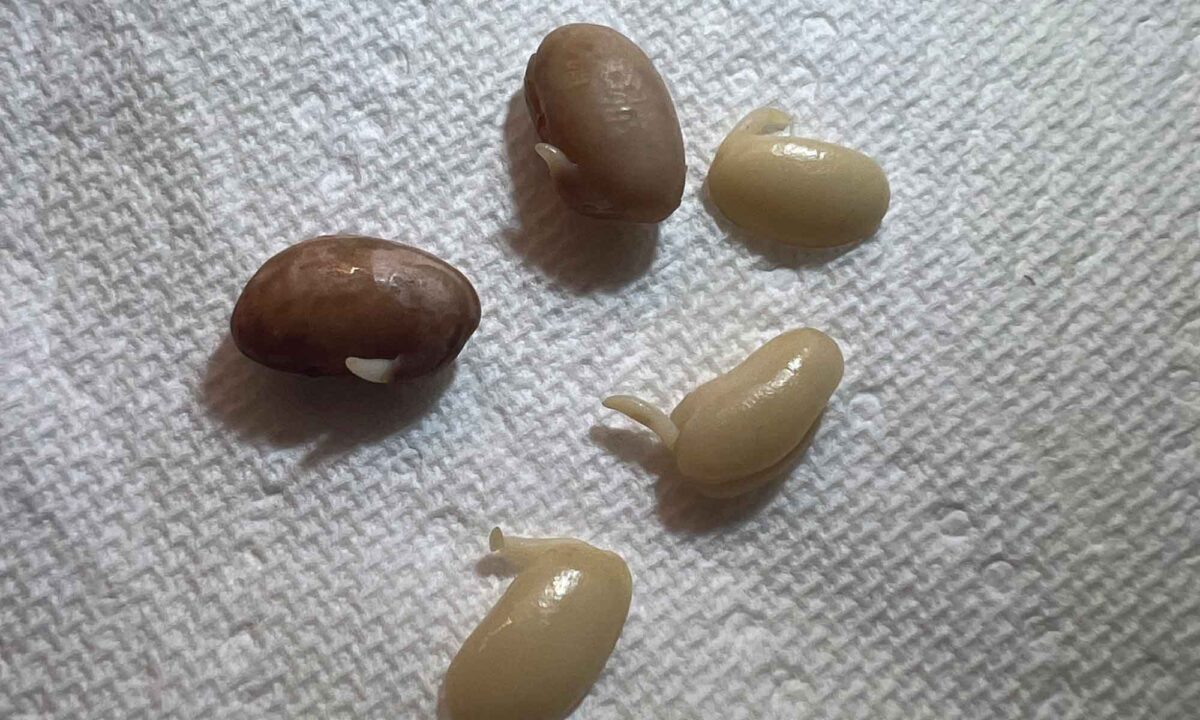
We had enough sprouted beans to make two separate dishes. We made refried beans, and we used the remaining beans for chili.
Tasting: Sprouted Beans
My son and daughter have very different opinions on beans. My daughter loves them, and my son really dislikes the texture. So, when they tasted the sprouted refried beans we made, I wasn’t surprised at their reactions. My daughter loved them, and my son said they were “too mushy.” That’s okay! At least he tried them.
My son liked the chili a little more, probably because the additional ingredients toned down the beans for him. My daughter also enjoyed the chili but preferred the refried beans.
One fun thing about the bean sprouting recipe is that you can use the sprouted beans in any recipe you like. Next time, we might try sprouting mung beans to use in an Asian-inspired dish.
Final Thoughts
Using my experience facilitating this lesson, here are my ultimate takeaways for anyone getting ready for Chapter 7:
- The K-4 sprouting and planting activity is a flexible science experiment you can facilitate with students of different ages. Feel free to differentiate for older students by including more advanced plant science concepts.
- As with other Modern Pioneer Cookbook recipes that require waiting time, start your sprouting or soaking process with your students’ schedule in mind. (For example, if you start at noon and have to rinse your beans or nuts twelve hours later, it will be midnight!) Weekends may be an ideal time to try these recipes.
- Finally, I suggest watching Mary’s videos with your students before getting started: