Affiliates note: As an Amazon Associate I earn from qualifying purchases. My content may contain affiliate links to products and services. If you click through and make a purchase, I'll receive a small commission. It does not affect the price you pay.
How to Make Sprouted Flour at Home
Hi Sweet Friends,
I like to make sprouted flour at home because baking with it is so easy. If we want to make sure that the nutrients in our baked goods are released and easily absorbable by our gut, then we have two options. One is to sour our flour, such as in making sourdough, which is a great option for chewy artisan style breads.
Now before you say…but Mary, you can make any baked good with a sourdough starter… Yes, that is true but you have to allow for the rise time plus that touch (or more!) of the sour taste may not be 100% to everyone’s liking. And besides, sometimes you just want to make a quick bread…and you want it to be quick! 😉
So what is the other option?
The other option is to soak our flour before baking with it, which is usually done for making quick breads, muffins, etc. But is this really the best option? Personally, I’m not a fan of it. There is a real problem when it comes to soaking flour to make quick breads, muffins, etc.
So what is the problem with soaking?
The problem with soaking flour is that you can’t just wake up one morning and say, “I’m going to bake a cake”. You have to plan in advance and soak your flour for 8-12 hours at room temperature in an acidulated liquid such water mixed with vinegar, lemon juice, whey, buttermilk, etc.
And then there’s another problem…
Soaked flour—in my humble opinion—can create an end product that is denser than I like. The reason is that you have to mix in the additional ingredients, such as eggs, after the flour has been soaking. All this additional stirring can make a quick bread or muffin dense.
So what’s the solution?
So what can a whole-grain home baker do? You can sprout grain at home and make your own sprouted flour. And it’s easier than you think. There is very little work involved on the part of the home baker. Most of the process is passive time. Then once you have a nice bag of sprouted flour waiting for you in your kitchen, you can wake up any day and say…”I think I’ll bake some muffins.” And I assure you—they will be light and fluffy!


Related videos
 |
How to Make a Foolproof Sourdough Starter |
 |
How to Soak and Sprout Beans – Techniques for Seasonal Differences |
 |
How to Make Soaked Oatmeal Using Oat Groats |
Step-by-step instructions
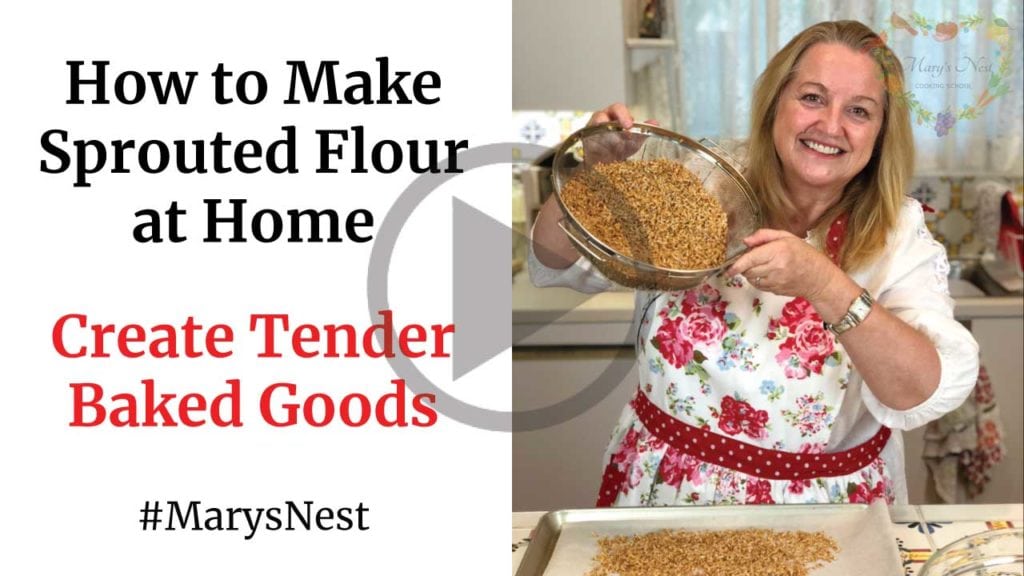
Watch this YouTube video as I walk you through the step-by-step process of making sprouted flour at home.
Stay in Touch with Mary’s Nest
- Subscribe to My YouTube Channel for Traditional Foods Videos (Free) - When you subscribe, be sure to click on the notification bell that will let you know each time I upload a new video.
- Subscribe to Mary’s Traditional Foods Newsletter (Free) - Get a free 36-page eBook for signing up: How to Stock Your Essential Traditional Foods Four-Corners Pantry.
- Join the Traditional Foods Kitchen Academy - For more detailed videos and exclusive members-only perks, join my YouTube membership community.
- Order The Modern Pioneer Cookbook - Get a hardcover book of Mary's nourishing recipes from a Traditional Foods Kitchen. This bestselling cookbook is published by Penguin Random House with their DK imprint.
- Preorder The Modern Pioneer Pantry - Be one of the first to get Mary's hardcover book about preserving food and making delicious meals from your Four Corners Pantry. Mary's second cookbook is also published by Penguin Random House.
I look forward to having you join me in my Texas Hill Country Kitchen!
You can print the recipe below.
I'd like to receive more tips and recipes from Mary's Nest.
How to Make Sprouted Flour at Home

Ingredients
- 2 cups Wheat Berries
- 1 Filtered water chlorine free
Instructions
- Place wheat berries in a bowl and cover with filtered water. Leave to soak for approximately 12 hours.
- Drain wheat berries and spread them out in a colander and place the colander over a bowl.
- Cover bowl loosely with a thin dish towel and place bowl in an undisturbed warm place in your kitchen for approximately 12 hours. On top of a refrigerator, in a pantry, or in a cabinet works well. In the warmer summer months, simply leaving the bowl on your countertop should be sufficient. You are looking for an average temperature of approximately 75 degrees Fahrenheit or 24 degrees Celsius.
- After 12 hours, rinse the wheat berries in the colander with filtered water. Re-cover bowl and leave in a warm place, undisturbed for another 12 hours.
- After 12 hours, check wheat berries. They may have sprouted. If not, rinse them again with filtered water, and place them back over the bowl. Re-cover the bowl and leave in a warm place undisturbed for another 12 hours.
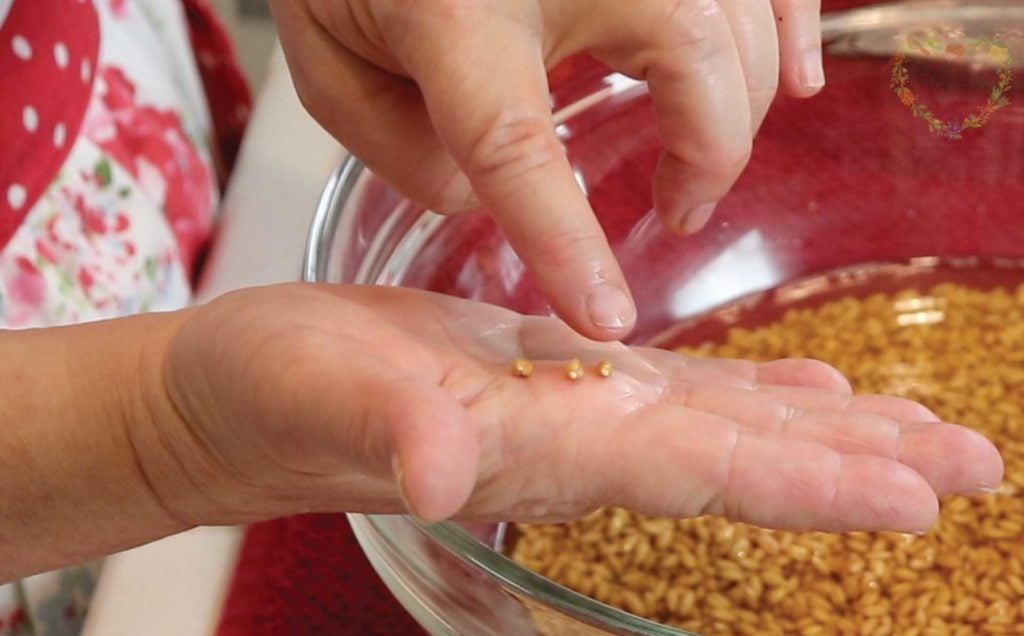
- After 12 hours, the wheat berries should have now sprouted. If not, you can rinse them again and continue the 12-hour cycle of rinsing and resting for up to 5 days. If the wheat berries do not sprout after 5 days, it is unlikely they will sprout. They are not fresh. You will need to discard them.
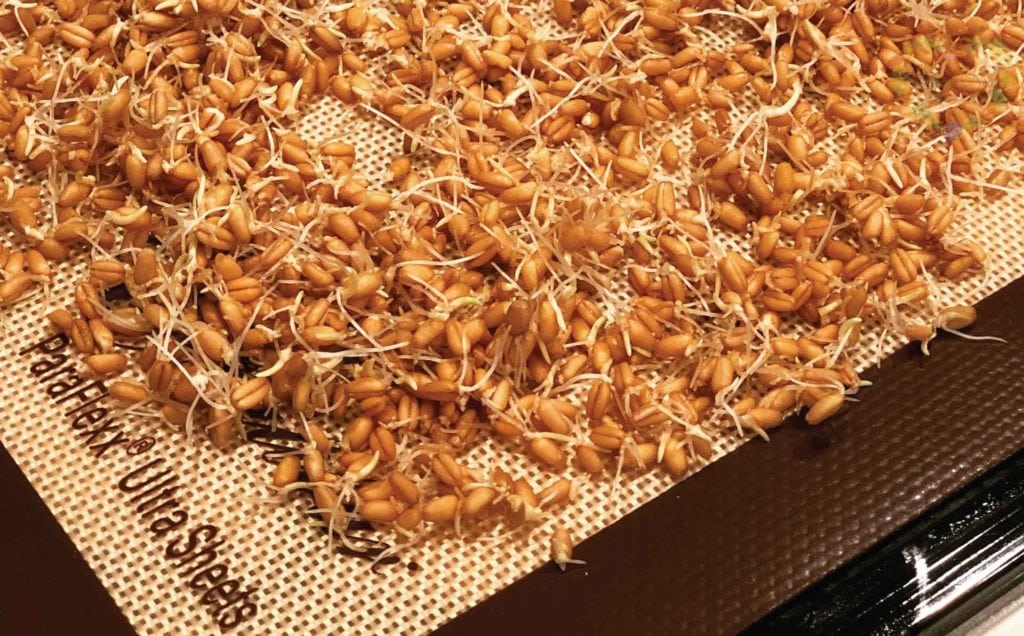
- Once the wheat berries have sprouted, it is now time to dry them. You can dry them by spreading them on a non-stick sheet in a dehydrator set at 110 degrees Fahrenheit or 43 degrees Celsius. Or you can dry them on a parchment-lined baking sheet in a cool oven set at the lowest possible setting. This may be between 150 degrees Fahrenheit (65.5 degrees Celsius) and 200 degrees Fahrenheit (93 degrees Celsius) depending on your particular oven's settings.
- In a dehydrator, the wheat berries will take from 12-24 hours to dry thoroughly. In a cool oven, the wheat berries will take 8-12 hours to dry thoroughly. A simple test to tell is if the wheat berries are dry is to feel them. If they feel dry, they are done. If you are not sure, then continue to dry them for 1-2 hours longer. The more precise way to determine if your wheat berries are dry is to weigh them (using a food scale) before you soak and sprout them and then weigh them again when you think they are dry. They should weigh the same.
Notes
Nutrition
Shop for items used in this blog post or video
- Visit Mary's Nest Amazon Shop
-
Visit my Shopping Guide page
Get up to 15% off for Stocking your Traditional Foods Pantry and Equipping your Modern Pioneer Kitchen, including discounts from US Wellness Meats, Mockmill Grain Mill, Masontops, Cultures for Health, Survival Garden Seeds, Redmond Real Salt, Plan to Eat, and more!
Affiliates note: As an Amazon Associate I earn from qualifying purchases. My content may contain affiliate links to products and services. If you click through and make a purchase, I’ll receive a small commission. It does not affect the price you pay.
Disclaimer:I am not a medical doctor, a medical professional, a dietician, or a nutritionist. All content found on the MarysNest.com website, including text, images, videos, eBooks or eGuides, social media, or other formats, were created solely for informational purposes only. The content is not intended to be a substitute for professional medical advice, diagnosis, or treatment. Always seek the advice of your physician or other qualified healthcare provider with any questions you may have regarding a medical condition or proper nutritional advice. Never disregard professional medical advice or delay in seeking it because of something you have watched in a video or read on this website. Use caution when following the recipe in this video. The creator and publisher of this video and website will not be held responsible for any adverse effects that may arise from the use of this recipe and method or any other recipe and method on this website or corresponding video channel.


