Fermentation is an age-old practice that can be a powerful tool for self-sufficiency and culinary exploration. Chapter 5 of the “Modern Pioneer Lesson Experience” dives into this fascinating process, showing learners of all ages how to make simple, delicious ferments at home. From crispy dill pickles for young students to nutrient-packed sauerkraut for teens, each lesson introduces traditional kitchen principles, hands-on recipes, and valuable scientific concepts. Let’s get started! (This lesson experience includes seven activity downloads!)
Affiliates note: As an Amazon Associate I earn from qualifying purchases. My content may contain affiliate links to products and services. If you click through and make a purchase, I’ll receive a small commission. It does not affect the price you pay.
Table of Contents
About The Modern Pioneer Cookbook Curriculum Lesson Experience Series
Hi! My name is Jamie O’Hara, and I’m a homeschooling mom, curriculum writer, and former classroom teacher. I recently had the pleasure of helping Mary Bryant Shrader create The Modern Pioneer Cookbook Curriculum, which includes extensive lesson plans for grades K-12 to complement Mary’s bestselling book, The Modern Pioneer Cookbook.
- Get The Modern Pioneer Cookbook Curriculum (Free and over 250 pages!)
- Get The Modern Pioneer Cookbook
- Read The Modern Pioneer Cookbook Curriculum Lesson Experience Article Series
Now, I’m excited to embark on a journey of experiencing these lessons with my own children, ages 6 and 8 (and sometimes my 3-year-old, too). I’ll be facilitating a total of 14 lessons, one for each chapter in The Modern Pioneer Cookbook Curriculum. As we go through the curriculum, I’ll document our experience to share with all of you!
Getting Started with Fermenting
Chapter 5 of The Modern Pioneer Cookbook is all about fermentation. The table below summarizes the recipes, principles, and learning objectives for each lesson.
| Grade Band | Recipe | Traditional Kitchen Principles | Learning Goals (Students will…) |
| K-4 | Always-Crisp Fermented Dill Pickle Spears | 1. Homemade food 2. Low-waste kitchens | ● Discuss how ferments are a homemade food that contributes to a low-waste kitchen ● Create an illustrated pH scale ● Prepare fermented pickles, following a recipe |
| 5-8 | Sweet & Sour Fermented Red Cabbage | 3. Real, whole foods 4. Seasonal eating | ● Discuss the benefits of fermentation and the role of fermented foods in seasonal eating ● Describe the process of fermentation, including the importance of temperature ● Prepare fermented red cabbage, following a recipe |
| 9-12 | Sauerkraut | 5. Maximizing nutritional value 6. Preservation for self-sufficiency | ● Discuss the role of fermentation in maximizing food’s nutritional value and preserving food for self-sufficiency ● Describe the process of lacto-fermentation and compare it to pickling ● Prepare sauerkraut, following a recipe |
The ingredients for pickles and sauerkraut are easy to get at any grocery store. However, pay close attention to the equipment lists to make sure you have the supplies you need, such as pH strips. (See the full list of equipment.)
For these recipes, you’ll build Mary’s clever DIY fermentation system using different jar sizes. Specifically, you’ll need quart-sized jars and 4-ounce jelly jars. You’ll put your vegetables in the large jars and then use the small jars as weights to keep the food submerged. For the 5-8 and 9-12 lessons, you’ll also need a blender, and you may want to look into an optional kraut pounder.
Equipment Links
If you can’t find the fermentation equipment for these recipes at your local grocery store, here are links where you can buy the items online:
- pH Strips
- Ball 4-ounce Jelly Regular Mouth Jars with Lids and Bands (Set of 12)
- Ball Mason Jar Leak-Proof Lids, Wide Mouth (Set of 6)
- Ball Wide Mouth Quart with Lids and Bands (Set of 12)
- Masontops Fermentation Kit (promo code below)
- Masontops Pickle Pipes (also part of the Masontops Fermentation Kit)
Note: You don’t need the Masontops Fermentation Kit for these recipes, but the kit contains additional equipment that will make your life easier if you want to continue making ferments in the future. In the kit, you’ll find:
- Fermentation lids (helps to burp your ferments)
- Fermentation weights (used like our jelly jars to weigh down our ferment)
- A pickle packer (like a kraut pounder)
If you decide to get any Masontops products from Amazon, be sure to use my link and one-time discount code for 15% off Masontops products.
Planning for Students of Different Ages
If you have students of different ages, invite your older students to participate in the K-4 or 5-8 lesson. Younger students will likely struggle with the 9-12 material.
For the elementary lesson, students create their pH scale. Older students can do the same, with the added challenge of presenting the pH scale in a creative way (such as in the form of a rainbow). You can also activate their prior knowledge of acids and bases by asking for examples or having them classify different liquids.
There are additional opportunities for collaboration among grade levels in the interdisciplinary extensions at the end of each lesson. For example, in the 5-8 science extension, students make their own pH indicators using the same red cabbage they need for their recipe. In the 9-12 art extension, students make color-changing pH paint from red cabbage. K-4 students would be welcome participants in activities like these.
Discussion: Fermentation
The first thing I asked my children was what they thought fermentation was. I used different forms of the term, like ferment and fermented foods, in case some were more familiar than others. My first-grader said that fermenting makes food stay fresh longer. My third-grader said something like, “When you make a food go bad on purpose, but in a good way.” In other words, my son knew that fermentation can preserve foods, while my daughter knew that fermentation requires leaving food out and allowing good bacteria to thrive.
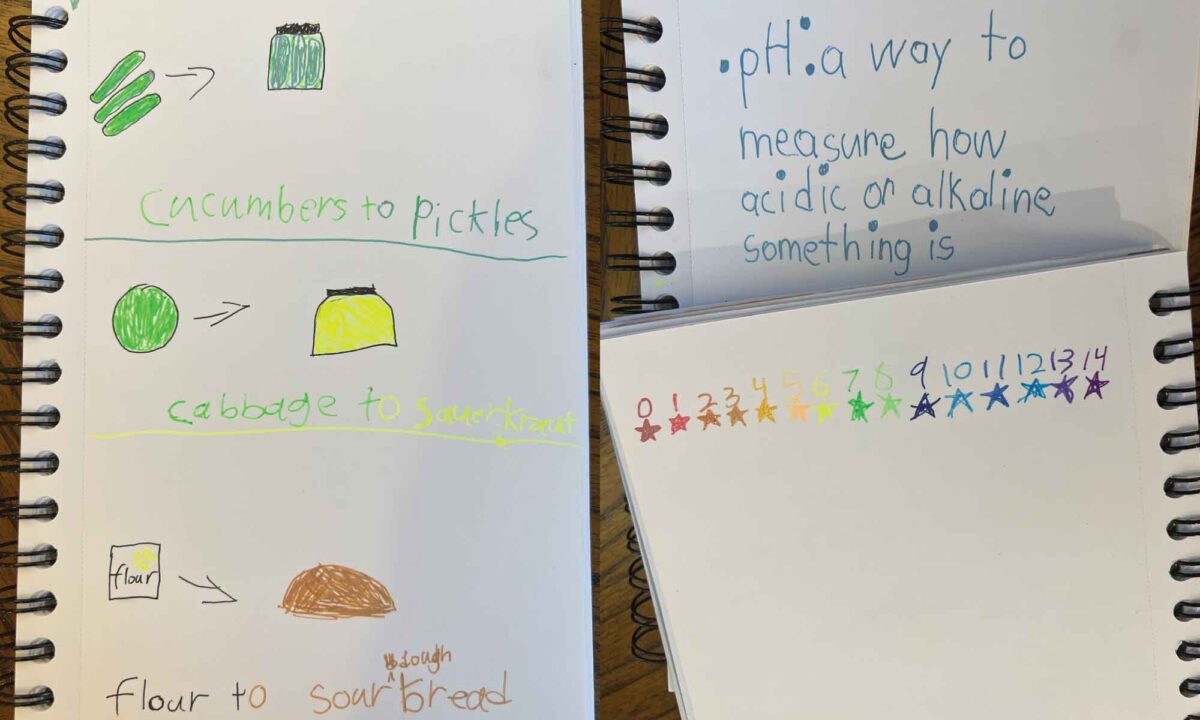
Following the lesson plan’s discussion guide, we talked about the process of fermenting foods using brine. We mentioned a few examples of fermented foods, like pickles and sauerkraut. Then, we talked about the nutritional benefits of fermented foods—specifically the creation of probiotics. My children had heard the word probiotics before, but they weren’t sure what it meant. I had them write down the following definitions in their kitchen journals:
- Fermentation (lacto-fermentation): breaking down the sugars in food and creating lactic acid
- Brine: salty water used for pickling or fermenting
- Probiotics: the good bacteria that help us digest our food
I created a printable worksheet where students can record these definitions.
- Download the Benefits of Fermentation Worksheet (All Grades) (PDF file)
- Download the Benefits of Fermentation Worksheet (Grades 9-12) (PDF file)
We wrapped up by shifting towards the two themes of the K-4 lessons: homemade food and minimal waste. We talked about how fermenting foods at home can be better (fresher, less expensive) than buying them at the store. My kids pointed out that fermentation is a way to prevent spoilage if you’re worried about vegetables going bad before you can eat them all, such as after a large garden harvest or Community Supported Agriculture (CSA) pickup.
Activity: pH Scale
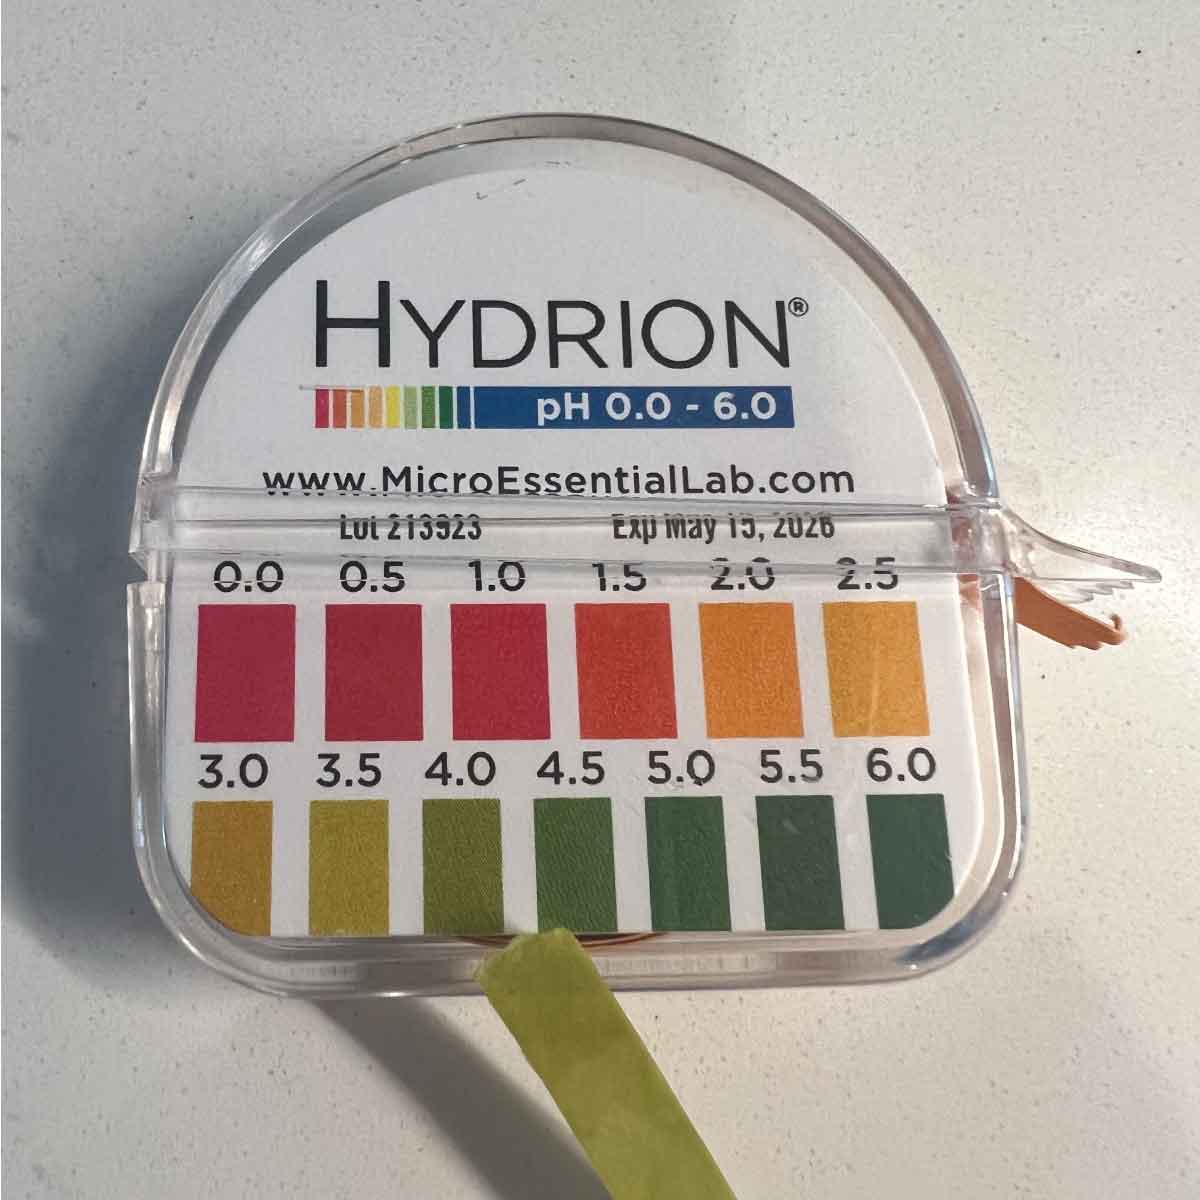
The activity in this lesson introduces students to the concept of pH. My children hadn’t heard of pH until they asked about the pH testing strips I bought for this lesson. I briefly told them that all liquids can be pH tested to see how acidic or alkaline they are. I also showed them the pH scale, pointing out the numbers and colors. For this lesson, we revisited the topic and talked about pH in more detail.
To get started, I told my children that when food is fermented, its pH changes. I wrote down the definition of pH and asked them to copy it into their kitchen journals:
• pH: a way to measure how acidic or alkaline a liquid is
Then, we looked at a pH scale and identified that the strongest acid has a pH of 0, while the strongest base has a pH of 14. We spoke about how liquids with strong pH are dangerous, whether they are acidic or alkaline. I told my children that a pH of 7 means the liquid is neutral. I encouraged them to guess which everyday liquid has a pH of 7 (water). Then, I told them that the pickles we would be making should have a pH lower than 4.6.
Building Math and Vocabulary Skills
To support your students’ math skills, you can spend a few minutes talking about measurement in general. Students may initially find the pH scale new and different, but you can connect it to their prior knowledge. Ask them to recall the measurement systems and units they’ve used before. For example, a clock measures time, a scale measures weight, and a ruler measures length.
You can also take some time to focus on vocabulary. As part of our discussion of water being neutral, I asked my children to define the word neutral. We talked about other uses of the word neutral, such as putting a car into neutral or staying neutral when two people are arguing. Thinking about neutrality in different contexts helps to illustrate the characteristics of a neutral pH.
pH Scale Activity Download
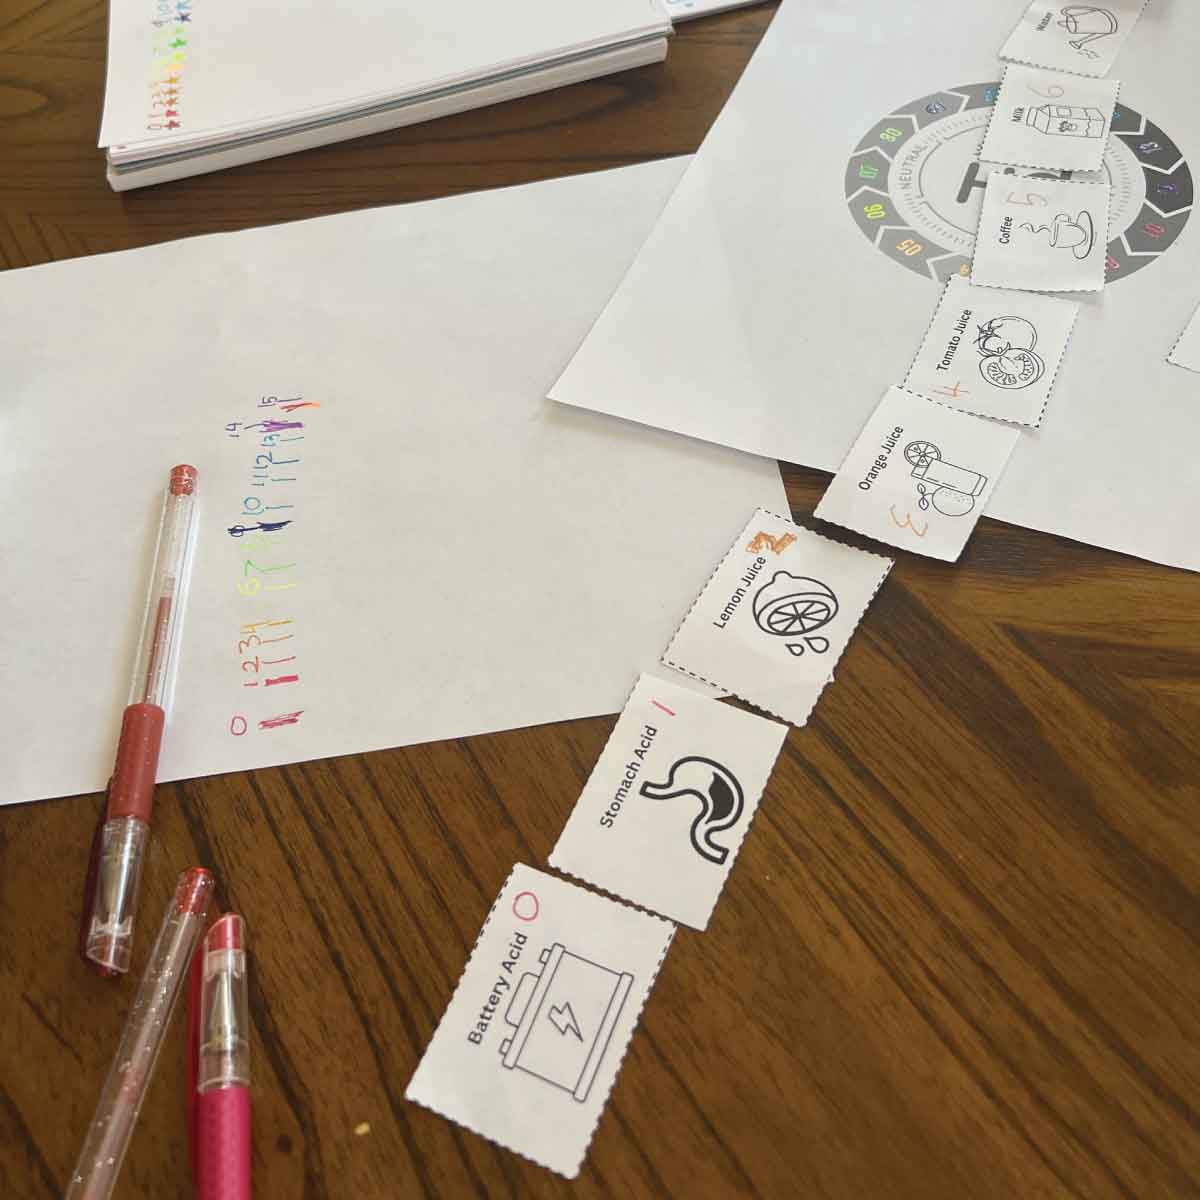
At this point, I recruited my children to test some of my worksheet ideas for this activity. After experimenting with a few different options, my kids helped me create an interactive worksheet. I collected pictures of 15 liquids that could be cut out and arranged according to their pH. Each square can be colored and numbered to make an illustrated pH scale.
- Download the pH Scale Activity (PDF file)
Middle and High Schoolers
The middle and high school lessons each explore the topic of fermentation in more depth. They work with a more advanced definition of fermentation than the elementary lesson:
- Fermentation (lacto-fermentation): the process of preserving food by allowing the food’s natural bacteria to create lactic acid
Middle school students talk about how ferments fit into a seasonal eating rhythm, while high school students think about how fermentation works to maximize food’s nutritional value and support self-sufficiency. High schoolers also learn about the health benefits of eating ferments, which they can list on this worksheet. Students at both levels will read from Chapter 5 of The Modern Pioneer Cookbook, with high schoolers reading more than middle schoolers.
For the middle school activity, students create an infographic to remember and teach the process of fermentation. High schoolers have a similar opportunity to be creative as they show what they’ve learned about fermentation. Their lesson’s activity asks them to make a poster, brochure, or video about fermented food.
High school students also make a Venn diagram to compare and contrast pickling and fermentation. If you’d like to print out a worksheet I made for the comparison activity, you can download it here:
Fermentation Recipe
I was excited for this lesson because it was the push I needed to start fermenting food at home. This was a learning experience for us! I hope our ability to overcome initial difficulties will be helpful to you and your students.
Ingredients
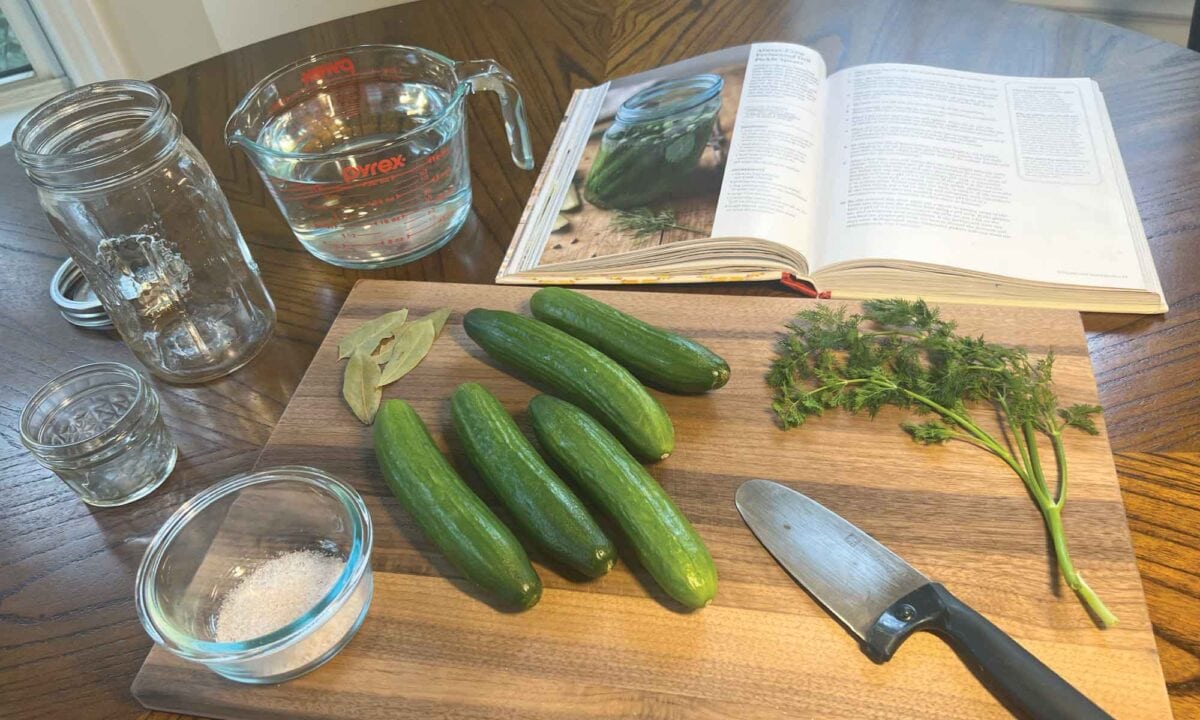
To get started, we gathered our ingredients:
- Kirby cucumbers
- Fresh dill
- Sea salt
- Bay leaves
- Filtered water
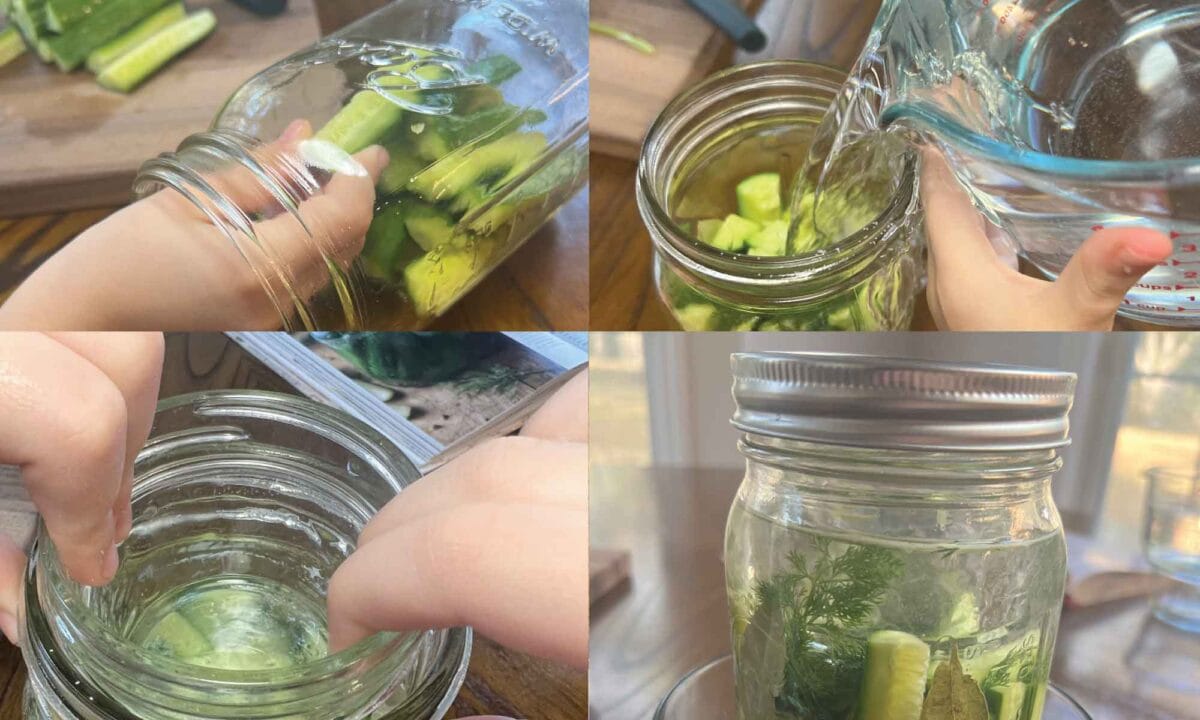
We opted to leave out any spices for our first batch because we wanted to get a flavor baseline. We cut the cucumbers into spears and packed them into the jar with sprigs of dill.
Then we added bay leaves, whose tannins make the pickles crisp. We filled the jar with brine and placed a 4-ounce jelly jar on top of the cucumbers before tightly closing the jars. We used a canning lid and ring, but after watching Mary’s pickle video, I learned about Pickle Pipes from Masontops, which look like a helpful option. (See the full list of equipment.)
Round 1
Preparing the jar for fermentation is easy. The tricky part about making these pickles—at least for us—was making sure they sat at the right temperature. Our goal was to keep our fermenting pickles in the range of 68-72°F (20-22°C).
We put our jar in a room that we thought was 72°F (22°C), but the temperature was actually warmer. As a result, our pickles fermented too quickly! This made them mushy.
We tested the pickles’ pH, and it was 4.0. (Ferments need to have a pH lower than 4.6.) We tasted the pickles, and the flavor was delicious. But because of the fast fermentation process and resulting soft texture, we decided to discard our first batch and try again. This time, we felt more confident because we could learn from our mistakes.
Round 2
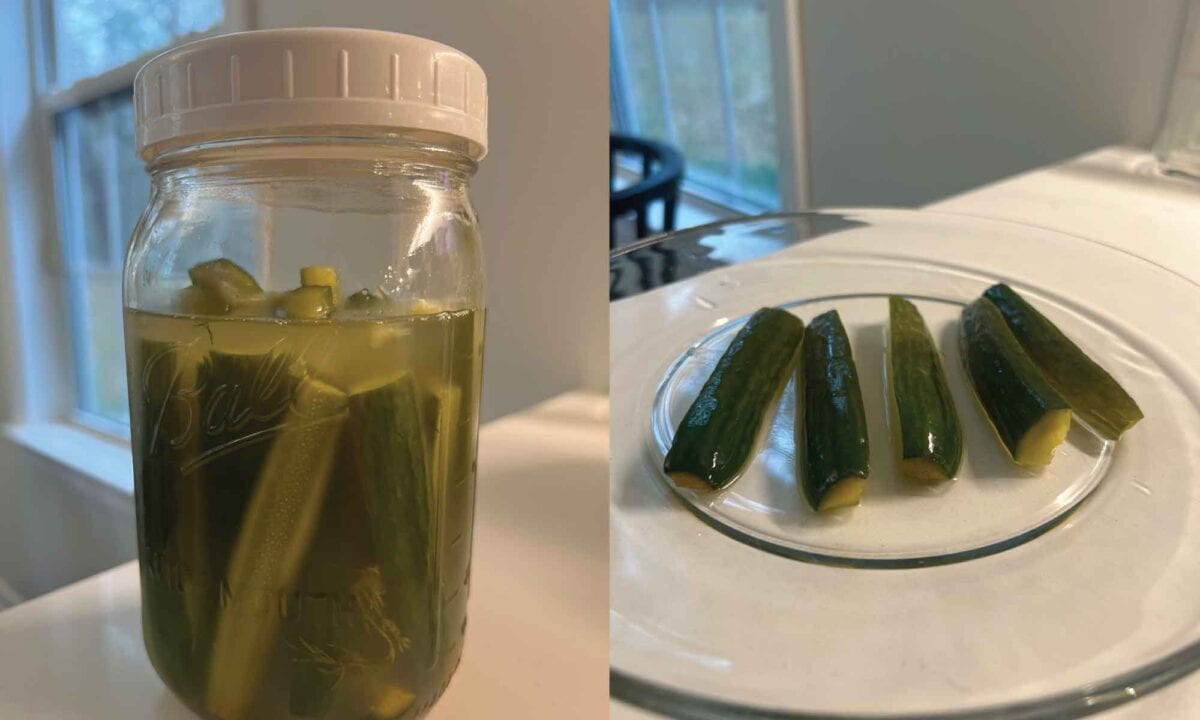
The second time around, we did a few things differently. For example, instead of using bay leaves for the crisp factor, we used a black tea bag. (According to Mary, both are good options because of their tannins. We only switched to the black tea because we were running low on bay leaves.) We also changed fermentation locations.
Instead of keeping the jar on a shelf in the dining room, we put our jar on the floor of a bedroom closet. We used a thermometer to ensure that the temperature was ideal. Once we saw bubbles in the brine, we moved the jar to the refrigerator to finish the fermentation process. After four days, we tested the pH, and it was about 4.0.
Fermentation Journal
As your food ferments, encourage your students to observe their jars. They should check them at least once a day and write down or draw their observations in their kitchen journals. As an alternative, I made a printable fermentation journal that students in all grades can use to keep a record of the fermentation process. You can download it here:
- Download the Fermentation Journal Activity (PDF file)
Note: Jamie shows her family making their kitchen journals in the initial chapter of the curriculum experience: Chapter 1: The Modern Pioneer.
Fermentation Tasting
After tasting the mushy first batch, we were excited to taste it again. My daughter already loves the fermented pickles we buy at the store, so comparing homemade and storebought was a terrific experience.
Our second batch of pickles was super crisp! They weren’t as salty as the first batch because we didn’t wait as long to taste them. But they had a fresh half sour flavor. Two days later, they took on more “pickle” flavor from the brine. I’m excited for our next batch, when we will experiment with different spices.
Tasting Chart
I made a printable tasting chart that students can use to track the fermented foods they’ve tried. It also gives them the opportunity to compare and contrast the same food in its fermented and non-fermented forms. This worksheet is suitable for students of all ages. You can download it here:
- Download the Ferment Tasting Chart (PDF file)
Final Thoughts
Using my experience facilitating this lesson, here are my ultimate takeaways for anyone getting ready for Chapter 5:
- Even if you feel comfortable fermenting foods without pH strips, using them is an ideal science lesson for students of all ages. So if you don’t have them already, I recommend getting some inexpensive pH strips for this lesson. (See the full list of equipment.)
- Let the ferment be the boss! As Mary likes to say, “ferments are persnickety.” If you live in a warm environment, keep a close eye on your jars and consider moving them to the refrigerator when you first notice bubbling.
- Don’t get discouraged if your initial results aren’t perfect. Experience is the best teacher! In Mary’s words, the recipe for successful ferments is “patience coupled with a little bit of trial and error.”
- Finally, I suggest watching Mary’s videos with your students before getting started!