Chapter 6 of the “Modern Pioneer Lesson Experience” introduces students to traditional baking with hands-on lessons in bread-making and sourdough science. From Oregon Trail Pioneer Brown Bread for younger students to sourdough starters for high schoolers, each recipe is tailored to different age groups, teaching the value of homemade food, whole ingredients, and low-waste kitchens. Alongside practical skills like measuring and mixing, students learn the science and history behind baking. This chapter makes the experience of baking both educational and engaging, turning students into home bakers! (This lesson experience includes eight activity downloads!)
Affiliates note: As an Amazon Associate I earn from qualifying purchases. My content may contain affiliate links to products and services. If you click through and make a purchase, I’ll receive a small commission. It does not affect the price you pay.
Table of Contents
About The Modern Pioneer Cookbook Curriculum Lesson Experience Series
Hi! My name is Jamie O’Hara, and I’m a homeschooling mom, curriculum writer, and former classroom teacher. I recently had the pleasure of helping Mary Bryant Shrader create The Modern Pioneer Cookbook Curriculum, which includes extensive lesson plans for grades K-12 to complement Mary’s bestselling book, The Modern Pioneer Cookbook.
- Get The Modern Pioneer Cookbook Curriculum (Free and over 250 pages!)
- Get The Modern Pioneer Cookbook
- Read The Modern Pioneer Cookbook Curriculum Lesson Experience Article Series
Now, I’m excited to embark on a journey of experiencing these lessons with my own children, ages 6 and 8 (and sometimes my 3-year-old, too). I’ll be facilitating a total of 14 lessons, one for each chapter in The Modern Pioneer Cookbook Curriculum. As we go through the curriculum, I’ll document our experience to share with all of you!
Getting Started with Fermenting
Chapter 6 of The Modern Pioneer Cookbook focuses on traditional baking and sourdough. The table below summarizes the recipes, principles, and learning objectives for each lesson.
| Grade Band | Recipe | Traditional Kitchen Principles | Learning Goals (Students will…) |
| K-4 | Oregon Trail Pioneer Brown Bread | 1. Homemade food 2. Low-waste kitchens | ● Discuss the importance of baking in a homemade kitchen ● Practice identifying and using measuring spoons and cups ● Prepare a quick brown bread, following a recipe |
| 5-8 | Super Soft No-Knead White Sandwich Bread | 3. Real, whole foods 4. Seasonal eating | ● Discuss the importance of baking at home for a traditional foods kitchen ● Describe how bread is made ● Prepare a sandwich bread using the batter bread technique |
| 9-12 | 100% Hydration Sourdough Starter and Beginner’s No-Knead Sourdough Boule | 5. Maximizing nutritional value 6. Preservation for self-sufficiency | ● Describe the process and benefits of making sourdough bread ● Discuss the role of sourdough in maximizing food’s nutritional value and preserving food for self-sufficiency ● Prepare sourdough starter and sourdough boule, following recipes |
The recipes increase in complexity with grade level. The K-4 recipe is the simplest, followed by 5-8 and finally 9-12. High school students will make two recipes: sourdough starter and sourdough bread. The starter is made first and takes several days. If you will be using the 9-12 recipe, reading the relevant sections of The Modern Pioneer Cookbook will be important. (These pages are specified in the 9-12 lesson plan of the curriculum.)
You may also want to consider your family’s schedule when making your sourdough starter. Try to choose a week that is not particularly busy. You’ll have to feed your starter regularly and don’t want to forget!
Planning for Students of Different Ages
If you have students of different ages, I suggest they work together on the 5-8 activity. This is a hands-on science experiment to teach the phenomenon of carbon dioxide making bread rise. It’s easy, fun, and appropriate for all ages, K-12.
Another option is to use the K-4 activity and tweak it for older students. In this activity, students get hands-on experience with measuring cups and spoons. You can make the activity more advanced by asking your students to create their own conversion chart as they follow the measurement prompts in the lesson plan. Older students may also use the activity for hands-on practice with adding and multiplying fractions.
In addition, you can combine discussion guides from the three lesson plans. Start by asking your youngest students some of the suggested questions, and include your older students by having them build on those points. Remember to anchor the discussions with the themes of each grade band, which you can review in the table above.
Discussion: Bread
We started our discussion about bread by listing different kinds, including our favorites. We compared and contrasted homemade and store-bought bread, and we talked about how bread is made. I asked my children to brainstorm reasons for making bread at home rather than buying it at the store. Here are some of their responses:
● You can avoid unwanted ingredients or ingredients you’re allergic to
● The store may not have the kind of bread you want
● Homemade bread is fresher and tastes better
● Homemade bread may be less expensive
● You can make bread at home even if the stores are closed
Although sourdough is not part of the K-4 lesson, my children and I talked a bit about it because we often eat this type of bread. I flipped to the 9-12 lesson and used some of the suggested questions in the discussion guide. However, if your younger students are not already familiar with sourdough, there’s no need to introduce it at this point.
I created three printable worksheets that can be used during the discussion about bread:
- Download the Bread Discussion Worksheet (K-4) (PDF file)
- Download the Bread Discussion Worksheet (5-8) (PDF file)
- Download the Bread Discussion Worksheet (9-12) (PDF file)
Activity: Measurement Practice
For the K-4 lesson, the activity gives students hands-on practice measuring solids. We gathered our measuring cups and spoons and started by reading the amount printed on each one. We talked about the different measurement units, i.e., teaspoons, tablespoons, and cups. Then, we used the prompts in the lesson plan to experiment with equivalent fractions and measurement conversion.
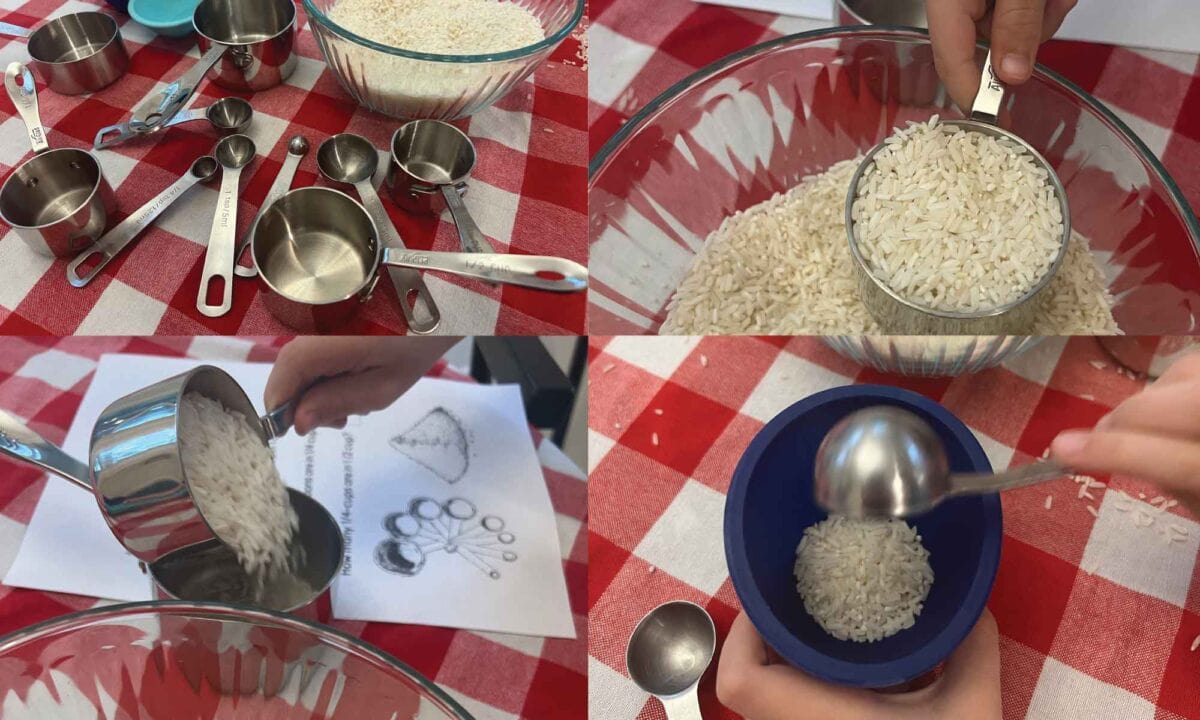
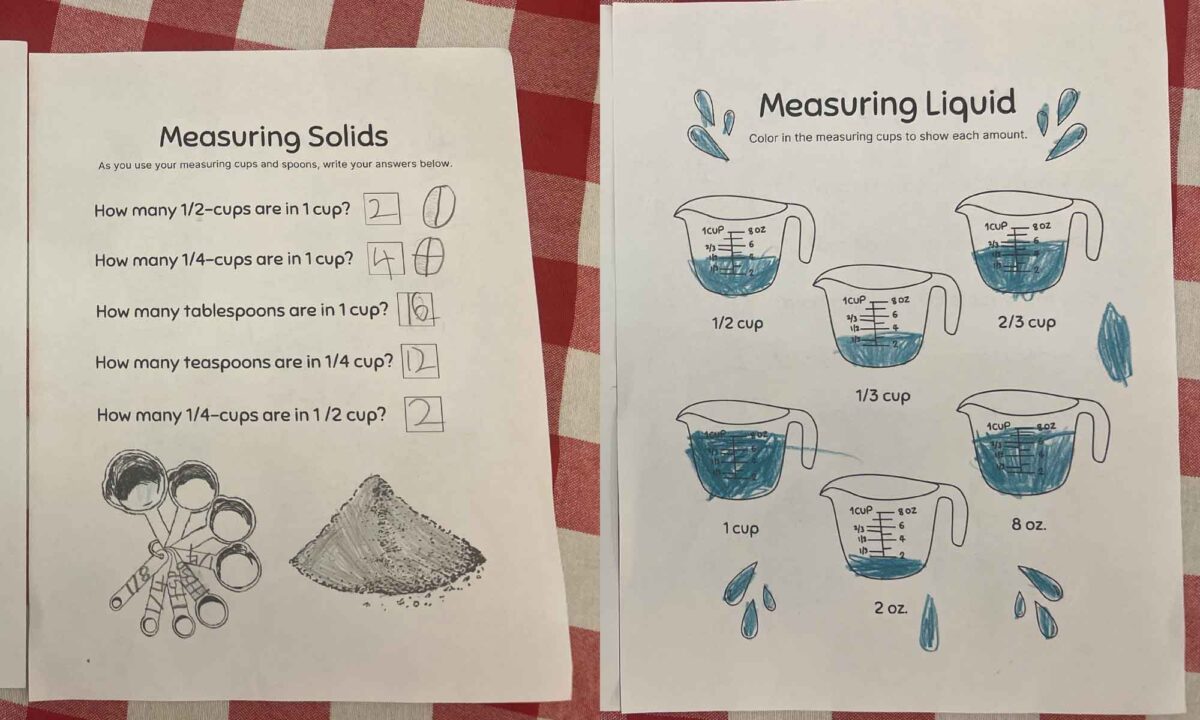
To make this activity easier and provide students with a place to write down their answers, I made a printable worksheet that you can download here.
Overall, this activity went exceptionally well. Both of my children engaged with the concept of fractions in a way that was kinesthetic, fun, and grade-appropriate. You can see an example of differentiation for first- and third-graders on my children’s worksheets. My first-grader drew circle models of ½ and ¼, while my third-grader practiced adding and reducing fractions.
The measurement activity focuses on measuring solids, but I thought it would be fun to get kids thinking about liquid measurement, too. I created another printable worksheet for measuring liquids that you can download. Feel free to allow your students to measure water in a liquid measuring cup as they fill out their worksheets.
Building Elementary Math Skills
No matter what your elementary students’ math skills are like, this activity is an opportunity to strengthen them. For younger or struggling students, focus on the concept of measurement.
If you facilitated the pH activity for the Chapter 5 lesson, you can remind them that pH is one way to measure. Have them list other units of measurement (inches, pounds, degrees, etc.) as well as measurement tools (ruler, scale, thermometer, etc.). See if they can identify the different units and tools used to measure (length, weight, temperature, etc.).
For older or more advanced elementary students, you can dive into the topic of fractions. First, make sure your students understand that fractions represent parts of a whole. Then, you can go over the terms numerator (the number on top) and denominator (the bottom number).
A common way to represent fractions is by drawing them in circular or rectangular models. Another way to illustrate the value of fractions is by plotting them on a number line. These methods help introduce or reinforce the practice of adding and subtracting fractions.
Activity: Bread Science
As I mentioned earlier, the activity in the middle school lesson is excellent for students of all ages. I facilitated it with my first- and third-graders (with my three-year-old excitedly watching). The activity involves filling an empty water bottle with vinegar and water and filling a balloon with baking soda. I told my children we would put the balloon onto the water bottle and let the baking soda fall inside. Before we did so, I had them write down their hypotheses. I created this printable worksheet to make it easy.
My children correctly hypothesized that the gas (carbon dioxide) created by the vinegar-baking soda reaction would inflate the balloon. They connected the experiment to their previous experiences making homemade volcanoes. But even though they were pretty sure what would happen, it was still super fun for them to watch in action!
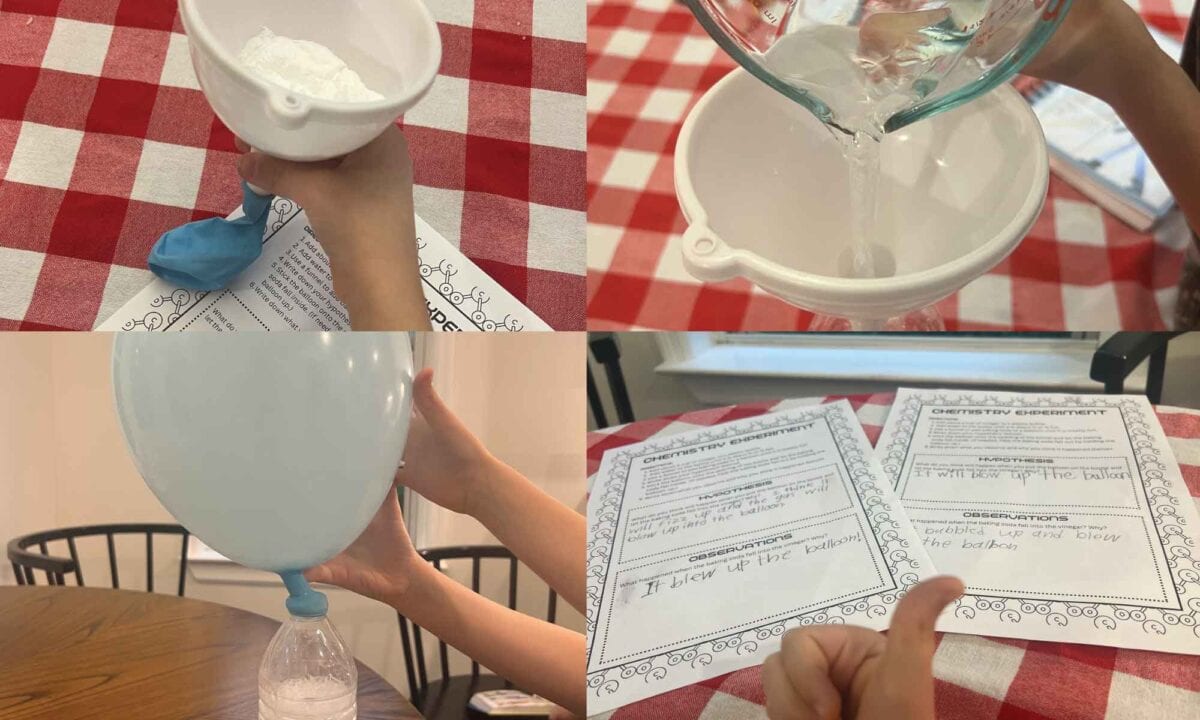
They were also surprised to observe that once we removed and tied the balloon, it seemed heavier than the balloons we blew up ourselves. We talked about how carbon dioxide is denser than the air we exhale (which is only part carbon dioxide).
We didn’t explore this concept too deeply, but if my children were older, I might have taken the experiment a bit further. By comparing two balloons (one filled with carbon dioxide and one inflated by mouth), students can get a firsthand understanding of the density of invisible gasses. If your students are interested, you can try facilitating this activity from Science Buddies or something similar.
Another option for building on this activity is using the science extension at the end of the 5-8 lesson plan. The extension has students use sugar and yeast to create carbon dioxide and inflate the balloon. This is an ideal choice if you will be making the Super Soft No-Knead White Sandwich Bread recipe (on page 118 of The Modern Pioneer Cookbook), which means you will already have yeast on hand.
High Schoolers
The 9-12 lesson is the only one in this chapter to tackle the subject of sourdough. Students revisit the topic of fermentation and lactic acid bacteria (taught in Chapter 5) and learn that this is how sourdough starter is made. They also learn that sourdough starter is just one kind of leavening agent that makes bread rise.
By reading “What’s So Special About Sourdough Bread?” (page 120 in The Modern Pioneer Cookbook), students will learn about the health benefits of sourdough bread. As they read, they can take notes using the following printable worksheet.
When they’re ready, they’ll have the chance to make an advertisement for their own (fictional) sourdough business. They can show what they know about sourdough through this fun and creative activity. As long as they follow the criteria in the lesson plan, they can use any kind of medium to create their ad, ranging from traditional art supplies to graphic design to video production. If your student creates a sourdough ad for this lesson, be sure to share it with Mary on social media! (Use hashtag #marysnest or her account name @marysnest.)
Finally, it’s important to note that for the 9-12 lesson, there are two separate recipes. The first is for the sourdough starter, and the second is for sourdough bread (whose ingredients include the starter you made). Keep in mind that the sourdough starter needs to be “fed” every twelve hours, so schedule your feedings for times when your students are available. For example, if you make your starter at noon, you will have to feed it again at midnight.
Baking Recipes
For our Chapter 6 lesson, we chose to work with two recipes. First, we made the Oregon Trail Pioneer Brown Bread for the K-4 lesson. But we also really wanted to try sourdough (finally!), so we followed the recipe for 100% Hydration Sourdough Starter, which we will be using to make Beginner’s No-Knead Sourdough Boule.
Oregon Trail Pioneer Brown Bread
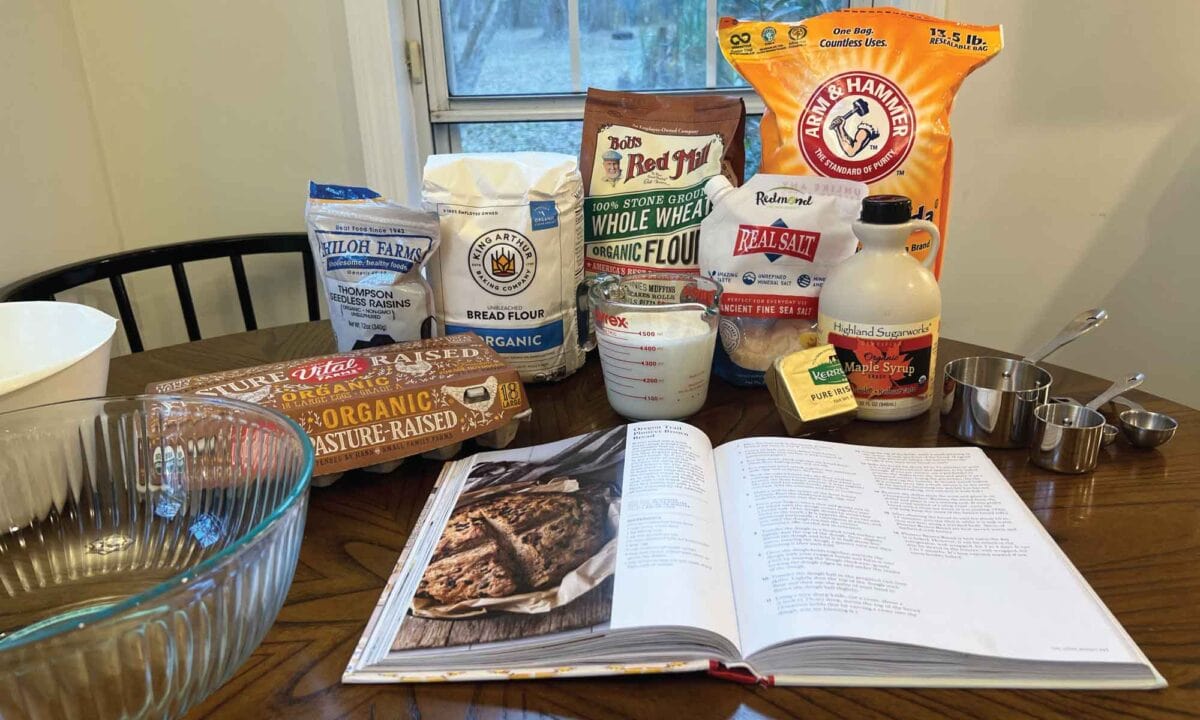
To get started, we gathered our ingredients:
- Unbleached bread flour
- Whole wheat flour
- Baking soda
- Sea salt
- Buttermilk
- Egg
- Maple syrup
- Butter
- Raisins
We used two separate bowls, one for wet ingredients and one for dry.
My children enjoyed the recipe’s instructions to mix the dough by hand. This is a great “sensory play” experience (although sensory-sensitive children may need extra support). Similarly, the process of folding and flattening was also fun for my kids.
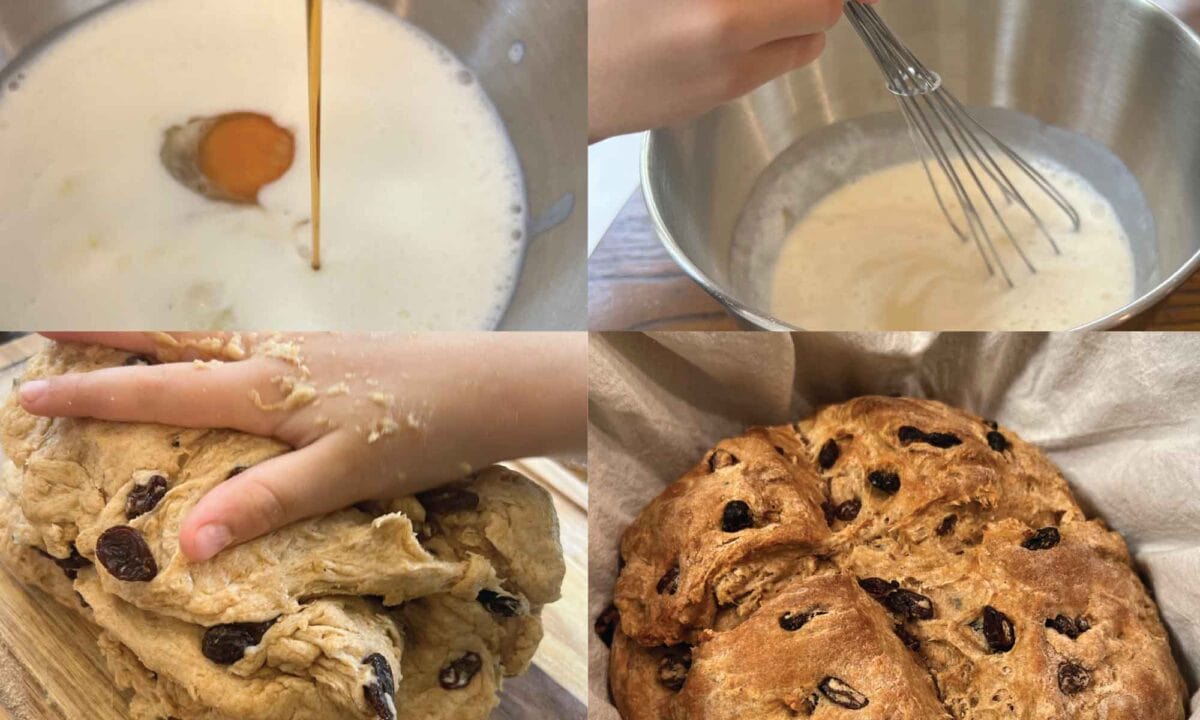
Once the dough ball was well-formed, we used a knife to cut a traditional cross into the top of the bread. My daughter, who loves fairies, was thrilled to learn that the recipe says to pierce each quadrant to “release the fairies from the dough.”
We baked the bread for 45 minutes and covered it with a clean tea towel as it cooled. This helped to keep the crust soft. If you prefer a harder crust, don’t cover the bread as it cools.
100% Hydration Sourdough Starter
Making sourdough starter takes several days. To get started, mix an equal amount of flour and water in a large jar and let it ferment. Throughout the fermentation process, you have to “feed” the mixture regularly. It’s quick and easy to feed your starter. The most challenging part is remembering to feed it on time.
To feed your starter, remove half of it (the discard) and add more flour and water to the jar. The discard can be stored in a separate jar in the refrigerator. You can use it in a variety of recipes, such as pancakes, crackers, flatbread, and biscuits.
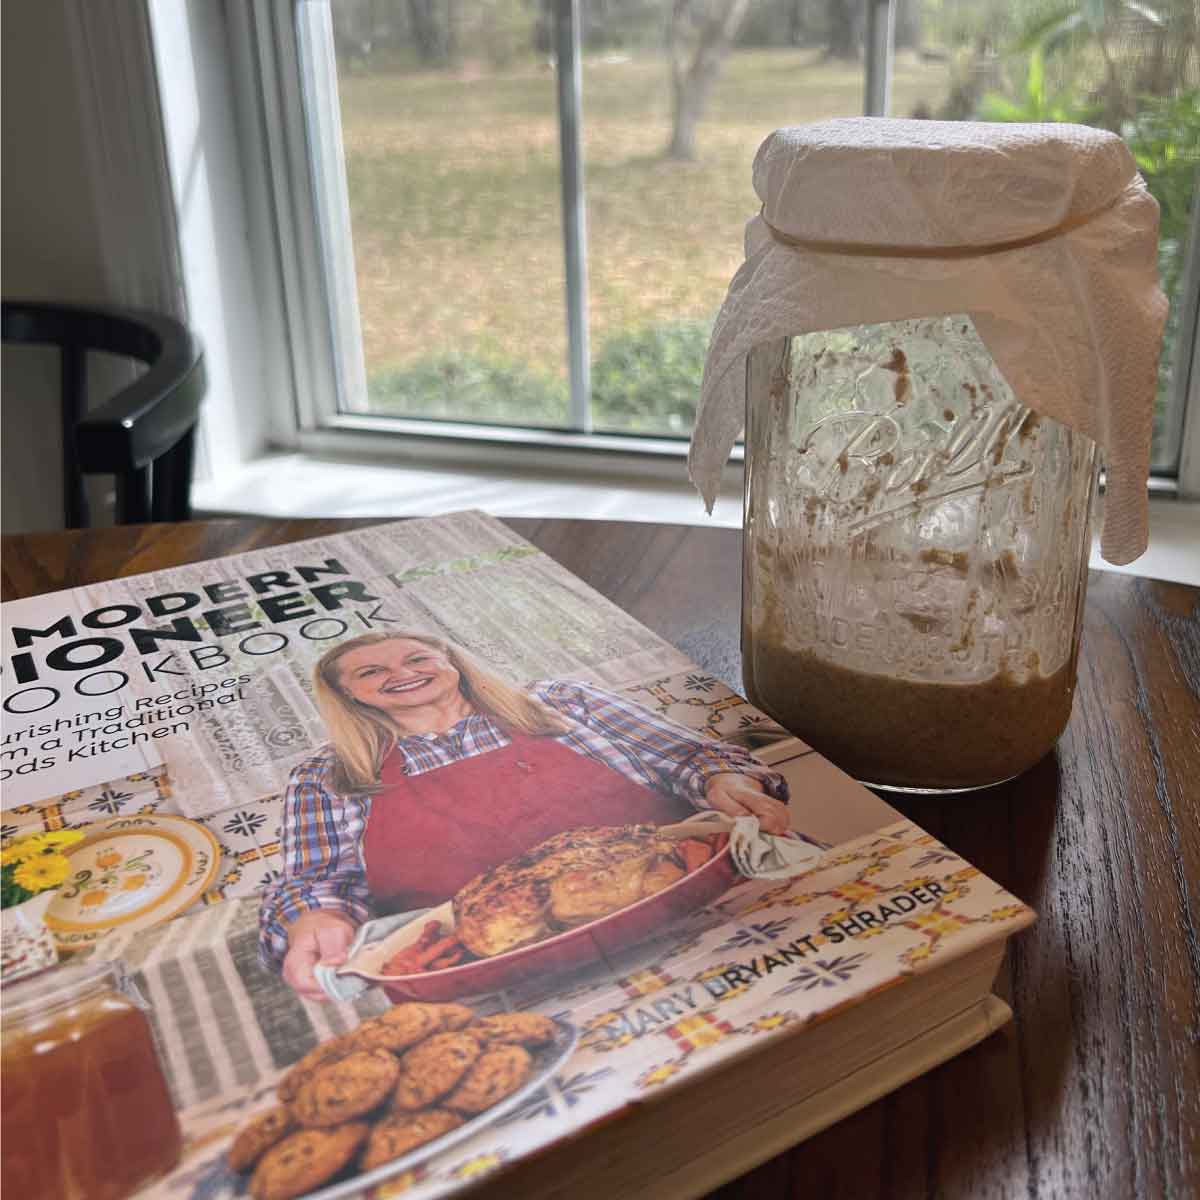
As we learned when making pickles for the Chapter 5 lesson, we need to pay attention to our jars while they ferment. I realized this firsthand pretty quickly. Following the suggestion in The Modern Pioneer Cookbook, I moved the starter into the refrigerator to slow down the feeding schedule from daily to weekly. However, after just a day and a half of being in the fridge, I noticed the brown liquid called “hooch” form in my starter jar.
The appearance of hooch means your starter is very hungry. I was surprised that my starter got so hungry so quickly while it was refrigerated. I wasn’t expecting to have to feed it for about a week. If I hadn’t paid attention, I wouldn’t have noticed it needed to be fed.
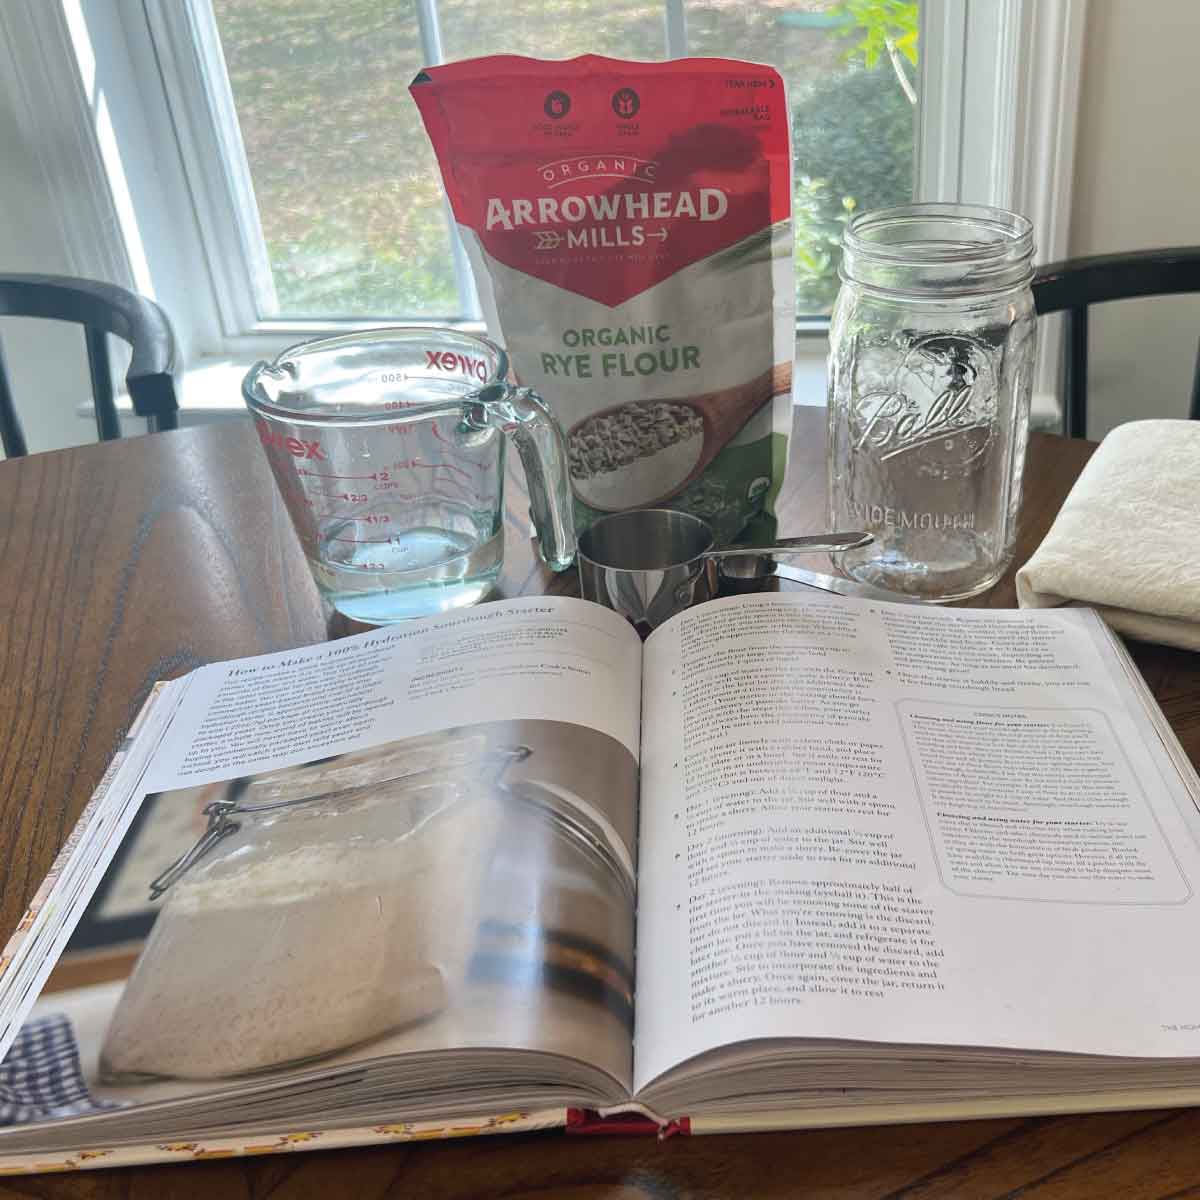
To help families keep track of feeding times and observations of their sourdough starter, I created a printable worksheet to accompany the 9-12 sourdough lesson that you can download:
Bread Tasting
The Oregon Trail Pioneer Brown Bread was a big hit! My three children probably would’ve eaten the whole thing if I let them. We spread some grass-fed butter on it, and it was delicious. We ate the leftovers the next day, and after a light toasting, it was just as good as when it first came out of the oven. We made the bread again for a family gathering, and everyone loved it!
As of this writing, we haven’t made our sourdough bread yet, but we have been feeding and observing our sourdough starter. I also used our discard to make some flatbread, which came out tangy and tasty! We’re excited to bake our Beginner’s No-Knead Sourdough Boule, hopefully in the next few days.
Final Thoughts
Using my experience facilitating this lesson, here are my ultimate takeaways for anyone getting ready for Chapter 6:
- The 5-8 activity is a terrific chemistry experiment to facilitate with students of different ages.
- If you’re making the 9-12 sourdough recipes, schedule it for a week that isn’t too busy.
- As part of either social studies or religious education, you may also want to connect the 5-8 and 9-12 lessons with the story of Passover and the difference between leavened and unleavened bread.
- Finally, I suggest watching Mary’s videos with your students before getting started!