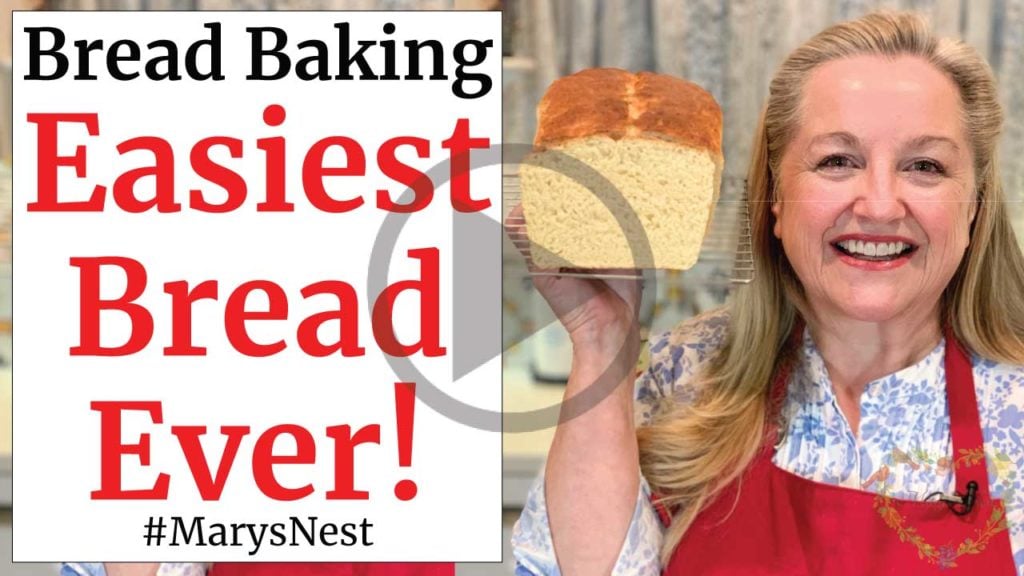
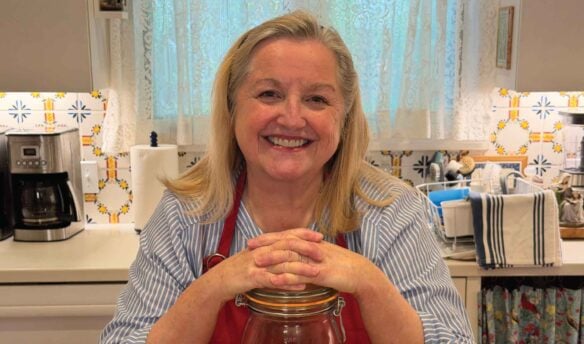
Learn how to make no-knead Batter Bread. This recipe will be the easiest bread you will ever make in 90 minutes!
Affiliates note: As an Amazon Associate I earn from qualifying purchases. My content may contain affiliate links to products and services. If you click through and make a purchase, I’ll receive a small commission. It does not affect the price you pay.
Table of Contents
- What is Batter Bread?
- The Original No Knead Bread
- A Glimpse into Cooking History
- The Batter Bread Process
- A Special Tip as to the Rise Time
- A Note About Tenting
- How Do I know When the Bread is Done?
- Are Batter Bread Recipes Versatile?
- Want to Convert a Bread Recipe into a Batter Bread?
- Batter Bread Shelf Life and Recipes
- More Easy No Knead Bread Recipes
- Grind Your Own Flour with the Mockmill
- The Modern Pioneer Cookbook
- The Modern Pioneer Pantry
- Start Your Traditional Foods Journey
- Download Your Free 36-Page Pantry List
- Join the Traditional Foods Kitchen Academy
- Kitchen Academy Videos
- Batter Bread Recipe
- Shop for items used in this blog post or video
What is Batter Bread?
Batter bread is an old fashioned way of making a yeast-risen bread without kneading. After a long day of hard work, pioneering home cooks may have lacked the physical energy and time to knead bread. Batter bread recipes helped these home cooks make sure that they could have bread on the table at dinner time for their family.
You can prepare a Batter Bread by mixing together a very wet sticky dough with a wooden spoon or a Danish dough whisk. You can even use an electric handheld mixer if you want to spare the elbow grease! 😉
The Original No Knead Bread
Batter Breads have been around a long time. The first Batter Bread recipe appeared in the cookbook entitled “The Virginia Housewife” by Mary Randolph. This book and its recipes were originally published in 1824!
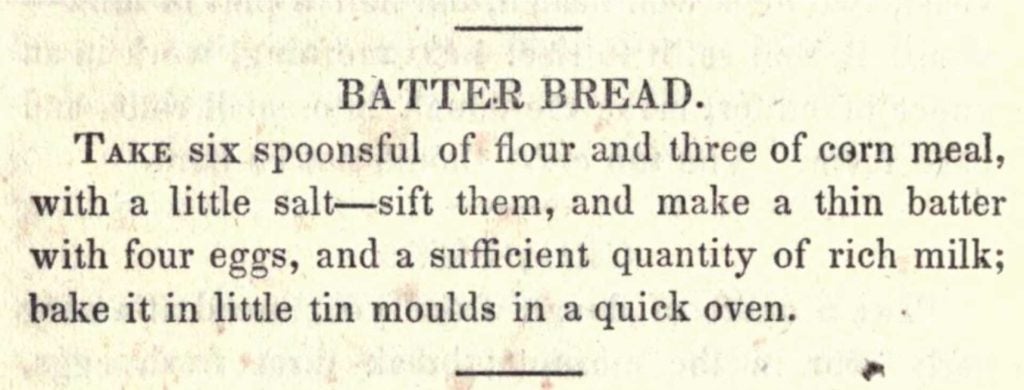
The original batter breads were popular in the southern part of the United States and were often made with cornmeal. But over the years, each region of the U.S. began developing its own versions of batter bread, which led to the modern-day batter breads that we enjoy today. Right from the beginning, batter breads have been mixed and baked and never kneaded.
Batter breads do not have to be kneaded because as you mix the ingredients together in a very wet dough, the mixing process and the liquid help develop the gluten. This process happens quickly, and it will go on to produce a fast-rising bread with a wonderful texture that’s perfect for sandwiches, toast, or just eaten on its own right out of the oven.
A Glimpse into Cooking History
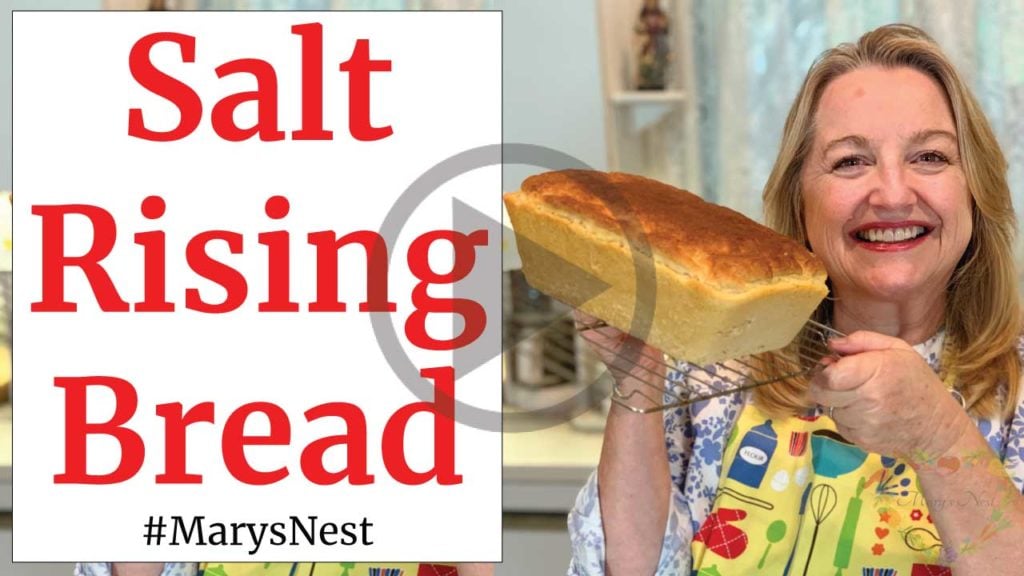
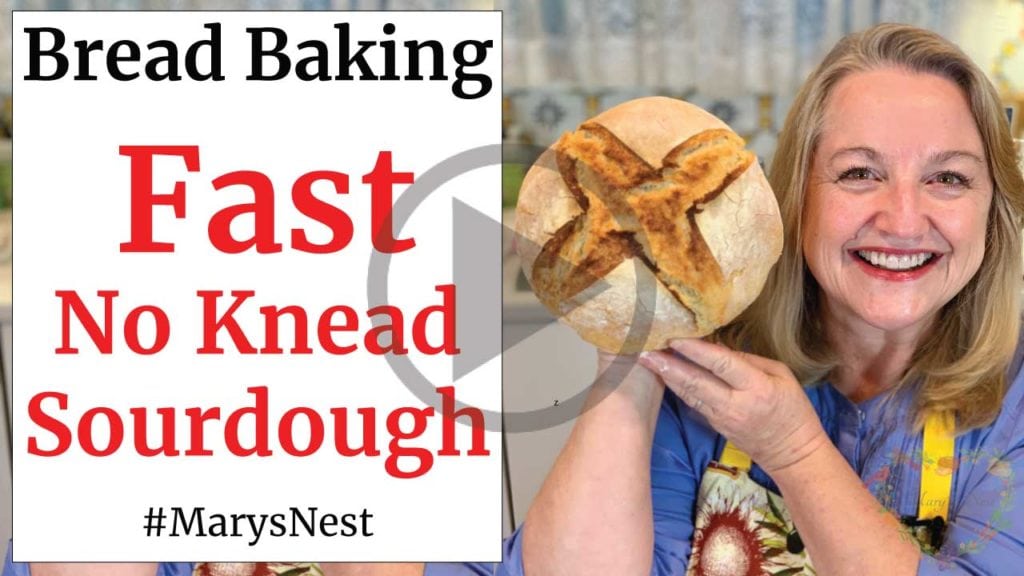
I love history, and I especially love anything to do with the history surrounding cooking, recipes, and especially historical cookbooks. It is imperative for me to preserve the history of how to make traditional foods for future generations, including Salt Rising Bread, Hot Water Cornbread, and No Knead Sourdough.

In addition to the actual historical recipes, I am especially interested in learning about the women who cooked these foods and who, in many cases, went on to record their recipes for history by writing cookbooks. I love learning about the history of traditional foods and the women behind them because I find myself going down many a “rabbit hole” in pursuit of knowledge and learning more about general history in the process.
If you are like me, you might be wondering about Mary Randolph. Mary was an interesting woman who was related to Thomas Jefferson by marriage! Mary’s brother was married to Martha Jefferson, who was Thomas Jefferson’s daughter.
During the course of Mary’s life one of her endeavors was running a boarding house where she spent a lot of time in the kitchen cooking. Later in life, Mary decided to write her cookbook, The Virginia Housewife. She wanted to share the recipes from her time cooking for her boarding house guests and staff, but she also hoped to supplement her family’s income.
Mary’s cookbook is considered to be the first regional American cookbook. Her groundbreaking cookbook focused on the southern foods that she knew, making it very popular among southern women home cooks.
The Batter Bread Process
Well, let’s get back to the bread. (I told you I can start to go down many a rabbit hole! 😊) Since we use less flour for batter breads, the recipe forms a wet sticky batter rather than the typical dough we are normally used to working with when making bread. When you first mix all the ingredients together, you will reserve about 1/3 of the flour. Holding back the flour in the beginning creates a very wet dough that is easy to mix, not unlike a cake batter.
Once you have mixed in the first 2/3 of the flour and that flour is well saturated, you’ll add in the last 1/3 of the flour. Afterward, you’ll continue mixing to incorporate the additional flour before transferring the batter dough to a well-greased loaf pan. You will not be adding any extra flour to your hands, but instead, using wet hands, you’ll smooth out the batter evenly to each of the four corners of the pan. (See my recipe video for the technique.)
A Special Tip as to the Rise Time
Batter breads need very little time to rise. Only 30 minutes should do the trick, but depending on the temperature in your kitchen, your rise time might take up to 45 minutes. You can know when it has risen enough by making sure that it rises only as high as the rim of the loaf pan. Why? Because if you allow the batter bread to rise significantly above the rim of the loaf pan, it may sink or “fall” once you put it in the oven to bake!
So take care to keep an eye on your rising batter bread. And be sure to preheat your oven, so when the batter reaches the rim of the pan, you can immediately pop it into the oven. In about 45 minutes, you will have some of the most delicious soft bread you have ever tasted!
A Note About Tenting
As I have shared with you in the past, I have a very small oven, and I often have to tent my breads to prevent the over-browning of the top crust. Tenting the bread means putting a piece of aluminum foil over the top of the bread while it’s in the oven. So if, like me, you have a small oven, be sure to keep an eye on your bread as it bakes.
The tenting technique is helpful if you have a large oven too. Check on your bread around the 30-minute mark and make sure the top crust is not over-browning. If it is, but your bread has not finished baking, simply tent the top of the bread with a piece of aluminum foil.
How Do I know When the Bread is Done?
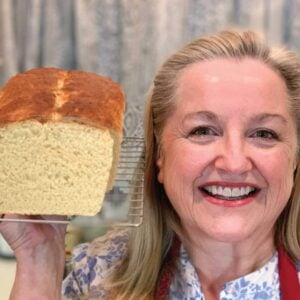
Generally speaking, this bread will take between 40-45 minutes to bake. But to be sure that your bread is completely baked, you can remove the bread pan from the oven, slip the loaf of bread out of the pan, and tap on the bottom of the bread. If the bread sounds hollow when you tap on the bottom, the bread is baked, and you can transfer it to a cooling rack.
Are Batter Bread Recipes Versatile?
What if you want to use a batter bread recipe to make a bread that’s different from loaf pan bread? Yes, you can definitely do this! I will be sharing more batter bread recipes in the future, but I will share a quick tip here.
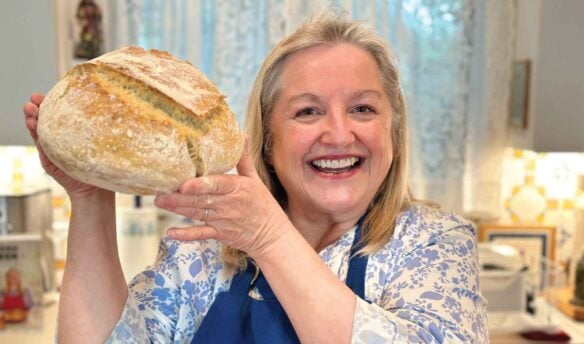
Say you want to take your batter bread and form it into a shaped bread—more like an artisan boule. Just allow your batter bread to rise in a loaf pan, and once it reaches the rim of the pan, dump it out of the pan and shape it with wet hands into a round. Next, transfer your round to a baking sheet, heatproof bowl, or Dutch oven and bake. You will be thrilled with the outcome of this soft yet crusty bread.
Want to Convert a Bread Recipe into a Batter Bread?
Do you have a bread recipe that you would like to convert into a Batter Bread? It is easier than you think. And it’s definitely worth experimenting with. If you are using all-purpose (plain) or bread flour, all you have to do is reduce the flour in a recipe to have a two to one ratio with the liquid called for in the recipe. For example, if you have a recipe that calls for 4 cups of flour and 1 1/2 cups of liquid, you’ll reduce the flour to 3 cups.
If you have a bread recipe using whole-grain flour, the ratio will be slightly different. For example, if you have a whole-grain bread recipe that calls for 5 cups of whole-grain flour (or even a mixture of whole-grain flour and all purpose or bread flour) and 2 cups of liquid, you will reduce the flour down to 4 cups but you will need to increase the liquid by an additional 1/3 cup for a total of 2 1/3 cups of liquid. Basically, follow the same ratio as before, but add another 1/3 cup of liquid.
Batter Bread Shelf Life and Recipes
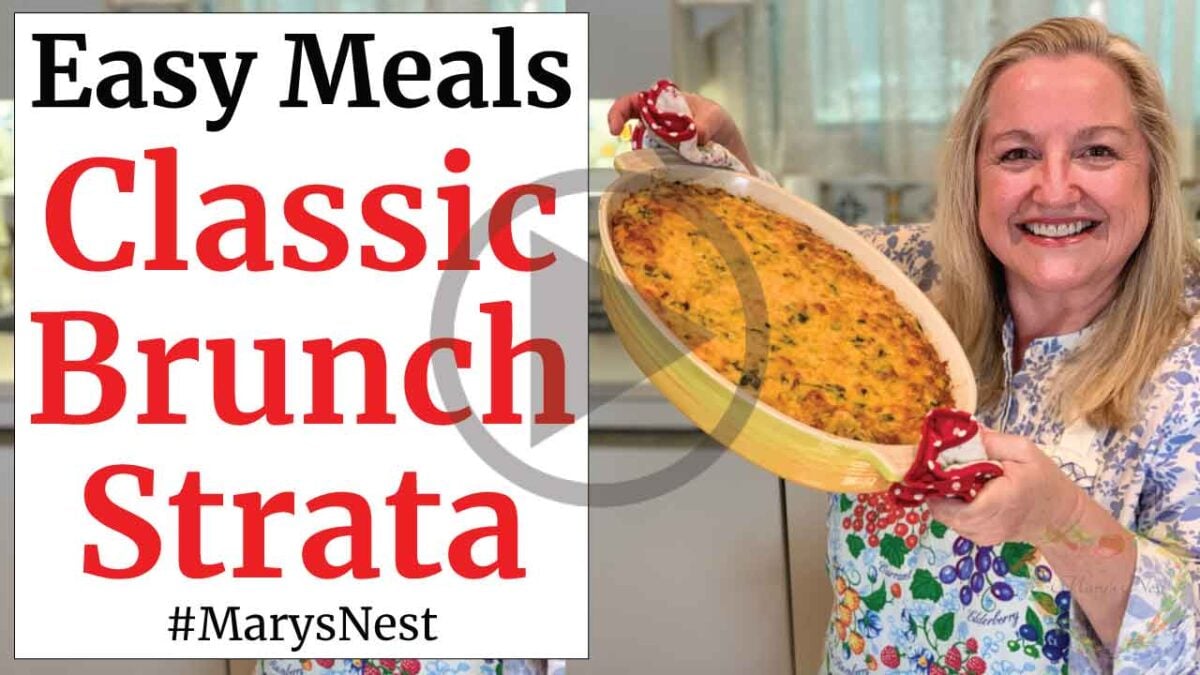
Batter Bread is best eaten the day it is made. That’s usually not a problem since they are hard to resist! However, if you keep your batter bread for more than a day, it will make amazing toast. You can also use your batter bread in a brunch recipe, including French toast or a Strata.

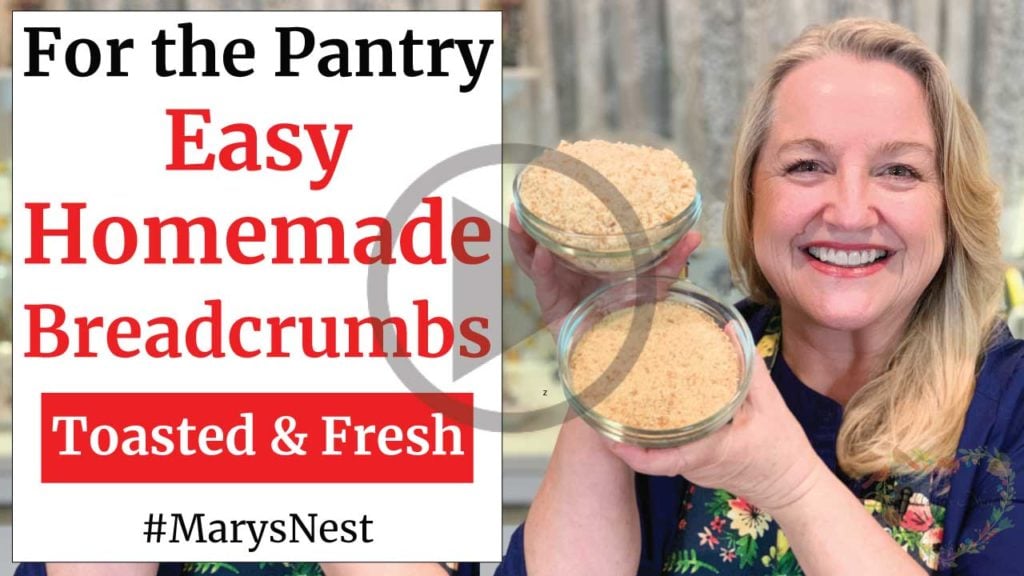
Or instead of toast or brunch delights, you can also use your batter bread to make delicious croutons or breadcrumbs.

More Easy No Knead Bread Recipes
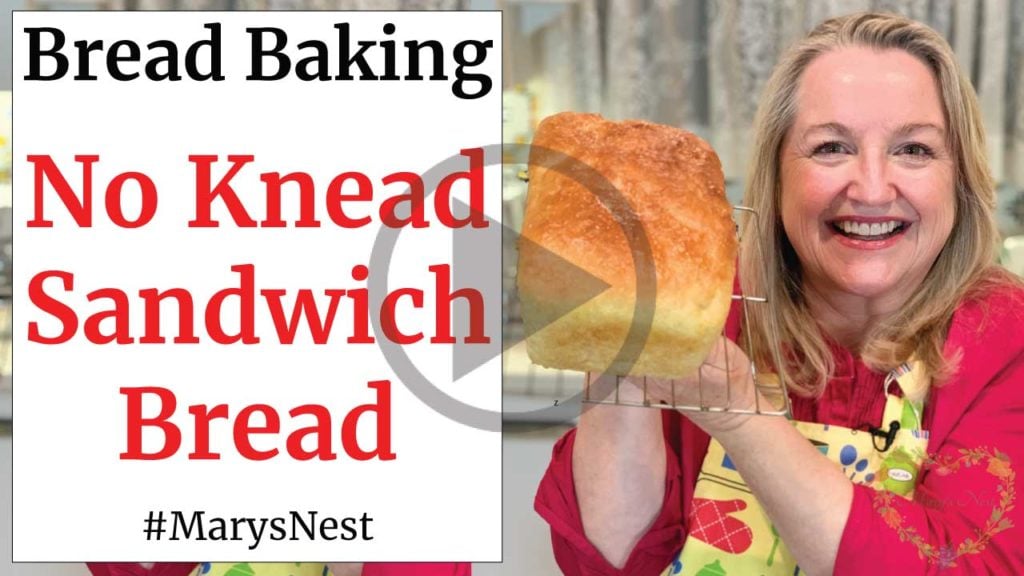
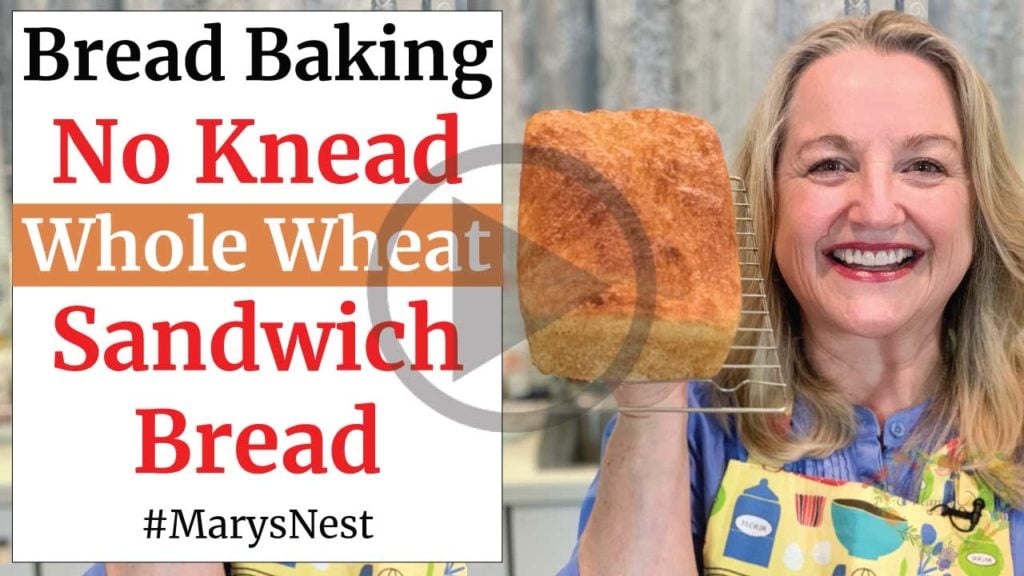
If you would like to learn how to make more easy no-knead breads, be sure to check out my very popular sandwich bread videos with accompanying printable recipes. I show you how to make a simple sandwich bread as well as a whole wheat sandwich bread.
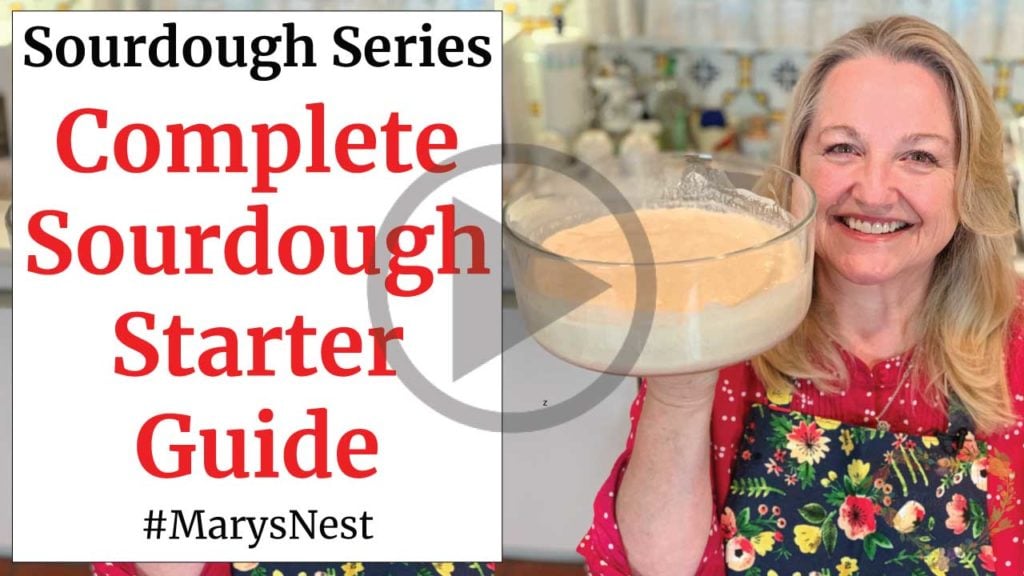
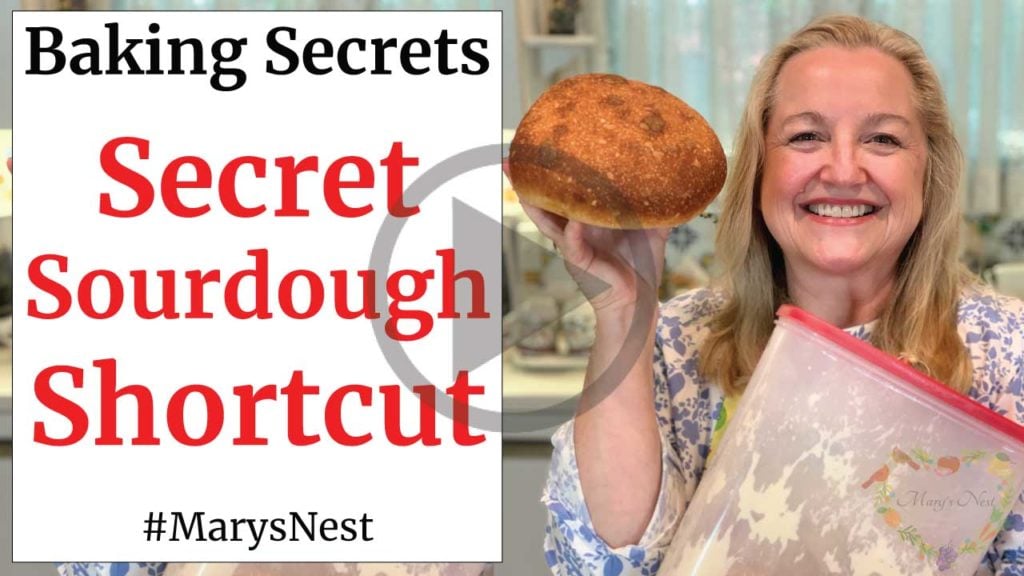
When you are ready to graduate up to making sourdough breads, be sure to check out my Complete Sourdough Starter Guide. If you are not quite ready to going all-in when it comes to sourdough, check out my little secret sourdough shortcut—the Busy Mother’s Sourdough. If you have little time to get a sourdough starter going and little time to maintain it, this might be just what you are looking for!
Grind Your Own Flour with the Mockmill
When it comes to electric grain mills, after I did A LOT of research, I decided to buy a Mockmill. And am I so happy I did! The Mockmill is a very affordable but beautifully crafted German-made mill that stone grinds grain with settings ranging from 1 to 10—fine to coarse ground grain.
Learn more about Mockmill electric grain mills for making fresh flour and their Flake Lover’s Flaker that flakes whole grain in minutes. (This is not a sponsored post, I bought the Mockmill products that I show you, and I’m a happy user of their devices in my kitchen.)
- Get the Mockmill 100 Stone Grain Mill (Same product I show you in my unboxing video.)
- Mockmill 100 Grain Mill unboxing
- Flake Lover’s Flaker from Mockmill in action (Using this device, you can flake whole grain in minutes.)

Order YOUR COPY Now!
The Modern Pioneer Cookbook
Seasonal ingredients, traditional techniques, and nourishing recipes. Over 85 traditional, from-scratch recipes! Discover for yourself how you can use simple ingredients and traditional techniques to cook the modern pioneer way.
Order YOUR COPY Now!
The Modern Pioneer Pantry
Simple ingredients, timeless techniques, and a well-stocked pantry. Discover over 100 nourishing recipes to preserve food and turn pantry staples into homemade meals. Build a wholesome, traditional pantry—just like a modern pioneer!
Start Your Traditional Foods Journey
Sharing my passion for traditional cooking goes beyond my YouTube cooking school—it also comes to life in the pages of my cookbooks. Both of my books, The Modern Pioneer Cookbook and The Modern Pioneer Pantry, are proudly published by Penguin Random House.
The first is filled with time-honored recipes to help you create a traditional foods kitchen, while the second is your complete guide to home food preservation. Order both books today to start or continue your traditional foods journey.
Download Your Free 36-Page Pantry List
For an extensive list of the traditional foods you can make and purchase to stock your pantry, be sure to download my free 36-page Traditional Foods Pantry List. This comprehensive eBook is full of links to recipe videos, helpful articles, and more!

Join the Traditional Foods Kitchen Academy
Are you looking for more traditional foods videos? If so, I invite you to join the Traditional Foods Kitchen Academy. Members of this optional paid YouTube community get access to exclusive videos and other members-only perks. Plus, your YouTube comments include a special members-only badge.
Kitchen Academy Videos

Baking Questions Answered with Ted and Me!
Join me and my husband Ted for a Q&A filled with practical kitchen tips, helpful techniques, and answers to your baking questions.
Baking with Whole Grains: The Maslin Method, Grain Mills, and America’s Bread Basket
Explore whole grain baking with The Maslin Method, fresh-milled flour, grain mills, heritage wheats, and more.
A Sweet Season of Celebration and New Beginnings with The Maslin Method Baking School Series
Celebrate the close of a heartfelt book tour and the exciting launch of The Maslin Method Baking School for traditional baking.
Stay in Touch with Mary’s Nest
- Subscribe to My YouTube Channel for Traditional Foods Videos (Free) - When you subscribe, be sure to click on the notification bell that will let you know each time I upload a new video.
- Subscribe to Mary’s Traditional Foods Newsletter (Free) - Get a free 36-page eBook for signing up: How to Stock Your Essential Traditional Foods Four-Corners Pantry.
- Join the Traditional Foods Kitchen Academy - For more detailed videos and exclusive members-only perks, join my YouTube membership community.
- Order The Modern Pioneer Cookbook - Get a hardcover book of Mary's nourishing recipes from a Traditional Foods Kitchen. This bestselling cookbook is published by Penguin Random House with their DK imprint.
- Order The Modern Pioneer Pantry - Get Mary's latest hardcover cookbook about preserving food and making delicious meals from your Four Corners Pantry. Mary's second cookbook is also published by Penguin Random House.
I look forward to having you join me in my Texas Hill Country Kitchen!
I’d like to receive more tips and recipes from Mary’s Nest.
Batter Bread
Equipment
- 5" x 9" loaf pan, metal or glass
Ingredients
- 3 cups All-purpose or bread flour All-purpose flour is also known as plain flour.
- 1 1/2 cups Whole milk, warmed to approximately 130°F Non-fat milk, 2% milk, or water can be substituted.
- 2 1/4 tsp Instant yeast Active dry yeast can also be substituted, but the liquid used in the recipe should only be warmed to 110°F.
- 1 tbsp Sugar Sucanat (dried sugar cane juice) can be substituted.
- 1 1/2 tsp Salt
- 3 tbsp Butter, softened Plus additional butter for greasing loaf pan.
Instructions
- Grease a 5" x 9" loaf pan. Set aside.
- Into a large bowl, add warm milk, softened butter, and sugar. Stir to allow the butter to melt in the warm milk.
- Sprinkle the yeast into the bowl and allow to dissolve on top of the wet ingredients. Alternatively, mix the yeast with the wet ingredients using a spoon.
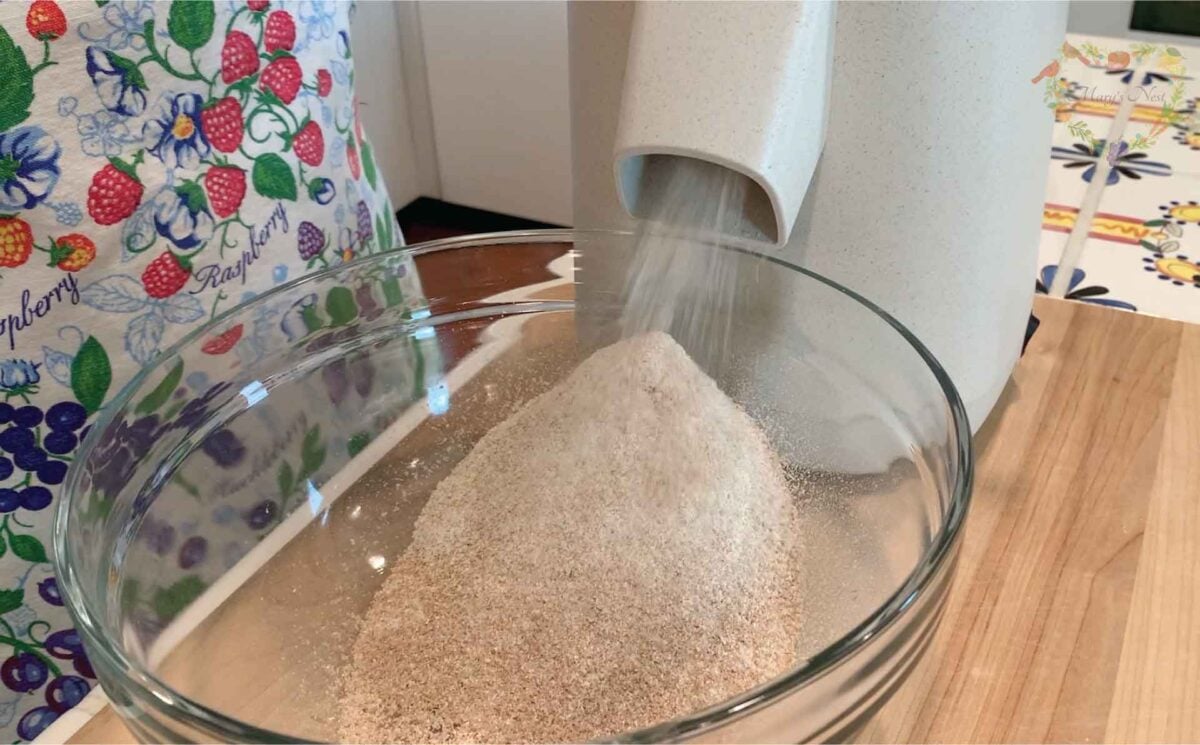
- Add salt to the flour and mix well.
- Add approximately 2/3 of the flour into the wet ingredients and mix well until all the flour is completely saturated by the wet ingredients.
- Add the remaining 1/3 of the flour into the bowl and mix well until a sticky dough forms.
- Transfer the dough to the greased loaf pan. With wet hands, spread out the dough evenly so that it reaches each corner of the loaf pan. (See video.)
- Allow the dough to rise for approximately 30 minutes until it reaches the rim of the loaf pan. Do not let the dough rise higher than the rim of the loaf pan; otherwise, it might sink or "fall" in the middle when placed into the oven.
- While the bread is rising, preheat the oven to 375°F.
- Once the dough has risen to the rim of the loaf pan, transfer it to the middle rack of the preheated oven and bake for approximately 40-45 minutes.
- Keep an eye on the bread as it bakes. If it is browning too quickly before it is fully baked, tent the bread with a piece of aluminum foil.
- The bread is fully baked when it is a golden brown on top and sounds hollow when tapped on the bottom.
- Once baking is complete, remove the bread from the oven, remove the bread from the loaf pan, and transfer it to a cooling rack for a few minutes. The bread may be sliced warm or allowed to cool completely. Enjoy!
- Batter Bread is best enjoyed the same day it is baked, but you can store it in the refrigerator in an airtight plastic storage bag or wrapped tightly in plastic wrap for 2-3 days. You will enjoy the bread the best after refrigeration if toasted.
Video
Notes
Nutrition
Shop for items used in this blog post or video
Favorite Kitchen Supplies
- Favorite Aprons
- Spice Grinder
- Countertop Burner (On my kitchen island in many recipe videos.)
- Handheld Vacuum Sealing System
- Vacuum Lids
- Whisk
- Silica Gel Packets (Helps keep moisture from building up in your mix)
- Cast Iron Dutch Oven
- 8-Quart Slow-Cooker
- Fat Separator (Clever kitchen device to help you decant bone broth)
- Flour Sack Towels
- pH Strips (Helps you check on the acidity of your vinegar)
Amazon Shop and Shopping Guide
- Visit Mary’s Nest Amazon Shop
- Get a 30-day Audible trial with a free audiobook
- Visit my Shopping Guide page
Get up to 15% off for stocking your Traditional Foods Pantry and equipping your Modern Pioneer Kitchen, including discounts from US Wellness Meats, Farmhouse Teas, Backwoods Home, Masontops, Cultures for Health, Survival Garden Seeds, Redmond Real Salt, and More!

So VERY easy!
Hi Dena,
Thanks for your kind comment. I’m so glad you enjoyed the recipe.
Love and God bless,
Mary
This was my first ever attempt at making bread from scratch, and it turned out awesome! Mary is the best and her recipes never fail, no matter your experience level! She is a true inspiration for how I strive to become. Thank you Mary!
Hi Jesse,
Thanks for your kind comment. I’m so glad you had a wonderful experience making batter bread. There’s nothing like the taste of homemade bread! 🙂
Love and God bless,
Mary
Simply delicious and so easy to make. Thank you for this wonderful recipe. It does make great bread, especially for tomato sandwiches and lovely toast with peach preserves! Yum
Hi Karen,
Thanks for your kind comment. Your pairing of the bread with tomatoes or peach preserves sounds delightful!
Love and God bless,
Mary