• Skip to primary navigation
  • Skip to main content
  • Skip to primary sidebar
  • Skip to footer

Mary's Nest

  • Home
  • Start Here
  • Recipes and Videos
  • Shopping Guide
  • About
  • Contact
  • Facebook
  • Instagram
  • Pinterest
  • Twitter
  • YouTube

No Knead Sandwich Bread – Super Soft!

This is the perfect bread to make to help you transition from a Processed Foods Kitchen to a Traditional Foods Kitchen.

March 5, 2020 By Mary's Nest 49 Comments

No Knead Sandwich Bread – Super Soft!

Watch the No Knead Sandwich Bread video

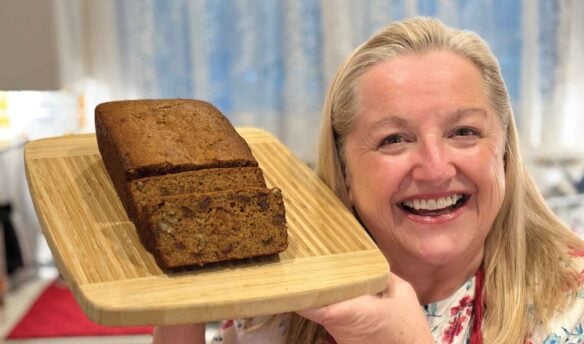
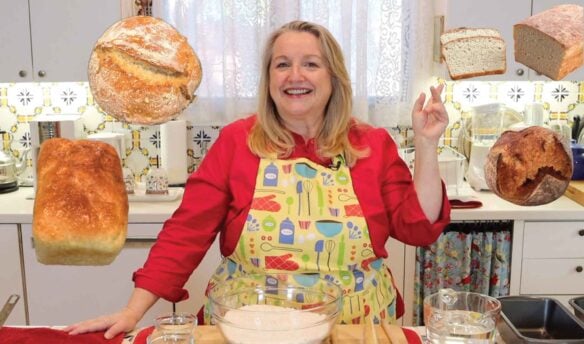
Learn How to Make Super Soft No Knead Sandwich Bread with this easy recipe. This is the perfect bread to make for to help you transition from a processed foods kitchen to a Traditional Foods Kitchen.

*Affiliates note: As an Amazon Associate I earn from qualifying purchases. My videos and blog posts may contain affiliate links to products and services. If you click through and make a purchase, I’ll receive a small commission. It does not affect the price you pay.

Get Printable Recipe
View Favorite Supplies

The Traditional Foods Kitchen

If you are in the process of transitioning from a processed foods kitchen to a traditional foods kitchen, bread can present a challenge. You may still be buying sandwich bread at the store, but now, you want to learn how to make your own bread. There’s just one problem. The process of making sourdough frightens you. And you’re certainly not ready to start soaking and sprouting grains to make your own sprouted flour! So what do you do?

No Knead Bread Made with Yeast

As I have shared with you in the past, I am not a fanatic when it comes to making traditional foods. Yes, sourdough is great, and so is bread made with sprouted flour. They’re both easy to digest and allow our bodies to absorb nutrients more easily. However, those two types of bread can also seem daunting to make to those new to traditional foods.

So when it comes to making bread as a beginner, I have no problem helping you learn this skill—as you’re starting out—by making a no knead sandwich bread that uses yeast.

With this recipe, there’s no need (sorry for the pun) to worry about the finger-poke test or the window-pane test. And even better, you don’t have to worry about a sourdough starter. All you have to do is mix six simple ingredients (that are available at pretty much every grocery store) together to create your dough, let the mixture rise for about an hour and a half, then transfer your dough to a loaf pan for another short rise…and then bake it. There is very little work on your part. And then…Voila!…Fresh homemade bread in few hours! And your home-baked sandwich bread is going to be better than anything you can buy at the grocery store.

More Bread Recipes

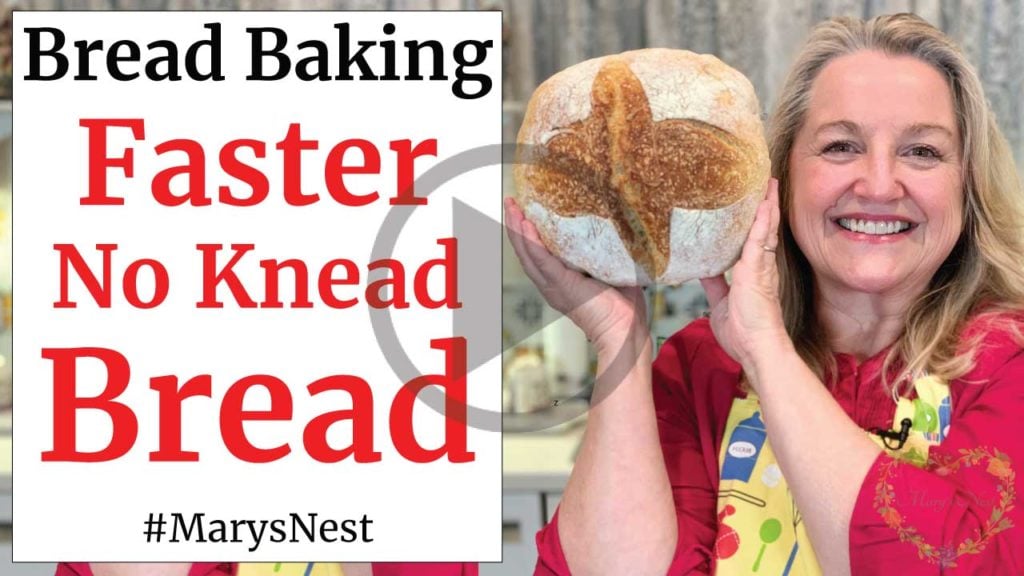
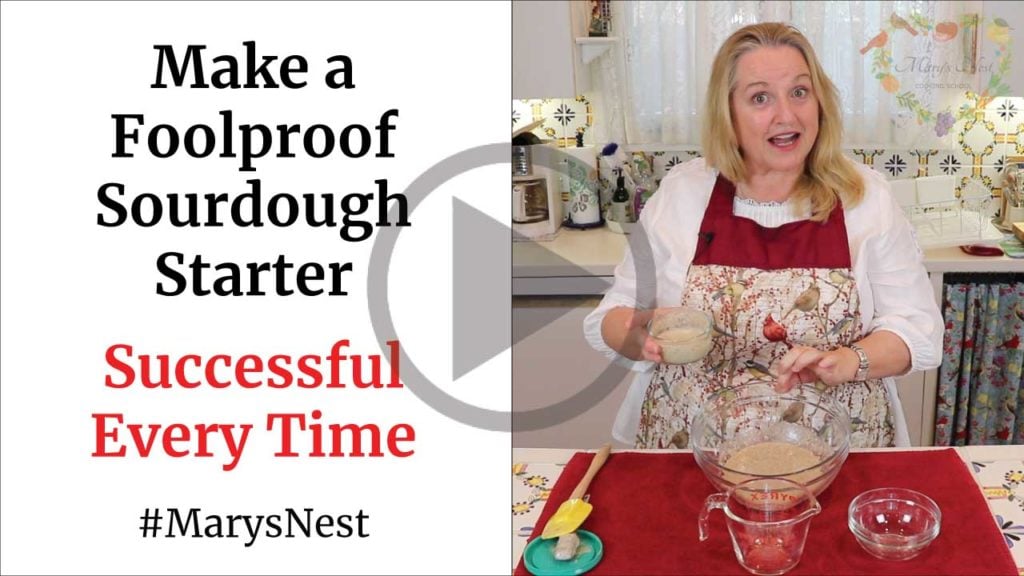
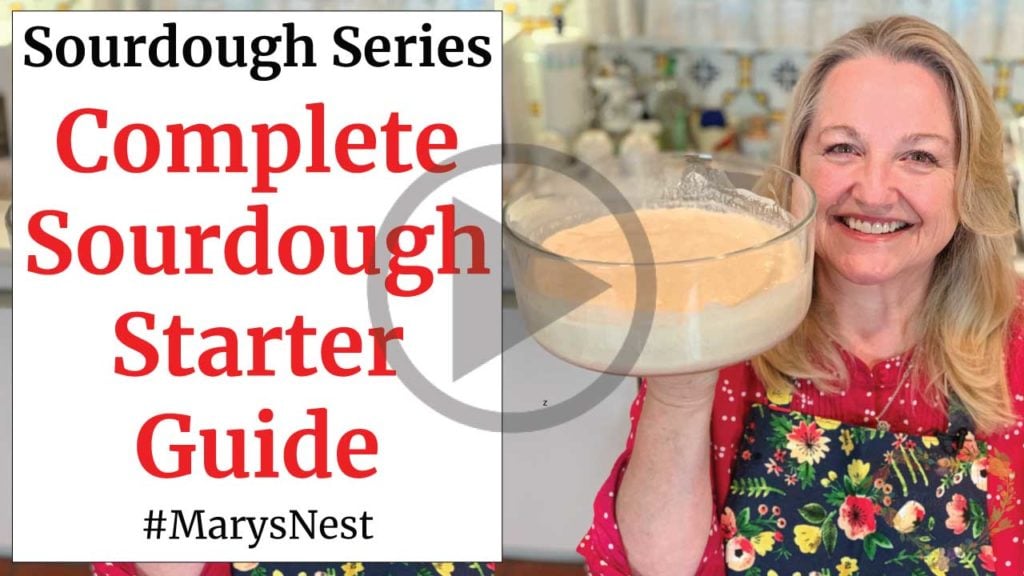
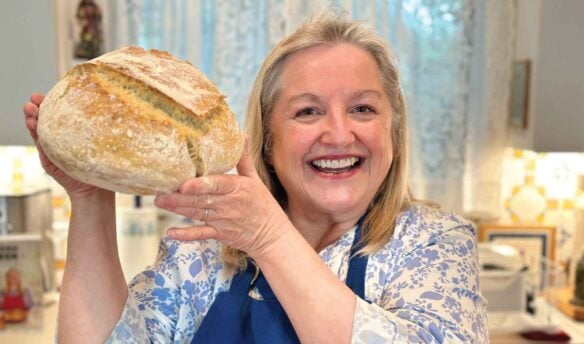
Now that you’ve created your no knead sandwich bread, try out my faster no knead bread that creates a bakery worthy “boule” with very little work on your part! It’s perfect for the beginner! You may also be ready to venture into the world of sourdough and sprouted grain breads. If so, be sure to check out my Foolproof Sourdough Starter made with rye flour and my Complete Guide to Sourdough Starter that will walk you through a step-by-step process for making a starter with all-purpose flour.

  • Faster No Knead Bread – Beginner Crusty Artisan Bread Recipe
Make a Foolproof Sourdough Starter that is successful every time video
  • How to Make a Foolproof Sourdough Starter
Complete Sourdough Starter Guide Recipe Video
  • The Complete Sourdough Starter Guide

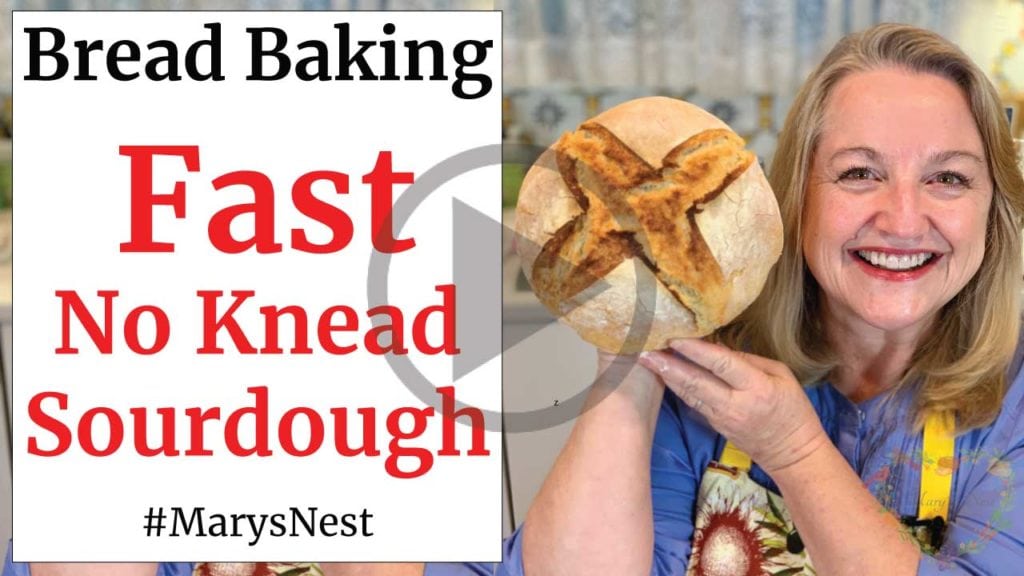
Once you’re ready to bake some sourdough bread, I’ve got you covered with three great recipes, including a No Knead Sourdough Bread, a Traditional Sourdough Boule, and a No Knead Spelt Boule.

Fast No Knead Sourdough Recipe Video
  • No Knead Sourdough Bread Recipe – FAST and FOOLPROOF
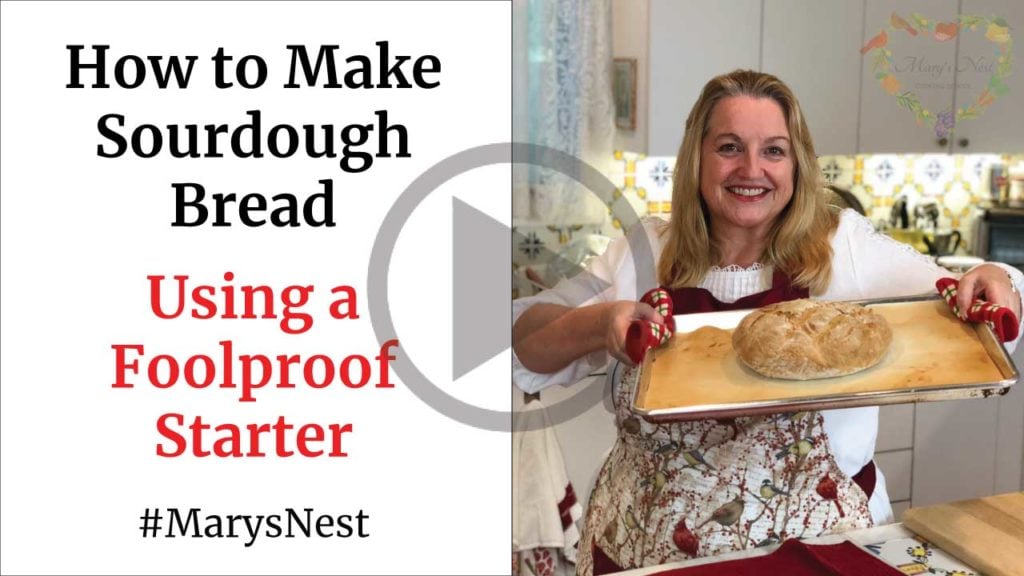
How To Make Sourdough Bread Using a Foolproof Starter videoHow To Make Sourdough Bread Video
  • How to Make Sourdough Bread Using a Foolproof Starter
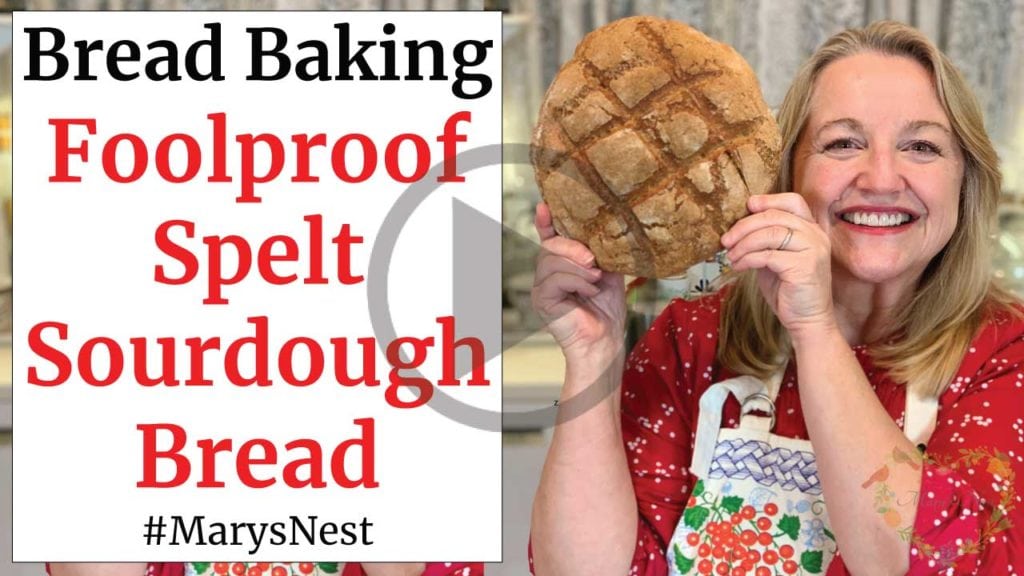
Foolproof Spelt Sourdough Bread Recipe Video
  • Sourdough Spelt Bread – Step by Step Fast No-Knead Recipe

Stay in Touch with Mary’s Nest

  1. Subscribe to My YouTube Channel for Traditional Foods Videos (Free) - When you subscribe, be sure to click on the notification bell that will let you know each time I upload a new video.

  2. Subscribe to Mary’s Traditional Foods Newsletter (Free) - Get a free eBook for signing up: How to Stock Your Essential Traditional Foods Four-Corners Pantry.

  3. Join the Traditional Foods Kitchen Academy (Optional Paid) - For more detailed videos, live streams, and exclusive members-only perks, join my YouTube membership community.

I look forward to having you join me in my Texas Hill Country Kitchen!

Love,
Mary ♥
Print Recipe
5 from 18 votes

No Knead Sandwich Bread

Learn How to Make Super Soft No Knead Sandwich Bread with this easy recipe.
Prep Time5 mins
Cook Time40 mins
Rise Time2 hrs 15 mins
Total Time3 hrs
Course: Breads
Cuisine: Americana
Keyword: Homemade Sandwich Bread, No Knead Sandwich Bread, Sandwich Bread
Servings: 8 servings
Author: Mary’s Nest

Equipment

  • 2 Loaf Pans (approximately 8 1/2" X 4 1/2")

Ingredients

  • 6 cups All-purpose flour
  • 1 tablespoon Fine ground sea salt
  • 1 tablespoon White sugar Can substitute alternative sugars such as Sucanat.
  • 1/4 stick Butter, melted 1/4 stick butter = 2 tablespoons. Oil such as coconut oil, avocado oil, or olive oil can be substituted. Avoid using highly processed vegetable, oils such as canola oil or corn oil.
  • 3 cups Water, warm Temperature should be 110°F if using active yeast, up to 130°F if using instant yeast. Warm to touch is sufficient.
  • 2 1/4 teaspoons Dry yeast, active or instant 2 1/4 teaspoons of yeast is equivalent to one 1/4 ounce packet of yeast.

Instructions

  • Whisk together in a large bowl flour, salt, sugar, and yeast.
  • Add water and melted butter (or oil if using) to bowl with flour mixture.
  • Mix all ingredients until they come together to form a wet, "shaggy" (sticky) dough.
  • Cover dough with a plastic wrap or a towel dusted with flour (so the dough will not stick to the towel), place the bowl of dough in a warm place, and allow the dough to rise for 1 1/2 hours if using instant yeast or 1 3/4 hours if using active yeast. Baker's Tip: A "warm" place in your kitchen can be in an oven that is off but has an electric light or pilot light on. An alternate warm place can be on top of a refrigerator. (Watch the video for additional tips on how to keep your dough warm as it rises.)
  • After the rise time, deflate the dough by pressing down on the dough with your hands. Afterward, divide the dough into two equal portions. Handling the dough is best done with well-greased hands.
  • Take two well-buttered loaf pans and transfer equal portions of dough into each loaf pan. Even out the dough into the corners of the pans using well-greased hands. (The dough will be very sticky.) This is a very important step. Make sure that the loaf pans are VERY well-buttered (or oiled if using butter alternative). This will ensure that the exterior sides and bottom of the bread will be soft.
  • Pre-heat the oven to 375°F with oven rack in the middle position.
  • Leave the dough in the loaf pans, uncovered, and allow to rise in a warm place for approximately 40 minutes (as the oven is pre-heating) until the dough is even with the rim of the loaf pan. In a warm kitchen, this rise can take less than 40 minutes.
  • Place loaf pans on a rack in the oven, and allow to the dough to bake for approximately 40 minutes until the top crust is golden brown. When you tap the top of the loaf, it should sound hollow.
  • Using pot holders, remove the loaf pans from the oven and place the pans on a cooling rack. Immediately brush each top crust with butter. Then, remove the bread from the loaf pans and transfer the bread onto the cooling rack.
  • Allow the bread to cool completely before slicing.
  • Bread can be stored at room temperature in a bread box or cloth bag. It will stay fresh for 2-3 days. Bread can also be stored in the refrigerator, well-wrapped (such as in a plastic storage bag), in the refrigerator. It will stay fresh for up to 1 week.

Video

Notes

You can cut this recipe in half to make one loaf of bread.  You will cut all the ingredients in half—except the yeast.  You will still use the same amount of yeast, whether you make one loaf or two loaves of bread.
Find this recipe and video at https://marysnest.com/no-knead-sandwich-bread/
Copyright © 2020 Mary’s Nest, LLC, All Rights Reserved

Shop for items used in this blog post or video

Favorite Bread Making Supplies

  • Baking Apron (This is the one that I’m wearing in the video.)
  • 10-Piece Glass Bowl Set
  • Danish Dough Whisk
  • BreadSmart Plastic Handle Danish Dough Whisk and Kit (See the BreadSmart discount promo code below.)
  • Wooden Scraping Spoon
  • Plastic Bench Scrape
  • Metal Bench Scrape
  • ️Metal Loaf Pans
  • ️Glass Loaf Pans
  • Cast-Iron Dutch Oven
  • Mockmill Grain Grinder and Whole Grains (promo code below)

Use promo code MARYSNST for a one-time 15% off Masontops and Breadsmart products on Amazon.com.

Use my Mockmill affiliate link for a special one-time 5% discount on Mockmill Stone Grain Mill products, including Ancient Grains, like Einkorn, Emmer, and Spelt. (The Mockmill discount will appear when you checkout.)

Favorite Yeasts for Bread Making

  • SAF Instant Yeast
  • SAF Premium Instant Yeast
  • SAF Gold Instant Yeast
  • Red Star Active Dry Yeast
  • Fleischmann’s Active Dry Yeast
  • Bob’s Red Mill GLUTEN FREE Active Dry Yeast

Recommended Reading

  • Nourishing Traditions: The Cookbook that Challenges Politically Correct Nutrition and Diet Dictocrats
  • Nourishing Broth: An Old-Fashioned Remedy for the Modern World
  • Nourishing Diets: How Paleo, Ancestral and Traditional Peoples Really Ate
  • Nourishing Fats: Why We Need Animal Fats for Health and Happiness

Amazon Shop and Shopping Guide

  • Visit Mary’s Nest Amazon Shop
  • Visit my Shopping Guide page
    Learn where I buy my Beef Bones, Wild-Caught Fish, Sprouted Grains, and more…and learn about Special Discounts for Mary’s Nest visitors, including from US Wellness Meats, Vital Choice, Masontops, and Breadsmart.

**Disclaimer: I am not a medical doctor, a medical professional, a dietician, or a nutritionist. All content found on the MarysNest.com website, including text, images, videos, eBooks or eGuides, social media, or other formats, were created solely for informational purposes only. The content is not intended to be a substitute for professional medical advice, diagnosis, or treatment. Always seek the advice of your physician or other qualified healthcare provider with any questions you may have regarding a medical condition or proper nutritional advice. Never disregard professional medical advice or delay in seeking it because of something you have watched in a video or read on this website. Use caution when following the recipe in this video. The creator and publisher of this video and website will not be held responsible for any adverse effects that may arise from the use of this recipe and method or any other recipe and method on this website or corresponding video channel.

Filed Under: No Knead Bread, No Knead Sandwich Bread Tagged With: No Knead Bread, No Knead Sandwich Bread

Reader Interactions

Comments

  1. barbara says

    March 13, 2020 at 5:09 pm

    What an incredibly masterful production! Instructions are clear, precise when necessary, pleasant and spoken slowly enough to absorb everything. I’m going to say it is the best food video I have ever seen. Now, I can’t wait to master the art of homemade bread!!! Thank you!

    Reply
  2. Reta Rife says

    March 16, 2020 at 8:23 am

    5 stars
    I love all the things you explain to us. Also the video.s are so helpful. May God bless you and your family.

    Reply
    • Mary's Nest says

      March 21, 2020 at 3:06 pm

      Hi Reta, Thank you so much!! God bless you and your family too!! Do you enjoy making other traditional foods? If so, I have a playlist of some of my videos titled “Mastering the Basics of Traditional Nutrient Dense Foods Cooking”. It’s a series of 15 detailed videos that covers How to Make Bone Broth, Cultured Dairy, Ferments, Sourdough Starter (my foolproof stater), Sourdough Bread, Soaked and Sprouted Nuts and Beans, and How to Soak and Sprout Grains to Make your own Sprouted Flour at Home. You can watch it here: https://www.youtube.com/playlist?list=PLkRuW3pBo2U3b4eu0QraZReKlGzA11h3y And please share the playlist with any other folks you think might be interested in learning about these types of things. I’m passionate about the book Nourishing Traditions by Sally Fallon (of the Weston A Price Foundation) and want to help as many people as I can learn how to make Traditional “Nutrient Dense” Foods.

      Please let me know if you have any questions. I’m so happy to help! And I’m SO glad you’re here!! Love and God Bless, Mary❤️😘❤️

      PS – Do you know about our FB group? It’s called Mary’s Nest Modern Pioneers. Come join us! We have a lot of fun chatting about Traditional Foods: https://www.facebook.com/groups/171869080205145/?source_id=210509998974645

      Reply
  3. elena says

    March 16, 2020 at 2:04 pm

    5 stars
    i saw this video on you tube and had to try it, a great big thank you to mary for a soft no knead bread recipe! i have arthritis and making bread was just not worth the pain it caused to knead the dough. i tried other no knead recipes but they were all ‘rustic’ type breads, not soft.
    needless to say this recipe brought me to this website to see other traditional recipes ~ the kind of cooking i grew up with. 🙂

    Reply
    • Mary's Nest says

      March 21, 2020 at 3:05 pm

      Hi Elana, So sorry about your arthritis but so happy this bread worked out for you!! So glad you enjoy making traditional foods! I have a playlist of some of my videos titled “Mastering the Basics of Traditional Nutrient Dense Foods Cooking”. It’s a series of 15 detailed videos that covers How to Make Bone Broth, Cultured Dairy, Ferments, Sourdough Starter (my foolproof stater), Sourdough Bread, Soaked and Sprouted Nuts and Beans, and How to Soak and Sprout Grains to Make your own Sprouted Flour at Home. You can watch it here: https://www.youtube.com/playlist?list=PLkRuW3pBo2U3b4eu0QraZReKlGzA11h3y And please share the playlist with any other folks you think might be interested in learning about these types of things. I’m passionate about the book Nourishing Traditions by Sally Fallon (of the Weston A Price Foundation) and want to help as many people as I can learn how to make Traditional “Nutrient Dense” Foods.

      Please let me know if you have any questions. I’m so happy to help! And I’m SO glad you’re here!! Love and God Bless, Mary❤️😘❤️

      PS – Do you know about our FB group? It’s called Mary’s Nest Modern Pioneers. Come join us! We have a lot of fun chatting about Traditional Foods: https://www.facebook.com/groups/171869080205145/?source_id=210509998974645

      Reply
      • Julie says

        March 31, 2020 at 9:08 pm

        Hi ,

        I just made this today and it did not rise as much as the picture but smells amazing. Going to have a slice or two in a little while. This was very easy and I can’t believe I actually made bread…

        Reply
        • Claudette Steeves says

          January 18, 2021 at 1:46 pm

          5 stars
          Mine didn’t rise as much as Mary’s either. Inks it be the difference in the temp in the house. It raised on my stove while the oven was heating. It is good though. It’s soft. Mine fell a little. I let it raise up to the rim.

          Reply
          • Mary's Nest says

            May 10, 2021 at 1:27 pm

            Hi Claudette, Yes – rising can vary based on one’s kitchen environment but so glad the bread was good! Love, Mary

  4. Rachel says

    March 21, 2020 at 7:42 pm

    What olive oil do I use for your soft white bread. I have Carlini pure veg oil. Will that work

    Reply
    • Mary's Nest says

      April 5, 2020 at 9:16 am

      Yes, you can use whatever oil you have on hand. Love, Mary

      Reply
  5. Phyllis Houp says

    March 25, 2020 at 1:45 pm

    Just pulled No Knead Sandwich Bread out of the oven. I’m letting it cool upside down. It is a beautiful golden brown. Can hardly wait for it to cool so we can taste it. Lots of time to bake in these troubled times. I’m glad I finally found flour a yeast to feed my habit. I’ll let you know how we love it in a bit.

    Reply
  6. Heather says

    March 28, 2020 at 4:27 pm

    Hi Mary! This recipe is my absolute favorite!! 1 problem, I only have 1 loaf pan! Would it be possible to make this double batch, make 1 loaf, put the dough in the fridge or leave it out in the bowl until the first loaf is done and then make the second? We go through this bread often enough that 2 loaves would be preferred. (Another pan is being delivered but not for 2 weeks or so) any suggestions would be great!

    Reply
    • Mary's Nest says

      April 5, 2020 at 9:04 am

      Hi Heather, so happy you like this bread. I have never tried refrigerating this dough. That would be an interesting experiment. I have also never left it to rise longer than what’s in the recipe but that would also be an interesting experiment. I would try it. Keep me posted. Love, Mary❤️🤗❤️

      Reply
      • Dolores says

        September 2, 2020 at 8:39 am

        5 stars
        My family loves this bread. I make it every 5 days since March. Today I experimented with oat flour and almond flour and all purpose. Just took it out of the oven. It doesn’t look the same. Kind of flopped. I used 3 cups oat and almond with 3 cups all purpose. Where did I go wrong?

        Reply
        • Mary's Nest says

          May 10, 2021 at 2:01 pm

          Hi Dolores, Sorry to hear that your experimentation didn’t work out for you. Oat flour basically contains no gluten so that is why your bread was a flop. You might be able to try a little oat flour – no more than a cup – and it might work. But in general…Stick with the original recipe and things will go back to normal. Love, Mary

          Reply
  7. Jeanne Macdonald says

    March 30, 2020 at 10:32 am

    5 stars
    Life your videos. You make everything so clear , which I appreciate as I am a newbie to baking . Thank you so much from Kitchener, Ontario . Canada 🇨🇦

    Reply
  8. Lisa says

    March 30, 2020 at 3:15 pm

    Any chance you have this in print form? I like recipes that I can look at too 🙂

    Reply
    • Mary's Nest says

      April 5, 2020 at 9:00 am

      Yes, here is the link: https://marysnest.com/no-knead-sandwich-bread/ Love, Mary❤️🤗❤️

      Reply
  9. Lisa Robbip says

    March 30, 2020 at 3:18 pm

    5 stars
    Can you make this bread with a sourdough starter?

    Reply
    • Mary's Nest says

      April 5, 2020 at 8:58 am

      Hi Lisa, I have not tried that with this specific recipe but it seems like it would work. Experiment and keep me posted. Love, Mary

      Reply
  10. tom jackson says

    March 31, 2020 at 3:59 pm

    Mary ive only been trying to make bread for 5 weeks ive tried using machine with kneading hook ive tried kneading by hand ive watcht 7 different ways to make bread ive tried em 7 failers today watched you with no knead sandwich bread my first attempt was brilliant it turned out superb the taste was lovely my son well he couldn’t stop eating it was the most easiest loaf to make thank you

    Reply
  11. Angelique Roach says

    April 4, 2020 at 4:43 am

    5 stars
    Thank you so much for this wonderful recipe! I love to bake and make breads but I really wanted something quick and easy to make without the preservatives. This bread completely fit that criteria! I made this tonight and it was absolutely perfect! My 7yr old son ate half of the first loaf and has his menu ready for tomorrow with a turkey sandwich for lunch. Lol. It’s a definite hit and one I will be making regularly. Thank you, Mary for taking the time to post and share your recipes. We are very grateful for your efforts and I’m a first time visitor, but I’m bookmarking your site. God bless you and keep safe and well!

    Reply
  12. eartha small says

    April 4, 2020 at 7:31 am

    Hi Mary:

    I made your sandwich quick bread and the no knead sandwich bread. For the first time I finally mastered getting the dough to rise. I have to admit though the back of the yeast jar helped me to finally succeed with that. But both of your breads are absolutely delicious. I froze the two loaves of no knead sandwich I made but, I am wondering if that is okay and if the bread dough can be frozen and baked later when needed

    With this success I feel confident to try to make dinner rolls and some other yeast breads, buns, and rolls. Thank you for your great tutorial.. We baked step by step together on those breads.

    Reply
    • Mary's Nest says

      April 5, 2020 at 8:46 am

      So happy to hear you are having success! Yes, wrapped well, you can freeze the bread and then rewarm it or defrost it when you are ready to enjoy it. I would probably leave it in the freezer no longer than 2 to 3 months. You don’t want it to develop freezer burn. I have not tried freezing this particular Del, but it may be worth experimenting with. If you decide to freeze some of the dough and then bake with it keep me posted. Love, Mary❤️🤗❤️

      Reply
  13. MamaDi says

    April 8, 2020 at 9:19 am

    5 stars
    I made this and it turned out great! My husband and I love the taste of this bread! I made 2 and froze one loaf. When thawed it sliced so nicely! However, it wasn’t so good for sandwiches after thawing as some of the slices kinda fell apart. But no big deal, I made French toast! And it still works fine in the toaster. 😉
    Do you have the nutritional information for this no knead sandwich bread?

    Reply
    • Mary's Nest says

      July 21, 2021 at 3:40 pm

      Hi MamaDi, So happy you are enjoying this bread! Unfortunately, I don’t have the nutritional info. I have that option in my recipe plug-in but I have to learn how to use it! LOL!! I’ll keep you posted. Love, Mary

      Reply
  14. Carolyn says

    April 19, 2020 at 9:50 pm

    Hi Mary, I have made this bread three times now and it is amazing. Thank you for all Of your recipes. You are amazing and I am enjoying cooking with you. 💜💐

    Reply
  15. Susan Dorn says

    May 15, 2020 at 2:10 pm

    5 stars
    Great video and makes me less fearful of the whole kneading process. Question: for other non-yeast breads that I’ve been trying I read that if using glass bread pans to decrease the temperature by 25 degrees and the amount of time by 10-15 minutes. Is that true for this bread as well?

    Reply
    • Mary's Nest says

      July 21, 2021 at 4:01 pm

      Hi Susan, That’s a great question. I have not baked this in a glass pan but that general rule may apply. Love, Mary

      Reply
  16. Erika says

    May 16, 2020 at 9:14 am

    5 stars
    Never made my ownbread as kneading is a problem. Made this recipe and totally delighted with the result. Thank you so much. I really enjoyed making this bread and it tastes fantastic.

    Reply
  17. Wayne Newman says

    June 22, 2020 at 5:54 pm

    5 stars
    On my third round with this recipe. Huge hit with everyone. I appreciate the forethought of measuring the dry ingredients before the wet. Only one measuring cup and one bowl. Thanks, Wayne

    Reply
  18. Heather says

    July 4, 2020 at 8:51 am

    Hi Mary!
    Have you tried to make these as dinner rolls in a muffin tin? Too wet to just plop without any support, I am assuming. I am thinking about serving these for Thanksgiving this year. Maybe a quarter cup measure each? Cook fo 15-20 minutes? Or do you think all the yeast bubbles would not do well with the transfer?

    Thank you for you thoughts!

    Reply
  19. Jennifer Meadows says

    July 22, 2020 at 2:40 pm

    5 stars
    Hi Mary! I just wanted to stop by and say that I have been watching all your videos for the past two weeks and have been thrilled with everything I’ve attempted. You have such an easy comforting way of speaking and explaining things that makes it easy to follow. I’ve made preserved lemons & limes, some extracts and now….BREAD! I have failed at bread so many times in the past that I was at the point of just giving up and saying ‘I’m not a bread baker.’ After watching your video for this and the round loaf, I’m now a bread maker (well, the no knead kind anways)! 😀 I’ve made the no knead round twice and now this one. Everyone loves the bread and I couldn’t be happier. Thank you so much for taking your time to video these as well as writing the recipes down.

    Stay Safe and Healthy,
    Jenn

    Reply
    • Mary's Nest says

      May 10, 2021 at 2:11 pm

      Oh Jennifer! I am so happy to read this!! it’s wonderful that you are on this traditional foods journey with me! Love, Mary

      Reply
  20. Rifka says

    August 27, 2020 at 7:05 am

    Hi Mary,
    I had a query. Can i cover the bowl with a plate rather than plastic or a towel or would that hurt the process of rising? Please do let me know.

    Reply
    • Mary's Nest says

      August 31, 2020 at 7:38 pm

      Great question! I think that should work fine. Keep me posted on how it turns out! Love, Mary

      Reply
  21. Amy says

    September 6, 2020 at 4:51 am

    Hi Mary,
    I live in a tiny house. I only have convection microwave oven. What changes to temp and bake time do I need to make to bake bread?
    Thanks
    Amy

    Reply
    • Mary's Nest says

      September 11, 2020 at 12:51 pm

      Hi Amy,

      Thanks for your comment. That’s a great question. I haven’t tried baking bread in a microwave oven. Maybe other readers of your comment can chime in and add their thoughts/experiences to your comment.

      Thanks for being a subscriber and for being a sweet friend!

      Love and God bless,
      Mary

      Reply
      • Cindy says

        October 21, 2020 at 11:38 pm

        5 stars
        Hi Mary. I’m wondering if she has a microwave oven that can be used as a microwave OR a convection oven? My regular oven is broken, so I use a tabletop convection oven for all my baking. When I bake bread, (including your delicious recipes) I simply reduce the oven temperature 25°, and check the bread about 10 minutes early. I use an instant read thermometer, and bring out the bread when it registers 200°F in the center. But the tapping test works, too. Always comes out perfect!

        Reply
  22. Michelle says

    October 20, 2020 at 4:51 pm

    5 stars
    Hello Mary,
    I love this recipe! I am wondering if this would work with whole wheat flour? Maybe half whole wheat and half all purpose flour? Thanks for all your help! I accidentally found you on YouTube and I am so excited to try more of your recipes soon.

    Reply
    • Mary's Nest says

      October 21, 2020 at 6:48 pm

      Hi Michelle,

      Thanks for your kind comment. I have a recipe for sandwich bread made with whole wheat at https://marysnest.com/no-knead-whole-wheat-sandwich-bread/

      I hope that helps!

      Thanks for being a sweet friend!

      Love and God bless,
      Mary

      Reply
  23. Cristie says

    November 25, 2020 at 3:33 pm

    5 stars
    Made it, turned out great. Thanks!

    Reply
    • Mary's Nest says

      May 10, 2021 at 1:42 pm

      Hi Cristie, Wonderful! Love, Mary

      Reply
  24. Victra says

    September 17, 2021 at 5:54 am

    5 stars
    Wonderful recipe…I just tweaked the salt…used 1 tsp instead and followed your very detailed instructions… came out beautifully…😊

    I would like to try making a sweet bread with some fruit, spices and of course more sugar using this recipe as my base… what do you think Mary?

    Also want to thank you for your kindness and generosity of spirit, it shines through all that you say and do. Blessings…

    Reply
    • Mary's Nest says

      October 2, 2021 at 1:29 pm

      Hi Victra, So happy you are enjoying the bread! Your ideas sound great. I would definitely experiment and see how it comes out. I think it should work. This is a very flexible – and forgiving – recipe. Love, Mary

      Reply
  25. Jess says

    March 12, 2022 at 3:42 pm

    5 stars
    Hello, sweet friend! Thank you for all of your hard work on the website and videos. This recipe is amazing!

    Reply
    • Mary's Nest says

      March 15, 2022 at 4:54 pm

      Hi Jess,

      Thanks for your comment and kind words. I’m glad that you enjoyed the recipe, and thanks for having me join you as part of your Traditional Foods Journey! 🙂

      Love and God bless,
      Mary

      Reply
  26. Mia Hartman says

    June 5, 2022 at 12:26 pm

    5 stars
    I have made this bread many times and it always turns out perfectly!! I’ve made multiple batches and popped the cooled loafs into the freezer, happened to have one that was almost a year old sliced it up tasted wonderful!
    Mary I was wondering how would I go about making large dough batches and storing just the dough in either the fridge or the freezer? We love making small batch daily breads but don’t have the time for the prep.

    Reply
    • Mary's Nest says

      June 7, 2022 at 7:56 pm

      Hi Mia,

      Thanks for your comment. I’m so glad that your sandwich bread came out wonderfully.

      If you’d like to make a larger batch of the sandwich bread dough in advance, portion it out into one loaf amounts and then wrap well each individual amount of dough before freezing it. Be sure to thaw your frozen dough and use it within two to three months.

      I hope that helps. Thanks for joining me on your traditional foods journey.

      Love and God bless,
      Mary

      Reply

Leave a Reply Cancel reply

Your email address will not be published. Required fields are marked *

Recipe Rating


Primary Sidebar

Hi, I’m Mary

Mary's Nest with Beef Bone Broth Jar
...And I'm so glad you're here.

Do you want to be a Modern Pioneer in the Kitchen and be part of the Traditional Foods Movement? If so, you’ve found a home!

I'll show you how to create Traditional "Nutrient Dense" Foods, including Bone Broths, Cultured Dairy, Ferments, Sourdough Bread and More!

  • New to Traditional Foods?
  • Blog and videos
  • Shopping Guide and Discount Codes

Kitchen Academy

Join the Traditional Foods Kitchen Academy
  • Join the Traditional Foods Kitchen Academy for exclusive videos and live streams

Search

Recent Posts

  • How to Make Homemade Rice-A-Roni
  • How to Cook with Economy and Grace
  • Digging for Victory: Land Girls and Food Shortages in WWII
  • How to Fight Rising Grocery Prices with Free Checklist
  • How to Make Fruit Scrap Vinegar with Pineapple Rinds

Archives

Categories

Amazon Links

Mary's Nest Shop
  • Mary's Nest Amazon Shop - Great ideas for:
    • • Bone Broth
    • • Kitchen Tools
    • • Cookbooks
    • • Baking Supplies
    • • Canning Items
    • • Food Preservation
    • • Self-Sufficiency
    • ...and more!

Food Links

Mockmill
  • Get 5% off your Mockmill purchase

US Wellness Meats
  • US Wellness Meats - Get bones for Beef Broth and more!
    (Note: Use promocode MARYNEST to save 15% off regular-priced items on your US Wellness Meats order.)

Let’s Socialize!

  • Facebook
  • Instagram
  • Pinterest
  • Twitter
  • YouTube

Footer

Mary's Nest Cooking School logo

Mary’s Nest

  • Home
  • Start Here
  • Recipes and Videos
  • Shopping Guide
  • About
  • Contact

Search

  • Privacy Policy

Subscribe to Mary’s Newsletter

Privacy policy

Copyright © 2022 · Mary's Nest, LLC, All Rights Reserved · Log in

We use cookies to ensure that we give you the best experience on our website. If you continue to use this site, we will assume that you agree to the use of such cookies.Ok