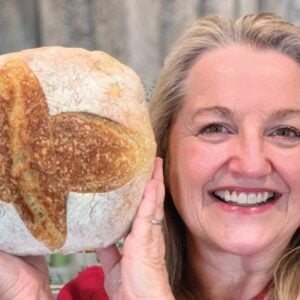
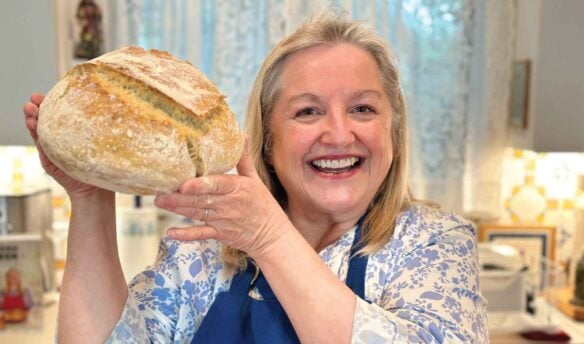
Learn How to Make this Faster No Knead Bread with this Beginner Crusty Artisan Bread Recipe that can be made in only 2 hours and requires no overnight rise!

Affiliates note: As an Amazon Associate I earn from qualifying purchases. My content may contain affiliate links to products and services. If you click through and make a purchase, I’ll receive a small commission. It does not affect the price you pay.
Table of Contents
- The Traditional Foods Kitchen
- No Knead Bread Made with Yeast
- More Bread Recipes
- The Modern Pioneer Cookbook
- The Modern Pioneer Pantry
- Start Your Traditional Foods Journey
- Download Your Free 36-Page Pantry List
- Join the Traditional Foods Kitchen Academy
- Kitchen Academy Videos
- Faster No Knead Bread for Beginners Recipe
- Shop for items used in this blog post or video
The Traditional Foods Kitchen
If you are in the process of transitioning from a processed foods kitchen to a traditional foods kitchen, bread can present a challenge. You may still be buying bread at the store, but now, you want to learn how to make your own bread. There’s just one problem. The process of making sourdough frightens you. And you’re certainly not ready to start soaking and sprouting grains to make your own sprouted flour! So what do you do?
No Knead Bread Made with Yeast
As I have shared with you in the past, I am not a fanatic when it comes to making traditional foods. Yes, sourdough is great, and so is bread made with sprouted flour. They’re both easy to digest and allow our bodies to absorb nutrients more easily. However, those two types of bread can also seem daunting to make to those new to traditional foods.
So when it comes to making bread as a beginner, I have no problem helping you learn this skill—as you’re starting out—by making a no knead bread that uses yeast.
With this recipe, there’s no need (sorry for the pun) to worry about the finger-poke test or the window-pane test. And even better, you don’t have to worry about a sourdough starter. All you have to do is mix four simple ingredients (that are available at pretty much every grocery store), let the mixture rise for an hour, and then bake it. Voila! Fresh homemade bread in two hours! And your baked bread is going to be better than anything you can buy at the grocery store.
More Bread Recipes
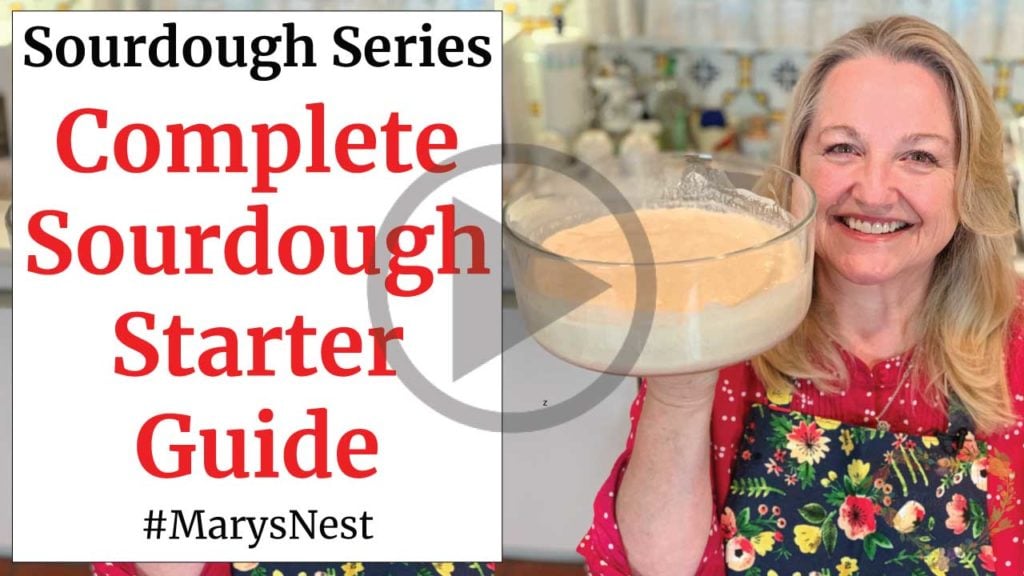
Now that you’ve created your “Faster” no knead bread, you may be ready to venture into the world of sourdough and sprouted grain breads. If so, be sure to check out my Foolproof Sourdough Starter made with rye flour and my Complete Guide to Sourdough Starter that will walk you through a step-by-step process for making a starter with all-purpose flour.

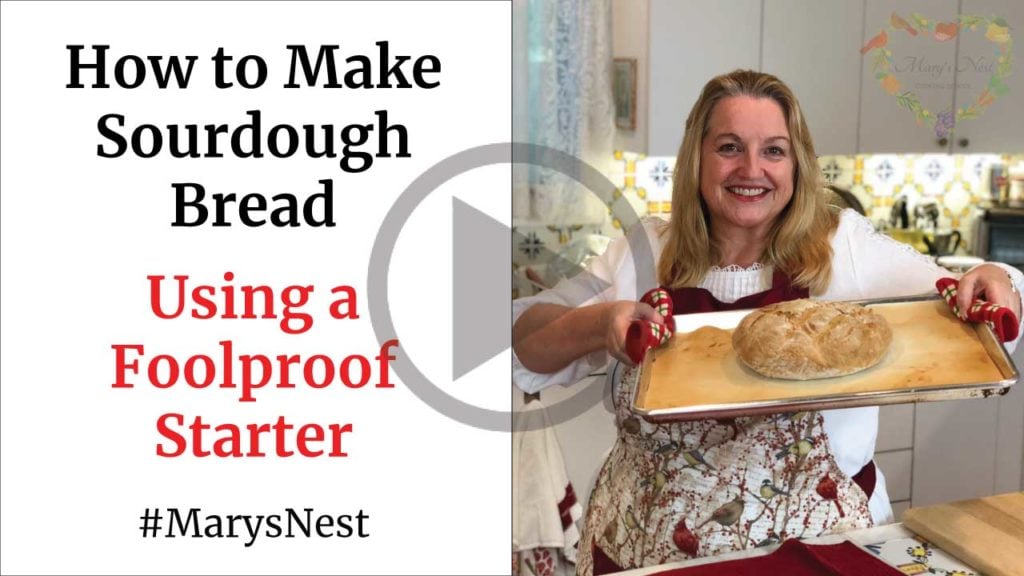
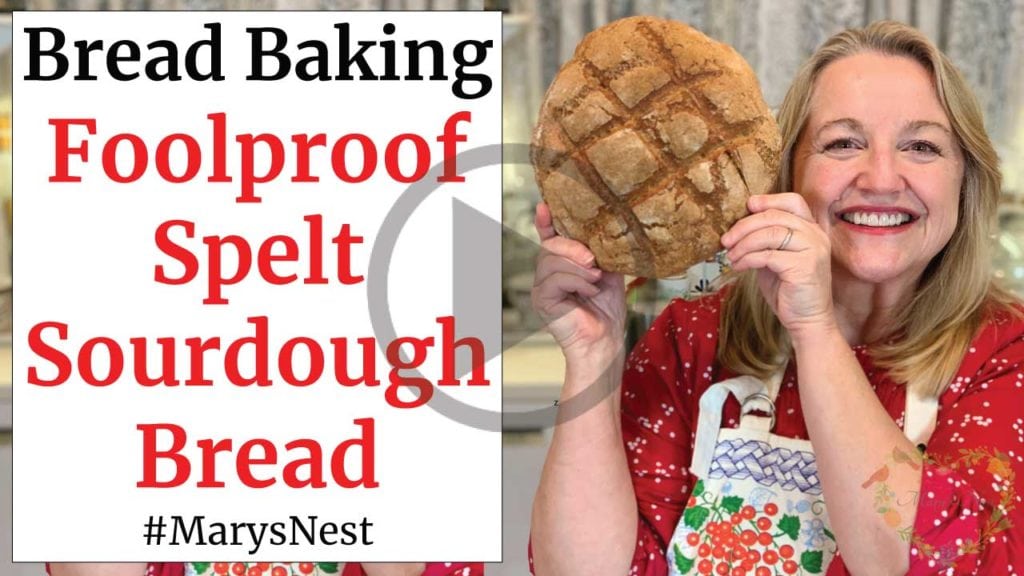
Once you’re ready to bake some sourdough bread, I’ve got you covered with two great recipes, including a basic boule and a spelt boule.
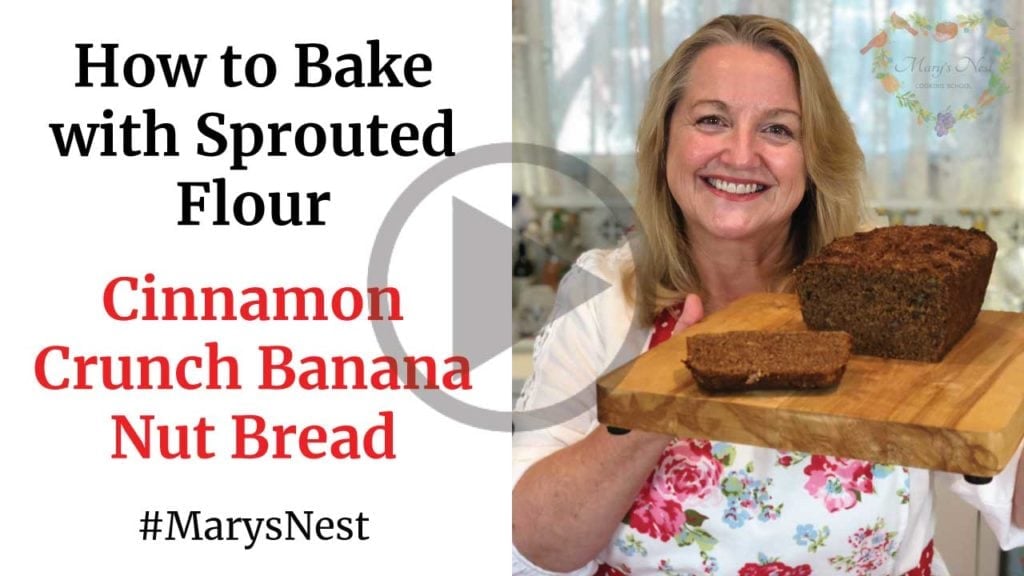
And if you want to take the plunge in learning how to soak and sprout your own grain and then turning the grain into sprouted flour, I have a complete tutorial on how to do this along with a wonderful recipe for a delicious sprouted flour quick bread.


Order YOUR COPY Now!
The Modern Pioneer Cookbook
Seasonal ingredients, traditional techniques, and nourishing recipes. Over 85 traditional, from-scratch recipes! Discover for yourself how you can use simple ingredients and traditional techniques to cook the modern pioneer way.
Order YOUR COPY Now!
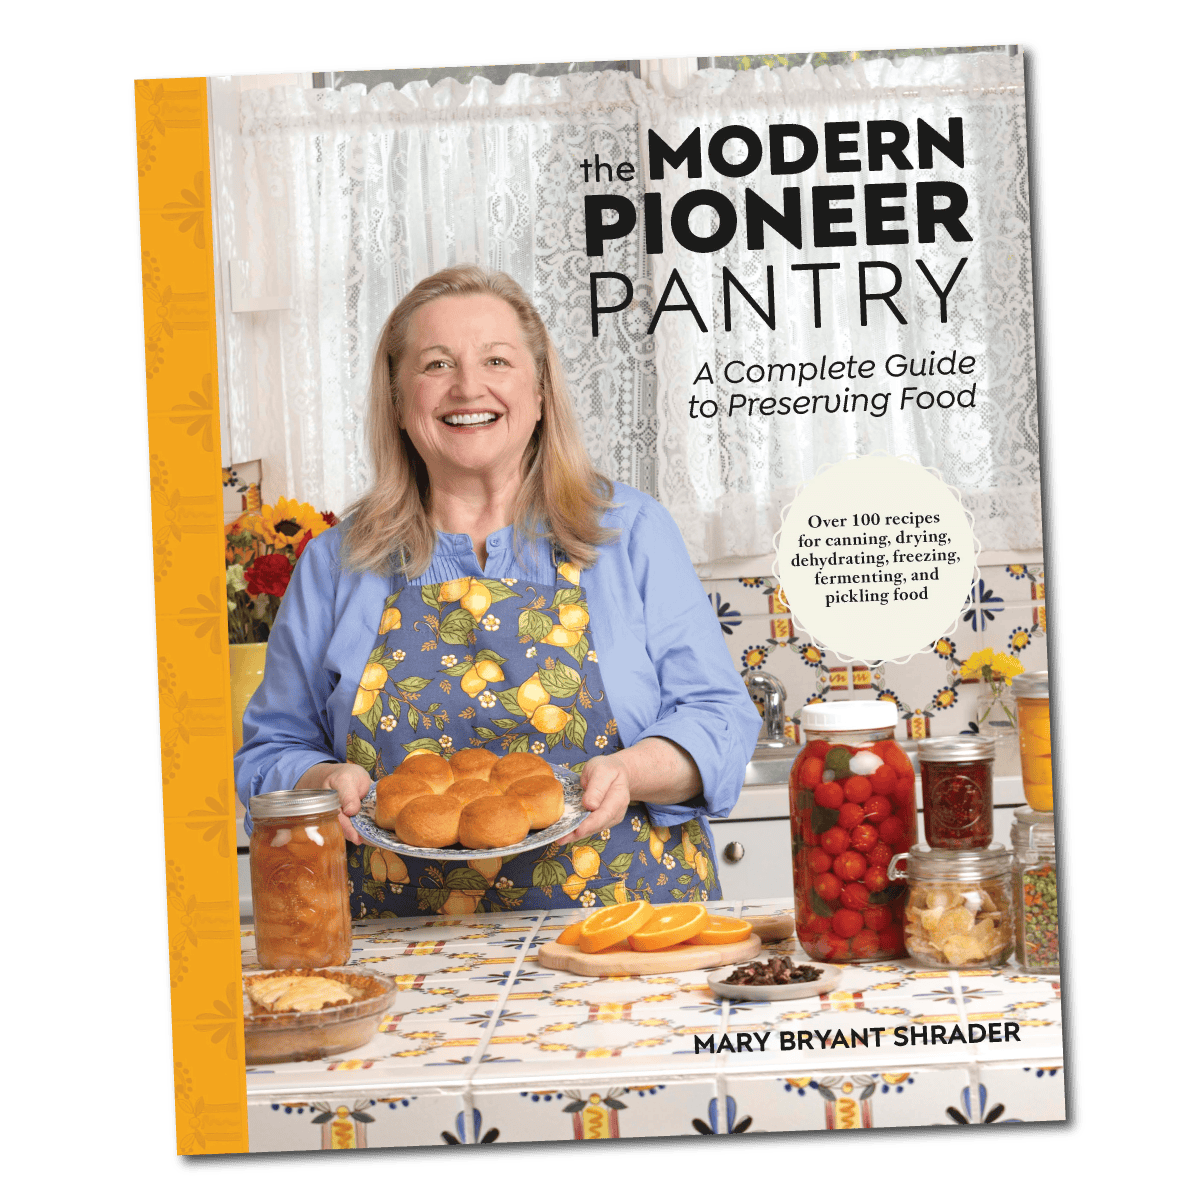
The Modern Pioneer Pantry
Simple ingredients, timeless techniques, and a well-stocked pantry. Discover over 100 nourishing recipes to preserve food and turn pantry staples into homemade meals. Build a wholesome, traditional pantry—just like a modern pioneer!
Start Your Traditional Foods Journey
Sharing my passion for traditional cooking goes beyond my YouTube cooking school—it also comes to life in the pages of my cookbooks. Both of my books, The Modern Pioneer Cookbook and The Modern Pioneer Pantry, are proudly published by Penguin Random House.
The first is filled with time-honored recipes to help you create a traditional foods kitchen, while the second is your complete guide to home food preservation. Order both books today to start or continue your traditional foods journey.
Download Your Free 36-Page Pantry List
For an extensive list of the traditional foods you can make and purchase to stock your pantry, be sure to download my free 36-page Traditional Foods Pantry List. This comprehensive eBook is full of links to recipe videos, helpful articles, and more!

Join the Traditional Foods Kitchen Academy
Are you looking for more traditional foods videos? If so, I invite you to join the Traditional Foods Kitchen Academy. Members of this optional paid YouTube community get access to exclusive videos and other members-only perks. Plus, your YouTube comments include a special members-only badge.
Kitchen Academy Videos
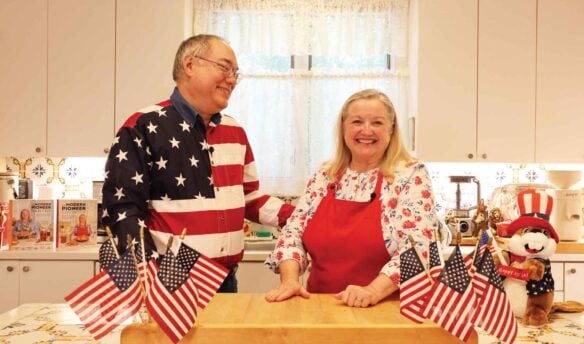
Baking Questions Answered with Ted and Me!
Join me and my husband Ted for a Q&A filled with practical kitchen tips, helpful techniques, and answers to your baking questions.
Baking with Whole Grains: The Maslin Method, Grain Mills, and America’s Bread Basket
Explore whole grain baking with The Maslin Method, fresh-milled flour, grain mills, heritage wheats, and more.
A Sweet Season of Celebration and New Beginnings with The Maslin Method Baking School Series
Celebrate the close of a heartfelt book tour and the exciting launch of The Maslin Method Baking School for traditional baking.
Stay in Touch with Mary’s Nest
- Subscribe to My YouTube Channel for Traditional Foods Videos (Free) - When you subscribe, be sure to click on the notification bell that will let you know each time I upload a new video.
- Subscribe to Mary’s Traditional Foods Newsletter (Free) - Get a free 36-page eBook for signing up: How to Stock Your Essential Traditional Foods Four-Corners Pantry.
- Join the Traditional Foods Kitchen Academy - For more detailed videos and exclusive members-only perks, join my YouTube membership community.
- Order The Modern Pioneer Cookbook - Get a hardcover book of Mary's nourishing recipes from a Traditional Foods Kitchen. This bestselling cookbook is published by Penguin Random House with their DK imprint.
- Order The Modern Pioneer Pantry - Get Mary's latest hardcover cookbook about preserving food and making delicious meals from your Four Corners Pantry. Mary's second cookbook is also published by Penguin Random House.
I look forward to having you join me in my Texas Hill Country Kitchen!
I’d like to receive more tips and recipes from Mary’s Nest.
Faster No Knead Bread for Beginners
Equipment
- Dutch Oven or Frying Pan/Skillet that is heatproof to 450°F
Ingredients
- 3 cups Flour, bread flour or all-purpose flour and extra for shaping dough
- 2 1/4 teaspoons Yeast, instant or active
- 1 teaspoon Salt I used fine ground sea salt
- 1 1/2 cups Warm water, approximately 110°F This temperature will feel warm to the touch
Instructions
- Combine flour, yeast, and salt in a large bowl. Mix well to distribute yeast and salt with flour.
- Stir water into flour mixture and mix well until dough is completely saturated. It will be a sticky "shaggy" mix.
- Cover bowl with plastic wrap and let dough rise in a warm place for 1 hour. An oven that is off, but with the electric light or pilot light on works well. If your oven has a bread proofing option, that works exceptionally well.
- After the dough has risen for 1 hour, place it on a well-floured surface and sprinkle with flour. Using a bench scraper or your floured hands, fold dough over on itself a few times until it is no longer sticky. This process takes about 10 folds. Next, shape the dough into a ball. (Watch the video for the proper technique.)
- Place dough ball into a parchment paper-lined bowl and allow dough to rest for 15 minutes.
- While the dough is resting, place the baking vessel that you will be using (dutch oven or heatproof frying pan) into a cold oven on the lowest rack. Turn on oven and preheat the oven to 450°F.
- After 15 minutes, remove the baking vessel from the oven. Use pot-holders or oven mitts and be very careful. The vessel will be VERY hot. Place the vessel on a heatproof surface on your counter.
Instructions for Baking Bread in a Dutch Oven
- If using a DUTCH OVEN, carefully remove the lid using pot holders or oven mitts and set the lid aside on a heatproof surface.
- At this point, if you wish, you can make some slashes on the top of the dough to create a pattern. Alternatively, you can simply allow the dough to crack in its own pattern to create a bread with a very rustic appearance.
- Lift the dough using the parchment paper, and transfer the dough down into the dutch oven along with the parchment paper. Cover the dutch oven, and using pot holders or oven mitts, place the lid back on to the dutch oven and return it to the oven. Close the oven door and allow the bread to bake – covered – at 450°F for 30 minutes.
- After 30 minutes, remove the dutch oven from the oven using pot holders or oven mitts and transfer the dutch oven to a heatproof surface on your counter. Remove the lid using pot holders or oven mitts and place the lid on a heatproof surface.
- Carefully, again using pot holders or oven mitts, remove the bread from the dutch oven by lifting the parchment paper and placing the bread on the counter. Remove the parchment paper and return the bread to the dutch oven, using pot holders or oven mitts, and then return the dutch oven without the lid back to the oven.
- Close the oven door and allow the bread to bake for an additional 5 minutes until golden brown on top.
Instructions for Baking Bread in a Frying Pan/Skillet
- If using a heatproof frying pan/skillet, first dust the bottom of the pan with a bit of flour or cornmeal.
- While the dough is in the bowl, you can make some slashes on the top of the dough to create a pattern. Alternatively, you can simply allow the dough to crack in its own pattern to create a bread with a very rustic appearance.
- Lift the dough out of the bowl with the parchment paper, but when you transfer it to the pan, slip out the parchment paper from underneath the dough. Alternatively, you can flip the dough into the pan (if you have not made any pattern cuts on the top of the dough). Discard the parchment paper. Return the pan, with the dough in it, to the oven.
- Close the oven door and allow the bread to bake uncovered at 400°F for 30 minutes or until golden brown on top.
Finishing Instructions for Either Baking Vessel
- When the bread is golden brown on top, remove the baking vessel from the oven. Remember to use pot holders or oven mitts. Place the vessel on a heatproof surface on your counter. Carefully, transfer bread from the baking vessel to a cooling rack and allow to cool completely before slicing.
Video
Notes
Shop for items used in this blog post or video
Favorite Bread Making Supplies
- Baking Apron (This is the one that I’m wearing in the video.)
- 10-Piece Glass Bowl Set
- Danish Dough Whisk
- BreadSmart Plastic Handle Danish Dough Whisk and Kit (See the BreadSmart discount promo code.)
- Wooden Scraping Spoon
- Plastic Bench Scrape
- Metal Bench Scrape
- Cast-Iron Dutch Oven
Favorite Yeasts for Bread Making
- SAF Instant Yeast
- SAF Premium Instant Yeast
- SAF Gold Instant Yeast
- Red Star Active Dry Yeast
- Fleischmann’s Active Dry Yeast
- Bob’s Red Mill GLUTEN FREE Active Dry Yeast
Amazon Shop and Shopping Guide
- Visit Mary’s Nest Amazon Shop
- Get a 30-day Audible trial with a free audiobook
- Visit my Shopping Guide page
Get up to 15% off for stocking your Traditional Foods Pantry and equipping your Modern Pioneer Kitchen, including discounts from US Wellness Meats, Farmhouse Teas, Backwoods Home, Masontops, Cultures for Health, Survival Garden Seeds, Redmond Real Salt, and More!

Dearest Mary, you have no idea how much you helping us to treat ourselves in a most healthiest ways in most enjoyable ways. In addition, I cannot wait to finish whatever I am making so I can do it again with your outstanding loving personality.
Here in Los Angeles, our fire fighters and paramedics shop for food and cook their meals at work place, because they are there for many hours at the station. Guess what, thank to you I am going to make variety of your bread recipes definitely including the Sourdough bread (which I am just about to try). I will make sure that they’ll have a real feast of your outstanding recipes and give them your Website. I cannot wait to surprise them. Then I’m going to surprise Police Officers that are two locks away from me. Wow, what a joy to offer them by trashing my ability to make a greatest breads following your instructions🌹🤗🌟🎶🌾🍞Thank you🌻
WOW! So happy to hear that you are on this traditional foods journey with me! And how kind of you to help the firefighters, paramedics, and police! Love, Mary
I didn’t see anyone asking about doing this bread with wheat flour. How would that turn out?
Hi Joanne, Yes – you can do a similar bread with whole wheat flour – and you are in luck! I have a video showing how to make it here: https://youtu.be/nrdiSkVjmQQ Love, Mary
Can I use a cookie sheet instead
Thanks Pat
Hi Pat, Definitely. Love, Mary
Outstanding recipe!!!! I made the MOST beautiful breads, now about 4 loaves, and everyone LOVES them! They are gorgeous.
Thank you for such an amazing & genius website and videos.
Your knowledge is transforming our lives. Much love. S
Hi Stephanie,
Oh my goodness!! Thank you SO much for the kind words!! And I am so happy to hear that you are joining us on this Traditional Foods Journey!!
Love and God bless,
Mary
Mary, I noticed you use 2 1/4 tsp yeast where most other bakers use only 1/4 tsp. That’s a big difference.
That’s because this is a “Faster” No Knead Bread. The other no kneads require a longer rise. Hope this helps. Love, Mary
Love making this most every week. It’s hard not to snack on constantly!
Quick question, can I make the dough and then freeze it for later? If not this recipe, do you have a diff one you could recommend? Thanks so much for your wonderful recipes and tips!
Hi Dee, I have not tried it but yes, I think you could freeze this dough. Just thaw and allow to come to room temp before continuing with the recipe. Love, Mary
Hi Mary! I make the fast no knead bread recipe today, let me tell you this will be our new bread recipe for a very longtime we love it, I did add 2 tbsp of olive oil and the bread is soft and moist. Thank you for sharing you recipes.
By the way I’m a beginner homemade bread😃
God Bless.
Oh Lilia! I am SO happy to hear this!! Thank you so much for being here!! Love and God Bless, Mary
I was looking for a quick nice crusted bread for dinner, I follow you so you were my first stop. I watched your video. I gathered my items, and mixed this up quickly. An hour later it was ready to shape. It baked perfectly, and my son loved it…..I will be making him a few to take home with him to Chicago when he returns this weekend.
Wonderful!!
Mary, Your recipes are great. Could you try giving us a no-knead sweet Hawaiian Bread recipe? Thanks
Hi Tess, Sounds like a great idea!! Love, Mary
Hello Mary , you are very sweet, and your recipies are awesome, today I tried this no knead bread and I used exactly same measurements but my dough became extremely Wet and I was not able to handle it. What should I do. Thanks
Hi Aditya, Thank you so much for the kind words. I am sorry to hear that your dough was difficult to handle. The conditions in everyone’s kitchen and the weather can play a roll in how a dough turns out. Add more flour until you can get a dough you can handle. Then shape it and continue on. Keep me posted. Love, Mary
Hi Mary, Another favorite. I am now making these foe my friends. They love the bread. My only issue is that I am running out of yeast. 🤦🏽♀️. I am excited to continuing to try your recipes. Thank you for your sweetness. 💜💐
Hi Mary
I baked the beginner no knead bread yesterday in my dutch oven with the cover on using Kirkland Parchment paper. Delicious… but for some reason the bottom of the Boule was charred and the parchment paper was charred. The top of the bread was already brown after the 30 minute bake. It was baked on the bottom rack of the oven.
I really do not know what I did wrong, 450 oven for 30 minutes. Please help! The rest of the bread was really good, nice texture and very tasty.
Thanks for your resply.
Hi Elizabeth, You didn’t do anything wrong. You are doing a great job. Every oven is different. Next time bake your bread on the middle rack. You might also want to try lowering the heat to 425F. Your oven might run hot. (You can check the temp by putting an oven thermometer in the oven and see what it reads.) Hopefully these tips should eliminate the problem. Love, Mary
Hi Mary, first time in my life I baked bread. This recipe easy and quick most importantly delicious. I will freeze some of it to use during the week.
Hi Mary,
I made this bread recipe today and it is fabulous. I watched your video three times and then got to work. Thank you for making bread easy.
Oh Brenda! I am so happy to hear this!! Do you enjoy making other traditional foods? If so, I have a playlist of some of my videos titled “Mastering the Basics of Traditional Nutrient Dense Foods Cooking”. It’s a series of 15 detailed videos that covers How to Make Bone Broth, Cultured Dairy, Ferments, Sourdough Starter (my foolproof stater), Sourdough Bread, Soaked and Sprouted Nuts and Beans, and How to Soak and Sprout Grains to Make your own Sprouted Flour at Home. You can watch it here: https://www.youtube.com/playlist?list=PLkRuW3pBo2U3b4eu0QraZReKlGzA11h3y And please share the playlist with any other folks you think might be interested in learning about these types of things. I’m passionate about the book Nourishing Traditions by Sally Fallon (of the Weston A Price Foundation) and want to help as many people as I can learn how to make Traditional “Nutrient Dense” Foods.
Please let me know if you have any questions. I’m so happy to help! And I’m SO glad you’re here!! Love and God Bless, Mary❤️😘❤️
PS – Do you know about our FB group? It’s called Mary’s Nest Modern Pioneers. Come join us! We have a lot of fun chatting about Traditional Foods: https://www.facebook.com/groups/171869080205145/?source_id=210509998974645