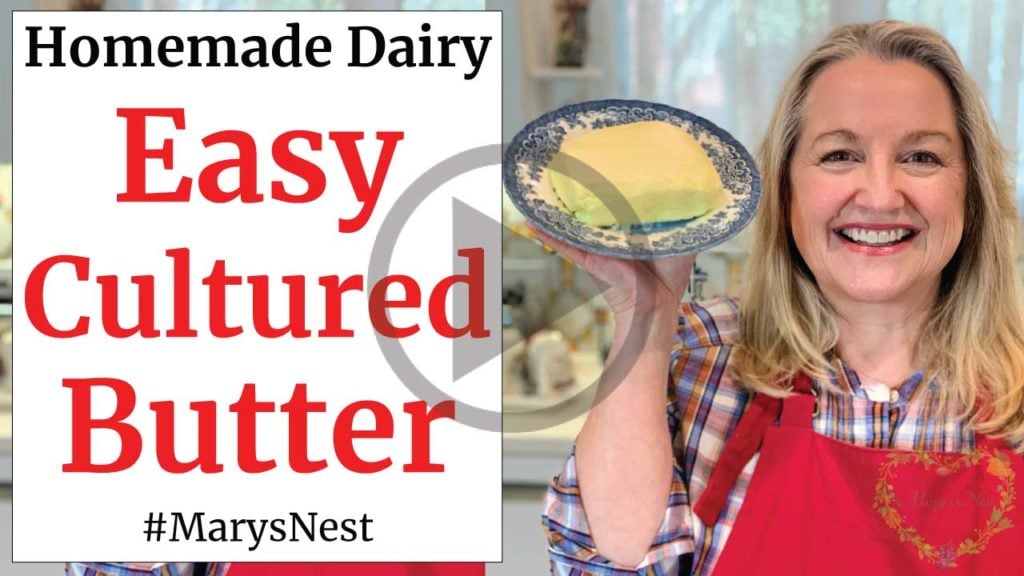
Today, I am sharing how to make Cultured Butter. And this recipe only requires two ingredients! Now, why are we culturing butter? That’s a great question! Read on…
Affiliates note: As an Amazon Associate I earn from qualifying purchases. My content may contain affiliate links to products and services. If you click through and make a purchase, I’ll receive a small commission. It does not affect the price you pay.
Table of Contents
Why Culture Butter?
There are two main reasons for making homemade Cultured Butter. First, you can’t beat the taste. That little touch of tang—especially when the butter is unsalted—is especially delicious. Unsalted butter can sometimes taste bland. But once you culture it, you’ll never miss the salt.
Second, by culturing cream to make butter, we are improving its nutrition by the introduction of good bacteria—otherwise knows as beneficial bacteria. And why is it “beneficial”? Because good bacteria leads to good gut health.
Improving the nutrition of cream when making homemade butter is especially important if, when making it, all you have access to is ultra-pasteurized cream. For those of you who have been with me for a while, you know that I do not encourage the use of ultra-pasteurized dairy. Unfortunately, the ultra-pasteurization process destroys many of the nutritional benefits of milk and cream. But the culturing process can help to restore some of the benefits destroyed by the high heat processing of ultra-pasteurization.
Two Ingredients and Time
So to get started making homemade Cultured Butter, all you need is cream and a bit of a culturing agent such as buttermilk, milk kefir, or yogurt.
If you are using pasteurized cream, chances are the carton or bottle will simply say “Whipping Cream.” However, if you do have the option between “Whipping Cream” and “Heavy Whipping Cream,” choose the latter.
If you are using ultra-pasteurized cream, you typically will have a choice between “Whipping Cream” and “Heavy Whipping Cream.” You will want to choose the “Heavy Whipping Cream” option. Heavy whipping cream is higher in fat and better for making butter.
Next, you’ll need your culturing agent. Cultured buttermilk works great, and you can usually find it at most grocery stores. Other options include plain milk kefir or plain whole milk yogurt. The procedure with the buttermilk and kefir are the same, but the process is slightly different when using yogurt. The printable recipe below provides the instructions for the different options.
Basically, you just need to mix your cream with your culturing agent and let the mixture sit in a warm place in your kitchen for anywhere from 8 to 48 hours.
If you are new to cultured butter, I recommend that you start tasting your cream at eight hours to see if you like the level of tang that has developed. If the cream is perfect to your taste, great! You’re ready to make butter. If you’d like a bit more tang, let it culture a bit longer.
Ready to Make Cultured Butter
Once your cream has cultured to your liking, you’re ready to make butter. You can do this with a stand mixer, food processor, or an electric hand whisk. If you don’t have any of these, no problem. Be sure to watch the video and learn how my second-grade teacher showed me how to make butter with nothing more than a jar!
What About Raw Milk?
If you have access to raw milk, you are in luck! It’s very easy to make cultured butter from the cream from raw milk. All you have to do is put your cream in a jar and let it culture— “sour” —naturally for the amount of time that you like to get the taste that you like.
That’s the great thing about raw milk and its cream. It doesn’t go bad the way pasteurized or ultra-pasteurized milk and cream do. It will simply sour naturally and take on a delightful tang.
More Homemade Dairy Videos
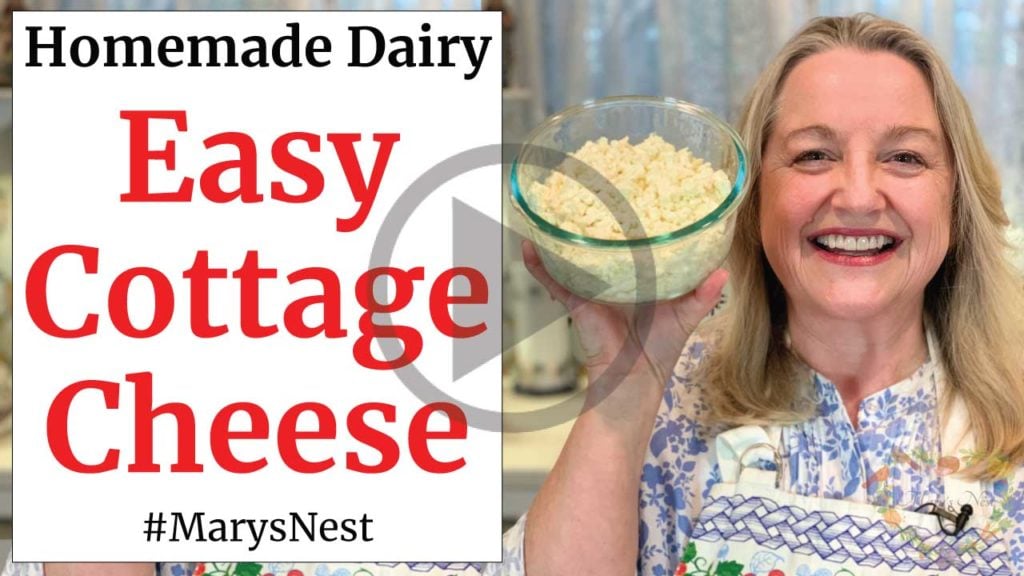
Now that you’ve made cultured butter, try your hand at other Homemade Dairy recipes, including cottage cheese, as well as an easy yogurt made without a machine, kefir, evaporated milk, and condensed milk.
Order YOUR COPY Now!
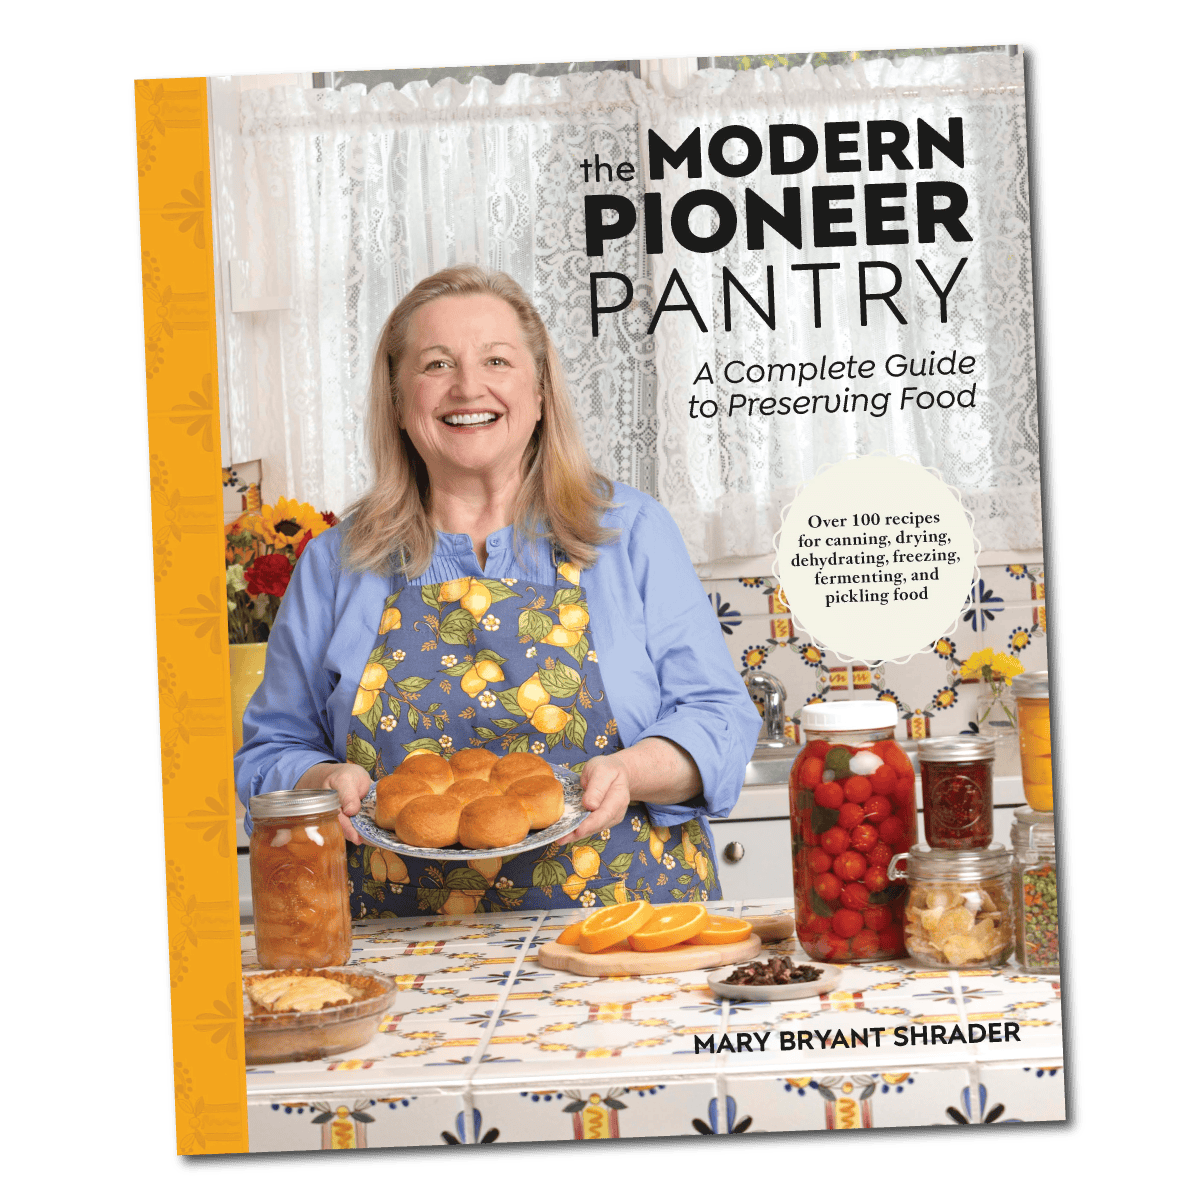
The Modern Pioneer Pantry
Simple ingredients, timeless techniques, and a well-stocked pantry. Discover over 100 nourishing recipes to preserve food and turn pantry staples into delicious, homemade meals. Build a wholesome, traditional pantry—just like a modern pioneer!
Stay in Touch with Mary’s Nest
- Subscribe to My YouTube Channel for Traditional Foods Videos (Free) - When you subscribe, be sure to click on the notification bell that will let you know each time I upload a new video.
- Subscribe to Mary’s Traditional Foods Newsletter (Free) - Get a free 36-page eBook for signing up: How to Stock Your Essential Traditional Foods Four-Corners Pantry.
- Join the Traditional Foods Kitchen Academy - For more detailed videos and exclusive members-only perks, join my YouTube membership community.
- Order The Modern Pioneer Cookbook - Get a hardcover book of Mary's nourishing recipes from a Traditional Foods Kitchen. This bestselling cookbook is published by Penguin Random House with their DK imprint.
- Order The Modern Pioneer Pantry - Get Mary's latest hardcover cookbook about preserving food and making delicious meals from your Four Corners Pantry. Mary's second cookbook is also published by Penguin Random House.
I look forward to having you join me in my Texas Hill Country Kitchen!
I’d like to receive more tips and recipes from Mary’s Nest.
How to Make Cultured Butter
Equipment
- Stand Mixer, Food Processor, or Electric Hand Mixer
- Colander or mesh strainer
- Cheesecloth or Flour Sack Towel
Ingredients
- 32 ounces Cream Pasteurized, Ultra-Pasteurized, or Raw Cream
- 1 tablespoon Cultured buttermilk, plain milk kefir, or plain whole milk yogurt.
- 1/2 teaspoon Fine ground sea salt, optional
Instructions
- Pour cream into a clean quart-sized jar, and add 1 tablespoon of the cultured buttermilk, kefir, or yogurt. Mix well with a clean utensil, and cover jar loosely with a lid or a clean cloth.
- If culturing the cream with buttermilk or kefir, place the jar in a warm place in your kitchen. If you are culturing the cream with yogurt, you will need to place your jar in a warmer place. For example, you can place your jar in your oven, keep your oven turned off, and have your jar warmed by the oven's pilot light or electric light on. (You want to maintain a temperature of about 110°F when culturing cream with yogurt.)
- Allow the cream to culture anywhere from 8 to 48 hours. Once you achieve the desired level of taste, transfer the cultured cream to the device you will be using to whip it, such as a stand mixer. Whip the cream until butter forms and a white liquid is left in the bottom of the mixer bowl. This white liquid is real buttermilk.
- Line a colander or mesh strainer with cheesecloth or a flour sack towel and place the lined strainer over a large bowl. Strain the butter and buttermilk through the lined strainer. Pull the cloth together and squeeze out as much buttermilk as possible from the butter. (See the video for the process.)
- Next, transfer the butter to a clean bowl and cover it with cold chlorine-free water. Press the butter with a spatula to release any bits of remaining buttermilk. The water will become cloudy. Pour off the water and repeat this process until the water remains clear and no more buttermilk can be pressed out of the butter. Drain off all water. Press the butter to release any remaining water and pour it from the bowl.
- If you wish to salt your butter, add in some sea salt at this point and work it into the butter.
- Transfer the butter to a surface covered with wax paper, parchment paper, or plastic wrap. Form the butter into a rectangular shape. Wrap the butter well, or put it in a butter dish and refrigerate. The butter should remain fresh for approximately two weeks.
Video
Notes
Shop for items used in this blog post or video
Favorite Cultured Butter Making Supplies
- Kitchen Aid Stand Mixer
- Cuisinart Food Processor
- Kitchen Aid Electric Hand Whisk
- Quart Jars
- Quart Jar Storage Lids
- Spatula
- Stainless Steel Colander
- Stainless Steel Mesh Strainer
- Flour Sack Towels
- Glass Bowl Set
Amazon Shop and Shopping Guide
- Visit Mary’s Nest Amazon Shop
- Visit my Shopping Guide page
Get up to 15% off for stocking your Traditional Foods Pantry and equipping your Modern Pioneer Kitchen, including discounts from US Wellness Meats, Farmhouse Teas, Backwoods Home, Masontops, Cultures for Health, Survival Garden Seeds, Redmond Real Salt, Mother Earth News, and More!


I made butter for the very first time thanks to you and your video on YouTube.. Thank You from my family and I!! You make things so easy to follow… My family loves cultired butter who knew?! God Bless You!
Hi Jess,
Thanks for the kind words! I’m glad you and your family enjoy the cultured butter.
I’m so glad we’re on this traditional foods journey together! 🙂
Love and God bless,
Mary
Hi Mary. I’m so excited about learning all about culturing and fermenting! Thank you! How long will the buttermilk last? We don’t care to drink it, and I usually only make a large batch of biscuits every couple of weeks, then freeze them and use as needed. Other than bread, I don’t do much other baking.
What do you mean by Cultued Butter please explain nice recipe
Hi Navina, Thanks for your comment – and that’s a great question. “Culture” means to allow a dairy product to develop good bacteria – such as when making yogurt. Cultured dairy products are better for you because of the good bacteria they contain. Good bacteria nourishes our intestinal linings (our “gut”) – and scientist tell us that a healthy “gut” makes us healthier people.
Do you enjoy learning about making traditional foods? If so, I have a playlist of some of my videos titled “Mastering the Basics of Traditional Nutrient Dense Foods Cooking”. It’s a series of 15 detailed videos that covers How to Make Bone Broth, Cultured Dairy, Ferments, Sourdough Starter (my foolproof stater), Sourdough Bread, Soaked and Sprouted Nuts and Beans, and How to Soak and Sprout Grains to Make your own Sprouted Flour at Home. You can watch it here: https://www.youtube.com/playlist?list=PLkRuW3pBo2U3b4eu0QraZReKlGzA11h3y And please share the playlist with any other folks you think might be interested in learning about these types of things. I’m passionate about the book Nourishing Traditions by Sally Fallon (of the Weston A Price Foundation) and want to help as many people as I can learn how to make Traditional “Nutrient Dense” Foods.
And for more details on some of these subjects mentioned above…(and more), be sure to check out these detailed playlists:
➡️How to Make Bone Broth: https://www.youtube.com/playlist?list=PLkRuW3pBo2U0JFsTi2N7sHSpU-vBR04CH
➡️How to Make Fermented Vegetables: https://www.youtube.com/playlist?list=PLkRuW3pBo2U2EhVspEV5d4Xs2s4pcbHbr
➡️How to Make Fermented Condiments: https://www.youtube.com/playlist?list=PLkRuW3pBo2U0hCKYoMMBeVD-9bA6TckEj
➡️The Complete Guide to Sourdough: https://www.youtube.com/playlist?list=PLkRuW3pBo2U3NKN0GHvGCpiWNxcTefLof
➡️And if you are interested in learning about how to make various types of Homemade Dairy including Cultured Butter, Cottage Cheese, Sour Cream, Ricotta Cheese, and more, be sure check out this playlist: https://www.youtube.com/playlist?list=PLkRuW3pBo2U2R7u0Ri26HwdLMjUa4iJJX

➡️Also…If you enjoy making homemade pantry type items, you might enjoy my playlist: https://www.youtube.com/playlist?list=PLkRuW3pBo2U1MqC3YAw7ZRYjuL9FBGSwc where I show how to make Apple Cider Vinegar (see more info about this below), 10 Flavored Extracts including Vanilla Extract, 10 Seasoning Blends including Ranch Dressing Mix and Onion Soup Mix, 1- Minute Homemade Mayonnaise, Homemade Bouillon – and how to dehydrate it, Natural Food Colorings, Evaporated Milk, Condensed Milk, Preserved Citrus, and more!
And if you like the idea of making your own Apple Cider Vinegar as mentioned above…Be sure to check out the Apple Cider Vinegar Playlist: https://www.youtube.com/playlist?list=PLkRuW3pBo2U1QPA95O2-oOvxwtO-v3L4L which a 3-part series where I walk you through the entire 30-day process. And if you like making vinegar, I also have a Homemade Citrus Vinegar Playlist: https://www.youtube.com/playlist?list=PLkRuW3pBo2U3apQRTzhfQBkR_x0rb514U And I have one more vinegar video where I show how to make vinegar from Strawberry Scraps. You can watch it here: https://www.youtube.com/playlist?list=PLkRuW3pBo2U2M3dRA483q5KJ7JkJfn3fS
➡️And…Have you seen my playlist for making immune boosting foods and natural remedies including a Super Mineral Detox Broth? You can look through the playlist here: https://www.youtube.com/playlist?list=PLkRuW3pBo2U0p9nRAWldbyqYSbgwzARGd You may like some of these recipes.
➡️And if you are interested in how to make probiotic rich fermented drinks, here is my playlist of some fun drinks including How to Make Homemade Sodas, Mocktails, Drinking Vinegar, Homemade Energy Drinks, Switchel, Shrubs, and More: https://www.youtube.com/playlist?list=PLkRuW3pBo2U2w2-CiBrkNnZj_IIlqZc9h You may enjoy these videos. And if you are interested in learning how to make Kombucha and/or Water Kefir, I have a playlist which includes a Beginners Guide to Kombucha Making along with a video on making water kefir for beginners…which you can watch here: https://www.youtube.com/playlist?list=PLkRuW3pBo2U3YysV0OYOMsxsJuf_sxPTK
➡️And in the Modern Pioneering spirit…If you enjoy canning, or are interested in learning about canning, I have a playlist of my canning videos here which include step-by-step tutorials: https://www.youtube.com/playlist?list=PLkRuW3pBo2U3HJRCmwVAvBNS90WjifR1U
➡️Oh…And here is my 2020 Channel Update for everything I have planned for this year: https://youtu.be/qjOJh8Cb_-k
Please let me know if you have any questions. I’m so happy to help! And I’m SO glad you’re here!! Love and God Bless, Mary❤️😘❤️
PS – Do you know about our FB group? It’s called Mary’s Nest Modern Pioneers. Come join us! We have a lot of fun chatting about Traditional Foods: https://www.facebook.com/groups/171869080205145/?source_id=210509998974645