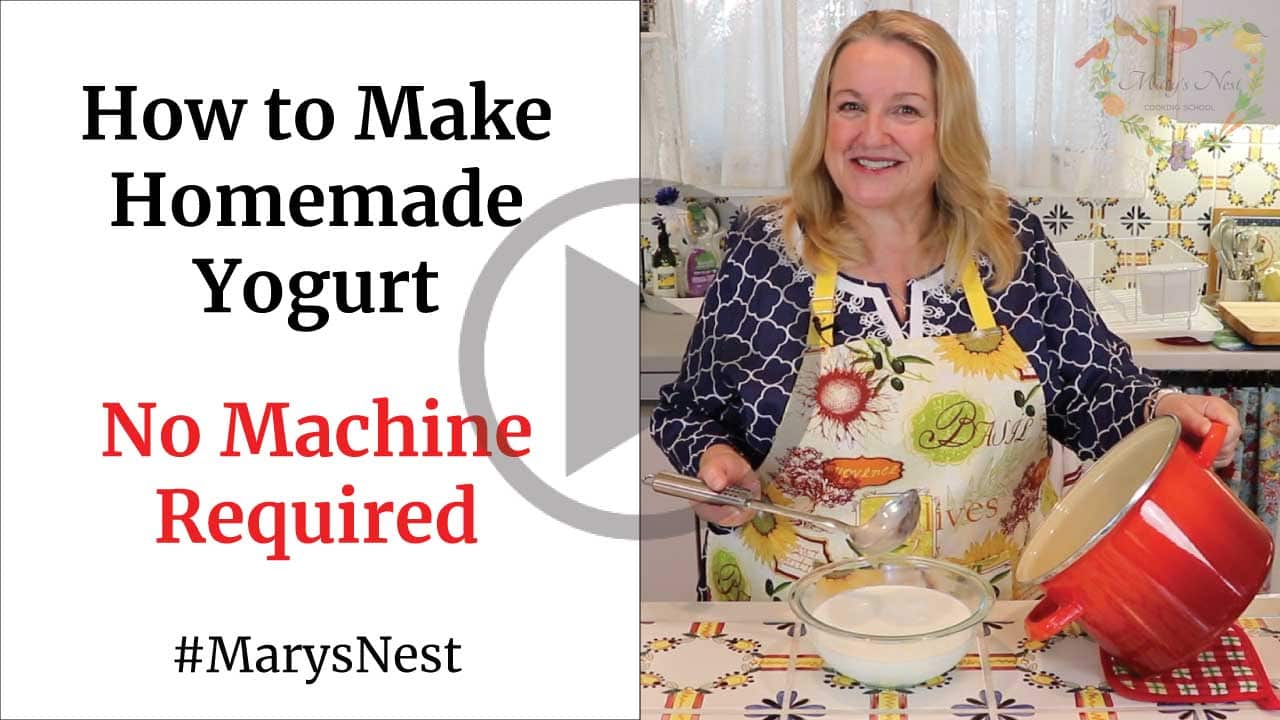
Homemade yogurt is so superior to anything you can buy at the grocery store. It is fresher and teaming with probiotics to nourish your gut. And with this recipe, all you need is a bowl! So give this a try today. You can do this!
Watch the how to make homemade yogurt video!
Affiliates note: As an Amazon Associate I earn from qualifying purchases. My content may contain affiliate links to products and services. If you click through and make a purchase, I’ll receive a small commission. It does not affect the price you pay.
Table of Contents
- Why Make Homemade Yogurt?
- Ingredients
- How to Make Homemade Yogurt
- Storing Tips
- Recipe Tips
- More Homemade Dairy Recipes
- Download Your Free 36-Page Pantry List
- Join the Traditional Foods Kitchen Academy
- More Kitchen Pioneer Videos
- How to Make Homemade Yogurt Recipe
- Shop for items used in this blog post or video
Why Make Homemade Yogurt?
When there are so many choices of yogurt at the grocery store, many of which are reasonably priced, why would you ever want to make homemade yogurt?
Well, it is still more thrifty than anything you can buy from the store—but more importantly—fresh homemade yogurt will be teaming with many more probiotics than those sitting on the shelves at the grocery store! In this case, the fresher, the better rings true!
Make homemade yogurt to your own tastes! You have all the control over how rich and creamy it turns out, especially when using whole milk.
And you can also control the level of tartness that you like. Less tart—culture it for a shorter time. More tart—culture it for a longer time.
And my recipe couldn’t be easier. All you need is a bowl. No machine is required! The nice thing about homemade yogurt is that it’s very forgiving. So don’t worry. It’s hard to mess up. You can do this! 🙂
More Cultured Dairy
Once you’ve tried it out and are ready to try your hand at another type of cultured dairy, be sure to check out my video on How to Make Milk Kefir – The Champagne of Milk!
You might also be interested in exploring How to Make Super Cultured Dairy with L. Reuteri. It’s not technically a “yogurt” as defined by the USDA, though people who make it often refer to it as “super yogurt,” so it’s a great alternative to traditional yogurt.
Ingredients
Find the full printable recipe with measurements below.
For this specific homemade yogurt recipe, I recommend the following ingredients:
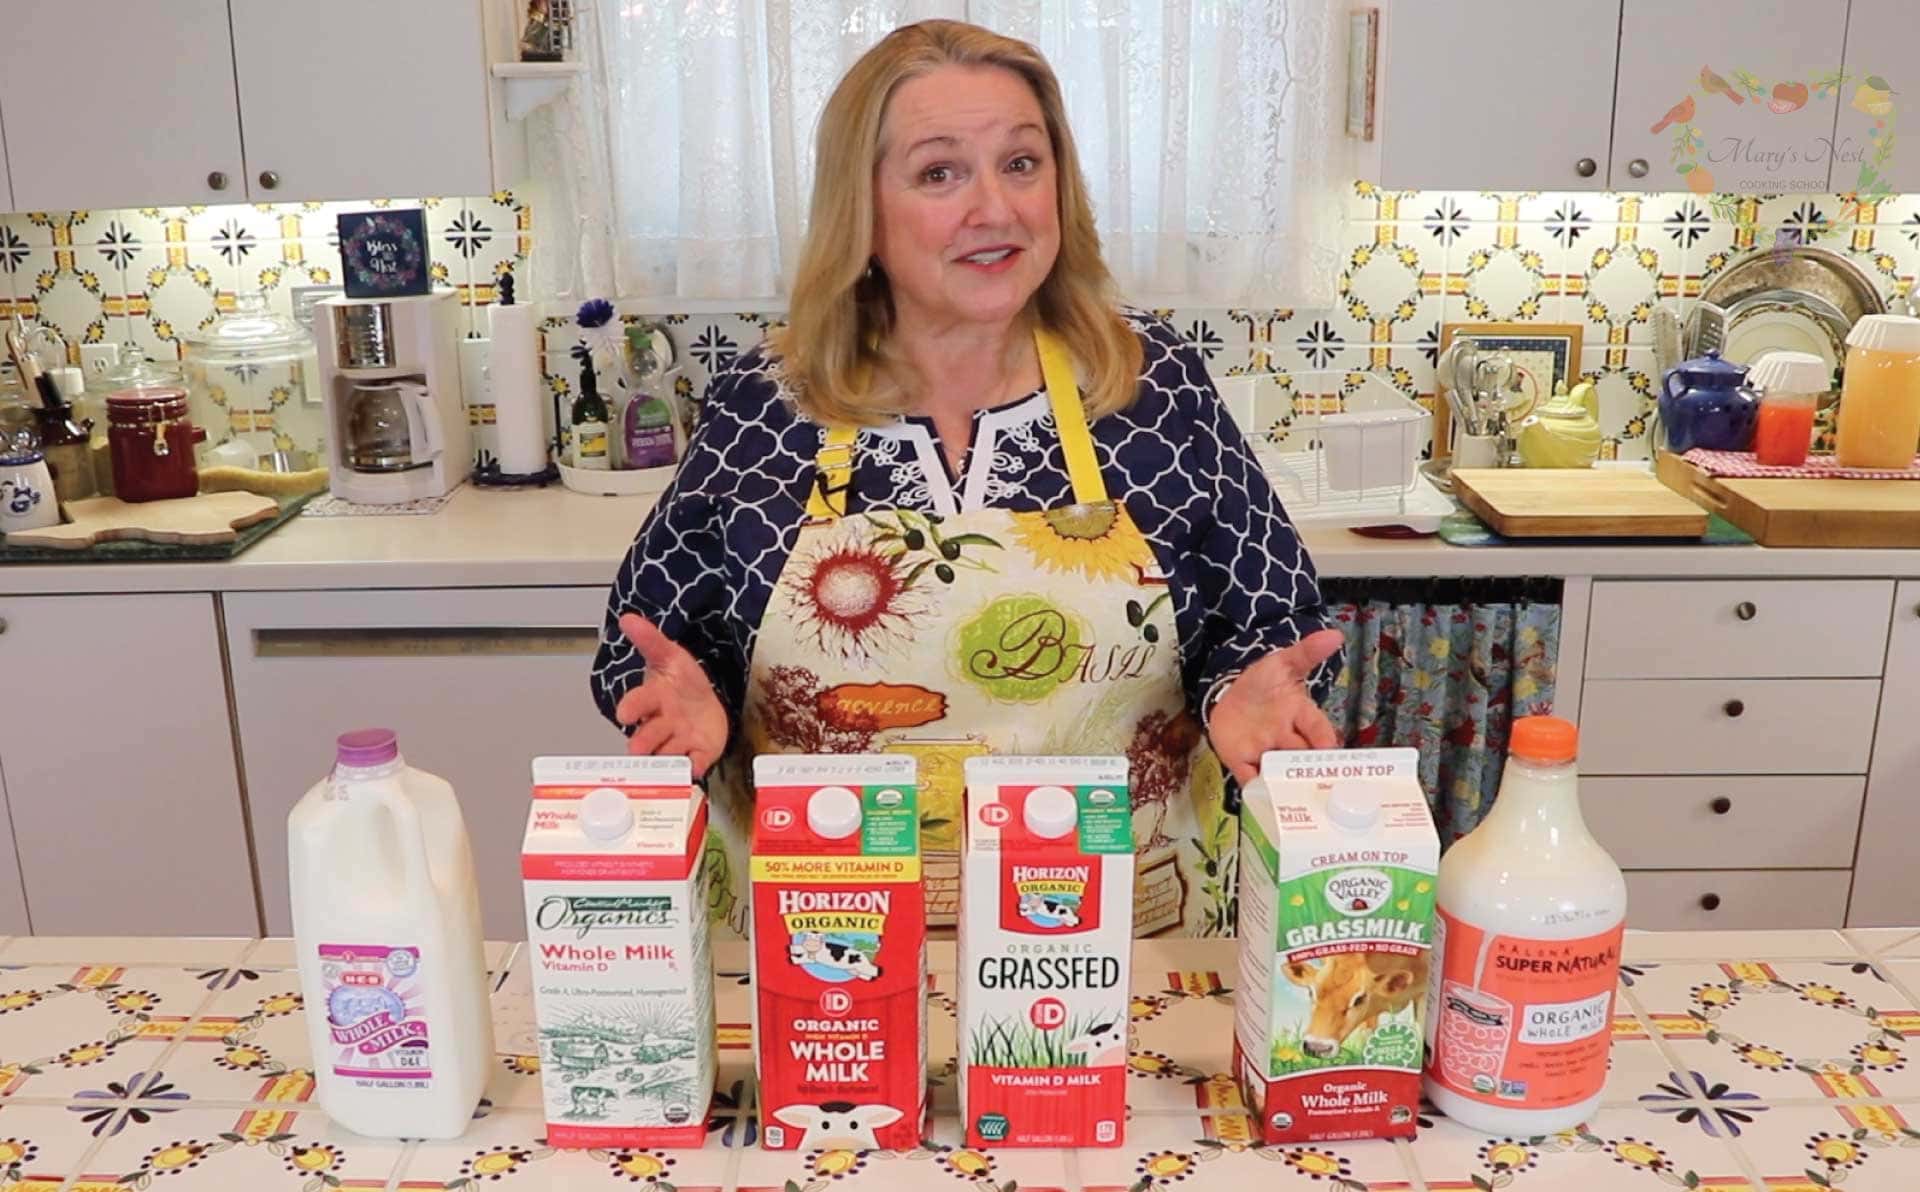
- Whole milk: Whole-fat milk makes a rich and creamy yogurt.
- Plain whole milk yogurt: For your first batch, you will need to use a store-bought yogurt. Make sure it is full-fat and plain. Do not use flavored or sweetened yogurt.
How to Make Homemade Yogurt
Step 1 – Pour the milk into a pot and place it on the stovetop. Bring it up to a boil over medium heat, stirring continually so the milk does not burn. As soon as it boils, remove the pan from the heat.
Step 2 – Allow the milk to cool to approximately 110°F (43°C).
PRO TIP: If you do not have a thermometer, you can use your CLEAN finger to judge the correct temperature. The milk will feel comfortably warm to the touch, like a warm bath. It will not be uncomfortable for you to put your finger into the milk.
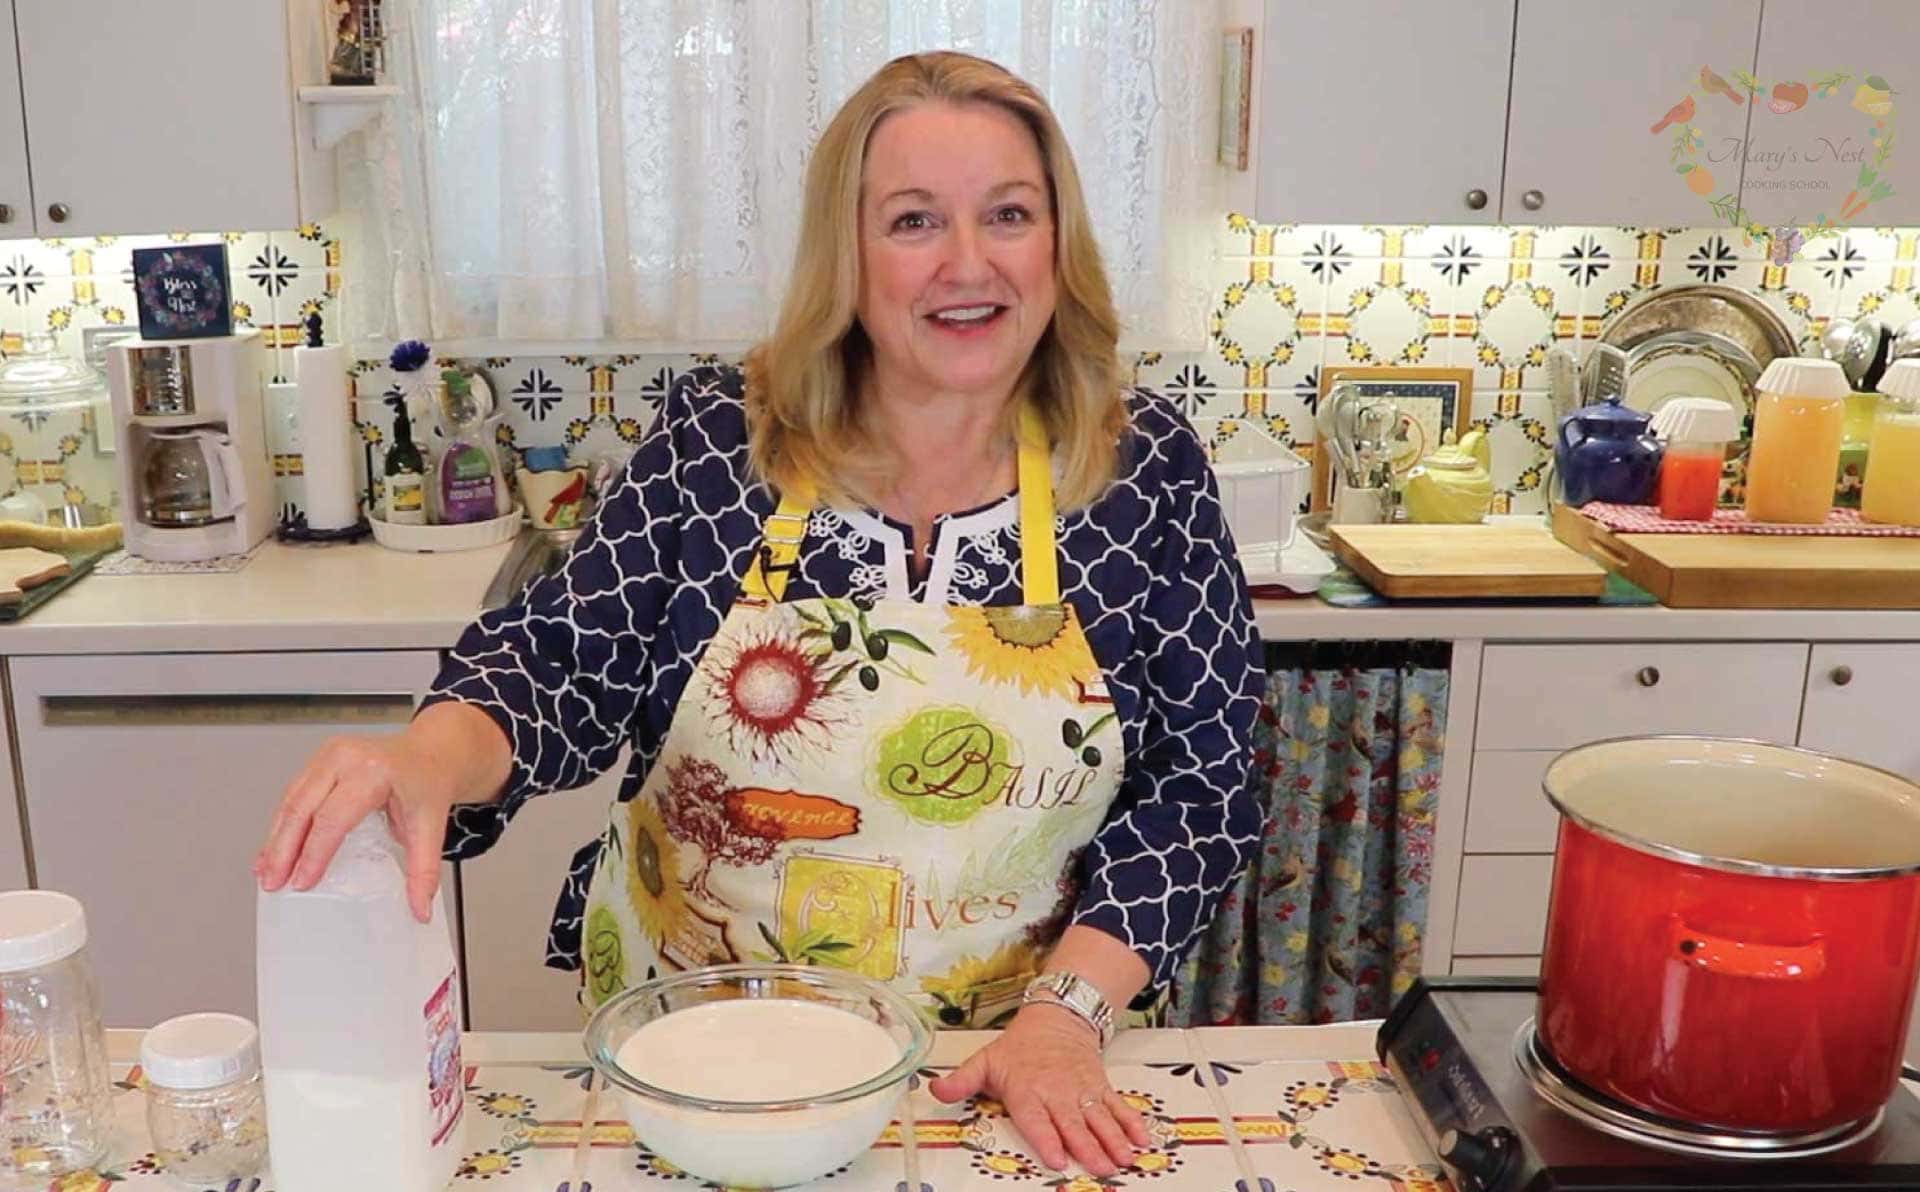
Step 3 – Place a dish towel over a rimmed baking sheet to cover, and then place a large bowl onto the covered baking sheet. Place another bowl that’s large enough to hold the four cups of milk into the larger bowl.
PRO TIP: These bowls can be glass, ceramic, earthenware, or stoneware. Just be sure you DO NOT use plastic.
Step 4 – Transfer the cooled milk to the medium-sized bowl and add the yogurt to the milk. Stir them together until the yogurt is completely incorporated. Add boiling water to the space between the two bowls.
Step 5 – Cover the bowls with lids or plastic wrap. Then top with two dish towels or one large towel and let them stand in a warm place where they will be undisturbed.
PRO TIP: An oven that has been turned OFF, but has the light on or a pilot light, is an ideal place. Other acceptable places include the top of a refrigerator or a pantry.
Check the yogurt after four hours. At this time, the yogurt should be set firm. If not, re-cover it and let it continue to culture for another hour.
Step 6 – Transfer your finished yogurt to a jar or container and refrigerate it.
PRO TIP: The yogurt will continue to thicken in the refrigerator, but it won’t continue to become tangier. This is important to note if you are planning on feeding the yogurt to children (or adults for that matter!) who do not like a particularly tart-tasting yogurt.
How to Make Greek-style Yogurt
You can easily make homemade Greek yogurt by taking a couple of extra steps.
- Place a mesh strainer lined with a flour sack towel, cheesecloth, or a coffee filter over a bowl.
- Pour some of the yogurt into the lined strainer, place in the refrigerator, and allow the whey (a clear to yellowish-tinged semi-clear liquid) to drain into the bowl.
- Check the yogurt after about an hour to see if it has reached the consistency that you like. If you wish, you can continue to drain the whey from the yogurt, and it will take on the consistency of a soft cheese.
Storing Tips
Store in the fridge in a jar or container. It will stay fresh for up to 1 week in the fridge.
Recipe Tips
- Save a little from your first batch of yogurt to make your next batch.
- Do not discard the whey. Whey is very nutritious and full of probiotics. You can drink it straight or mix it with sparkling water and pour it over ice for a refreshing beverage. You can also use whey as a starter to add to the water in which grains are soaked or to add the water used to ferment vegetables.
- If you want to flavor your yogurt, it’s best to do it at the end after the yogurt is ready. Stir in fruit, add vanilla, cinnamon, or other flavors you enjoy.
- DO NOT use plastic bowls to make your yogurt. Glass, earthenware, or stoneware works best.
- The longer you allow your yogurt to culture, the more the flavor and texture change. It takes on a much firmer texture with a more tangy or tart flavor.
- For a less tangy yogurt that works great for kids or adults who don’t like the tang, transfer it to the fridge after four hours. It will continue to thicken but won’t become any tangier.
More Homemade Dairy Recipes

How to Make Super Cultured Dairy with L. Reuteri
This tasty cultured dairy is abundant in gut-loving good bacteria. It’s rich, creamy, and thicker than Greek yogurt.

Learn How to Make Ricotta Cheese – The Easy Way!
Enjoy the taste of homemade and never purchase store-bought again!

How to Make Cream Cheese with Just One Ingredient
Make homemade cream cheese, just like what you can buy at the grocery store.
Download Your Free 36-Page Pantry List
For an extensive list of the traditional foods you can make and purchase to stock your pantry, be sure to download my free 36-page Traditional Foods Pantry List. This comprehensive eBook is full of links to recipe videos, helpful articles, and more!

And if you’re looking for a printed book full of my traditional foods recipes to show you how to create a traditional foods kitchen, be sure to order your copy of my bestselling book, The Modern Pioneer Cookbook.

Order YOUR COPY Now!
The Modern Pioneer Cookbook
Seasonal ingredients, traditional techniques, and nourishing recipes. Over 85 traditional, from-scratch recipes! Discover for yourself how you can use simple ingredients and traditional techniques to cook the modern pioneer way.
Join the Traditional Foods Kitchen Academy
Are you looking for more traditional foods videos? If so, I invite you to join the Traditional Foods Kitchen Academy. Members of this optional paid YouTube community get access to exclusive videos and other members-only perks. Plus, your YouTube comments include a special members-only badge.
More Kitchen Pioneer Videos

Baking Questions Answered with Ted and Me!
Join me and my husband Ted for a Q&A filled with practical kitchen tips, helpful techniques, and answers to your baking questions.
Baking with Whole Grains: The Maslin Method, Grain Mills, and America’s Bread Basket
Explore whole grain baking with The Maslin Method, fresh-milled flour, grain mills, heritage wheats, and more.
A Sweet Season of Celebration and New Beginnings with The Maslin Method Baking School Series
Celebrate the close of a heartfelt book tour and the exciting launch of The Maslin Method Baking School for traditional baking.
Stay in Touch with Mary’s Nest
- Subscribe to My YouTube Channel for Traditional Foods Videos (Free) - When you subscribe, be sure to click on the notification bell that will let you know each time I upload a new video.
- Subscribe to Mary’s Traditional Foods Newsletter (Free) - Get a free 36-page eBook for signing up: How to Stock Your Essential Traditional Foods Four-Corners Pantry.
- Join the Traditional Foods Kitchen Academy - For more detailed videos and exclusive members-only perks, join my YouTube membership community.
- Order The Modern Pioneer Cookbook - Get a hardcover book of Mary's nourishing recipes from a Traditional Foods Kitchen. This bestselling cookbook is published by Penguin Random House with their DK imprint.
- Order The Modern Pioneer Pantry - Get Mary's latest hardcover cookbook about preserving food and making delicious meals from your Four Corners Pantry. Mary's second cookbook is also published by Penguin Random House.
I look forward to having you join me in my Texas Hill Country Kitchen!
I’d like to receive more tips and recipes from Mary’s Nest.
How to Make Homemade Yogurt

Ingredients
- 4 cups Whole milk
- 1/4 cup Plain whole milk yogurt
Instructions
- Pour the milk into a pot and place it on the stovetop. Bring it up to a boil over medium heat. Stir continually to make sure that the milk does not burn on the bottom of the pan. When it comes to a boil, the milk will be 180°F (82°C). As soon as it boils, remove the pan from the heat.
- Allow the milk to cool to approximately 110°F (43°C). A candy thermometer is useful to determine this temperature, but if you do not have a thermometer, you can use your CLEAN finger to judge the correct temperature. The milk will feel comfortably warm to the touch, like a warm bath. It will not be uncomfortable for you to put your finger into the milk.
- While the milk is cooling, place a dish towel over a rimmed baking sheet to cover, and then place a large bowl onto the covered baking sheet. This larger bowl can be tempered glass, ceramic, earthenware, or stoneware. DO NOT use plastic.
- Next, place a medium-sized bowl into the larger bowl. Make sure that the medium-sized bowl is large enough to hold the 4 cups of milk. This medium-sized bowl can be tempered glass, ceramic, earthenware, or stoneware. DO NOT use plastic.
- When the milk has cooled to the correct temperature, transfer the milk to the medium-sized bowl and add the yogurt to the milk. Stir the milk and yogurt together until the yogurt is completely incorporated.
- Boil some water in a tea kettle. Once it comes to a boil, allow it to cool for a minute or so, and then pour the hot water in between the two bowls. The water should come to right below the lip of the medium-sized bowl. (See video.)
- If the bowls have lids, put the lid on the medium-sized bowl and then put the lid on the large bowl. If your bowls do not have lids, you can cover them with plastic wrap.
- Cover the bowls with two dish towels or one large towel and let them stand in a warm place, undisturbed. An oven that has been turned OFF, but has the light on or a pilot light, is an ideal place. Other acceptable places include the top of a refrigerator or a pantry.
- After 4 hours, check the yogurt. It should be set firm. If not, re-cover it and let it continue to culture for another hour. The longer you allow it to culture, the firmer it will become, but it will also become more tangy or tart tasting. Also, keep in mind, when you refrigerate the yogurt, it will also become slightly thicker without the addition of tanginess. This is important to note if you are planning on feeding the yogurt to children (or adults for that matter!) who do not like a particularly tart tasting yogurt.
- When the yogurt has reached the consistency and taste that you like, refrigerate it. It will stay fresh for up to 1 week, refrigerated.
Video
Notes
Shop for items used in this blog post or video
- Visit Mary's Nest Amazon Shop
-
Visit my Shopping Guide page
Get up to 15% off for Stocking your Traditional Foods Pantry and Equipping your Modern Pioneer Kitchen, including discounts from US Wellness Meats, Mockmill Grain Mill, Masontops, Cultures for Health, Survival Garden Seeds, Redmond Real Salt, Plan to Eat, and more!
Shop for items used in this blog post or video
Favorite Yogurt Making Supplies
- Mixing Bowl Set Including Locking Lids
- 4-Piece Glass Measuring Cup Set with Large 8 Cup Measuring Cup
- Stainless Steel Measuring Cups
- Mini Kitchen Silicone Spatulas
- Classic Line Candy/Deep Fry Thermometer
- Wide Mouth Quart Jars
- Wide-Mouth Jar Plastic Storage Caps
- Jelly Jam Jars
- Regular Mouth Jar Plastic Storage Caps
- Le Creuset Enamel-on-Steel 16-Quart Covered Stockpot
- Le Creuset Enamel-on-Steel 10-Quart Covered Stockpot
Favorite Kitchen Supplies
- Favorite Aprons
- Spice Grinder
- Countertop Burner (On my kitchen island in many recipe videos.)
- Handheld Vacuum Sealing System
- Vacuum Lids
- Whisk
- Silica Gel Packets (Helps keep moisture from building up in your mix)
- Cast Iron Dutch Oven
- 8-Quart Slow-Cooker
- Fat Separator (Clever kitchen device to help you decant bone broth)
- Flour Sack Towels
- pH Strips (Helps you check on the acidity of your vinegar)
Amazon Shop and Shopping Guide
- Visit Mary’s Nest Amazon Shop
- Visit my Shopping Guide page
Get up to 15% off for stocking your Traditional Foods Pantry and equipping your Modern Pioneer Kitchen, including discounts from US Wellness Meats, Farmhouse Teas, Backwoods Home, Masontops, Cultures for Health, Survival Garden Seeds, Redmond Real Salt, Mother Earth News, and More!


Hi, Mary, can raw milk be used in this recipe? Thanks for teaching us these valuable traditional skills and for being so sweet!!! Your light shines BRIGHT!
Hi Autumn,
Thanks for your comment. Yes, you can use raw milk, but since you’ll heat the milk when you make the yogurt, you’ll lose some of the benefits of your raw milk since you’ll be “pasteurizing” it to some extent.
Thanks again for your kind words. I’m so glad we’re on this traditional foods journey together! 🙂
Love and God bless,
Mary
Can I make yogurt with almond milk?
Hi Kim,
Thanks for your comment. I’ve only used dairy milk to make yogurt, so if you are able to make yogurt from almond or another non-dairy milk, please let us know.
Love and God bless,
Mary
Hi, Mary. After watching your video, I made yogurt for the first time in my new yogurt maker. I used ultra-pasteurized heated to 110° F per your comment above, store bought Greek yogurt as starter, 8 hours in the maker, and overnight in the refrigerator. They came out great! We want it a bit more tangy, so today I am trying 9 hours. Regarding starter yogurt, the device instruction booklet says, “If you use the homemade yogurt, please repeat only 1 time.” Does that mean I can use my own yogurt as starter not more than 2 times? Thank you.
Hi Chris,
Thanks for your comment. Sorry. I’m not sure what your yogurt maker is referring to. Perhaps they mean you can only use your previous yogurt one time because the yogurt maker is heating the culture to a greater extent.
In this recipe’s video, I show you how to make homemade yogurt without a machine. I have another video, How to Make Super Cultured Dairy with L. Reuteri, that uses a yogurt maker at https://marysnest.com/how-to-make-super-cultured-dairy-with-l-reuteri/ . It may help you with your yogurt maker.
Thanks again for your comment and for being on this traditional foods journey with me. 🙂
Love and God bless,
Mary
Hi Mary, I love your recipes, but I am getting “Google” ads in the middle of the recipes. This time right in the middle of your homemade yogurt recipe. Is there any way you can prevent this?
Hi J. Pickering,
Thanks for your note. Try clicking the “Print Recipe” button to display the recipe in printed format in your web browser. You don’t have to print out the recipe, but you can view it in printed form online. It should show you all the steps without breaking up the text with ads. I hope that helps you.
Love and God bless,
Mary
Hi Mary,
I made you recipe for homemade yogurt yesterday. I made 1/2 a quart as I only had 1/8 of a cup of yogurt to use as a starter. I followed your instructions and left it for 7 hours. It set with a lovely creamy texture with a moderate tang. Just how I like it. My husband who loves natural set yogurt is also a fan. I love your videos and look forward to adding a new skill of dehydrating next. Cheers from Melbourne, Australia. Lock down has given me time to learn new cooking skills
Hi Jane,
Thanks for your comment. I’m so glad to hear that your yogurt turned out wonderfully! I look forward to hearing about your experiences dehydrating too.
Thanks also for your kind words and for being a sweet friend!
Love and God bless,
Mary
Hi Mary … love the video!! I use the same process but put into a prewarmed unplugged crockpot. I have one crock pot that fits 3 pint jars…. towel is put in crock and over crock. Works great 8-10 hours in crockpot unplugged then in fridge . I save 1/2 of last pint for next batch love it 😍
Hi Dionne, Wonderful!! I love your method. Thank you so much for sharing. Love, Mary
Making this now for my pregnant wife! Mrs. Mary, your channel epitomizes the healthy living we are striving to have with our daughter. Thank you for all of your videos and recipes. Keep them coming!
*Adding some strawberry banana syrup to make strawberry banana yogurt!
Hi Timothy, Thank you so much for your comment filled with kind words!! Glad you are enjoying making the yogurt. Do you enjoy making other traditional foods? If so, I have a playlist of some of my videos titled “Mastering the Basics of Traditional Nutrient Dense Foods Cooking”. It’s a series of 15 detailed videos that covers How to Make Bone Broth, Cultured Dairy, Ferments, Sourdough Starter (my foolproof stater), Sourdough Bread, Soaked and Sprouted Nuts and Beans, and How to Soak and Sprout Grains to Make your own Sprouted Flour at Home. You can watch it here: https://www.youtube.com/playlist?list=PLkRuW3pBo2U3b4eu0QraZReKlGzA11h3y And please share the playlist with any other folks you think might be interested in learning about these types of things. I’m passionate about the book Nourishing Traditions by Sally Fallon (of the Weston A Price Foundation) and want to help as many people as I can learn how to make Traditional “Nutrient Dense” Foods.
Please let me know if you have any questions. I’m so happy to help! And I’m SO glad you’re here!! Love and God Bless, Mary❤️😘❤️
PS – Do you know about our FB group? It’s called Mary’s Nest Modern Pioneers. Come join us! We have a lot of fun chatting about Traditional Foods: https://www.facebook.com/groups/171869080205145/?source_id=210509998974645
How do you make the yoghurt with the ultra pasteurized milk?
Hi Jackie, Thanks so much for visiting. That is a great question. You simply warm the milk to 110F and add your starter yogurt and proceed as outlined in the video. Please let me know if you have anymore questions. Love, Mary
Sorry I commented on youur FB page, I could not find this page. Posey Mom says to strain the milk kefir thru cheese cloth for 12 hrs. to drain whey and the resulting produt is the same as yogurt, no heating required. Sounds great and so much easier. Thanks. Mary E. Denton
Hi Mary, Yes, I love kefir. It’s so much easier to make than yogurt. Plus it has a much more varied good bacteria profile that is wonderful for boosting out T-cell function to fight infection. And yes, you can strain it to make it nice and thick and looks like yogurt if you want a product like that. But have you tried just drinking it? I love it that way. Have you seen my video on making milk kefir – and my second one on making water kefir? You can watch them here:
https://youtu.be/meSkLYz9cBw and here: https://youtu.be/gtZhTWmH278 Hope this helps. Thanks so much for visiting!! So glad you’re here!! Love, Mary
That is almost the same way I make my yogurt! Except I don’t pour hot water between the bowls. I add a couple teaspoons in 2 cups of warm milk, warm up my oven to 115 degrees, shut it off, switch on the pilot light and put my bowl covered with plastic wrap and it turns out good every time! If it gets tart, I add some milk before serving to the family!
Thanks!
Hi Bhanu, Thanks so much for visiting and for commenting!! Happy to have you here. 🙂