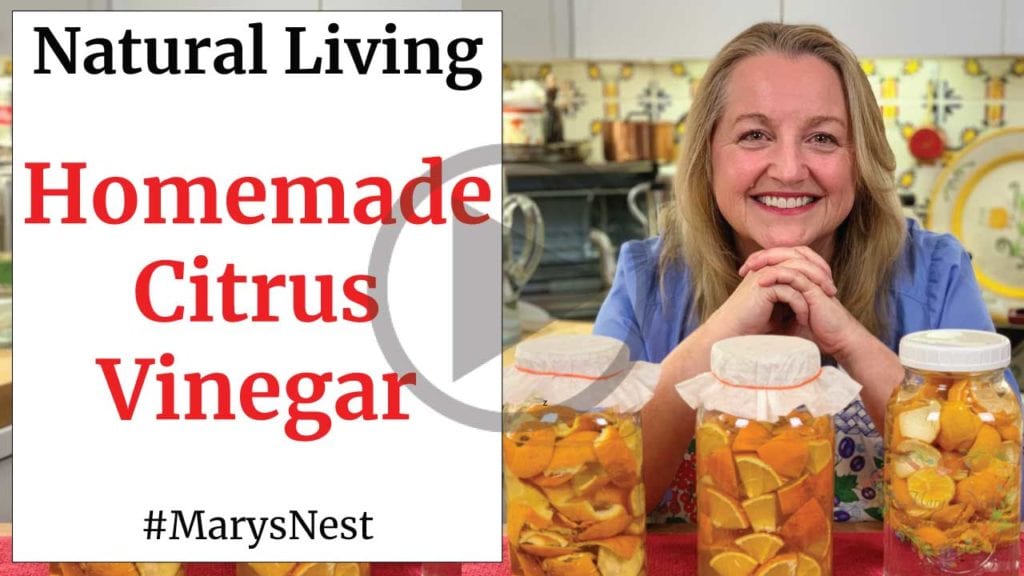
Today, I am sharing How to Make Homemade Apple Cider Vinegar, complete from start to finish with two video updates. This is one of the easiest DIY projects ever! You’ll wonder why you never tried it before.
Affiliates note: As an Amazon Associate I earn from qualifying purchases. My content may contain affiliate links to products and services. If you click through and make a purchase, I’ll receive a small commission. It does not affect the price you pay.
Table of Contents
- Never Buy Store Bought Again!
- Where to Start Making Apple Cider Vinegar?
- Do I Need to Use Organic Apples to Make Vinegar?
- Get Your Equipment Ready
- Don’t Be Afraid of the White Sugar!
- Stir, Stir, Stir!
- Why Does My Vinegar Smell Like Beer?
- Why I am I Making Vinegar?
- And There’s More!
- More Ideas for Vinegar
- Download Your Free 36-Page Pantry List
- How to Make Homemade Apple Cider Vinegar Recipe
- Shop for items used in this blog post or video
Never Buy Store Bought Again!
Once you give this recipe a try, you’ll be making Homemade Apple Cider Vinegar all the time. You won’t have to buy it anymore. This will ease the burden on your grocery budget since this vinegar can be costly, and you’ll have the pride of making your vinegar homemade.
Where to Start Making Apple Cider Vinegar?
So how do you get started making Apple Cider Vinegar? To begin with, you have two options.
- Option 1: You can use apple scraps, including peels and cores (seeds removed).
- Option 2: You can use cut-up whole apples. If you choose to use whole apples, this is an excellent way to use up those apples that may be slightly past their prime.
Do I Need to Use Organic Apples to Make Vinegar?
If you can use organic apples, that is the best option. But if not, be sure to wash your apples with a mixture of vinegar and baking soda. You can make a foamy paste out of these ingredients and use the paste as a scrub to clean the apples.
Next, rinse the apples thoroughly to remove as much pesticide residue as possible. (Keep this in mind when you are using your apples for other recipes. This way, the apple scraps you save to make vinegar will have already been washed.)
Get Your Equipment Ready
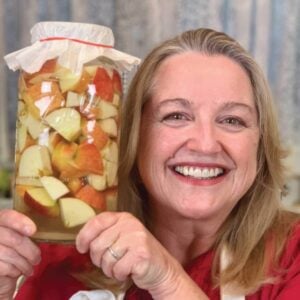
Next, you’ll want to get a half-gallon size jar and fill it about halfway with the scraps or the cut-up apples. Even a combination of the two can work. This recipe is very flexible.
Once the jar is filled halfway with the apples, you’ll add in a 1/4 cup of white cane sugar. Again, try to use organic sugar if you can.
Don’t Be Afraid of the White Sugar!
I want to stress here to use white sugar. Do not be afraid. You want to feed the yeast and eventually, the bacteria that will turn this mixture into vinegar. Yes, the apples have natural sugar, but they often need a boost.
Acetobacter, the bacteria that will turn this mixture into vinegar, likes to eat the white sugar. And it will eat and eat it. The final product will not taste sweet at all! It will taste like Vinegar—Apple Cider Vinegar!
Stir, Stir, Stir!
Also, giving the apples a little boost of extra sugar will help to speed up the process and keep mold at bay. The most important trick for keeping mold away is by stirring your vinegar every day. Preferably twice a day—morning and night.
After a week or so, the environment for mold will become quite inhospitable, and you will be on your way to making homemade Apple Cider Vinegar!
Why Does My Vinegar Smell Like Beer?
Don’t worry if, in the first week or two, your vinegar smells like beer. This is part of the natural process. In the beginning stages of making vinegar, it will initially smell like alcohol. Some say it smells like beer. That’s the yeast at work.
Soon the good bacteria—acetobacter—will take over, and your mixture will start to smell as it should—like vinegar!
Why I am I Making Vinegar?
Now, other than helping to lighten our grocery budget, why do we want to make Homemade Apple Cider Vinegar? Because when we make it homemade, we create a vinegar that is raw.
You may have heard the expression that raw apple cider vinegar contains “The Mother.” This “Mother” is a colony of beneficial bacteria and is wonderful for good gut health.
And There’s More!
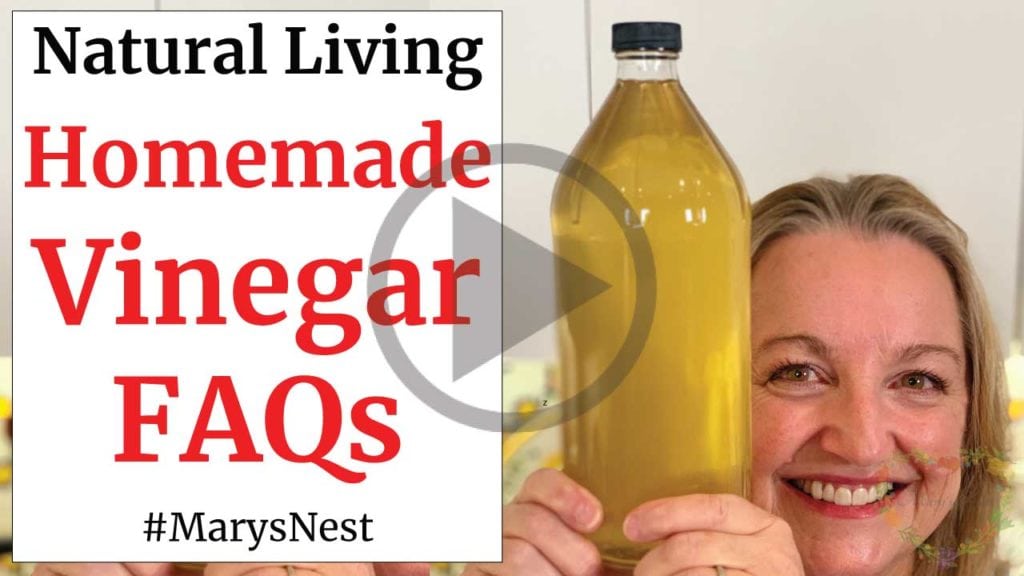
I have a How to Make Homemade Apple Cider Vinegar playlist of three videos that walk you through the entire process of making Apple Cider Vinegar. The videos will help you get started and check your vinegar’s progress from start to finish.
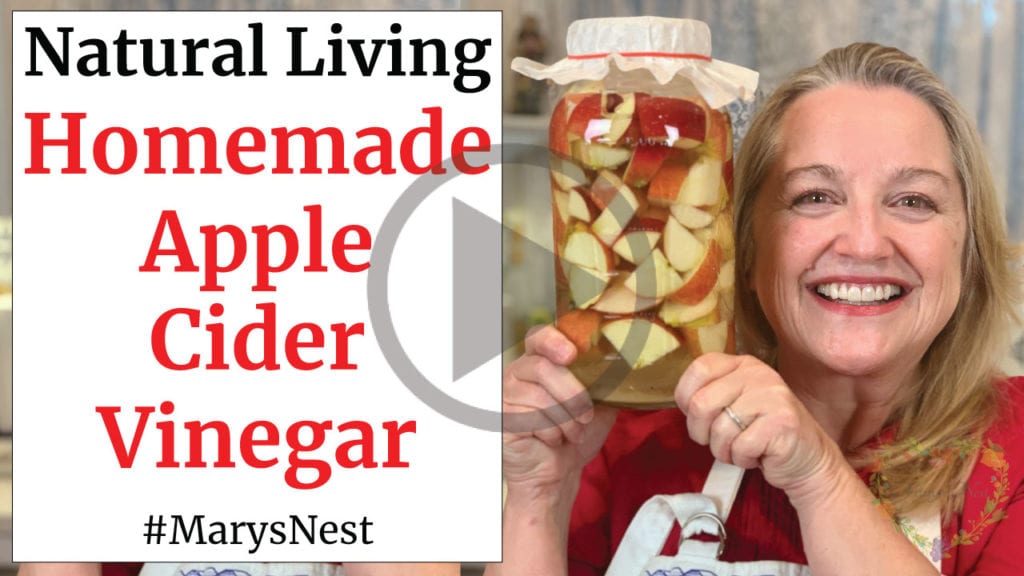
- Main Video: The first video in the series gets you started learning how to make homemade Apple Cider Vinegar with the mother. It’s a DIY from scratch recipe for beginners.
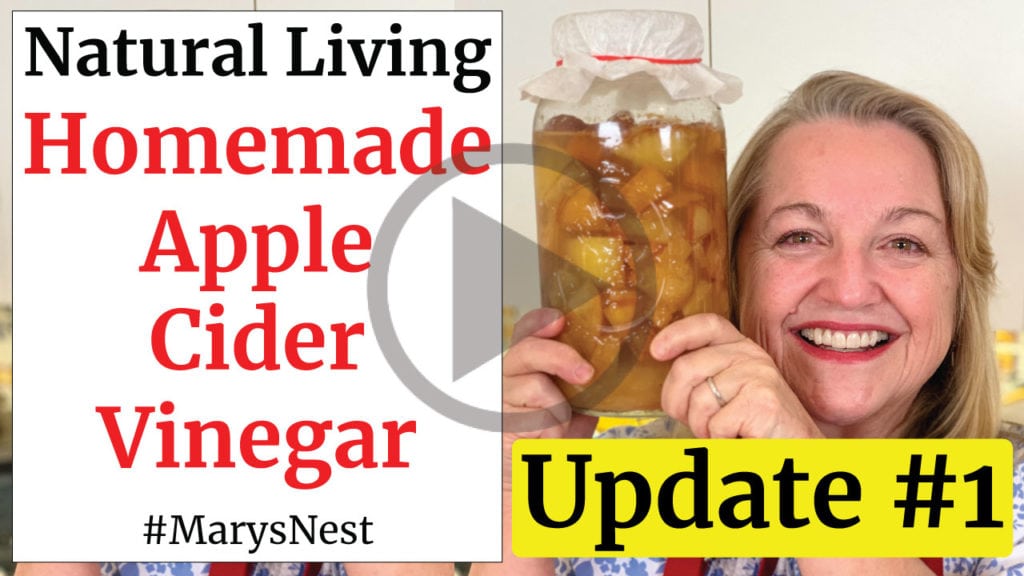
- Update #1: The second video in the series shows you what to expect at the two-week mark.
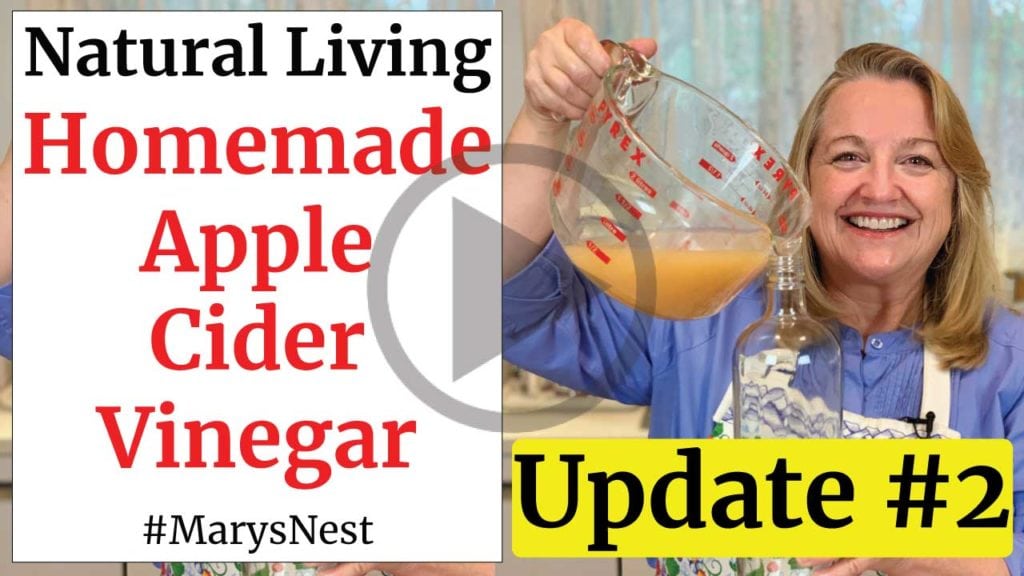
- Update #2: The third video in the series shows you what to expect at the 30-day mark. Plus, I show you how to strain the vinegar, decant it, and store it.
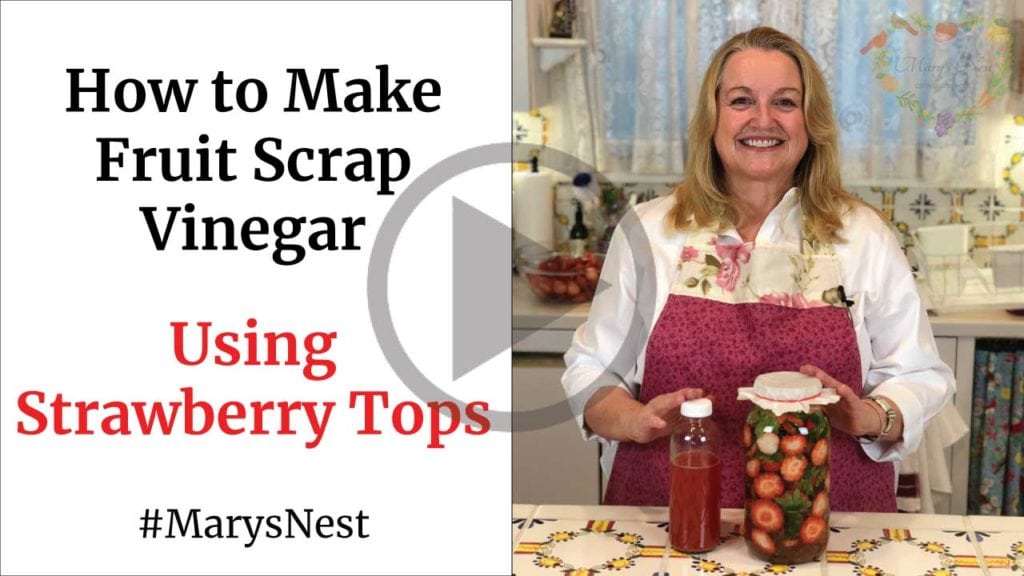
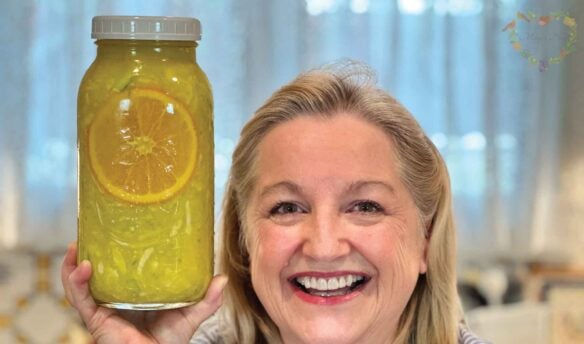
More Ideas for Vinegar
Once you’ve tried this Apple Cider Vinegar Recipe, be sure to check out these other vinegar videos:
Download Your Free 36-Page Pantry List
For an extensive list of the traditional foods you can make and purchase to stock your pantry, be sure to download my free 36-page Traditional Foods Pantry List. This comprehensive eBook is full of links to recipe videos, helpful articles, and more!

And if you’re looking for a printed book full of my traditional foods recipes to show you how to create a traditional foods kitchen, be sure to order your copy of my bestselling book, The Modern Pioneer Cookbook.

Order YOUR COPY Now!
The Modern Pioneer Cookbook
Seasonal ingredients, traditional techniques, and nourishing recipes. Over 85 traditional, from-scratch recipes! Discover for yourself how you can use simple ingredients and traditional techniques to cook the modern pioneer way.
Stay in Touch with Mary’s Nest
- Subscribe to My YouTube Channel for Traditional Foods Videos (Free) - When you subscribe, be sure to click on the notification bell that will let you know each time I upload a new video.
- Subscribe to Mary’s Traditional Foods Newsletter (Free) - Get a free 36-page eBook for signing up: How to Stock Your Essential Traditional Foods Four-Corners Pantry.
- Join the Traditional Foods Kitchen Academy - For more detailed videos and exclusive members-only perks, join my YouTube membership community.
- Order The Modern Pioneer Cookbook - Get a hardcover book of Mary's nourishing recipes from a Traditional Foods Kitchen. This bestselling cookbook is published by Penguin Random House with their DK imprint.
- Order The Modern Pioneer Pantry - Get Mary's latest hardcover cookbook about preserving food and making delicious meals from your Four Corners Pantry. Mary's second cookbook is also published by Penguin Random House.
I look forward to having you join me in my Texas Hill Country Kitchen!
I’d like to receive more tips and recipes from Mary’s Nest.
How to Make Homemade Apple Cider Vinegar
Ingredients
- Whole apples or apple scraps amounts vary
- 1/4 cup White sugar
- Chlorine-free water
Instructions
- Fill a half gallon-sized jar halfway with apple scraps or cut-up apples, seeds removed.
- Pour the sugar into the jar.
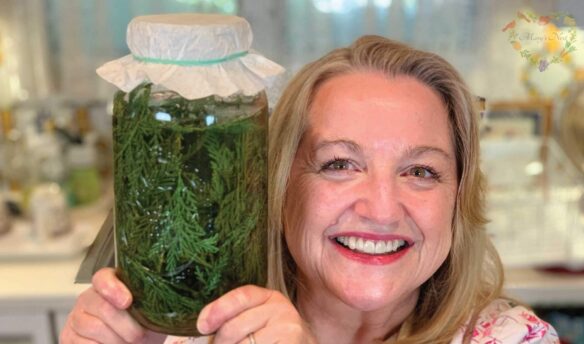
- Fill the jar with the water to cover the apples, but leave at least 2-3 inches of headspace from the rim of the jar. During the 30 day process, the apples will expand, and the mixture will bubble so you want to prevent the liquid from spilling out the jar.
- Cover the top of the jar with a piece of clean fabric or a paper coffee filter.
- Each day, remove the fabric or coffee filter and stir the vinegar, twice per day in the morning and in the evening. And then replace the fabric or coffee filter.
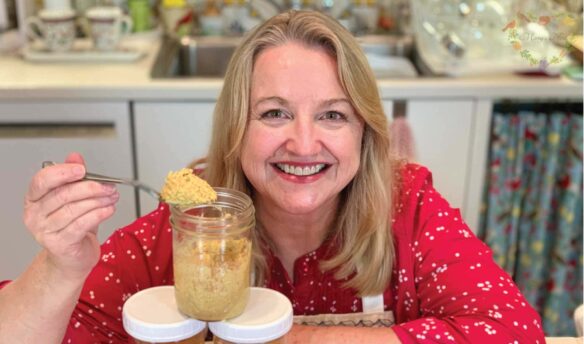
- After 30 days, strain out the apples and decant the liquid. This liquid is your homemade vinegar. You can decant it into a glass or plastic bottle, and you can store it at room temperature, preferably in a pantry out of direct sunlight.
Video
Notes
Shop for items used in this blog post or video
Favorite Homemade Vinegar Supplies
Amazon Shop and Shopping Guide
- Visit Mary’s Nest Amazon Shop
- Visit my Shopping Guide page
Get up to 15% off for stocking your Traditional Foods Pantry and equipping your Modern Pioneer Kitchen, including discounts from US Wellness Meats, Farmhouse Teas, Backwoods Home, Masontops, Cultures for Health, Survival Garden Seeds, Redmond Real Salt, Mother Earth News, and More!
Mary, I’ve learned so much from you! I somehow missed that we should be stirring morning *and* night. My apple scrap ACV has a layer of white stuff on the top and the bottom. Is this yeast? Mold? Do I need to start over? I’m about 3 weeks in at this point. Thanks Mary!
Hi Naomi,
Thanks for your comment. You may be developing kahm yeast, which is a harmless pest. I talk about it in my Watch Out for These Scary Traditional Foods blog post at https://marysnest.com/watch-out-for-these-scary-traditional-foods/
Mold would be fuzzy and may have different colors. If at any time your vinegar takes on an odd odor or mold develops, I recommend that you discard it and start over.
I hope this helps. I’m so glad that we’re on this traditional foods journey together!
Love and God bless,
Mary
Mary, I know you aren’t supposed to weigh the apples down.
HOWEVER, if I don’t, there is a lot of water on the BOTTOM of the jar and apples are ABOVE the water on top.
What am I doing wrong?
Thanks,
Valerie
Hi Valerie,
When you first make apple cider vinegar, you should be able to cover your apples with water.
If, during the 30 days that you’re making the vinegar, the apples float to the top and there’s a lot of water underneath, that’s okay. Continue to stir the vinegar, and over time, the apples will eventually lose their buoyancy and solid consistency as they ferment.
I hope that helps you.
Thanks for your comment.
Love and God bless,
Mary
Hi Mary,
I seem to have a huge mother with mine and a slight, bubbly film on top. One of the 3 bottles still seems to be fermenting.
Not sure if I should dump it or not?
Mary have you ever taken an onion and put it in water and started it that way then put it in the ground or cut it up and used it? I’ve never quite been able to grow inside onions to use for making my own onions.
Hi Bill,
This is a great question! The only way I have had luck with this is with scallions (green onions). I use the green parts and then put the white parts with the roots in a small cup of water – and lo and behold – the green tops grow back!
Love, Mary