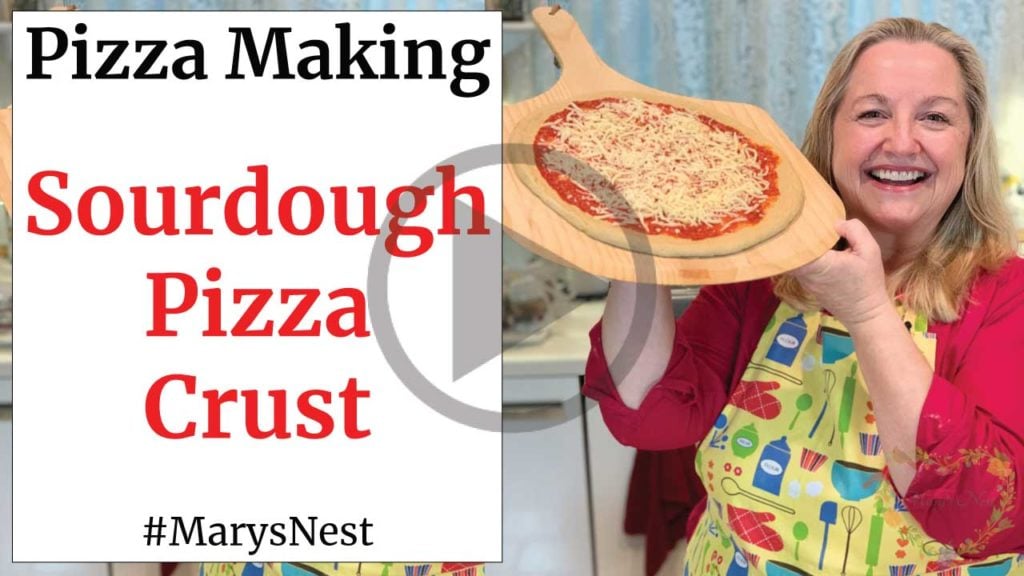
Learn how to make a sourdough pizza crust with this homemade pizza dough recipe.
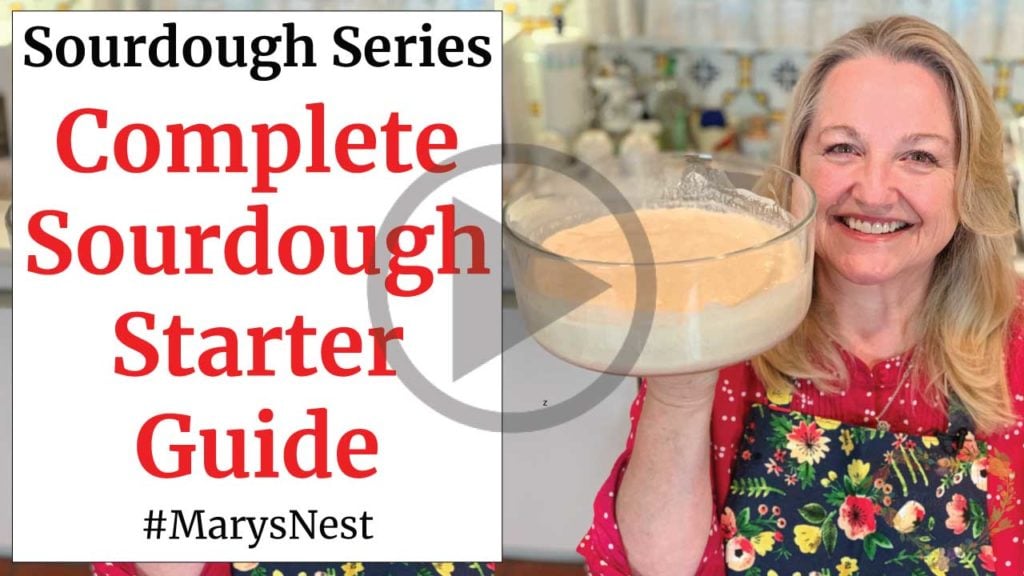
Don’t worry if you don’t have a sourdough starter. I show you how to make a sourdough starter in my Complete Sourdough Starter Guide. But if you just want to make this pizza dough using commercially-packaged yeast, you certainly can. My pizza crust recipe gives you the directions and ingredients that you’ll need.
Affiliates note: As an Amazon Associate I earn from qualifying purchases. My content may contain affiliate links to products and services. If you click through and make a purchase, I’ll receive a small commission. It does not affect the price you pay.
Table of Contents
- Why a Sourdough Pizza Crust?
- Is the Sourdough Crust Difficult to Make?
- Now Let’s Make the Sourdough Pizza
- More Sourdough Videos
- Download Your Free 36-Page Pantry List
- Join the Traditional Foods Kitchen Academy
- Kitchen Academy Videos
- Sourdough Pizza Crust Recipe
- Shop for items used in this blog post or video
Why a Sourdough Pizza Crust?
Why would you want to make a pizza crust with a sourdough starter instead of commercial yeast? Great question! A sourdough crust tastes delicious with a wonderful “chew” to the crust, and the sourdough also makes your crust more nutritious and easier to digest.
The taste and nutritional benefits are thanks to the fermentation process that the sourdough starter creates when it reacts with the flour and water. It’s the best of all worlds!
Is the Sourdough Crust Difficult to Make?
Definitely not! It’s actually very easy because you allow the dough to rise in your refrigerator overnight. So it’s your fridge that is actually doing all the work!
But if you’re in a rush, don’t worry. My pizza crust recipe instructions show you how you can get this pizza into the oven in about 2 hours if you just can’t wait!
Now Let’s Make the Sourdough Pizza
Once you make and shape your dough—and I walk you through all the steps in my recipe video—you’re ready to top your pizza. Here’s when you can get creative with all the toppings you choose!
I’m partial to a traditional cheese “pie”—as we called pizzas when I was a kid—but a pepperoni pizza pie will always be my favorite. (I make both in my video!) So join me as I show you how easy it can be to make homemade pizza—all by hand—no stand mixer required!
More Sourdough Videos
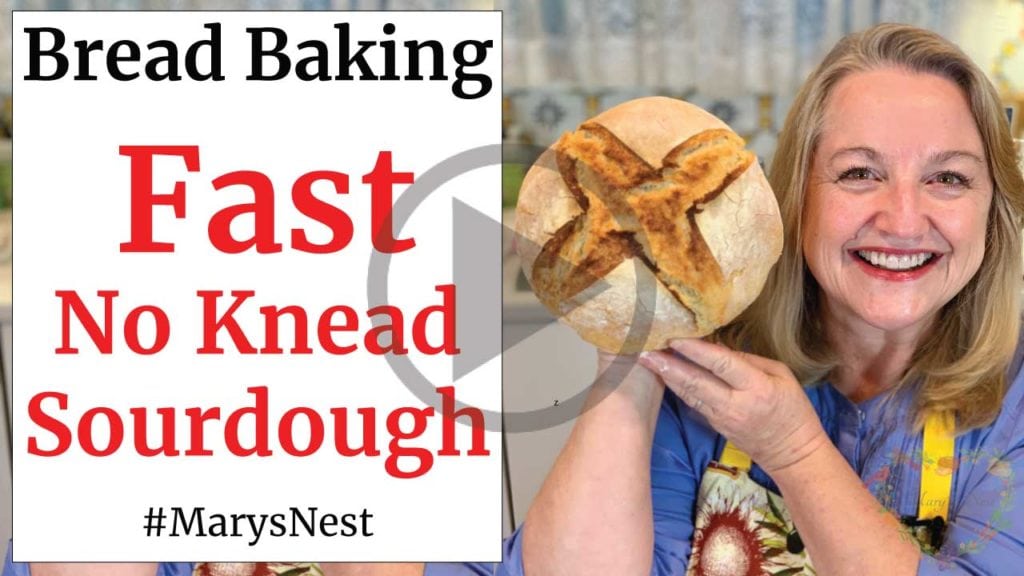
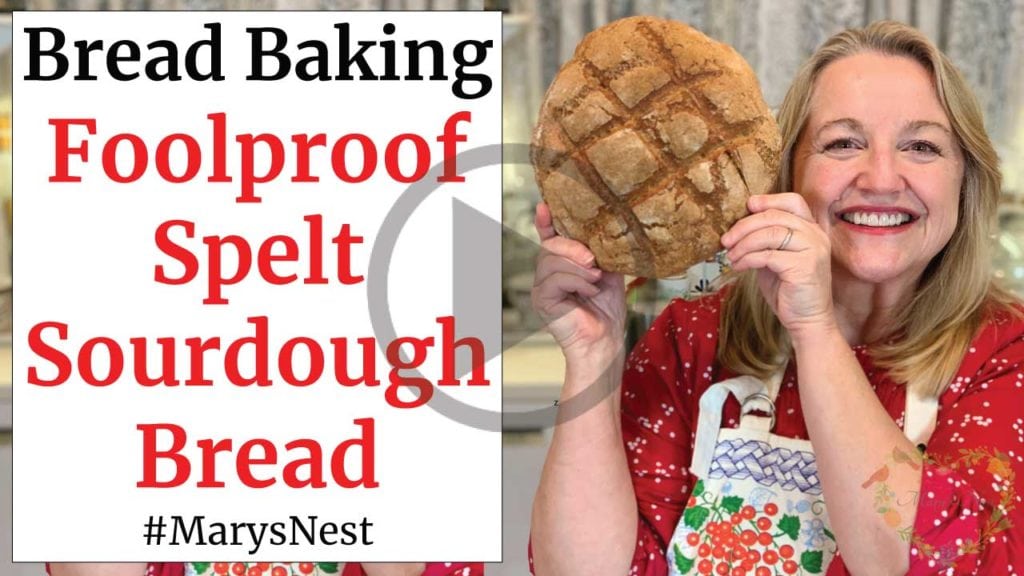
Now that you’ve made homemade Sourdough Pizza Crust, be sure to try your hand at these two easy No-Knead Sourdough Breads. Or if you’re new to sourdough starter, but you’re ready to jump in with both feet, be sure to check out my Complete Sourdough Starter Guide and How to Make a Foolproof Sourdough Starter.
Download Your Free 36-Page Pantry List
For an extensive list of the traditional foods you can make and purchase to stock your pantry, be sure to download my free 36-page Traditional Foods Pantry List. This comprehensive eBook is full of links to recipe videos, helpful articles, and more!

And if you’re looking for a printed book full of my traditional foods recipes to show you how to create a traditional foods kitchen, be sure to order your copy of my bestselling book, The Modern Pioneer Cookbook.

Order YOUR COPY Now!
The Modern Pioneer Cookbook
Seasonal ingredients, traditional techniques, and nourishing recipes. Over 85 traditional, from-scratch recipes! Discover for yourself how you can use simple ingredients and traditional techniques to cook the modern pioneer way.
Join the Traditional Foods Kitchen Academy
Are you looking for more traditional foods videos? If so, I invite you to join the Traditional Foods Kitchen Academy. Members of this optional paid YouTube community get access to exclusive videos and other members-only perks. Plus, your YouTube comments include a special members-only badge.
Kitchen Academy Videos
Baking with Whole Grains: The Maslin Method, Grain Mills, and America’s Bread Basket
Explore whole grain baking with The Maslin Method, fresh-milled flour, grain mills, heritage wheats, and more.
A Sweet Season of Celebration and New Beginnings with The Maslin Method Baking School Series
Celebrate the close of a heartfelt book tour and the exciting launch of The Maslin Method Baking School for traditional baking.
Why We Should Incorporate Mackerel Into Our Diet
Easy and nourishing ways to enjoy mackerel into your meals.
Stay in Touch with Mary’s Nest
- Subscribe to My YouTube Channel for Traditional Foods Videos (Free) - When you subscribe, be sure to click on the notification bell that will let you know each time I upload a new video.
- Subscribe to Mary’s Traditional Foods Newsletter (Free) - Get a free 36-page eBook for signing up: How to Stock Your Essential Traditional Foods Four-Corners Pantry.
- Join the Traditional Foods Kitchen Academy - For more detailed videos and exclusive members-only perks, join my YouTube membership community.
- Order The Modern Pioneer Cookbook - Get a hardcover book of Mary's nourishing recipes from a Traditional Foods Kitchen. This bestselling cookbook is published by Penguin Random House with their DK imprint.
- Order The Modern Pioneer Pantry - Get Mary's latest hardcover cookbook about preserving food and making delicious meals from your Four Corners Pantry. Mary's second cookbook is also published by Penguin Random House.
I look forward to having you join me in my Texas Hill Country Kitchen!
I’d like to receive more tips and recipes from Mary’s Nest.
Sourdough Pizza Crust

Equipment
- Baking Stone, Baking Sheet Pan (inverted), or Aluminum Foil
- Pizza Peel, optional
- Pizza Cutter
Ingredients
- 1/2 cup Sourdough starter, 100% hydration A 100% hydration starter means that you feed your sourdough starter with equal parts of water and flour.
- 1 cup Warm water Increase to 1 ⅓ cups warm water if using commercially packaged yeast (see below) or if your sourdough starter is thicker and less than a 100% hydration starter.
- 1 teaspoon Sugar
- 2 tablespoons Extra virgin olive oil Plus extra to oil the bowl.
- 3 1/2 cups All-purpose flour ("Plain" flour) Or "00" Italian flour
- 2 teaspoons Fine ground salt
If using commercial yeast in place of sourdough starter
- 1 package Commercial yeast Use 2 ¼ teaspoons.
Instructions
- Method 1: If using sourdough starter, mix the sourdough starter, water, sugar, and olive oil in a large bowl to prepare your wet ingredients. Mix well to combine. In a separate bowl, mix the flour and the salt together.Method 2: If not using sourdough starter, but using active dry yeast, mix the yeast, water, and sugar in a measuring cup and allow the yeast to dissolve and bubble up in the cup. Once the yeast mixture bubbles, add the mixture to a bowl and mix in the olive oil. Mix well to combine to prepare your wet ingredients. In a separate bowl, mix the flour and salt together.Method 3: If not using sourdough starter, but using instant yeast, mix the yeast with the flour and salt in a bowl. In a separate bowl, mix the water, sugar, and olive oil to prepare your wet ingredients.
- For all three methods above, add the flour mixture to your wet ingredients, and mix together until the dough comes together to form a ball and no longer clings to your large bowl.
- Cover the bowl with the dough in it with a dish towel and allow the dough to rest for 30 minutes. This allows for the liquid to fully saturate the flour and the gluten strands to begin to form which will make kneading the dough easier.
- After 30 minutes, place the dough on a flat surface. Avoid adding any extra flour. Begin to knead the dough for 8-10 minutes until it forms a smooth ball. (See video.) If the dough sticks to your surface, use a bench scrape or spatula to scrape it off the surface and re-incorporate it with the dough ball.
- Return the dough to the empty bowl to which you have added some olive oil, turn the dough around in the oil to coat the bottom of the dough, and then drizzle some olive oil on top of the dough. Make sure that dough is well covered with olive oil. For Method 1: If using a sourdough starter, cover the bowl tightly with plastic wrap and refrigerate the bowl for 12-24 hours.NOTE: If you prefer to make a "fast" sourdough pizza crust, cover the bowl tightly with plastic wrap and then with a dish towel and and leave the dough to rest in a warm place for 2 hours. This will create a less "sour" sourdough crust and may give a more familiar taste for those new to sourdough.
- For Method 2 and Method 3: If using commercial packaged yeast, whether it is active dry yeast or instant yeast, you don't have to refrigerate the dough. Instead, cover the bowl with plastic wrap and then with a dish towel. Allow dough to rise in a warm place for 1 ½ hours.
- For Method 1: If using a sourdough starter, remove the pizza dough from the refrigerator after 12-24 hours and allow the dough to come up to room temperature. This warming process will take approximately 1 hour.
- Place your oven rack in the middle of the oven, and place the pizza stone on the oven rack, if using one. Preheat the oven to 475°F.
- Next, regardless of what method you have used to rise your dough, once the dough's rise time has completed, punch down the dough to deflate it, and transfer the dough to a floured board. Cut the dough into two equal pieces, and put one piece back into the bowl. Begin to flatten the piece of dough on the board, and shape the dough into a round disc that's approximately 10-12 inches in diameter. You can do this with your hands by stretching the dough or you can use a rolling pin. (See the video for the technique.)
- Once shaped into a round disc, transfer your dough to the pizza peel. If you are using the baking sheet pan, turn it upside down and place your pizza dough disc on the underside of the pan. If using aluminum foil, use three sheets of foil to create a makeshift baking sheet pan and place your pizza dough disc on the aluminum foil. You can also shape your round dough discs on these surfaces, if it is easier for you and enables you to avoid having to transfer the round disc to the baking sheet or aluminum foil.
- At this point, you can put the toppings on your pizza dough. You can make a simple cheese pizza by spreading about a cup of tomato sauce on top of the dough, making sure you have a one-inch border without sauce within the edge of the crust. Next, sprinkle the pizza with cheese. (Be sure to add pepperoni if you're making a pepperoni pizza pie!)Place the pizza into the oven and bake for approximately 20 minutes until the crust is golden brown and the cheese is bubbling. Continue the same steps to create your disc with the second ball of pizza dough.
Video
Notes
Shop for items used in this blog post or video
Favorite Baking Supplies
- Baking Stone
- Pizza Peel
- Pizza Cutter
- Baking Apron
- 10-Piece Glass Bowl Set
- Danish Dough Whisk
- Wooden Scraping Spoon
- Plastic Bench Scrape
- Metal Bench Scrape
- Metal Loaf Pans
- Glass Loaf Pans
- Cast-Iron Dutch Oven
Favorite Baking Yeasts Supplies
- SAF Instant Yeast
- SAF Premium Instant Yeast
- SAF Gold Instant Yeast
- Red Star Active Dry Yeast
- Fleischmann’s Active Dry Yeast
- Bob’s Red Mill GLUTEN FREE Active Dry Yeast
Amazon Shop and Shopping Guide
- Visit Mary’s Nest Amazon Shop
- Visit my Shopping Guide page
Get up to 15% off for stocking your Traditional Foods Pantry and equipping your Modern Pioneer Kitchen, including discounts from US Wellness Meats, Farmhouse Teas, Backwoods Home, Masontops, Cultures for Health, Survival Garden Seeds, Redmond Real Salt, Mother Earth News, and More!
I just found your site Mary, I think its GREAT!
Hi Linda, Thank you SO much!! Do you enjoy making traditional foods? If so, I have a playlist of some of my videos titled “Mastering the Basics of Traditional Nutrient Dense Foods Cooking”. It’s a series of 15 detailed videos that covers How to Make Bone Broth, Cultured Dairy, Ferments, Sourdough Starter (my foolproof stater), Sourdough Bread, Soaked and Sprouted Nuts and Beans, and How to Soak and Sprout Grains to Make your own Sprouted Flour at Home. You can watch it here: https://www.youtube.com/playlist?list=PLkRuW3pBo2U3b4eu0QraZReKlGzA11h3y And please share the playlist with any other folks you think might be interested in learning about these types of things. I’m passionate about the book Nourishing Traditions by Sally Fallon (of the Weston A Price Foundation) and want to help as many people as I can learn how to make Traditional “Nutrient Dense” Foods.
Please let me know if you have any questions. I’m so happy to help! And I’m SO glad you’re here!! Love and God Bless, Mary❤️😘❤️
PS – Do you know about our FB group? It’s called Mary’s Nest Modern Pioneers. Come join us! We have a lot of fun chatting about Traditional Foods: https://www.facebook.com/groups/171869080205145/?source_id=210509998974645