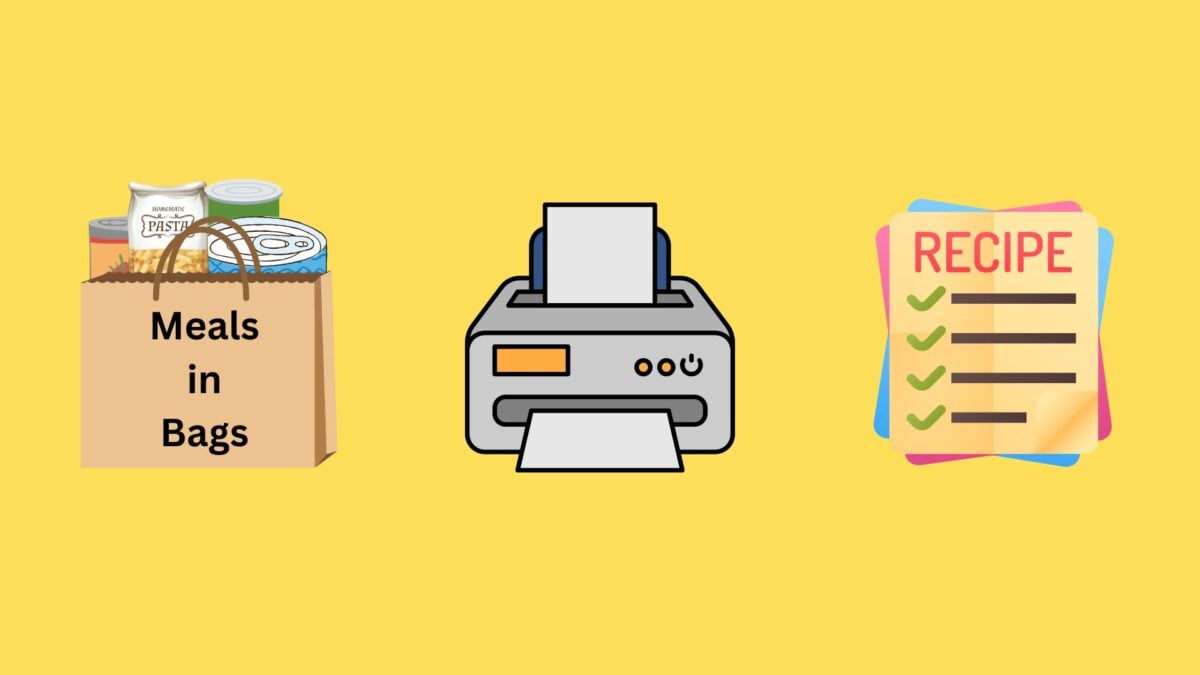
You’ll love this clever Meal-in-a-Bag System that makes your meal prep super easy. You can store your Meals in Bags in your Working Pantry, Refrigerator, Freezer, or a combination of locations in your Four Corners Pantry. And when you’re ready to make your meal, pull out your Meal-in-a-Bag, and you’ll be able to put a meal on your dinner table in no time!
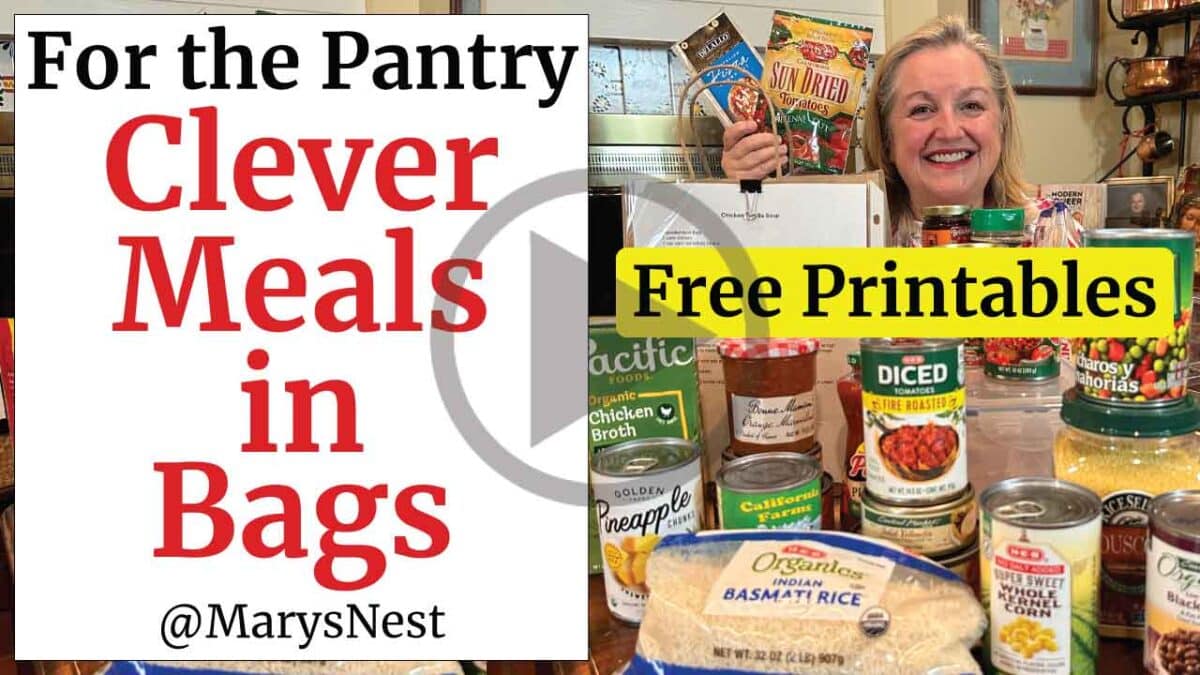
Be sure to download my free set of recipes you can use to make your own Meals in Bags. You’ll get seven printable recipes, such as my Chicken Tortilla Soup, so you can prepare a week’s worth of meals ahead of time.
Affiliates note: As an Amazon Associate I earn from qualifying purchases. My content may contain affiliate links to products and services. If you click through and make a purchase, I’ll receive a small commission. It does not affect the price you pay.
Table of Contents
- Complete Meal-in-a-Bag Meal Prep
- Partial Meal-in-a-Bag Meal Prep
- Grouping Ingredients Together
- Attach the Recipe to Your Meal-in-a-Bag
- Download the Set of Meal-in-a-Bag Recipes
- The Modern Pioneer Cookbook
- Process for Creating Meals in Bags for Meal Prep
- Meals in Bags with the Four Corners Pantry
- Ingredients
- Meals in Bags Recipes
- More Free Downloads
- Download Your Free 36-Page Pantry List
- Join the Traditional Foods Kitchen Academy
- Kitchen Academy Videos
- Shop for items used in this blog post or video
Complete Meal-in-a-Bag Meal Prep
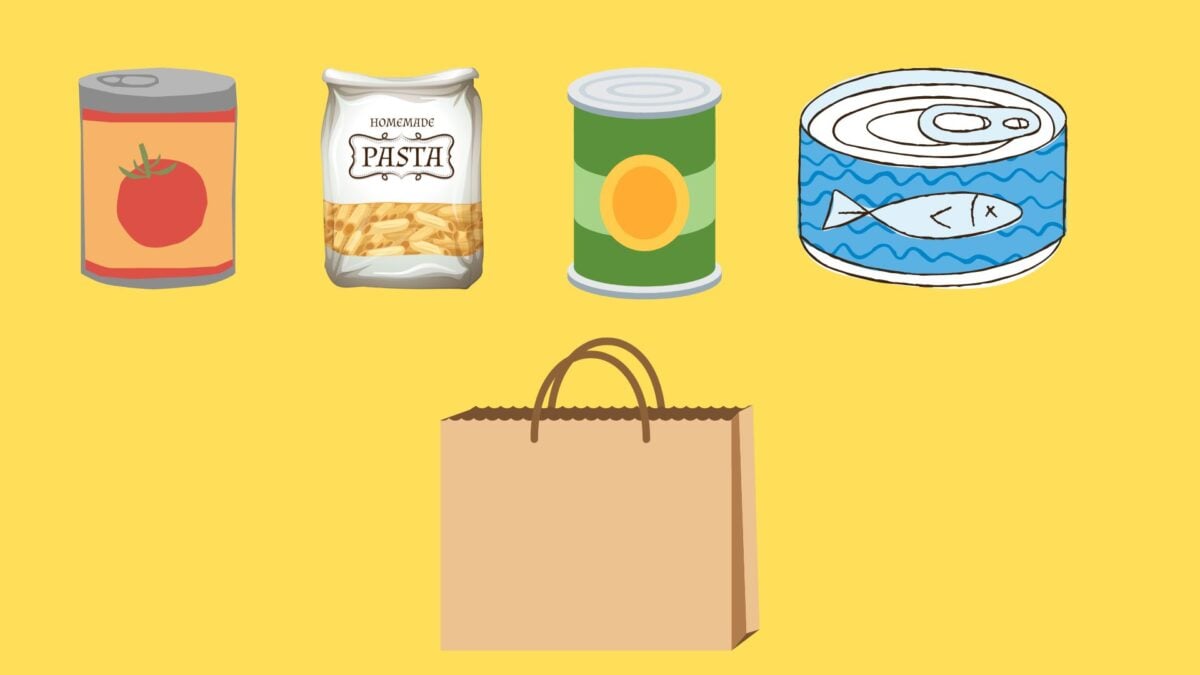
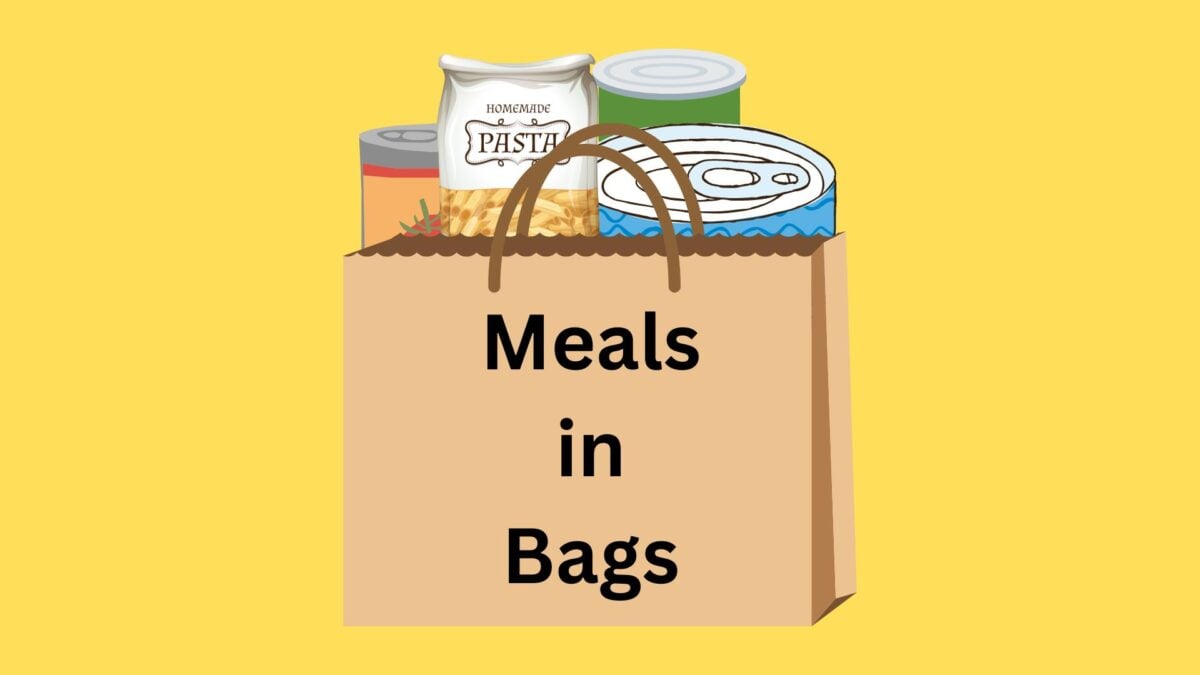
It’s easy to have quick meals on hand when you use the complete Meal-in-a-Bag System, which stores all your meal’s ingredients together in one place. Your storage container can be as simple as a brown paper bag or a plastic bag that you keep handy in your Working Pantry.
The Meal-in-a-Bag system also works with containers in your refrigerator or freezer if you have all perishable ingredients. All you have to do is group the ingredients together in a plastic bag or bin and simply pull the container out when you are ready to make a meal.

Partial Meal-in-a-Bag Meal Prep
If you have a mix of non-perishable and perishable ingredients for your meal, you can also use a partial Meal-in-a-Bag system for meal prep. You’ll store one container in your Working Pantry and your second container in your refrigerator or freezer.
For example, you’ll keep all your dry, non-perishable ingredients together in a bag in your Working Pantry and your remaining perishable ingredients in a container stored in your refrigerator or freezer. When you bring these two partial Meal-in-a-Bag containers together, you’ll have your complete Meal-in-a-Bag!
Grouping Ingredients Together
Whether you use a complete or partial Meal-in-a-Bag system, you’re grouping together one or more ingredients for your recipe in containers for easy access. This system helps you organize your meals ahead of time so you can quickly create a meal without worrying about where to find your ingredients or even if you have them in your Four Corners Pantry.
Attach the Recipe to Your Meal-in-a-Bag
Once you have all the ingredients in the containers for your Meal-in-a-Bag system, remember to attach the recipe to your containers so you know what meal you’re making and what ingredients are in the container.
For example, you can print out and attach your recipe with a binder clip to the paper bag that holds the ingredients for your meal. By quickly scanning the attached recipe, you won’t have to peek in your bags to find out what ingredients are stored inside. The printed recipe will also have the instructions you need to make the recipe. The Meal-in-a-Bag system makes meal prep so simple!
Tip: I like to slip a copy of the printed recipe into a plastic page protector and clip it to the outside of my paper bag. Once you use the ingredients in the bag to make a meal, you can either refill your paper bag with ingredients for your next meal or simply fold the bag and the recipe together and store them until you are ready to use them again.
Download the Set of Meal-in-a-Bag Recipes
The following download file includes a week’s worth of recipes you can print out to create Meals in Bags for fast and easy meal prep.
Note that you can experiment and create your own combinations. The possibilities are endless! And don’t worry about being too exact as to the can and box sizes. Some variation in ounces will still work in each of the recipes I share.

Order YOUR COPY Now!
The Modern Pioneer Cookbook
Seasonal ingredients, traditional techniques, and nourishing recipes. Over 85 traditional, from-scratch recipes! Discover for yourself how you can use simple ingredients and traditional techniques to cook the modern pioneer way.
Process for Creating Meals in Bags for Meal Prep
- If you have only non-perishable or only perishable ingredients, you’ll create a complete Meal-in-a-Bag.
- If you have a mix of non-perishable and perishable ingredients, you’ll create two or more partial Meal-in-a-Bags.
Creating a Complete Meal-in-a-Bag
- Choose the recipe you want to prepare and print a copy of the recipe.
- Gather the ingredients together.
- Choose a container that will store all of your ingredients.
- Place the ingredients into your container.
- Attach the printed recipe to your container.
- Store your container as appropriate in your Working Pantry, Refrigerator, or Freezer.
Creating a Partial Meal-in-a-Bag
- Choose the recipe you want to prepare and print two copies of the recipe.
- Gather the non-perishable ingredients together.
- Gather the perishable ingredients together.
- Choose a container that will store all of your non-perishable ingredients.
- Choose a container that will store all of your perishable ingredients.
- Place the non-perishable ingredients into the non-perishable container.
- Place the perishable ingredients into the perishable container.
- Attach a copy of the printed recipe to each of your containers.
- Store your non-perishable container in your Working Pantry.
- Store your perishable container in your Refrigerator or Freezer.
Tip: If you have ingredients that need to be stored in your Refrigerator and Freezer, you just need to find three containers to store the grouped ingredients in your Working Pantry, Refrigerator, and Freezer. And remember to print out three copies of the recipe that you can attach to each of the containers.
Meals in Bags with the Four Corners Pantry
Your Four Corners Pantry consists of your:
- Working Pantry—What you access every day. You’ll store your Meal-in-a-Bag with non-perishable contents here.
- Refrigerator—You’ll store your Meal-in-a-Bag with perishable contents that require refrigeration here.
- Freezer—You’ll store your Meal-in-a-Bag with perishable contents that require being frozen here.
- Extended Pantry (also known as your Prepper Pantry)—This is where you store supplies for the long term. You typically use your Extended Pantry to refill the contents of your Working Pantry. Thus, you can store Meals in Bags here that you can transfer to your Working Pantry at a later time.
When you prepare your Meals in Bags, you’ll need containers appropriate for where they’ll be stored.
Working Pantry Storage Options
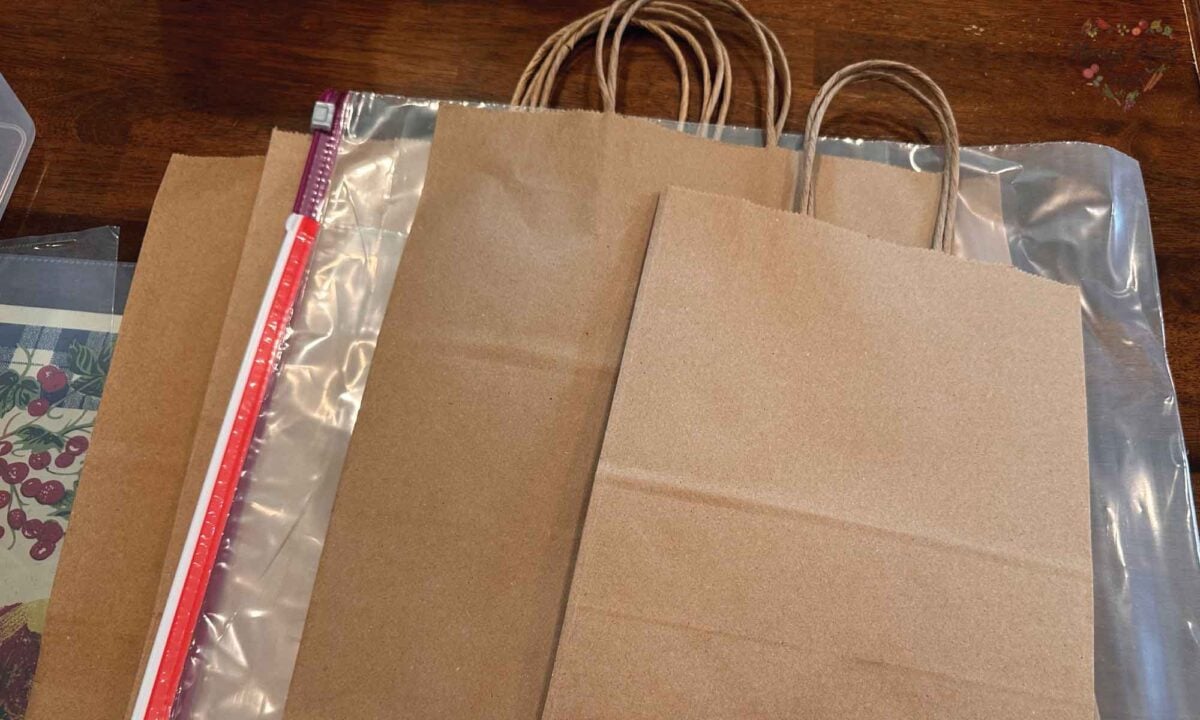
For your Working Pantry, you can use paper or plastic bags. I like unmarked brown paper bags that are sturdy enough to hold all my non-perishable ingredients. These bags typically have stronger handles, too, and it’s easy for me to attach my printed recipe to the top.
You can also use plastic bags to store your smaller ingredients. Plastic bags are malleable, so it should be easy for you to store them together in your paper bag.
Freezer Storage Options
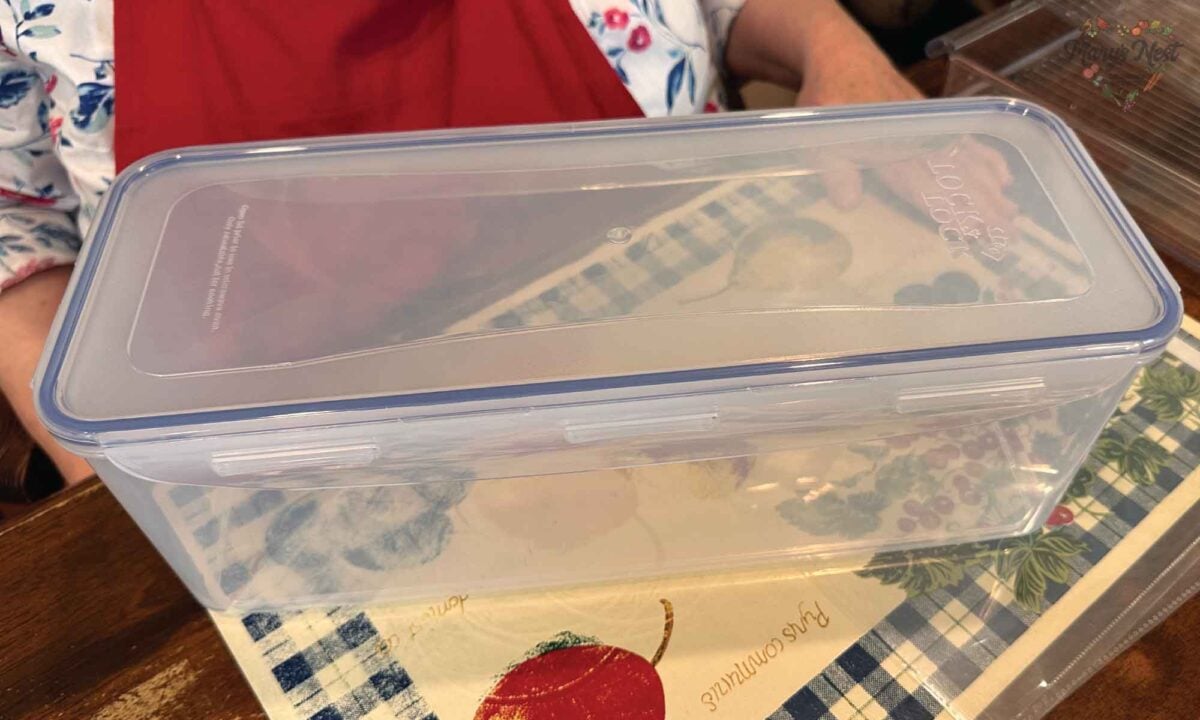
I like using plastic containers with lids to store perishable ingredients in my freezer. Since freezer space is limited and is at a premium, the ridged plastic containers make it easy to stack containers on top of each other. I can also attach my recipe to the inside of the plastic container, and since the plastic is see-through, I can read the recipe and see the ingredients at the same time.
Refrigerator Storage Options
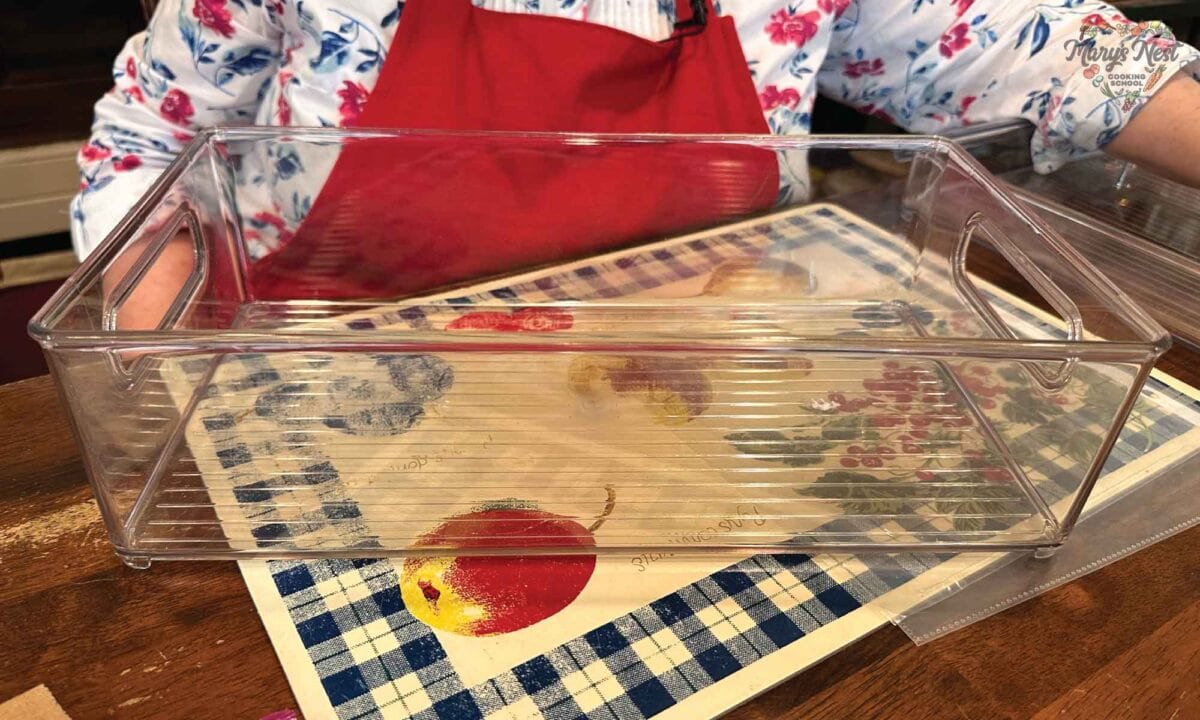
Since you have a little more room in your refrigerator and may have ingredients with unusual sizes, such as a whole chicken, you can use plastic containers without lids. (Plastic containers with lids will also work in your refrigerator.) You can also attach your recipe to the inside of your container without a lid.
Note that for both your refrigerator and freezer storage options, you can also use plastic bags to store your smaller ingredients before putting them into your ridged or open plastic containers.
Ingredients
You can store a variety of non-perishable and perishable ingredients in your Meals in Bags. Here are the different types of ingredients that I talk about in Meals in Bags and More video.
- Proteins
- Beans
- Vegetables
- Tomato Products
- Fruits
- Jams
- Evaporated Milk
- Breadcrumbs
- Herbs and Spices
- Broth
- Flours
- Cheeses
- Ghee
- Rice and Pasta
Meals in Bags Recipes
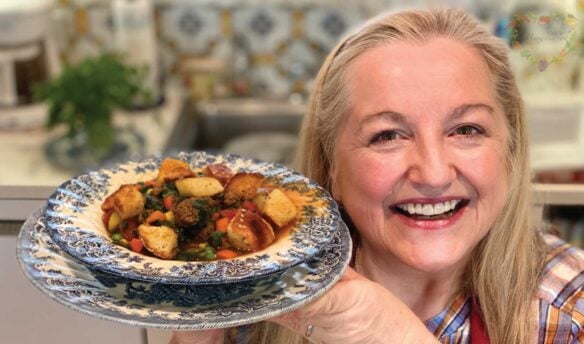
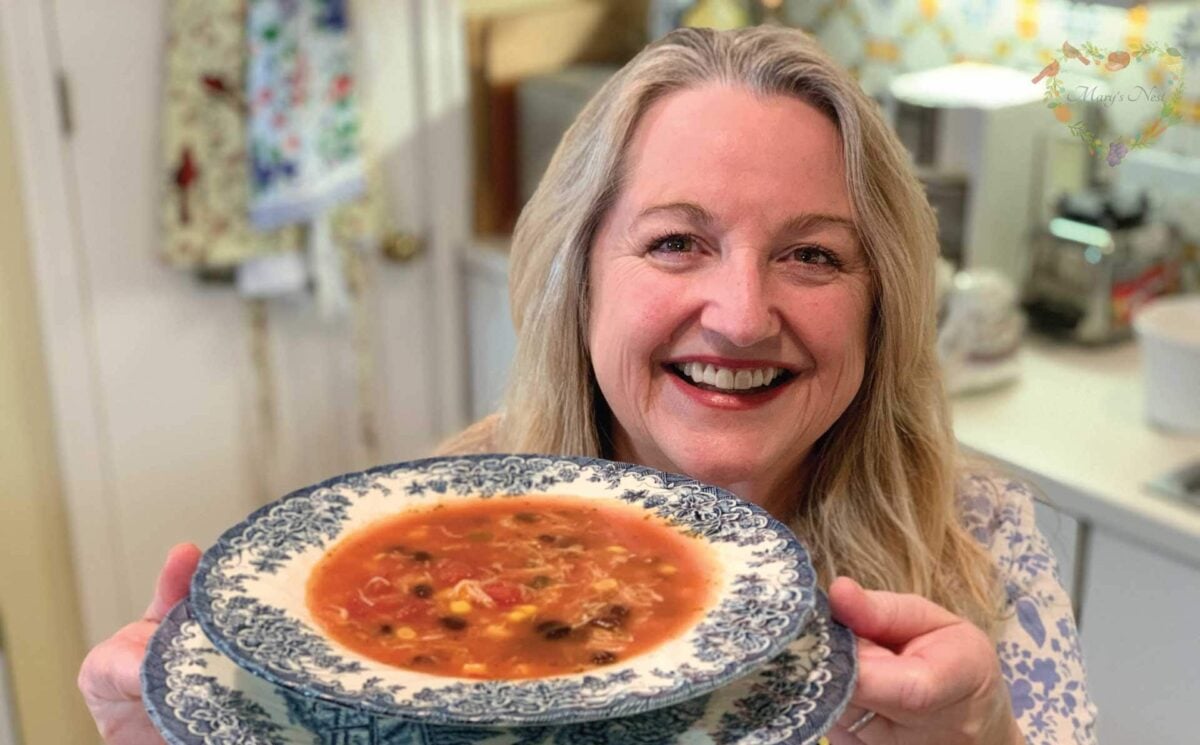
Here are two recipes you can prepare ahead of time as a Meal-in-a-Bag. For your first recipe, you can create and store the ingredients for a Chicken Tortilla Soup as a complete Meal-in-a-Bag in your working pantry.
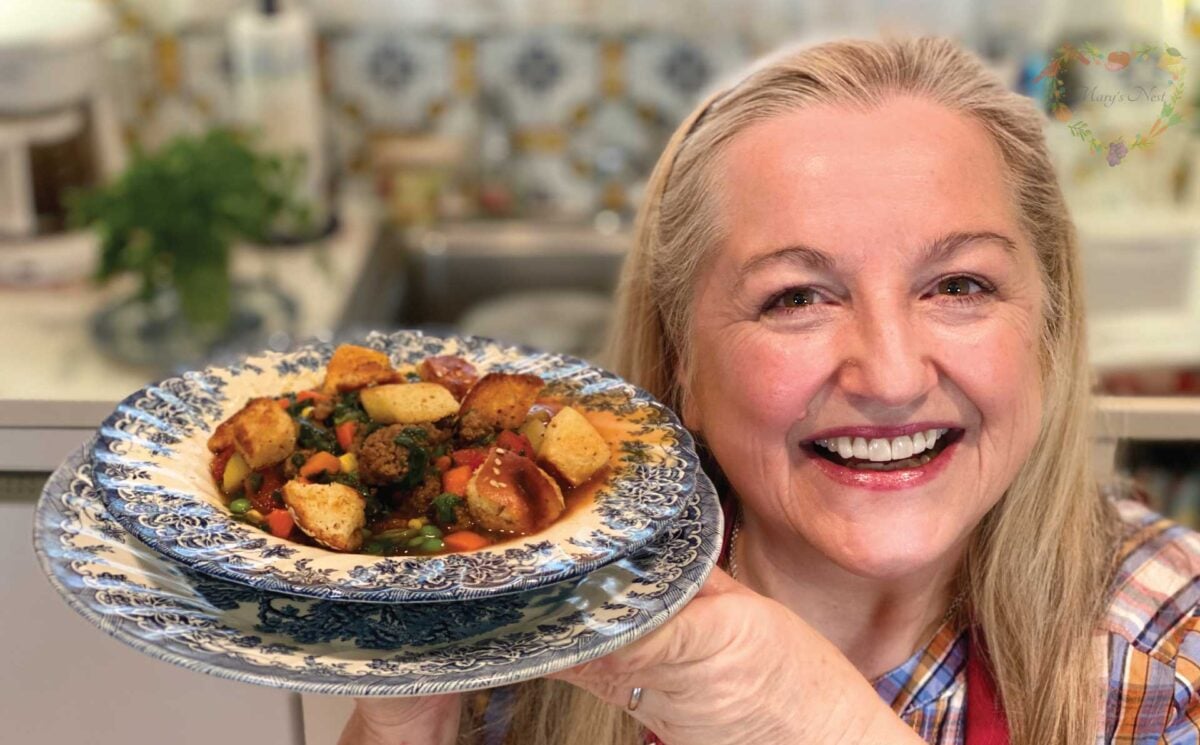
Second, for the Hamburger Soup Recipe, you can create a partial Meal in a Bag, with most of your ingredients stored in your Working Pantry and the perishable ingredients, such as your raw ground beef, stored in your refrigerator or freezer. With the Meals in Bags system, you can easily bring the two together to quickly create a weeknight meal.
More Free Downloads

Free K–12 American History Curriculum With Traditional Recipes
Celebrate America’s 250th with free K–12 American History lessons, recipes, and hands-on activities through traditional American foods.

The Maslin Method: A Blueberry Buckle—The Quintessential 19th-Century American Dessert
Bake a 19th-century blueberry buckle with The Maslin Method, blending whole grains for a tender, rustic summer dessert.
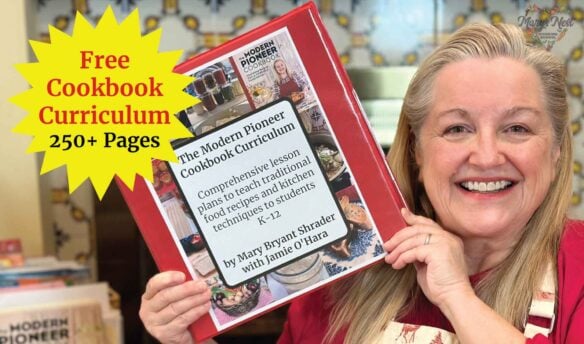
The FREE Modern Pioneer Cookbook Curriculum – Teach Traditional Cooking Skills to Grades K-12
This cookbook curriculum gives students a love of traditional foods and kitchen skills that will last them a lifetime.
Download Your Free 36-Page Pantry List
For an extensive list of the traditional foods you can make and purchase to stock your pantry, be sure to download my free 36-page Traditional Foods Pantry List. This comprehensive eBook is full of links to recipe videos, helpful articles, and more!

If you’re looking for a printed book full of my traditional foods recipes that shows you how to create a traditional foods kitchen, be sure to order your copy of my new bestselling book, The Modern Pioneer Cookbook.
Join the Traditional Foods Kitchen Academy
Are you looking for more traditional foods videos? If so, I invite you to join the Traditional Foods Kitchen Academy. Members of this optional paid YouTube community get access to exclusive videos and other members-only perks. Plus, your YouTube comments include a special members-only badge.
Kitchen Academy Videos

Baking Questions Answered with Ted and Me!
Join me and my husband Ted for a Q&A filled with practical kitchen tips, helpful techniques, and answers to your baking questions.
Baking with Whole Grains: The Maslin Method, Grain Mills, and America’s Bread Basket
Explore whole grain baking with The Maslin Method, fresh-milled flour, grain mills, heritage wheats, and more.

A Sweet Season of Celebration and New Beginnings with The Maslin Method Baking School Series
Celebrate the close of a heartfelt book tour and the exciting launch of The Maslin Method Baking School for traditional baking.
Stay in Touch with Mary’s Nest
- Subscribe to My YouTube Channel for Traditional Foods Videos (Free) - When you subscribe, be sure to click on the notification bell that will let you know each time I upload a new video.
- Subscribe to Mary’s Traditional Foods Newsletter (Free) - Get a free 36-page eBook for signing up: How to Stock Your Essential Traditional Foods Four-Corners Pantry.
- Join the Traditional Foods Kitchen Academy - For more detailed videos and exclusive members-only perks, join my YouTube membership community.
- Order The Modern Pioneer Cookbook - Get a hardcover book of Mary's nourishing recipes from a Traditional Foods Kitchen. This bestselling cookbook is published by Penguin Random House with their DK imprint.
- Order The Modern Pioneer Pantry - Get Mary's latest hardcover cookbook about preserving food and making delicious meals from your Four Corners Pantry. Mary's second cookbook is also published by Penguin Random House.
I look forward to having you join me in my Texas Hill Country Kitchen!
Shop for items used in this blog post or video
Favorite Kitchen Supplies
- See EVERYTHING in My Amazon Shop
- Favorite Aprons
- 5 Gallon Storage Buckets
- Gamma Lids
- Glass Bowls with Lids
- Stockpot
- Fat Separator
- Spider Strainer
- Flour Sack Towels
- Colander
- Santoku Knife
- Maple Cutting Board
- Large Enameled Cast Iron Dutch Oven
- Cast Iron Skillet
- Slow Cooker
- Zwilling Vacuum Sealer Set
- Water Bath Canner for Glass Top Stove
- Regular Mouth Canning Jars
- Wide Mouth Canning Jars
Amazon Shop and Shopping Guide
- Visit Mary’s Nest Amazon Shop
- Visit my Shopping Guide page
Get up to 15% off for stocking your Traditional Foods Pantry and equipping your Modern Pioneer Kitchen, including discounts from US Wellness Meats, Farmhouse Teas, Backwoods Home, Masontops, Cultures for Health, Survival Garden Seeds, Redmond Real Salt, Mother Earth News, and More!