Learn how to make meals in a jar for quick and easy breakfasts, main dishes, side dishes, and desserts too. These are excellent time savers when you are in a rush to get a meal or a snack on the table fast. You won’t have to hunt through your pantry for various ingredients because you will have pretty much everything you need right in your jar!
In my tutorial video and this recipe post, I show you how to make the following:
- Oatmeal Bread in a Jar
- Herb Crackers in a Jar
- Rice Pilaf in a Jar
- Vegetable Pasta in Jar

Affiliates note: As an Amazon Associate I earn from qualifying purchases. My content may contain affiliate links to products and services. If you click through and make a purchase, I’ll receive a small commission. It does not affect the price you pay.
Table of Contents
- What are Meals in a Jar?
- How to Make Meals in a Jar
- What Are Mixes in a Jar?
- Meals in a Jar and Mixes in a Jar Recipes
- Food Storage in Your Prepper Pantry
- How to Dehydrate Bone Broth
- How to Dehydrate Tomato Skins
- How to Dehydrate Vegetables
- Are the Nutrients in Vegetables Destroyed by Dehydrating?
- Which Vegetables Benefit from Cooking?
- More Make Ahead Mix Recipes
- The Modern Pioneer Pantry
- Download Your Free 36-Page Pantry List
- Join the Traditional Foods Kitchen Academy
- How to Make Meals in a Jar Recipe
- Shop for items used in this blog post or video
What are Meals in a Jar?
Meals in a jar are commonly a mixture of preprepared ingredients that you can quickly pour into a pot to cook. Typical meals in a jar often consist of soups, but in this recipe post, I share some clever ways to create a variety of mixtures that include main meals and side dishes.
How to Make Meals in a Jar
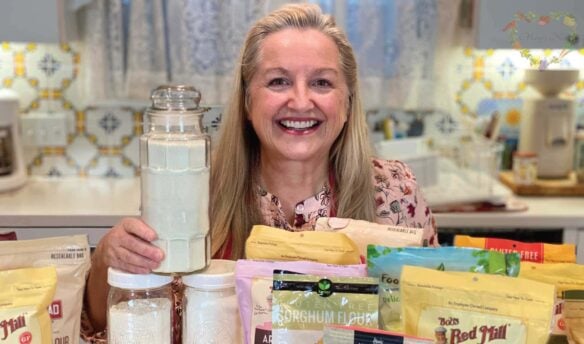
The first step for how to make meals in a jar is to pull together a collection of quart-size and pint-size jars. Next, you’ll want to scan your pantry for all those shelf-stable, dried, and dehydrated foods you stock.
Now the fun begins! You can mix and match a variety of ingredients to create easy-to-prepare pasta dishes and grain-based side dishes. But meals in a jar go beyond this. You can also create mixes in a jar to preprepare a host of ingredients that will make it very easy to bake up quick breads or crackers.
What Are Mixes in a Jar?
It can get confusing when you hear home cooks talk about “meals in a jar” and “mixes in a jar.” Here’s an easy way to distinguish between the two:
- Meals in a jar create a complete meal that can be served for breakfast, lunch, or dinner.
- Mixes in a jar make a single item. This single item may be a bread or other baked good, a side dish, or a dessert.
In my video, I share both meals in a jar and mixes in a jar because they complement each other beautifully. For example, you can have your main meal in one jar, but you can also have other jars filled with the mixes of items you can make to enjoy alongside your main meal or as dessert!
Meals in a Jar and Mixes in a Jar Recipes
When it comes to putting together recipes for meals or mixes in a jar, I always like to make sure that they require adding the least amount of additional ingredients when you are ready to prepare them. You will find that some of the recipes I share with you here today require that you add nothing more than water!
But don’t just rely on the recipes that I share with you. Start to experiment with your own combinations with the following steps:
- Look through your cookbooks for recipes that call for many shelf-stable ingredients or ingredients you know you can dehydrate.
- Check which additional non-shelf-stable ingredients the recipe calls for. (My general rule is to keep any additional ingredients to three or less.)
- Once you’ve identified those recipes, gather the shelf-stable ingredients and place them into your pint-size or quart-size jar. (It’s nice to place the ingredients in layers rather than mix them together to make it easy for you to see all the ingredients after placing the completed jar in your pantry.)
- Optionally, place a silica gel pack into your jar to help prevent the buildup of moisture.
- Place a lid on your jar and tighten it.
- Print or write out the recipe on a notecard so you know what additional ingredients you may need, such as water or eggs, when you make your recipe.
- Attach the recipe to the jar with a rubber band, tape, or label.
- Place your completed meal in a jar or mix in a jar in your working pantry or your extended or Prepper Pantry.
Now, you are on your way to creating a delightful variety of meals in a jar and mixes in a jar! They’ll look splendid on your pantry shelf and give you peace of mind, knowing that you have recipes ready to go whenever you need them.
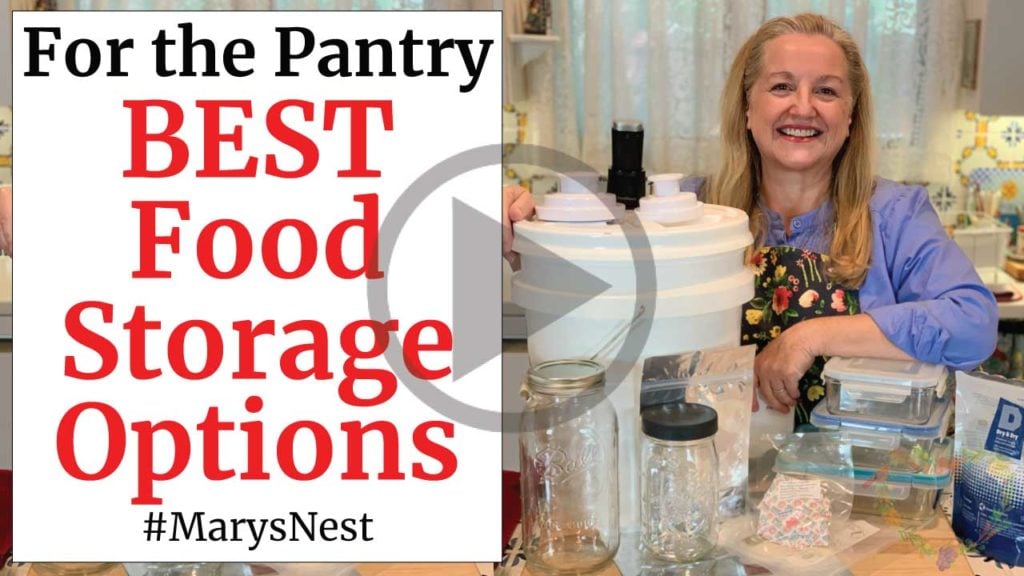
Food Storage in Your Prepper Pantry
In the following videos, I give you an overview of the best food storage supplies for your Prepper Pantry, and I also talk about the difference between oxygen absorbers and silica gel packs. Remember that silica gel packs may help keep the ingredients in your meals in a jar dry in humid environments.

How to Dehydrate Bone Broth
In my video, I add dehydrated bone broth to some of my meals in a jar recipes. Bone broth provides an excellent liquid base for many recipes, including making rice, since it provides you with more nutrition than water alone. Since you can’t pre-prepare a meal in a jar with liquid bone broth, you can dehydrate your bone broth to add it to your jar’s ingredients.
Additionally, If you have been buying collagen powders or other forms of dried bone broth powders, you can stop doing that today. I show you how to make your own bone broth and then dehydrate it!
You don’t need any special equipment to do this. You can certainly use a dehydrator, but an oven works too. I show you how to make bone broth powder in the following recipe video.

And once you have dehydrated bone broth, it makes an excellent addition to many types of meals in a jar where you might otherwise add a broth or stock.
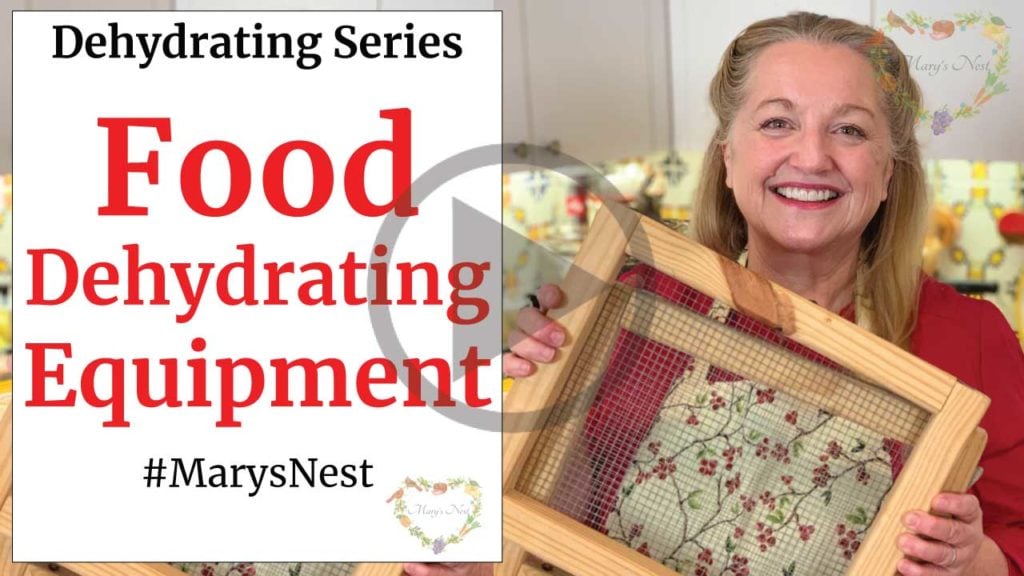
Here are some additional videos to help you learn about food dehydrating.

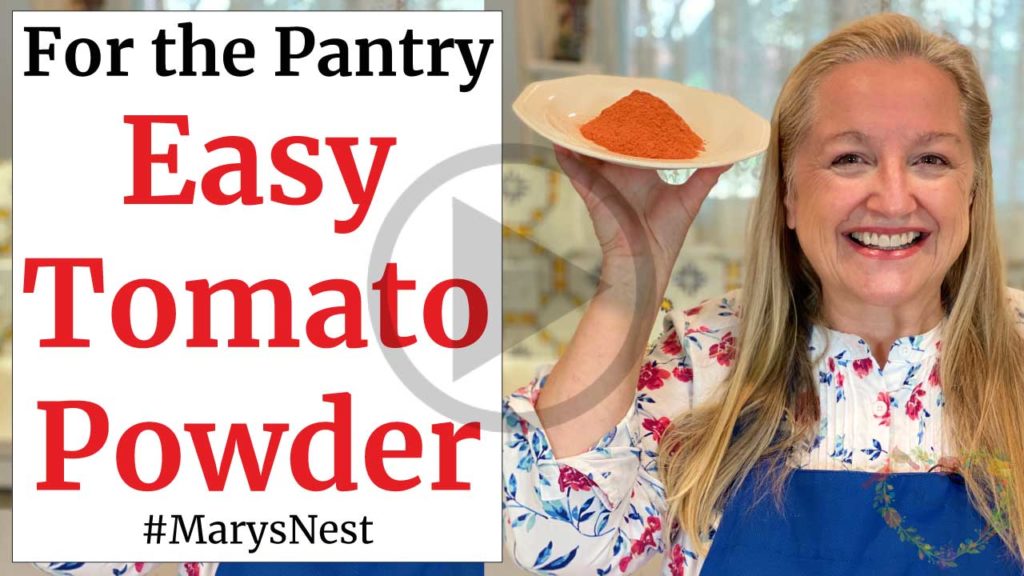
How to Dehydrate Tomato Skins
Whenever you have tomato scraps, don’t throw them out. Instead, dehydrate them into tomato powder. Once dry, you can easily store the powder in your pantry and rehydrate it whenever you want to make a quick tomato soup or sauce. And speaking of sauce, adding tomato powder to your pasta meals in a jar creates an instant tomato sauce!
How to Dehydrate Vegetables
Dehydrated veggies are perfect additions to your meals in a jar. In the following video, I show you the easy way to dehydrate vegetables. As a bonus, I also show you how to rehydrate your dehydrated vegetables for soups, casseroles, or a delightful side dish.

Are the Nutrients in Vegetables Destroyed by Dehydrating?
Although drying food is an ancient method of food preservation, the dehydration process can cause some nutrient loss. The National Center for Home Food Preservation shares an extensive set of information on dehydrating food.
Specifically, as to nutrients, their website links to additional detailed information from the Colorado State University Cooperative Extension about dehydrating vegetables.
Here are a few of their highlights, covering some of the nutritional changes that occur when drying food:
- Iron is not destroyed by drying.
- Minerals show some possible loss during rehydration, if soaking water is not used.
- Thiamin, riboflavin, and niacin show some loss during blanching but fairly good retention if the water used to rehydrate also is consumed.
- Vitamin A is fairly well retained under controlled heat methods.
- Vitamin C is mostly destroyed during the blanching and drying of vegetables.
The Extension service also recommends the following for the best retention of nutrients in dried foods:
- Store the dried foods in a cool, dark, and dry place.
- Use the dried foods within a year.
So despite the minimal loss of some nutrients, it’s still worthwhile dehydrating your foods for long-term storage.
Which Vegetables Benefit from Cooking?
The good news is that some vegetables benefit from being heated because once they are cooked, it is easy for our digestive systems to absorb the nutrients they offer. These vegetables include:
- Asparagus
- Cabbage
- Carrots
- Mushrooms
- Peppers
- Spinach
- Tomatoes
Even though the cooking process may sometimes destroy some of the Vitamin C, the other nutrients in these vegetables are significantly increased when heated, and the heated vegetables may prove more powerful than Vitamin C!
More Make Ahead Mix Recipes
In addition to the recipes I share here for meals in a jar, for more videos on how to make a wide variety of make-ahead mixes, check out the following recipes:
- 5 Healthy Make Ahead Mixes – Covers pancakes, brownies, cornbread, biscuits, and a Bisquick copycat.
- 5 Healthy Make Ahead Cookie Mixes – Covers Soft Cut-Out Sugar Cookie Mix, Chocolate Chip Cookie Mix, Soft and Chewy Oatmeal Raisin Cookie Mix, Peanut Butter Cookie Mix (or other “nut” butter), and Snickerdoodle Cookie Mix.
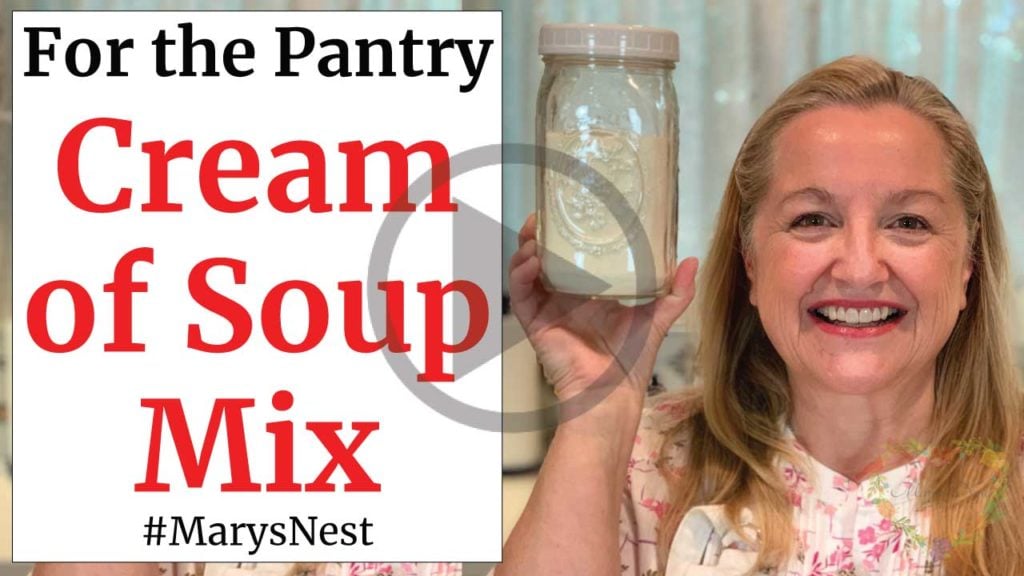
- Cream of Soup Mix
- Healthy Make Ahead Hot Chocolate Mix
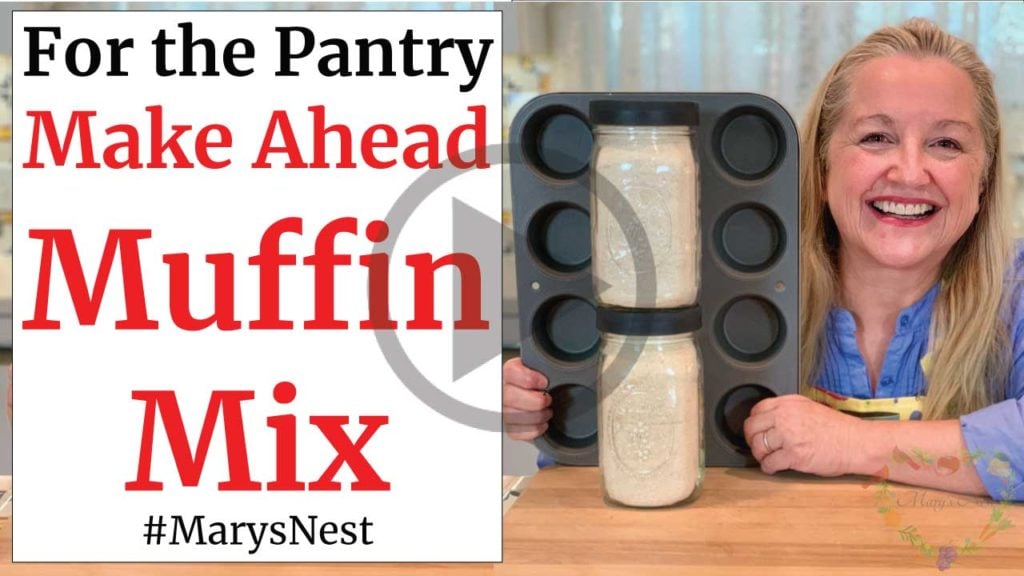
- Healthy Make Ahead Muffin Mix
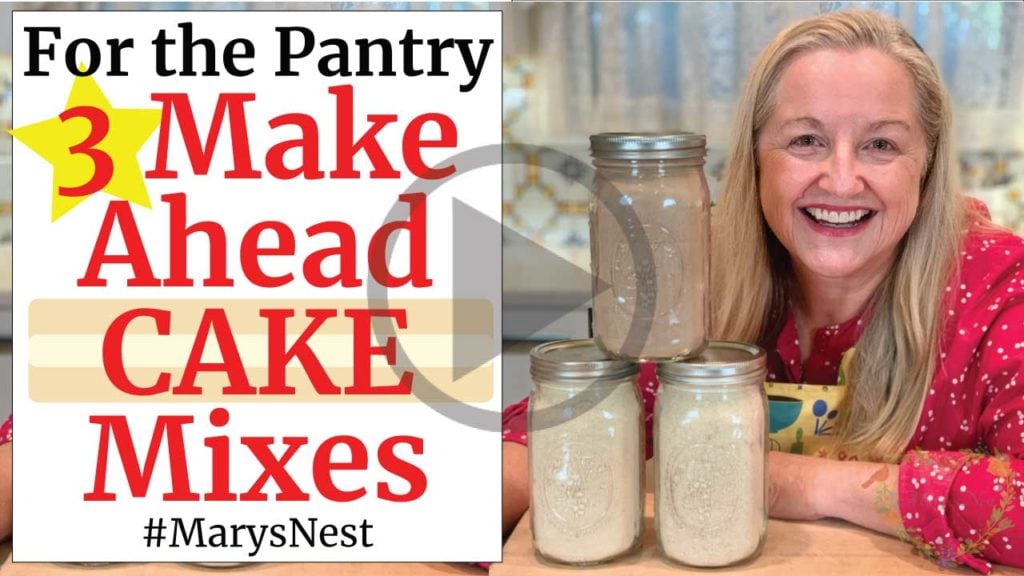
- Make Ahead Cake Mixes – Covers Chocolate, Yellow, and Spice cake mixes.
Watch the Healthy Make Ahead Mixes playlist for a complete list of video recipes.


Order YOUR COPY Now!
The Modern Pioneer Pantry
Simple ingredients, timeless techniques, and a well-stocked pantry. Discover over 100 nourishing recipes to preserve food and turn pantry staples into delicious, homemade meals. Build a wholesome, traditional pantry—just like a modern pioneer!
Download Your Free 36-Page Pantry List
For an extensive list of the traditional foods you can make and purchase to stock your pantry, be sure to download my free 36-page Traditional Foods Pantry List. This comprehensive eBook is full of links to recipe videos, helpful articles, and more!

And if you’re looking for a printed book full of my traditional foods recipes to show you how to create a traditional foods kitchen, be sure to order your copy of my bestselling book, The Modern Pioneer Cookbook.

Order YOUR COPY Now!
The Modern Pioneer Cookbook
Seasonal ingredients, traditional techniques, and nourishing recipes. Over 85 traditional, from-scratch recipes! Discover for yourself how you can use simple ingredients and traditional techniques to cook the modern pioneer way.
Join the Traditional Foods Kitchen Academy
Are you looking for more traditional foods videos? If so, I invite you to join the Traditional Foods Kitchen Academy. Members of this optional paid YouTube community get access to exclusive videos and other members-only perks. Plus, your YouTube comments include a special members-only badge.
In the following members-only video, I talk about Mix and Match for Easy Weeknight Meals.

Stay in Touch with Mary’s Nest
- Subscribe to My YouTube Channel for Traditional Foods Videos (Free) - When you subscribe, be sure to click on the notification bell that will let you know each time I upload a new video.
- Subscribe to Mary’s Traditional Foods Newsletter (Free) - Get a free 36-page eBook for signing up: How to Stock Your Essential Traditional Foods Four-Corners Pantry.
- Join the Traditional Foods Kitchen Academy - For more detailed videos and exclusive members-only perks, join my YouTube membership community.
- Order The Modern Pioneer Cookbook - Get a hardcover book of Mary's nourishing recipes from a Traditional Foods Kitchen. This bestselling cookbook is published by Penguin Random House with their DK imprint.
- Order The Modern Pioneer Pantry - Get Mary's latest hardcover cookbook about preserving food and making delicious meals from your Four Corners Pantry. Mary's second cookbook is also published by Penguin Random House.
I look forward to having you join me in my Texas Hill Country Kitchen!
I’d like to receive more tips and recipes from Mary’s Nest.
How to Make Meals in a Jar

Equipment
- 2 Quart-size jars with lids
- 1 Pint-size jar with lids
Ingredients
Oatmeal Bread in a Jar
- 1 1/2 cups flour of choice You can use a whole grain flour or an all-purpose flour.
- 1/2 cup whole sugar I used Sucanat.
- 1 cup old-fashioned rolled oats
- 1 tsp baking soda
- 1 tsp baking powder
- 1 tsp cinnamon
- 1/2 tsp fine ground sea salt
- 1 cup Assorted mixed nuts and dried fruit
Herb Cracker Mix in a Jar
- 2 cups whole grain flour I like to use spelt.
- 3 tbsps whole sugar I like to use Sucanat.
- 2 tsps baking powder
- 1/2 tsp baking soda
- 2 tbsp mixed dried herbs
Rice Pilaf in a Jar
- 1/4 cup dehydrated chicken bone broth
- 1/2 cup dehydrated mixed vegetables
- 1 cup white rice I used basmati rice.
- 1/2 tsp fine ground sea salt, optional
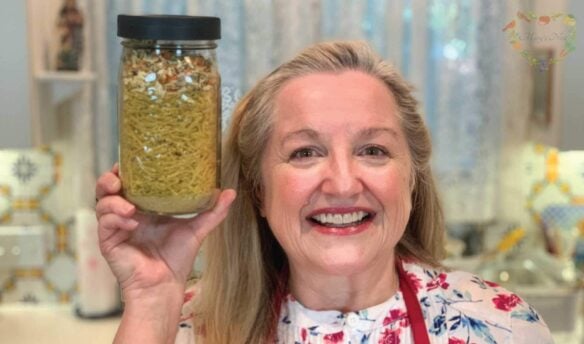
Vegetable Pasta in a Jar
- 1/4 cup tomato powder You can make this powder from ground-up dehydrated tomato scraps. (See Cook's notes for recipe link.)
- 1/2 cup dehydrated tomato sauce mix This mixture of dried herbs includes oregano, basil, flat-leaf Italian parsley, dehydrated onions, and sweet red bell peppers. But add any dehydrated mix that you like.
- dry pasta, any shape, to fill jar
Instructions
Oatmeal Bread in a Jar (Baking)
- Preheat the oven to 350°F (177°C).
- Grease a 9" by 5" loaf pan and set aside.
- Empty Oatmeal Bread in Jar into a large bowl.
- In a separate bowl, whisk together two eggs, 1/4 cup buttermilk (or regular milk with a squeeze of lemon juice), and 1/4 cup melted butter.
- Make a well in the dry ingredients and pour in the egg mixture. Mix until combined, and there are no signs of any dry ingredients remaining.
- Pour mixture into greased loaf pan.
- Bake for approximately 60 minutes or until golden brown on top and a toothpick inserted into the center of the bread comes out clean.
- Remove from the oven and allow to cool slightly before removing from the plan. Slice and enjoy!
Herb Cracker Mix in a Jar (Baking)
- Preheat the oven to 400°F (240°C).
- Empty the Herb Cracker Mix in a Jar into a large bowl.
- Add 2 tablespoons of olive oil and 3/4 cup of milk to the bowl.
- Mix well until completely combined and forms a dough.
- Roll dough out on a floured surface until it is about 1/4" thick. Using a 2" biscuit cutter, cut out crackers. Alternatively, you can cut the dough into 2" squares.
- Place unbaked crackers on a parchment-lined baking sheet.
- Bake for 4 to 6 minutes or until lightly browned on top.
- Transfer crackers from the baking sheet to a cooling rack. Cool completely, then store in an airtight container.
Rice Pilaf in a Jar (Cooking)
- Bring 3 cups of water to a boil in a large saucepan.
- Empty the contents of the Rice Pilaf in a Jar into the saucepan, stir, and return to a boil. (Optionally, you can add 1 tablespoon of butter.)
- Once the mixture returns to a boil, immediately turn the heat down to low, cover the saucepan, and simmer for at least 20 minutes or until all the vegetables are rehydrated and tender and the rice is cooked.
- Remove the covered saucepan from the heat, place on a heatproof surface, and allow the rice to rest in the saucepan for 5 minutes.
- After 5 minutes, fluff the rice with a fork and serve.
Vegetable Pasta in a Jar (Cooking)
- Place a large sauté pan, preferably with straight sides, on the stovetop and empty the Vegetable Pasta in a Jar into the pan.
- Fill the pan with 4 cups of water and bring the mixture up to a boil and stir. Reduce heat to medium and simmer for 8 to 10 minutes until the sauce has thickened and the pasta is al dente.
- Remove from heat and stir well to make sure that the sauce is completely incorporated with the pasta. Serve immediately and top with a grated hard cheese, if desired.
Video
Notes
Shop for items used in this blog post or video
Favorite Meals in a Jar Supplies
- Small Glass Jars with Air-Tight Lids
- Heritage Hill Large Glass Jar
- Large Glass Jar with Clamp Lid
- Excalibur 9-Tray Food Dehydrator
- Excalibur Silicone Sheets
- FoodSaver (Handheld vacuum sealing system)
- FoodSaver Vacuum Lids
- Silica Gel Packs (Helps keep moisture from building up in your mix)
- Baking Sheets
- Parchment Paper
- Spice Grinder
- Regular Mouth Half Pint Canning Jars and Lids
- Wide Mouth Pint Canning Jars and Lids
- Wide Mouth Quart Size Jars and Lids
Favorite Kitchen Supplies
- Favorite Aprons
- Spice Grinder
- Countertop Burner (On my kitchen island in many recipe videos.)
- Handheld Vacuum Sealing System
- Vacuum Lids
- Whisk
- Silica Gel Packets (Helps keep moisture from building up in your mix)
- Cast Iron Dutch Oven
- 8-Quart Slow-Cooker
- Fat Separator (Clever kitchen device to help you decant bone broth)
- Flour Sack Towels
- pH Strips (Helps you check on the acidity of your vinegar)
Amazon Shop and Shopping Guide
- Visit Mary’s Nest Amazon Shop
- Get a 30-day Audible trial with a free audiobook
- Visit my Shopping Guide page
Get up to 15% off for stocking your Traditional Foods Pantry and equipping your Modern Pioneer Kitchen, including discounts from US Wellness Meats, Farmhouse Teas, Backwoods Home, Masontops, Cultures for Health, Survival Garden Seeds, Redmond Real Salt, and More!
Recommended Reading
- The Modern Pioneer Cookbook
- The Modern Pioneer Pantry
- Nourishing Traditions
- Mixes in a Jar
- The Meals in a Jar Handbook: Gourmet Food Storage Made Easy

I don’t see the oats in the oatmeal bread mix
Hi Hélène,
Ah. Good catch! I updated the recipe to include “1 cup old-fashioned rolled oats.”
Thanks so much for your comment! 🙂
Love and God bless,
Mary