In today’s video, I’ll show you the easy way to dehydrate vegetables, and as a bonus, I’ll demonstrate how to rehydrate them for soups, casseroles, or a delightful side dish. Watch the video and read this blog post to learn which vegetables I dehydrated and how they turned out after being rehydrated.

Affiliates note: As an Amazon Associate I earn from qualifying purchases. My content may contain affiliate links to products and services. If you click through and make a purchase, I’ll receive a small commission. It does not affect the price you pay.
Table of Contents
- Secret to Dehydrating Vegetables
- Choosing the Vegetables to dehydrate
- How to Start Dehydrating Vegetables
- Which Dehydrator to Use for Dehydrating Vegetables?
- Learn More About How to Dehydrate Food
- When Are Your Vegetables Done Dehydrating?
- Different Ways to Rehydrate Vegetables
- Using the Foodsaver to Store Dehydrated Vegetables
- More Dehydrating Recipes
- Dehydrating Books
- The Best Ways to Store Food in Your Prepper Pantry
- The Modern Pioneer Pantry
- Download Your Free 36-Page Pantry List
- Join the Traditional Foods Kitchen Academy
- How to Dehydrate Vegetables Recipe
- Shop for items used in this blog post or video
Secret to Dehydrating Vegetables
The secret to dehydrating vegetables the easy way is to start with frozen vegetables! The food manufacturers have already washed, cut, and blanched the vegetables before freezing them. Their hard work means you can skip those steps. Instead, you can quickly start the dehydrating process by softening the frozen vegetables with some warm water before dehydrating them.
If you started with raw vegetables, you’d have to clean and cut them before laying them out on your dehydrator rack. If you have the time and grew the vegetables, or if you could get a bunch of vegetables at deeply discounted prices, it would be worth your while to start with raw vegetables for the dehydrating process.
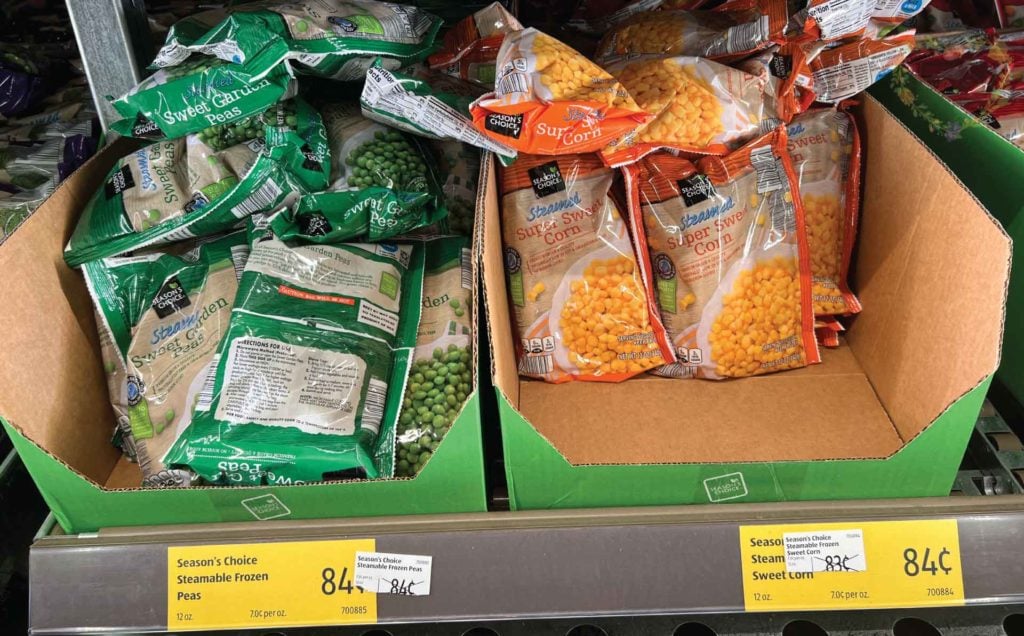
However, as I show you in my cheap foods from Aldi video, you can find a lot of bargains on frozen vegetables that will save you time and money over using their raw counterparts.
As a bonus, instead of storing those frozen vegetables where they can take up a lot of space in your freezer, you can dehydrate them instead for long-term storage in your extended or Prepper Pantry.

Choosing the Vegetables to dehydrate
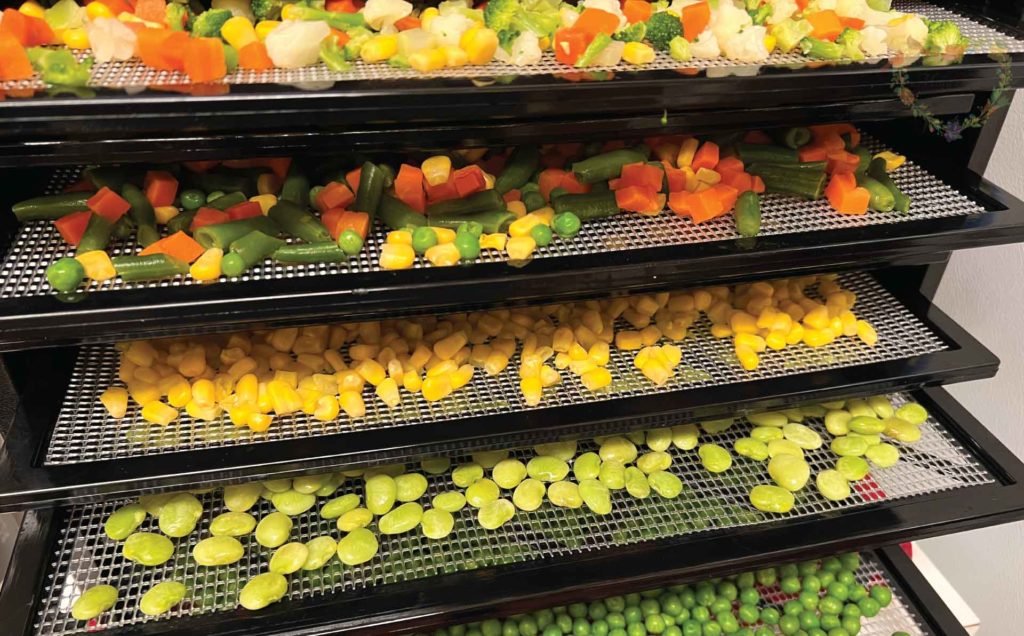
Here are the vegetables I show you how to dehydrate in today’s video:
- Baby Lima Beans
- Mezcla Guarnicion Blend
- Mixed Vegetables
- Super Sweet Corn
- Sweet Garden Peas
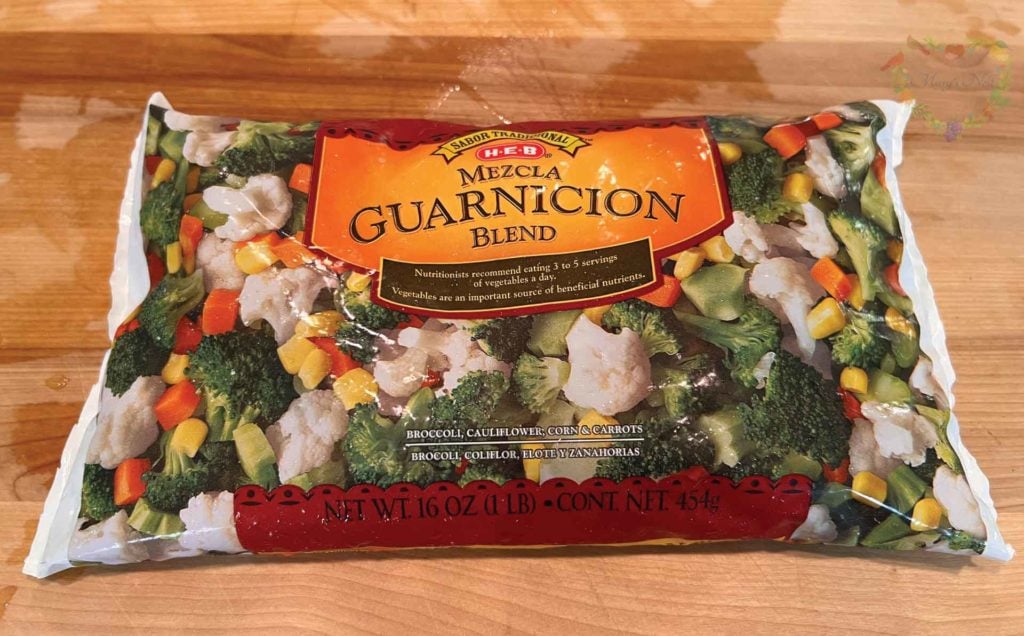
As mentioned earlier, I found most of the frozen vegetables at Aldi, but I also bought some from my local HEB grocery store. I was especially intrigued by their Mezcla Guarnicion Blend, which consists of:
- Broccoli
- Cauliflower
- Carrots
- Corn
The broccoli and cauliflower florets are cut nice and small, which makes the blend perfect for dehydrating too.
How to Start Dehydrating Vegetables
Follow these steps to easily dehydrate your frozen vegetables:
- Empty your bag of frozen vegetables into a colander or mesh strainer.
- Turn on your kitchen faucet for warm water.
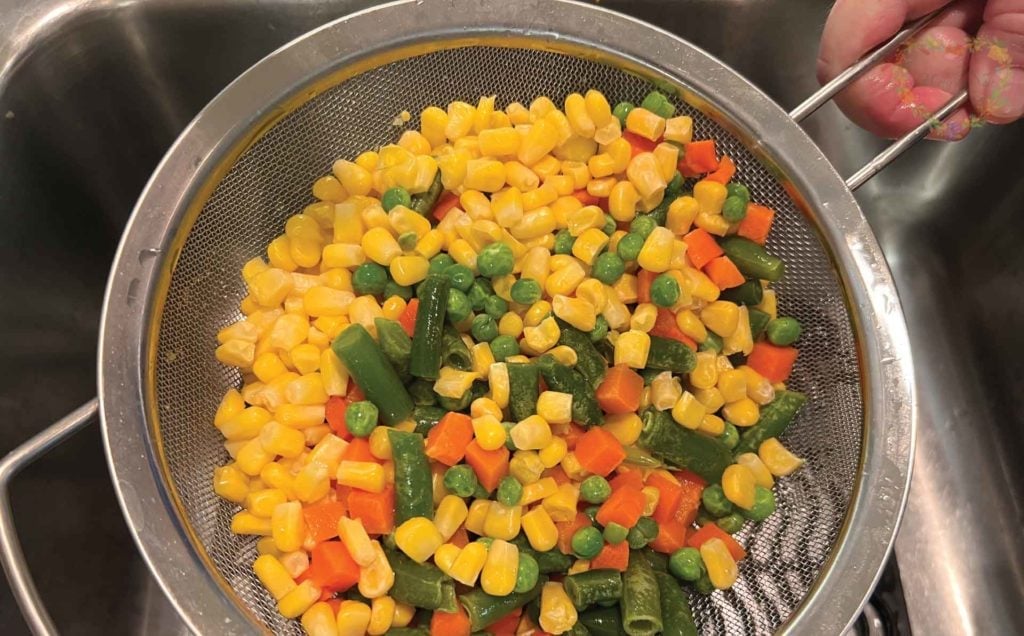
- Rinse your vegetables under warm water for a few moments to break up any frozen chunks.
- Shake your colander to help drain any excess water after turning off your faucet.
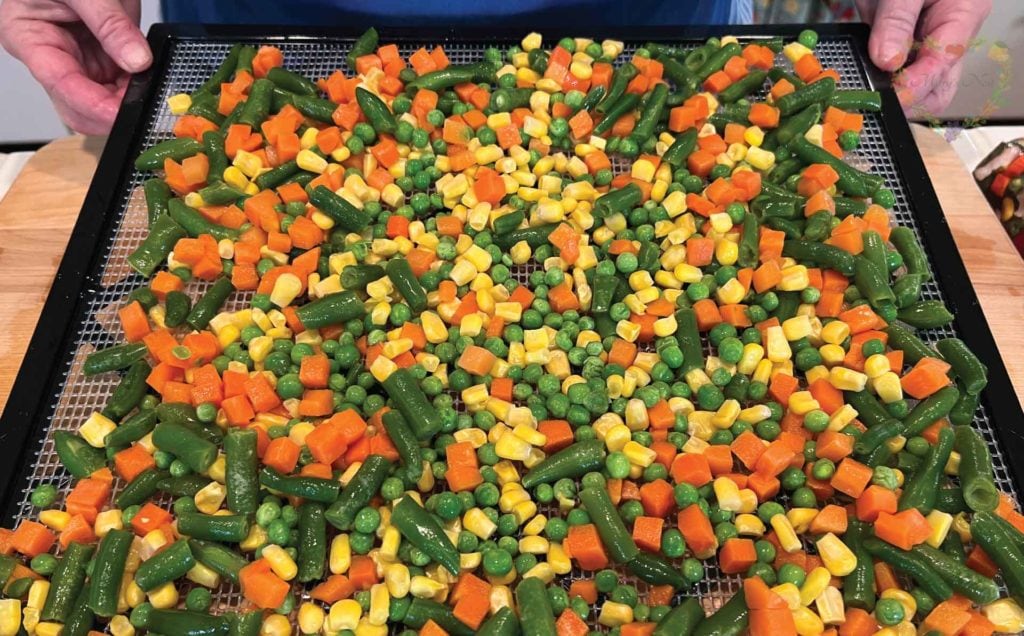
- Empty your colander of the warmed vegetables onto your dehydrator tray.
- Use your hands to evenly spread your vegetables across the tray.
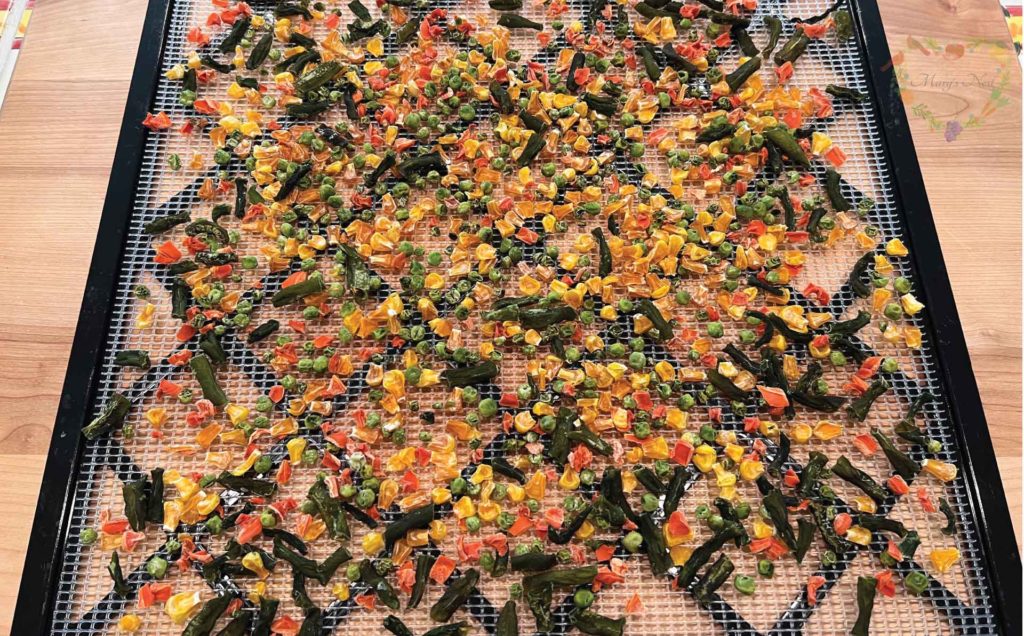
- Place the filled trays into your dehydrator. Set the temperature to 125°F and dehydrate the vegetables for 8 to 12 hours or until completely dry and hard to the touch.
Which Dehydrator to Use for Dehydrating Vegetables?
When it came time to buy a new dehydrator, I did A LOT of research and decided to purchase the Excalibur dehydrator. I couldn’t be happier with my choice! This dehydrator is amazingly reliable and creates evenly-dried food that’s ready to store in my pantry. It even comes with a cookbook to help you learn how to dehydrate and use the food you dehydrate.

You can choose from various equipment options for the Excalibur dehydrator. I decided to purchase a 9-tray unit with a clear front door, so it would be easy for me to peek at the foods as they dried. You can also buy silicon sheets for your dehydrator trays to make it easy for you to create fruit leathers and dehydrate other liquid-based mixtures.
- Note that this is not a sponsored video or blog post. I bought and use all the equipment and food that I show you in my video and recipe.
Learn More About How to Dehydrate Food
When it comes to dehydrating food, you have many options. If you live in a dry climate, you can often dehydrate right outside! But did you know there are a lot of foods you can dehydrate in your oven on its lowest setting? To learn more, watch the following video, where I share a variety of dehydrating equipment options.

If you are ready to start dehydrating, this is the perfect time of year to dry some apples. And the good news is that you can do this right in your own oven! You don’t need any special equipment.

When Are Your Vegetables Done Dehydrating?
I like the technique that Tammy Gangloff describes in her Ultimate Dehydrator Cookbook. She recommends that you just take one of the dehydrated vegetables, such as a pea, and then bounce it off a flat surface. If it sounds like a little stone and feels hard, your vegetables have successfully dehydrated! (I show you this process in my dehydrating veggies video.)
Different Ways to Rehydrate Vegetables
There are basically three ways to rehydrate dehydrated vegetables:
- Soaking the vegetables in boiling water
- Soaking the vegetables in cold water
- Putting the vegetables in a saucepan covered with water, bringing them up to a boil, then turning them down to low to simmer for about 20 minutes or until tender
Both soaking methods work best if you plan to add your rehydrated vegetables to a soup, stew, or casserole. Or you can even throw your dehydrated vegetables in directly, unrehydrated, into a long-simmering soup or stew with plenty of liquid.

However, if you want to serve your rehydrated vegetables as a side dish, the best way to prepare them is using the simmering method on the stove. They will rehydrate beautifully and look and taste close to the original frozen veggies. You may not even be able to tell the difference!
Using the Foodsaver to Store Dehydrated Vegetables
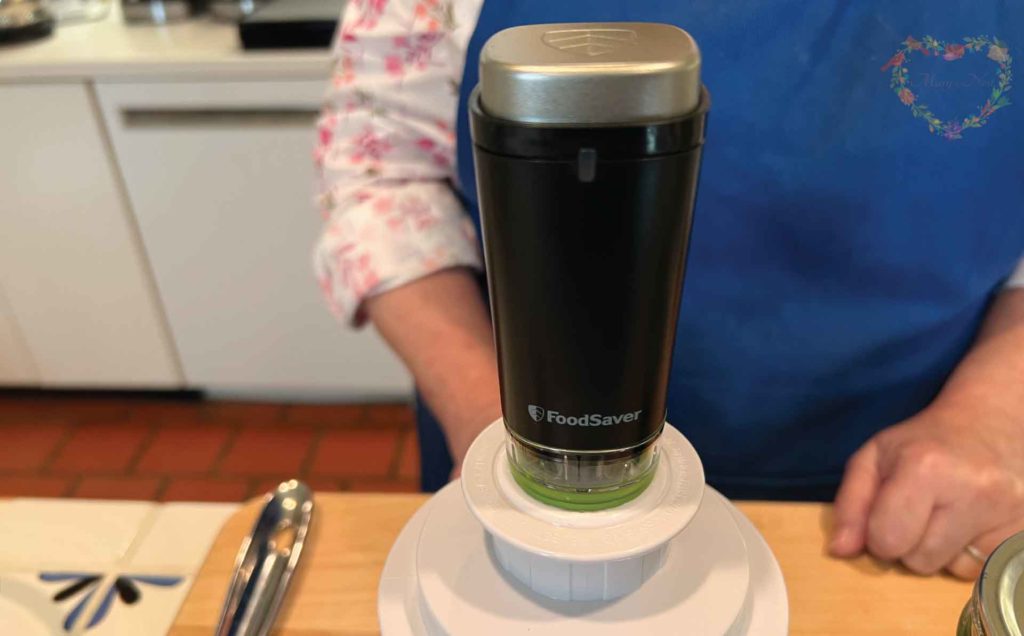
When it comes to storing dehydrated vegetables in your pantry, you can put them into any type of jar (or container) that has a good airtight seal. But you can take things one step further using a handheld FoodSaver sealing device and FoodSaver jar attachment to remove all the air from the jar to keep your dehydrated vegetables as dry as possible.
And you can also add a silica gel pack to your jar if you live in an exceptionally damp or humid climate.
More Dehydrating Recipes
In the following videos, I share how you can make and dehydrate a wide variety of foods, including:
- A basic vegetable mix called a mirepoix
- Cauliflower rice
- Vegetable bouillon


Dehydrating Books
I highlight two books in today’s dehydrating video that I highly recommend adding to your kitchen library:
If you find that you enjoy stocking your pantry with dehydrated food, these books will help you learn more about dehydrating. And for an extended discussion of different dehydrating books and more, watch my Food Dehydrating 101: Helpful Books to Get You Started video.

I found one of the dehydrating books at my local used bookstore. I encourage you to find bargain prices on used books at your local bookstores and community library book sales. Here’s a video where I show you some of the vintage cookbooks that I found at Recycled Reads, which supports the Austin Public Library through sales of donated and withdrawn books.

The Best Ways to Store Food in Your Prepper Pantry
Dehydrated vegetables and other foods are perfect for storing in your extended or Prepper Pantry. However, you’ll want to make sure you store them properly to protect the dehydrated foods from humidity and pests. In the videos below, I share with you all the various options available for storing food, including when and how to use silica gel packs versus oxygen absorbers.


I don’t recommend using oxygen absorbers with dehydrated vegetables that you’re storing in a jar since you’ll quickly exhaust the absorber as you open and close the jar, and the absorber is exposed to the air.
Typically, you’ll use an oxygen absorber inside a sealed mylar bag. For more information on the types of food you can store in a mylar bag, watch my video that shows you how to seal a mylar bag in seconds. Mylar bags are excellent for long-term food storage.

Are You New to the Term Prepper Pantry?
If you’ve not yet created a Prepper Pantry, which is the area where you store your extra or backup food supplies, I show you how to get started in the following video. And best of all, in these inflationary times, you can still create your Prepper Pantry for just $5 a week.


Order YOUR COPY Now!
The Modern Pioneer Pantry
Simple ingredients, timeless techniques, and a well-stocked pantry. Discover over 100 nourishing recipes to preserve food and turn pantry staples into delicious, homemade meals. Build a wholesome, traditional pantry—just like a modern pioneer!
Download Your Free 36-Page Pantry List
For an extensive list of the traditional foods you can make and purchase to stock your pantry, be sure to download my free 36-page Traditional Foods Pantry List. This comprehensive eBook is full of links to recipe videos, helpful articles, and more!

Join the Traditional Foods Kitchen Academy
Are you looking for more traditional foods videos? If so, I invite you to join the Traditional Foods Kitchen Academy. Members of this optional paid YouTube community get access to exclusive videos and other members-only perks. Plus, your YouTube comments include a special members-only badge.
In the following members-only video, I show you behind the scenes of my working pantry.

Stay in Touch with Mary’s Nest
- Subscribe to My YouTube Channel for Traditional Foods Videos (Free) - When you subscribe, be sure to click on the notification bell that will let you know each time I upload a new video.
- Subscribe to Mary’s Traditional Foods Newsletter (Free) - Get a free 36-page eBook for signing up: How to Stock Your Essential Traditional Foods Four-Corners Pantry.
- Join the Traditional Foods Kitchen Academy - For more detailed videos and exclusive members-only perks, join my YouTube membership community.
- Order The Modern Pioneer Cookbook - Get a hardcover book of Mary's nourishing recipes from a Traditional Foods Kitchen. This bestselling cookbook is published by Penguin Random House with their DK imprint.
- Order The Modern Pioneer Pantry - Get Mary's latest hardcover cookbook about preserving food and making delicious meals from your Four Corners Pantry. Mary's second cookbook is also published by Penguin Random House.
I look forward to having you join me in my Texas Hill Country Kitchen!
I’d like to receive more tips and recipes from Mary’s Nest.
How to Dehydrate Vegetables

Equipment
- 1 Dehydrator
Ingredients
- Frozen Vegetables I used 2 varieties of mixed vegetables, plus corn, lima beans, and peas.
Instructions
How To Dehydrate Frozen Vegetables
- Empty your bag of frozen vegetables into a colander or mesh strainer.
- Turn on your kitchen faucet for warm water.
- Rinse your vegetables under warm water for a few moments to break up any frozen chunks.
- Shake your colander or mesh strainer to help drain any excess water after turning off your faucet.
- Empty your colander of the warmed vegetables onto your dehydrator tray.
- Use your hands to evenly spread your vegetables across the tray.
- Place the filled trays into your dehydrator.
- Set the temperature to 125°F and dehydrate the vegetables for 8 to 12 hours or until completely dry and hard to the touch.
- Store dehydrated vegetables in an airtight container in a cool, dark place such as a pantry.
- Generally, dehydrated vegetables will be at their peak for one year. (See Recipe Notes.)
Rehydrating Dehydrated Vegetables
- Place dehydrated vegetables in a heatproof bowl and cover with boiled water so that the water is 2 inches above the vegetables.
- Allow vegetables to rehydrate for at least 30 minutes. They can now be added to soups, stews, or casseroles.
- Alternatively, dehydrated vegetables can be added directly to a soup or stew if there is sufficient liquid and extended cooking time.
- If you want to serve the dehydrated vegetables on their own as a side dish, place them into a saucepan and cover with water.
- Bring the water up to a boil, then turn it down to a low simmer, and place the lid on the saucepan.
- Allow the vegetables to rehydrate and cook for approximately 20 minutes or until completely rehydrated and tender.
Video
Notes
Shop for items used in this blog post or video
Favorite Dehydrating Supplies
- Excalibur 9-Tray Food Dehydrator
- Excalibur Silicone Sheets
- FoodSaver
- FoodSaver Vacuum Lids
- Silica Gel Packs
- Baking Sheets
- Parchment Paper
- Spice Grinder
- Regular Mouth Half Pint Canning Jars and Lids
- Wide Mouth Pint Canning Jars and Lids
- Wide Mouth Quart Size Jars and Lids
Favorite Kitchen Supplies
- Favorite Aprons
- Spice Grinder
- Countertop Burner (On my kitchen island in many recipe videos.)
- Handheld Vacuum Sealing System
- Vacuum Lids
- Whisk
- Silica Gel Packets (Helps keep moisture from building up in your mix)
- Cast Iron Dutch Oven
- 8-Quart Slow-Cooker
- Fat Separator (Clever kitchen device to help you decant bone broth)
- Flour Sack Towels
- pH Strips (Helps you check on the acidity of your vinegar)
Amazon Shop and Shopping Guide
- Visit Mary’s Nest Amazon Shop
- Get a 30-day Audible trial with a free audiobook
- Visit my Shopping Guide page
Get up to 15% off for stocking your Traditional Foods Pantry and equipping your Modern Pioneer Kitchen, including discounts from US Wellness Meats, Farmhouse Teas, Backwoods Home, Masontops, Cultures for Health, Survival Garden Seeds, Redmond Real Salt, and More!