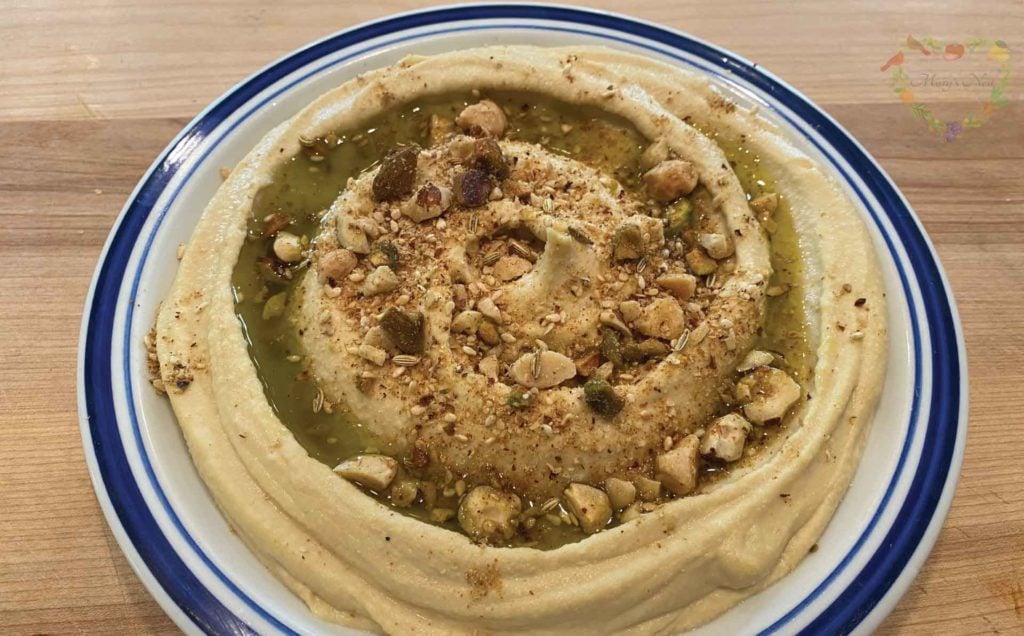
Learn how to make perfectly creamy hummus that is better than store-bought! Plus, I’ll show you how to top your hummus with an authentic and delicious Middle Eastern mixture of toasted nuts and spices that’s called Dukkah.
Affiliates note: As an Amazon Associate I earn from qualifying purchases. My content may contain affiliate links to products and services. If you click through and make a purchase, I’ll receive a small commission. It does not affect the price you pay.
Table of Contents
5 Tips for Perfectly Creamy Hummus
When it comes to making hummus that is better than store-bought, I’ll show you the important tips you can take to ensure your final product will be smooth and creamy.
In my Watch the 5 Tips for How to Make Hummus Perfectly Creamy Every Time video, I walk you through the tips to discuss why each is important and why you don’t want to skip any of them. Here are two of the five most important tips:
- Ensure that the chickpeas you use to make your hummus are well-cooked, even if you start with canned chickpeas.
- Don’t forget to remove the skins of the chickpeas before you puree them. But don’t worry. This is not a major task. I show you a quick and easy trick for getting all the skins off the chickpeas in literally seconds!
So be sure to watch my recipe video to learn all of the five crucial steps to creating that perfectly creamy hummus!
Crunchy Hummus Topping for Creamy Hummus
Dukkah is a Middle Eastern recipe consisting of a combination of toasted nuts, seeds, and spices. You can make it in minutes, and it will take your creamy hummus to the next level in taste!
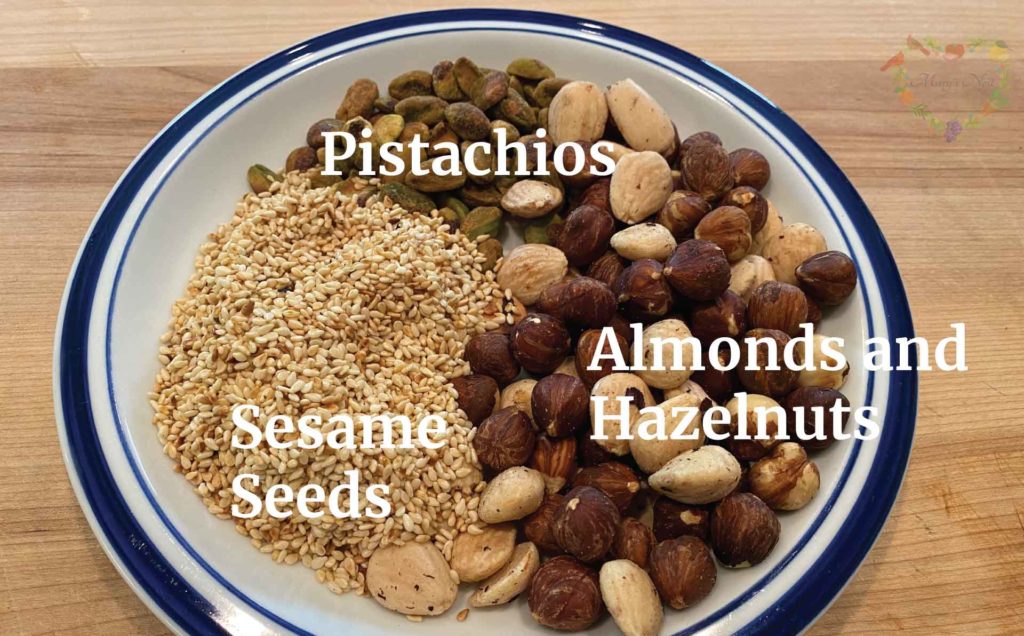
In my recipe video, I show you how to make this crunchy hummus topping. Plus, I also include all the exact amounts of the ingredients in the printable recipe.
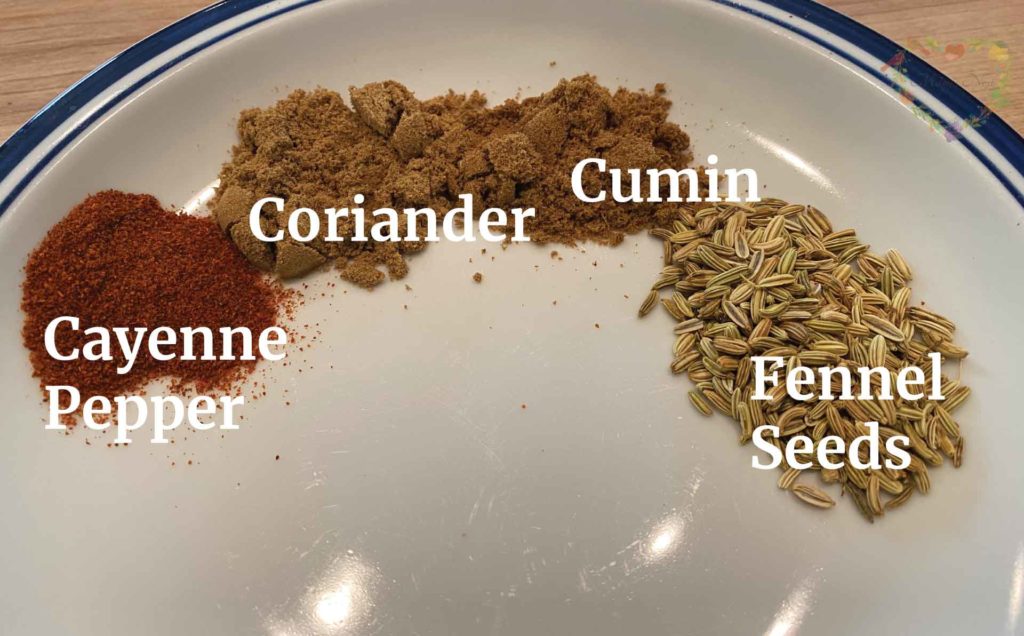
And don’t worry if you have more Dukkah than you need to top your hummus. Serve it on the side for anyone who wants a bit extra.
You can also serve your crunchy hummus topping with some olive oil and sliced bread for dipping. Dip your bread in the olive oil and then in the Dukkah for a really tasty treat!
More Bean Recipes
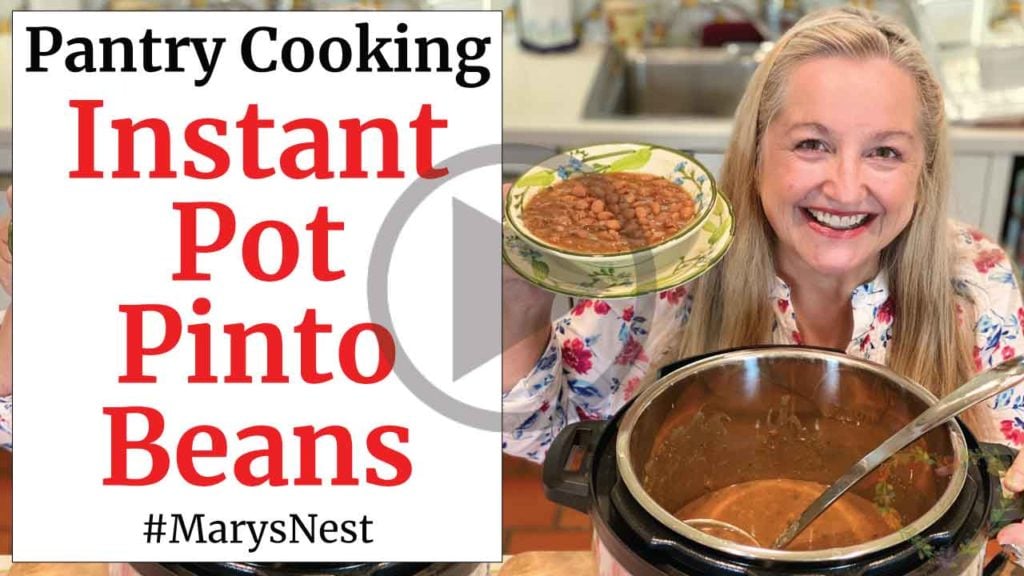
If you are trying to include more beans in your diet, check out the following recipes, including how to make the best Instant Pot Pinto Beans in just 30 minutes.
Learn to Cook Beans the Right Way!
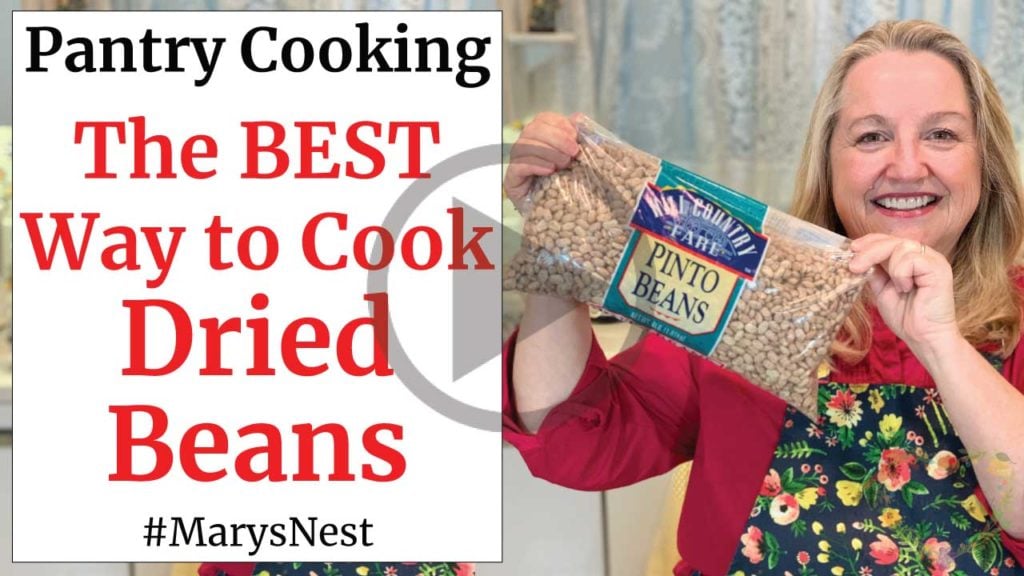
If you are new to cooking beans, watch the following tutorial videos, where I show you how to cook dried beans the right way for maximum nutrient absorption.
Tip: Don’t soak your beans with baking soda. Although using baking soda was a regular practice when preparing dried beans, scientists now tell us that it actually leaches nutrients out of the beans!
Take Your Beans One Step Further
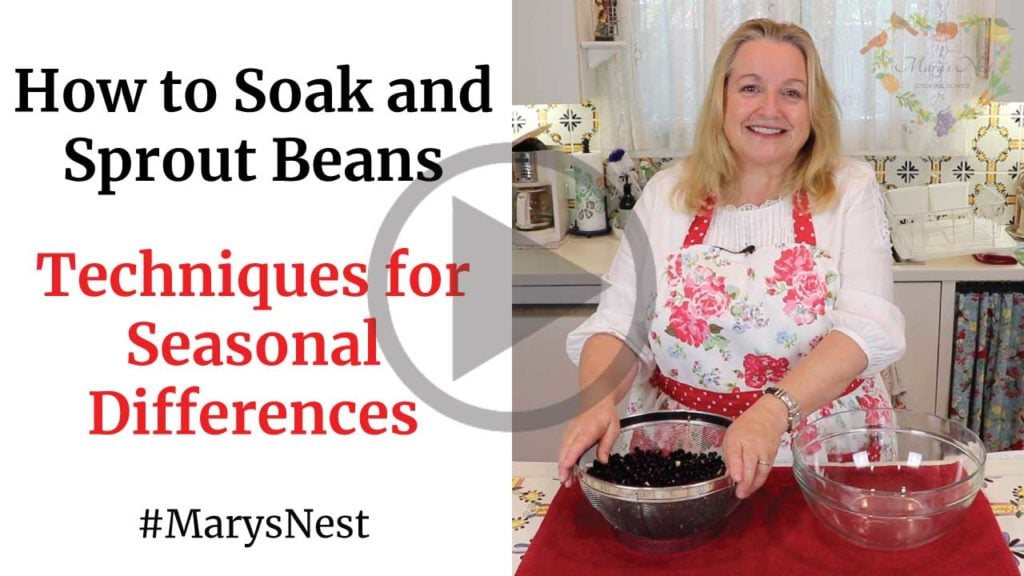
Want to learn how to truly maximize the absorption of nutrients from your beans and make them extremely digestible? Watch my how to soak and sprout beans tutorial video. I show you how easy it is to sprout your beans to help increase nutrient absorption and make the beans extremely easy to digest!

preOrder YOUR COPY Now!
The Modern Pioneer Pantry
Simple ingredients, timeless techniques, and a well-stocked pantry. Discover over 100 nourishing recipes to preserve food and turn pantry staples into delicious, homemade meals. Build a wholesome, traditional pantry—just like a modern pioneer!
Stay in Touch with Mary’s Nest
- Subscribe to My YouTube Channel for Traditional Foods Videos (Free) - When you subscribe, be sure to click on the notification bell that will let you know each time I upload a new video.
- Subscribe to Mary’s Traditional Foods Newsletter (Free) - Get a free 36-page eBook for signing up: How to Stock Your Essential Traditional Foods Four-Corners Pantry.
- Join the Traditional Foods Kitchen Academy - For more detailed videos and exclusive members-only perks, join my YouTube membership community.
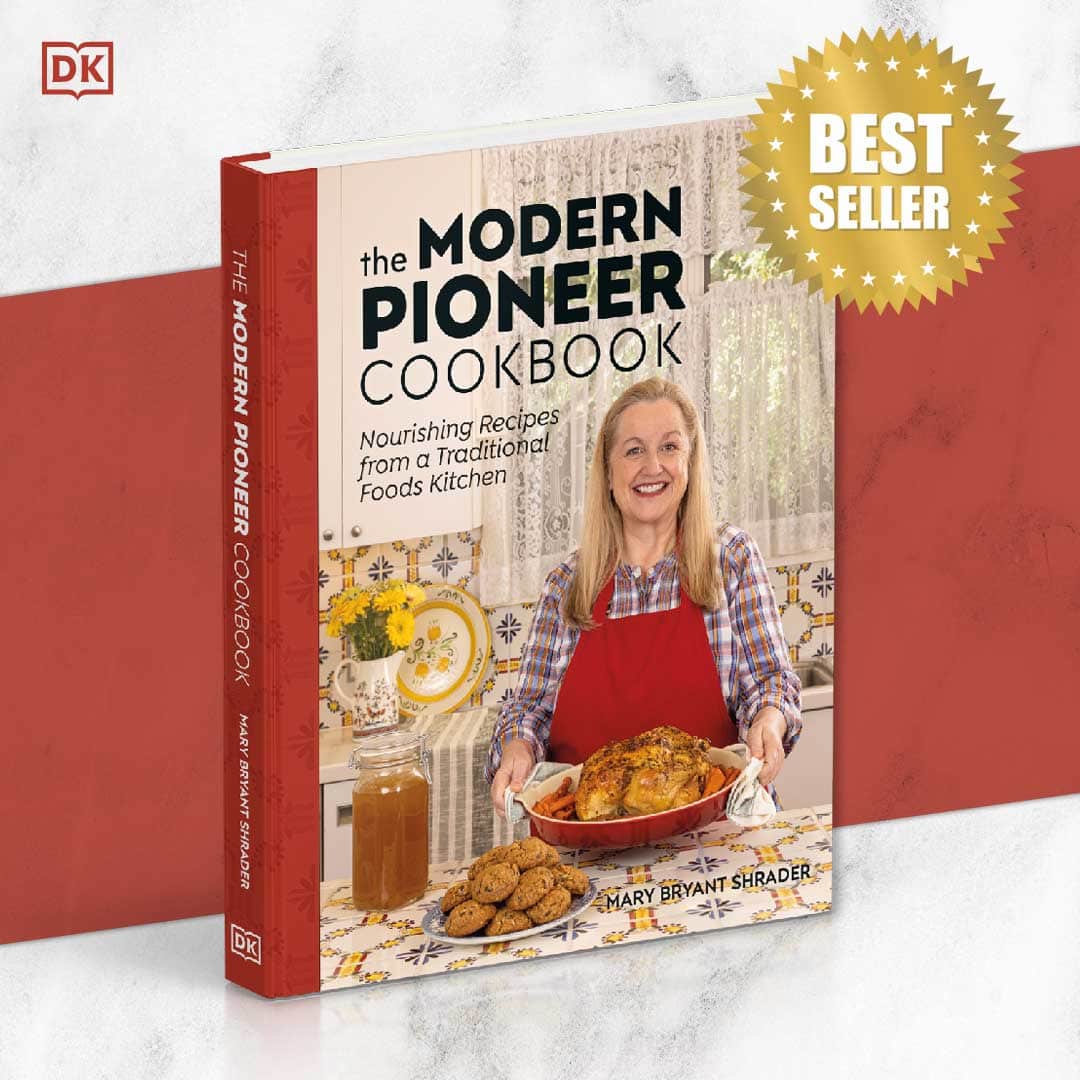
- Order The Modern Pioneer Cookbook - Get a hardcover book of Mary's nourishing recipes from a Traditional Foods Kitchen. This bestselling cookbook is published by Penguin Random House with their DK imprint.
- Preorder The Modern Pioneer Pantry - Be one of the first to get Mary's hardcover book about preserving food and making delicious meals from your Four Corners Pantry. Mary's second cookbook is also published by Penguin Random House.
I look forward to having you join me in my Texas Hill Country Kitchen!
I’d like to receive more tips and recipes from Mary’s Nest.
Perfectly Creamy Hummus

Equipment
- Food Processor or Blender (preferably a high speed blender)
- Medium bowl
Ingredients
Hummus Ingredients
- 1 1/2 cups Cooked chickpeas If you prefer to use canned chickpeas, you will need one 15-ounce can.
- 1/4 cup Tahini
- 1/4 cup Lemon juice, fresh squeezed I used the juice of two medium lemons.
- 2 tbsp Extra virgin olive oil Plus, you'll want additional olive oil to drizzle on top of the hummus.
- 1 small Garlic clove, minced
- 1 tsp Fine ground sea salt
- 2 Ice cubes You can also use 2 tablespoons of water in place of the ice cubes.
- Sliced pita bread, pita chips, and/or raw sliced veggies These are for serving with your hummus.
Dukkah Ingredients
- 1/2 cup Hazelnuts, toasted
- 3 tbsp Almonds, toasted The original recipe from the Mediterranean Dish (see Recipe Notes below) called for almonds with the skins on them. I used skinless Marcona almonds instead.
- 4 tbsp Sesame seeds, toasted
- 3 tbsp Pistachios
- 1 tbsp Fennel seeds
- 1 tsp Ground cumin
- 1 tsp Ground coriander
- 1/2 tsp Cayenne Pepper This ingredient adds some spice, so you can reduce the amount or leave it out if you prefer less spice.
- 1 pinch Sea salt
Instructions
How to Make Hummus
- If you are using canned chickpeas, place them in a saucepan and cover them with water.
- Place the saucepan on the stove and bring the chickpeas to a boil. Turn the heat down to medium-low and allow the chickpeas to simmer for 20 minutes. It is very important that the chickpeas be VERY soft.
- After simmering the canned chickpeas, strain them and place them in a bowl of cool water. Make sure that chickpeas are completely submerged under the water with at least 2 inches of additional water above the chickpeas.
- If you are using dried chickpeas that you have soaked and cooked, make sure that you cook them longer than the recommended time of 90 minutes (or up to two hours). After the recommended cooking time and the chickpeas have softened, cook them an additional 20 minutes until they are VERY soft.
- After cooking the dried chickpeas, strain them and place them in a bowl of cool water. Make sure that chickpeas are completely submerged under the water with at least 2 inches of additional water above the chickpeas.
- Next, submerge your clean hands into the bowl of water containing the chickpeas and rub the chickpeas between your fingers. This process will loosen all the skins, which will float to the top. (See video for the process.)
- Skim off the skins that have floated to the top of the water and strain the chickpeas from the water.
- Add the chickpeas and all the remaining ingredients to the bowl of a food processor and process for 2 1/2 minutes. Stop the processor and scrape down the sides.
- Taste the mixture and add additional lemon juice or salt if necessary.
- Continue to process the mixture for another 2 1/2 minutes until it is smooth and creamy. (See video for the example texture.) Do not skip this step. You want to make sure that you process the mixture for at least 5 minutes.
- Transfer the hummus to a plate, swirl the top with a teaspoon, and then refrigerate the hummus for approximately one hour to cool. (See video for the swirling technique.)
- Once cooled, you can drizzle additional olive oil on top of the hummus and add the Dukkah topping. (See the Dukkah recipe below.)
- Serve with sliced pita bread, pita chips, and/or raw sliced veggies.
- Store in an airtight container with plastic wrap pressed down onto the hummus. Your creamy hummus will stay fresh in the refrigerator for one week.
How to Make Dukkah
- Place all the ingredients into a food processor and pulse a few times until the mixture is chopped but chunky in appearance. DO NOT over-process. You do not want to create a nut/seed butter. (See the video for an example of the consistency of the Dukkah.)
- Alternatively, if you do not have a food processor, you can rough chop all the ingredients together.
- Once you've reached the Dukkah's desired consistency, use some of this mixture to top your hummus. You can store any remaining Dukkah in an airtight container, and it will stay fresh for two weeks.
Video
Notes
Shop for items used in this blog post or video
Favorite Kitchen Supplies
- Favorite Aprons
- Spice Grinder
- Countertop Burner (On my kitchen island in many recipe videos.)
- Handheld Vacuum Sealing System
- Vacuum Lids
- Whisk
- Silica Gel Packets (Helps keep moisture from building up in your mix)
- Cast Iron Dutch Oven
- 8-Quart Slow-Cooker
- Fat Separator (Clever kitchen device to help you decant bone broth)
- Flour Sack Towels
- pH Strips (Helps you check on the acidity of your vinegar)
Amazon Shop and Shopping Guide
- Visit Mary’s Nest Amazon Shop
- Visit my Shopping Guide page
Get up to 15% off for stocking your Traditional Foods Pantry and equipping your Modern Pioneer Kitchen, including discounts from US Wellness Meats, Farmhouse Teas, Lehman's, Masontops, Cultures for Health, Survival Garden Seeds, Redmond Real Salt, Plan to Eat, and More!
