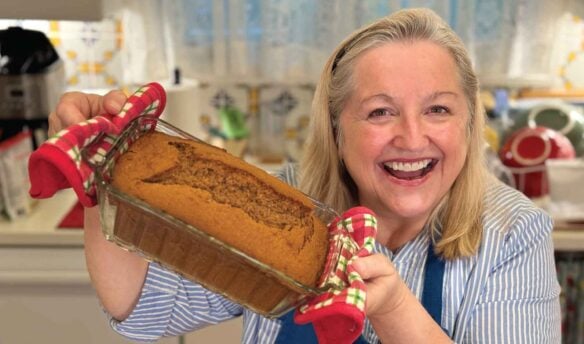
Here is a sweet treat of homemade sourdough hot cross buns perfect for serving with your Good Friday dinner after breaking your day-long fast.
Affiliates note: As an Amazon Associate I earn from qualifying purchases. My content may contain affiliate links to products and services. If you click through and make a purchase, I’ll receive a small commission. It does not affect the price you pay.
Table of Contents
- Our Tradition of Hot Cross Buns
- Sourdough Hot Cross Buns
- Use a 100% Hydration Sourdough Starter
- The Modern Pioneer Cookbook
- When Can You Use Your Sourdough Starter?
- How to Make Sourdough Less Sour
- A Sweet or Savory Hot Cross Bun
- A Blessing of Good Will
- More Easter Recipes
- More Home Baker Recipes
- More Sourdough Recipes
- Download Your Free 36-Page Pantry List
- The Modern Pioneer Pantry
- Sourdough Hot Cross Buns Recipe
- Shop for items used in this blog post or video
Our Tradition of Hot Cross Buns
We always enjoyed Hot Cross Buns on Good Friday with our evening meal after our day-long fast. And my mom made sure to make plenty so that there would be some to enjoy with breakfast on Holy Saturday before Easter.
This recipe calls for making a total of 24 hot cross buns. If you have any leftovers after dinner, wrap them up lightly and keep them at room temperature. They’ll be ready to enjoy with a glass of milk or a cup of coffee in the morning.
Sourdough Hot Cross Buns
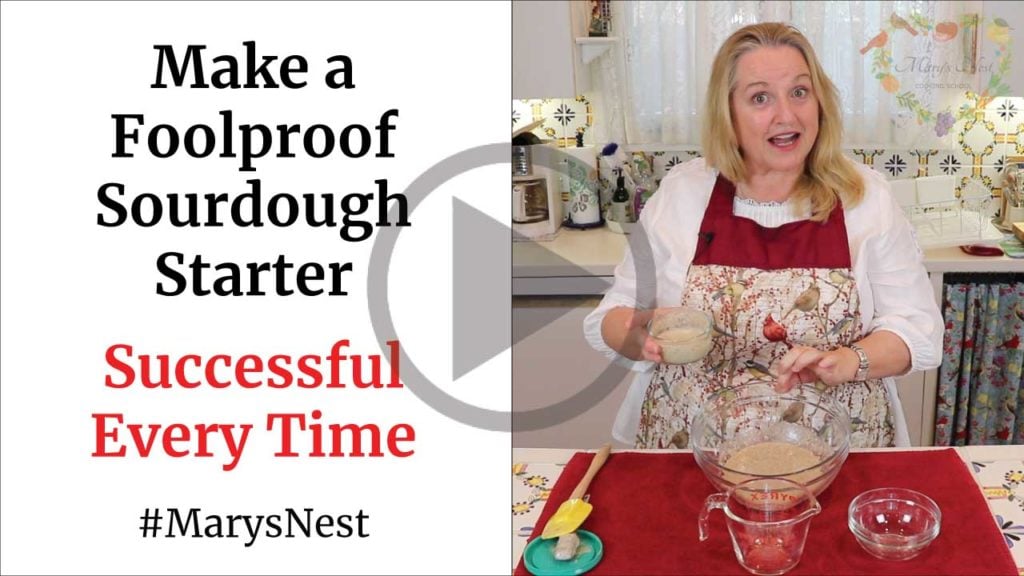
I make the hot cross buns using a sourdough starter with this particular recipe. But don’t worry if you are new to sourdough baking. In the following video, I show you how to get your sourdough starter going quickly and easily.
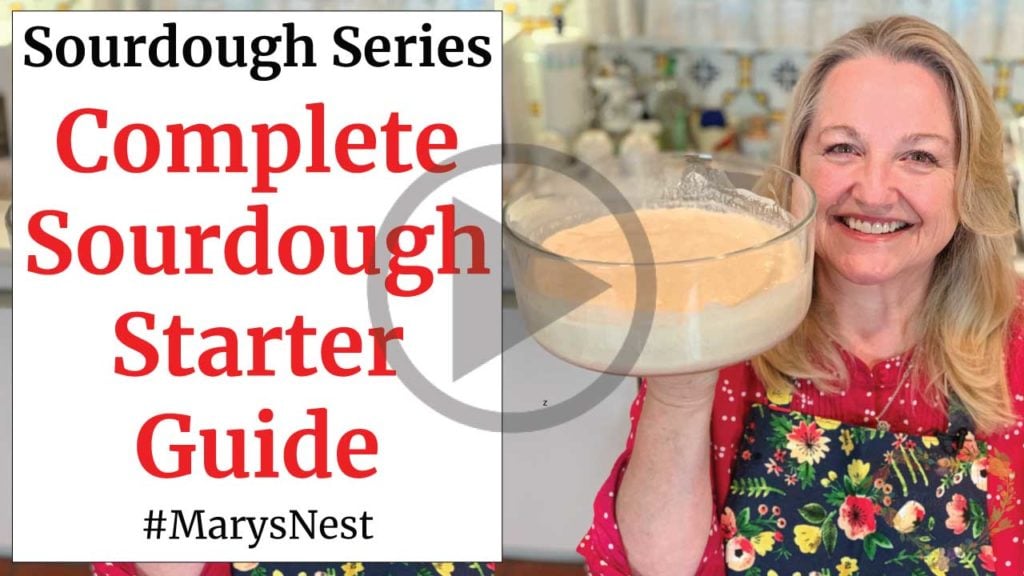
If you have any questions while you are creating your sourdough starter, I’ve got you covered with my Complete Sourdough Starter Guide and Sourdough Basics for Beginners playlist.
Use a 100% Hydration Sourdough Starter
I use a 100% hydration starter for my sourdough starter in this recipe. A 100% hydration starter means when I feed my starter, I use equal parts water and flour by weight, so it is somewhat of a loose or runny starter. I find this level of hydration to be perfect for baking any type of sourdough savory or sweet bread.
I don’t want you to get concerned about making sure that you are using equal parts of flour and water. You do not need to weigh your flour and water to make sure that it weighs the same. If you have been with me for a while, you know that I will never tell home cooks that they need to weigh anything!
A Trick to Get Your Flour and Water to Weigh Equally
Instead, I have a simple trick for you to come as close as possible to get your flour and water to weigh about the same. One cup of water will weigh approximately the same as one cup of flour, if you use a teaspoon to fill your measuring cup with flour.
You do not want to use the scoop and lift method to measure your flour when feeding your starter, and you do not want to compact your flour.
You simply want to take a little time to use a teaspoon to take a bit of flour—one teaspoon at a time—and gently fill your measuring cup. Afterward, you will be all set to feed your starter and have something that is as close as possible to a 100% hydration starter. And this is more than sufficient for the home cook!
When Can You Use Your Sourdough Starter?
When you are ready to bake your sourdough hot cross buns, make sure your starter is well fed and bubbly. If you feed your starter about 4 hours before getting ready to bake, you should be all set.
If you have an especially strong starter, you might be able to stretch your baking time as much as 10-12 hours after feeding your starter. But if you have a relatively new starter, it’s best to feed it and then keep an eye on it. Once it has risen by double—often within 4 hours—you’re ready to bake!
How to Make Sourdough Less Sour
Do you find anything made with sourdough starter to be too sour for your tastes? Don’t worry! To keep these hot cross buns from becoming too sour, I have a short rise time, which doesn’t allow the sourdough starter to fully flavor the buns. Instead, the brief rise time gives the starter just enough time to rise the dough.
But if you are still worried about your hot cross buns being sour, I share an easy trick in the video to help you make sure there is very little sour flavor to your dough. (Hint: it involves a simple ingredient pretty much every home cook has.)
If you would like to learn more about bread baking, including sourdough, check out James Beard’s Beard on Bread book. (I learned the trick to make sourdough less sour by reading his book.)
A Sweet or Savory Hot Cross Bun
I love using a sweet icing to make the cross on top of the hot cross buns. However, if you want to cut back on this bit of extra sugar, I share with you in the video how to make a cross on top of the pre-baked buns that will give the traditional appearance of a cross without the added icing.
To make the cross, it’s a simple trick that uses a bit of flour, water, and oil and will bake right into the bun. It looks great and provides the bun with a bit of a more savory than sweet flavor.
Either way you decide to make the cross, these hot cross buns are light and fluffy and will be a welcome bread to enjoy when it comes time to break your fast.
A Blessing of Good Will
If you would like to start a sweet tradition at your Good Friday dinner table, you can split your hot cross buns in half. You can enjoy one half and share the other half with another dinner companion. As you share the hot cross bun, recite this short but sweet blessing:
Half for you and half for me, and between us two, goodwill shall be!
Although the origins of hot cross buns can be traced back to twelfth-century England, my Irish father would never pass up the opportunity to sneak in a charming—and traditional—Good Friday Irish blessing!
More Easter Recipes
Now that you have a tasty hot cross buns recipe under your belt, be sure to try my Italian Easter Bread. It’s the perfect accompaniment to any Easter dinner meal and will look so festive on your table!

You can also use this fluffy and lightly sweet bread as a dessert served after your Easter dinner. However, when I was growing up, we couldn’t wait to enjoy it, so my mom was always sure to serve this bread along with dinner. You will discover you’ll want to do the same!
Update: You can watch my Hot Cross Buns and Italian Easter Bread recipes as part of my remastered How to Make Favorite Easter Baking Traditions video.
More Home Baker Recipes
Bring Ancient Grains Back to the Table with Grand Teton Ancient Grains
Meet the Idaho family behind Grand Teton Ancient Grains—growing ancient grains the old-fashioned way.
How to Make French Spice Bread: Pain d’Épices
Discover the Old World charm of French Spice Bread—a honey-sweet, spiced loaf perfect for cozy baking.
How to Make the Easiest Focaccia
Bake easy, airy focaccia with pantry staples—perfect for summer gatherings!
More Sourdough Recipes
The Ultimate Bread Baking Marathon!
Easy loves, sourdough tips, and warm kitchen joy for every home baker!
How to Make Sourdough Bread using the Stretch and Fold Method
Use this technique to create a light and airy sourdough bread.
How to Tackle Sourdough Starter Challenges – Art of Fermentation Approach
Learn how a successful ferment can be the secret to creating a sourdough starter.
Download Your Free 36-Page Pantry List
Are you transitioning from a processed foods kitchen to a traditional foods kitchen and need a little—or a lot of—guidance? I’m here to help!
For an extensive list of the traditional foods you can make and purchase to stock your pantry, be sure to download my free 36-page Traditional Foods Pantry List. This comprehensive eBook is full of links to recipe videos, helpful articles, and more!
Order YOUR COPY Now!
The Modern Pioneer Pantry
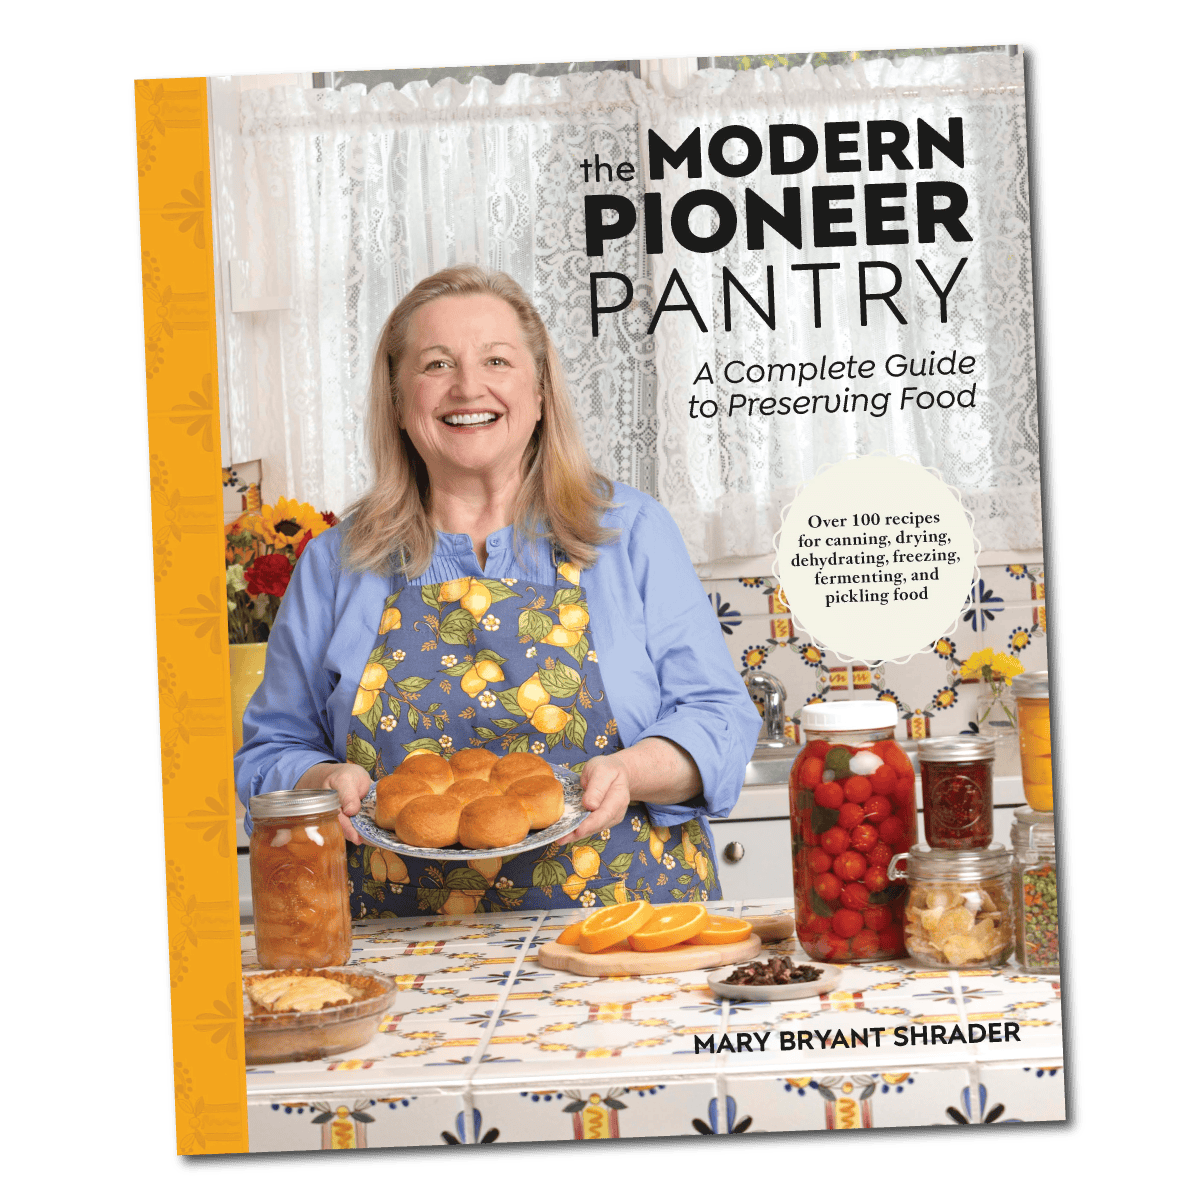
Simple ingredients, timeless techniques, and a well-stocked pantry. Discover over 100 nourishing recipes to preserve food and turn pantry staples into delicious, homemade meals. Build a wholesome, traditional pantry—just like a modern pioneer!
Stay in Touch with Mary’s Nest
- Subscribe to My YouTube Channel for Traditional Foods Videos (Free) - When you subscribe, be sure to click on the notification bell that will let you know each time I upload a new video.
- Subscribe to Mary’s Traditional Foods Newsletter (Free) - Get a free 36-page eBook for signing up: How to Stock Your Essential Traditional Foods Four-Corners Pantry.
- Join the Traditional Foods Kitchen Academy - For more detailed videos and exclusive members-only perks, join my YouTube membership community.
- Order The Modern Pioneer Cookbook - Get a hardcover book of Mary's nourishing recipes from a Traditional Foods Kitchen. This bestselling cookbook is published by Penguin Random House with their DK imprint.
- Order The Modern Pioneer Pantry - Get Mary's latest hardcover cookbook about preserving food and making delicious meals from your Four Corners Pantry. Mary's second cookbook is also published by Penguin Random House.
I look forward to having you join me in my Texas Hill Country Kitchen!
I’d like to receive more tips and recipes from Mary’s Nest.
Sourdough Hot Cross Buns

Equipment
- 1 Large sized bowl
- 1 Medium sized bowl
- 1 Whisk
- 1 Wooden spoon or Danish dough whisk
- 1 Stand mixer with whisk and dough hook optional
- 1 9×13 Baking dish
- 1 Sharp knife or French lame A lame is a French baker's tool. It is pronounced like "mom," but starts with the "L" sound.
- 1 Small saucepan
- 1 Silicone pastry brush optional
Ingredients
- 2 cups Fed sourdough starter 100% hydration (Read the recipe blog post for a definition.)
- 3 tbsp Sugar, granulated
- 1-2 med to large Oranges, zested and juice reserved If oranges are medium-sized, use two. If large, use one.
- 2 tsp Ground cinnamon
- 1/2 tsp Ground cloves
- 1/2 tsp Ground allspice
- 3 large Eggs Two eggs are for the dough, and the third egg is for the "wash"
- 1/4 cup Honey, pourable An additional 1 teaspoon of honey will be needed for the glaze.
- 1 cup Milk, preferably whole milk
- 1 cup Water An additional 1 tablespoon will be needed for icing.
- 5 cups Flour All-purpose or bread flour
- 1 tsp Salt
- 1 1/2 cups Currants Raisins can be substituted for the currants. Citron could also be used.
- 1 tsp Baking soda optional
- 4 tbsp Butter Plus 1 tablespoon of butter for buttering the baking dish.
- 1 tsp Olive oil This is for greasing the bowl.
- 1/2 cup Powdered sugar Also known as icing sugar or confectioner's sugar.
Instructions
- To a large-sized bowl (or stand mixer bowl, if using), add two cups of sourdough starter.
- To the large bowl, add the granulated sugar, orange zest cinnamon, cloves, and allspice. Set aside.
- In a medium-sized bowl, add 2 eggs and 1/4 cup honey, and whisk together. Next, add milk and 1 cup water and whisk together well.
- Add the mixture in medium bowl to the large bowl and whisk everything together until completely incorporated.
- Begin adding one cup of flour at a time into the wet mixture in the large bowl. You want a wet sticky dough, which will usually take adding the total 5 cups of flour.
- Mix well after each addition of flour. You can do this by hand with a wooden spoon or Danish dough whisk. Alternatively, you can do this using a stand mixer with the dough whisk attachment.
- Mix the dough until it begins to pull away from the sides of the bowl. Approximately 5-10 minutes.
- Cover the bowl, and allow it to rest for 20 minutes.
- Add salt and currants to the bowl and mix well until completely incorporated. Approximately 1 minute.
- If using baking soda, add it along with salt and currants. (Please see RECIPE NOTES.)
- Add butter to the bowl and mix well until completely incorporated. Approximately 1-2 minutes.
- Transfer the dough to a floured board and knead for approximately 15-20 minutes until it is no longer sticky but very smooth. If you are using a stand mixer, this will take approximately 10 minutes.
- Grease the large mixing bowl with olive oil. (If you are using a stand mixer, remove the kneaded dough from the mixer bowl and grease the bowl. Then return the dough to the greased mixer bowl.)
- Place the kneaded dough back into the greased large mixing bowl. Cover the bowl and allow the dough to rise or double in bulk for 1 hour.
- While the dough is rising, add the orange juice and 1 teaspoon of honey to a small saucepan. Mix well and place on medium-high heat, bringing the mixture to a boil. Immediately turn down the heat to low and allow the juice and honey mixture to simmer until reduced by half. Remove from the heat and set aside, but cover the saucepan to keep the mixture warm.
- Next, heavily grease a 9"x13" baking dish with 1 tablespoon of butter.
- After one hour, punch down the dough and divide the dough into 24 equally-sized pieces. (See video.)
- Roll each piece of dough into a ball and place it into the greased baking dish.
- Loosely cover the baking dish containing the dough balls with plastic wrap and then a dish towel and place the dish in a warm place to allow the dough balls to rise to double in size. Approximately 1 hour.
- Once the dough balls have risen sufficiently after approximately 1 hour, use a sharp knife or a lame (a French baker's tool) to make two cuts to form a cross on the top of each dough ball. Set aside.
- Preheat the oven to 400°F (204°C).
- In a small bowl, whisk one egg and 1 tablespoon of water together. Brush this mixture over the tops of the risen dough balls using a pastry brush or the back of a spoon.
- Place the baking dish on the middle rack of the preheated oven and bake for approximately 15-18 minutes until the hot cross buns are golden brown.
- Once hot cross buns are finished baking, remove them from the oven and place the baking dish on a heatproof surface. While still in the baking dish, immediately brush the juice honey mixture on the tops of the buns. This works best using a silicone pastry brush, but if you do not have one, you can use the back of a spoon.
- Leave the hot cross buns in the baking dish to cool.
- While the hot cross buns are cooling, make the icing by mixing together the powdered sugar and 1 teaspoon of water (milk can also be used in place of the water) in a bowl and then transfer to a pastry bag or plastic bag. If you use a plastic bag, you will need to cut off the tip of the bag. (See video.)
- Once the hot cross buns have completely cooled, pipe the icing in a cross pattern on top of each bun.
- Your hot cross buns are now ready to serve or can be covered loosely and served later in the day at dinner time.
- If any hot cross buns remain after dinner, cover them loosely and leave at room temperature. They are best if they are all consumed by the next day.
- You can make the hot cross buns a day ahead and refrigerate them. Make sure they are wrapped well and take care not to disrupt the icing. To serve, remove the hot cross buns from the refrigerator, uncover, and allow them to return to room temperature before serving.
- Hot cross buns may also be frozen for 2-3 months if wrapped well. However, you might want to refrigerate them first to allow the icing to harden before wrapping them for the freezer. When ready to eat, remove the buns from the freezer, unwrap them, and allow them to defrost and return to room temperature before serving.
Video
Notes
Nutrition
Shop for items used in this blog post or video
Favorite Kitchen Supplies
- Favorite Aprons
- Spice Grinder
- Countertop Burner (On my kitchen island in many recipe videos.)
- Handheld Vacuum Sealing System
- Vacuum Lids
- Whisk
- Silica Gel Packets (Helps keep moisture from building up in your mix)
- Cast Iron Dutch Oven
- 8-Quart Slow-Cooker
- Fat Separator (Clever kitchen device to help you decant bone broth)
- Flour Sack Towels
- pH Strips (Helps you check on the acidity of your vinegar)
Amazon Shop and Shopping Guide
- Visit Mary’s Nest Amazon Shop
- Visit my Shopping Guide page
Get up to 15% off for stocking your Traditional Foods Pantry and equipping your Modern Pioneer Kitchen, including discounts from US Wellness Meats, Farmhouse Teas, Backwoods Home, Masontops, Cultures for Health, Survival Garden Seeds, Redmond Real Salt, Mother Earth News, and More!
Recommended Reading
- The Modern Pioneer Cookbook
- The Modern Pioneer Pantry
- Nourishing Traditions
- Beard on Bread
- Sourdough: Recipes for Rustic Fermented Breads, Sweets, Savories, and More
- New World Sourdough: Artisan Techniques for Creative Homemade Fermented Breads; With Recipes for Birote, Bagels, Pan de Coco, Beignets, and More
- Whole Grain Sourdough at Home: The Simple Way to Bake Artisan Bread with Whole Wheat, Einkorn, Spelt, Rye and Other Ancient Grains
