Affiliates note: As an Amazon Associate I earn from qualifying purchases. My content may contain affiliate links to products and services. If you click through and make a purchase, I'll receive a small commission. It does not affect the price you pay.
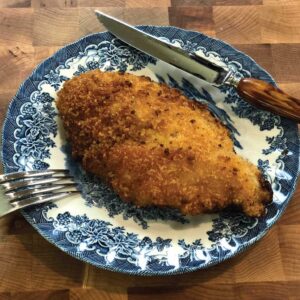
How to Make Crispy Chicken Cutlets
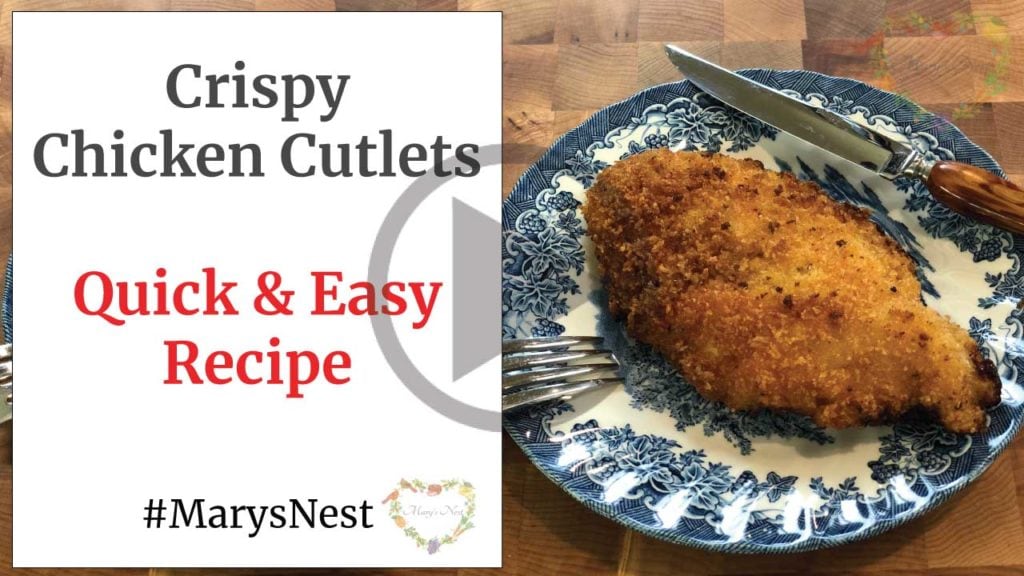
This Crispy Chicken Cutlets Recipe is so easy that it literally just takes minutes to prepare. And it’s so versatile. Serve it tonight for dinner and then tomorrow for lunch. If you have any leftovers, slice a cutlet into thin strips and use it to top some mixed greens. Or put a half of a cutlet on a kaiser roll and make a sandwich.
And if you still have some leftover by tomorrow night, turn the crispy chicken cutlets into Chicken Parmigiana by topping them with a bit of tomato sauce and a slice of mozzarella or provolone and warm in a 350°F oven for about 15 minutes. Enjoy this easy recipe tonight!
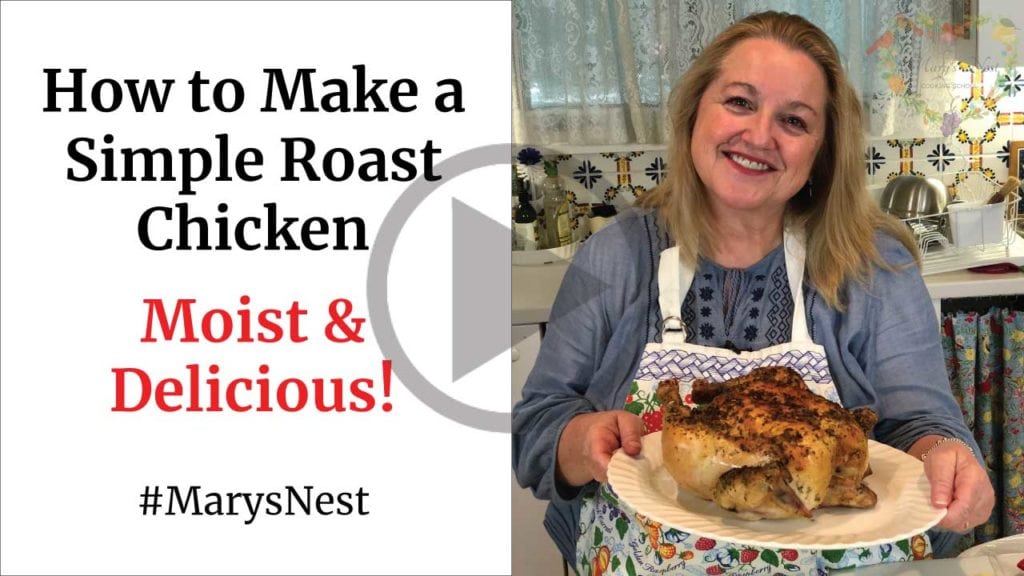
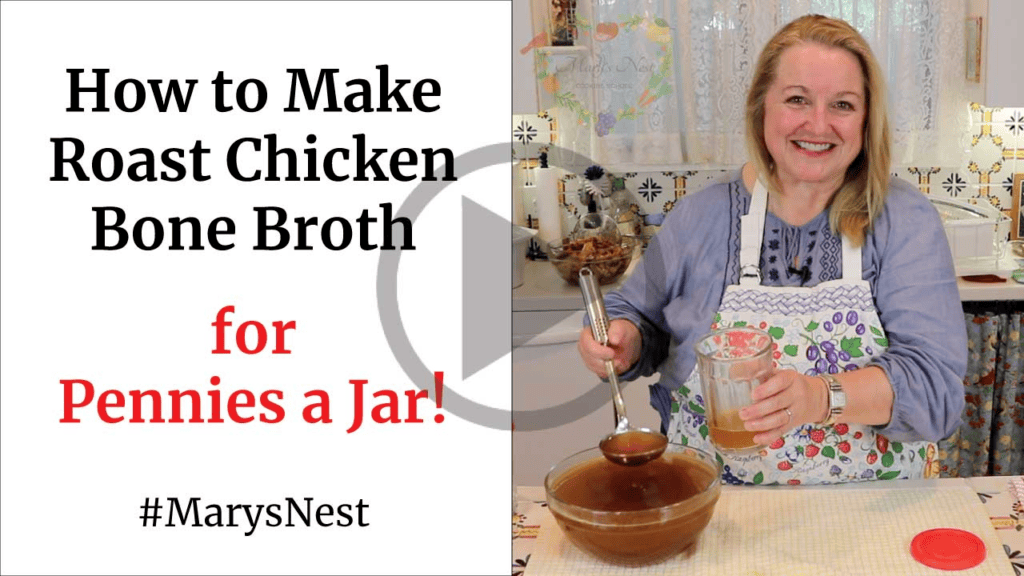
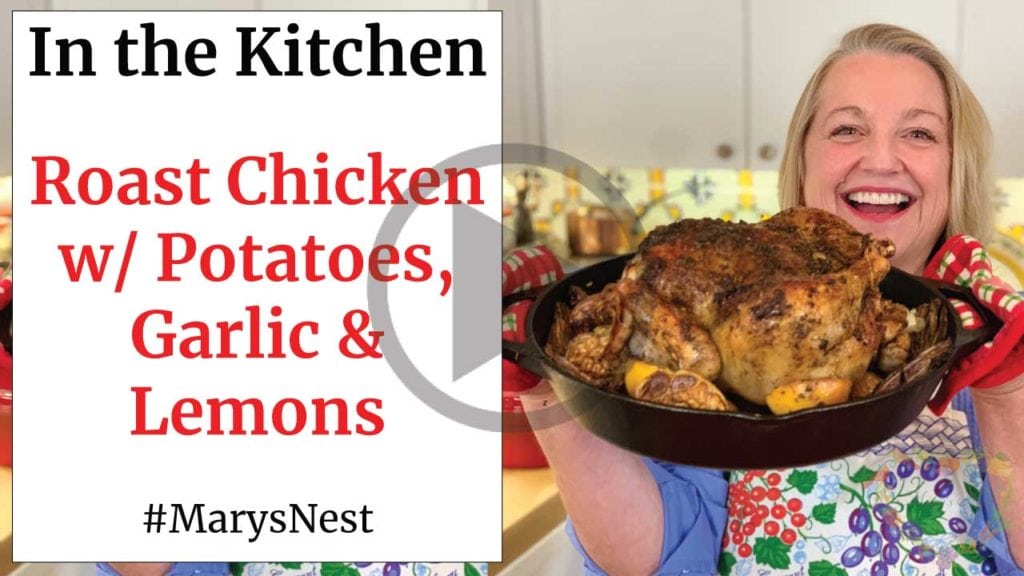
Related Videos
Stay in Touch with Mary’s Nest
- Subscribe to My YouTube Channel for Traditional Foods Videos (Free) - When you subscribe, be sure to click on the notification bell that will let you know each time I upload a new video.
- Subscribe to Mary’s Traditional Foods Newsletter (Free) - Get a free 36-page eBook for signing up: How to Stock Your Essential Traditional Foods Four-Corners Pantry.
- Join the Traditional Foods Kitchen Academy - For more detailed videos and exclusive members-only perks, join my YouTube membership community.
- Order The Modern Pioneer Cookbook - Get a hardcover book of Mary's nourishing recipes from a Traditional Foods Kitchen. This bestselling cookbook is published by Penguin Random House with their DK imprint.
- Order The Modern Pioneer Pantry - Get Mary's latest hardcover cookbook about preserving food and making delicious meals from your Four Corners Pantry. Mary's second cookbook is also published by Penguin Random House.
I look forward to having you join me in my Texas Hill Country Kitchen!
I’d like to receive more tips and recipes from Mary’s Nest.
Easy Crispy Chicken Cutlets
Ingredients
- 3 Chicken breasts, boneless and skinless Halved lengthwise to make 6 chicken cutlets
- 2 teaspoons Salt Divided
- 1 teaspoon Black pepper Divided
- 2 Large eggs Beaten
- 2 cups Panko bread crumbs
- 1/4 cup Wondra flour Or other fine milled flour
- Melted beef tallow, sufficient to fill up the sides of the skillet 1/2 inch Or other fat for frying
Instructions
- Place flour in a shallow dish and season with 1 teaspoon salt and 1/2 teaspoon pepper.
- Place beaten eggs in a second shallow dish.
- Place bread crumbs in a third shallow dish and season with remaining salt and pepper.
- Dredge one cutlet in flour on both sides to coat.
- Then dip floured cutlet in egg, turning over to coat both sides. Allow excess to drip off.
- Next dredge chicken in bread crumbs, pressing gently so that crumbs adhere to the cutlet.
- Repeat steps 4-6 until all cutlets are coated in breadcrumbs.
- Fill a large heavy bottom skillet (cast iron works great) with enough beef tallow or other fat, that once melted, will fill up the sides of the skillet to 1/2 inch.
- Heat over medium-high heat. Drop some of the bread crumbs in the oil. When they sizzle, the melted fat is hot enough.
- Working in 2 or 3 batches, depending on the size of the skillet used, add cutlets to skillet and cook for 3-4 minutes on 1 side. Then turn over and cook another 3-4 minutes.
- Adjust heat if necessary so that the melted fat is sizzling but not smoking. Add additional tallow, if necessary, to maintain the 1/2 inch depth.
- Cook cutlets until both sides are golden brown and cooked through. When you slice into the cutlet, the chicken should no longer be pink, and the juices should run clear.
- Transfer cutlets to a paper towel lined plate to absorb extra oil. Blot tops of cutlets with a paper towel as well, if necessary.
- As you cook the remaining cutlets, transfer the cooked cutlets to a wire rack placed over a baking sheet and place in a 200°F oven to stay crisp.
- When all the cutlets are cooked, sprinkle with salt, if desired, and serve.
Video
Notes
Shop for items used in this blog post or video
Favorite Kitchen Supplies
Recommended Reading
Amazon Shop and Shopping Guide
- Visit Mary’s Nest Amazon Shop
- Visit my Shopping Guide page
Get up to 15% off for stocking your Traditional Foods Pantry and equipping your Modern Pioneer Kitchen, including discounts from US Wellness Meats, Farmhouse Teas, Backwoods Home, Masontops, Cultures for Health, Survival Garden Seeds, Redmond Real Salt, Mother Earth News, and More!
Affiliates note: As an Amazon Associate I earn from qualifying purchases. My content may contain affiliate links to products and services. If you click through and make a purchase, I’ll receive a small commission. It does not affect the price you pay.
Disclaimer:I am not a medical doctor, a medical professional, a dietician, or a nutritionist. All content found on the MarysNest.com website, including text, images, videos, eBooks or eGuides, social media, or other formats, were created solely for informational purposes only. The content is not intended to be a substitute for professional medical advice, diagnosis, or treatment. Always seek the advice of your physician or other qualified healthcare provider with any questions you may have regarding a medical condition or proper nutritional advice. Never disregard professional medical advice or delay in seeking it because of something you have watched in a video or read on this website. Use caution when following the recipe in this video. The creator and publisher of this video and website will not be held responsible for any adverse effects that may arise from the use of this recipe and method or any other recipe and method on this website or corresponding video channel.
Just heard you on the Food Blogger Pro podcast. Great job. Wanted to check out your videos. Love them. So authentic. Two thumbs up.
Hi Jill,
Thank you so much for visiting and thank you for all the kind words. I am in my 60s and new to the world of making YouTube videos but I’m having a lot of fun!! I see that you have a website also and I look forward to heading over there and learning all about you!!
Love, Mary