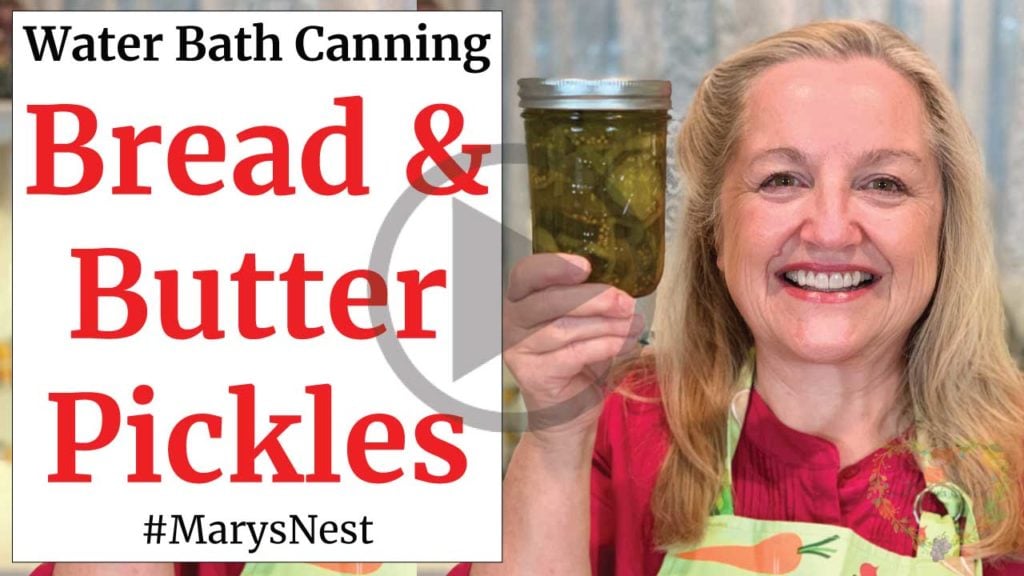
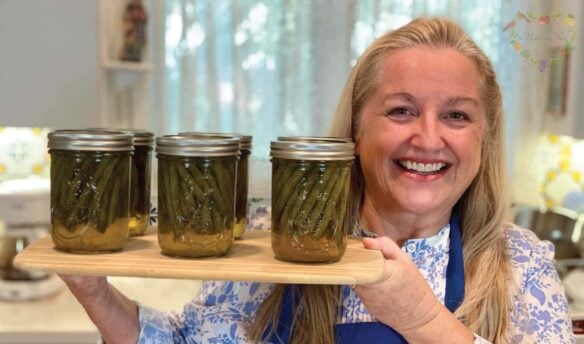
Today, I am sharing a delicious Bread and Butter Pickles Recipe that you can store directly in your refrigerator. If you want to make these pickles shelf-stable for long-term storage, I include a step-by-step water bath canning tutorial so that you can save your pickles in your extended pantry.
Affiliates note: As an Amazon Associate I earn from qualifying purchases. My content may contain affiliate links to products and services. If you click through and make a purchase, I’ll receive a small commission. It does not affect the price you pay.
Table of Contents
- The Origin of Bread and Butter Pickles
- Tasty Pickles with Any Meal
- To Can or Not to Can
- More Pickling and Canning Videos
- Water Bath Canning Recipes
- The Modern Pioneer Pantry
- Download Your Free 36-Page Pantry List
- The Modern Pioneer Cookbook
- Bread and Butter Pickles with Water Bath Canning Instructions Recipe
- Shop for items used in this blog post or video
The Origin of Bread and Butter Pickles
Where did Bread and Butter Pickles get their name, if they don’t contain bread or butter? Well, when I was a little girl, my mom—who lived during the Great Depression of the 1930s—shared with me what she believed was the origin of the name.
People, who were able to grow vegetables, were sure to grow cucumbers because this vegetable was easy to grow and would create a bountiful harvest for their family. Once they harvested the cucumbers, home cooks would can them to make them shelf-stable and provide a supply of food for their families through the winter months.
And the name? It turns out that loving moms, who were trying to do their best with the limited food they had, would make sandwiches for their family that was a simple combination of bread and butter…and you guessed it…pickles! These three ingredients made for a flavorful and filling sandwich during hard times.
Tasty Pickles with Any Meal
To this day, Bread and Butter Pickles are always welcome when you serve a hamburger or cold cut sandwich. And they make a great accompaniment to any heavy meat or fat-laden meal. Thanks to all the vinegar (one of the ingredients in my printable recipe), the pickles help to make rich meals more digestible. As a result, these pickles are the perfect condiment to serve with any traditional foods lunch or dinner.
To Can or Not to Can
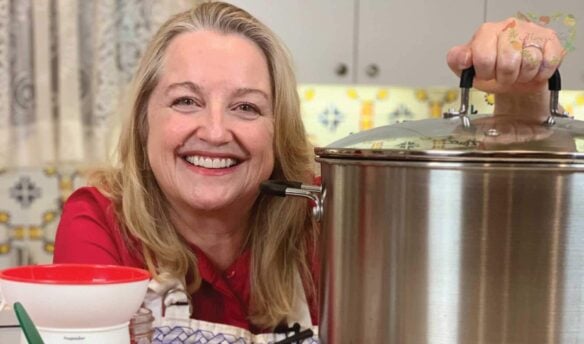
If you are new to canning food, water bath canning is the easiest place to get started. You can certainly use a water bath canner, but you really don’t need any special equipment. As I share in my recipe video, a simple stockpot will do the trick. Plus, I provide lots of other tips and tricks for successful water bath canning, including a clear explanation of what exactly it means to make your canning rings (bands) fingertip tight.
Being able to make your pickles shelf-stable frees up a lot of room in your fridge. Plus, canning your food gives you a supply of pickles that can last up to 18 months in your extended pantry.
But what if you are not ready to embark on a home canning adventure? No problem. Once you jar up your pickles, you don’t have to water bath can them. Simply use the lid that came with your jar, if you are using a recycled jar, or use a canning jar with a storage lid (as opposed to a canning lid and ring) to seal your jars. Then go ahead and pop your pickles right into your fridge. They should last a good six months, but since they are so tasty, I suspect they will be consumed long before that!
More Pickling and Canning Videos
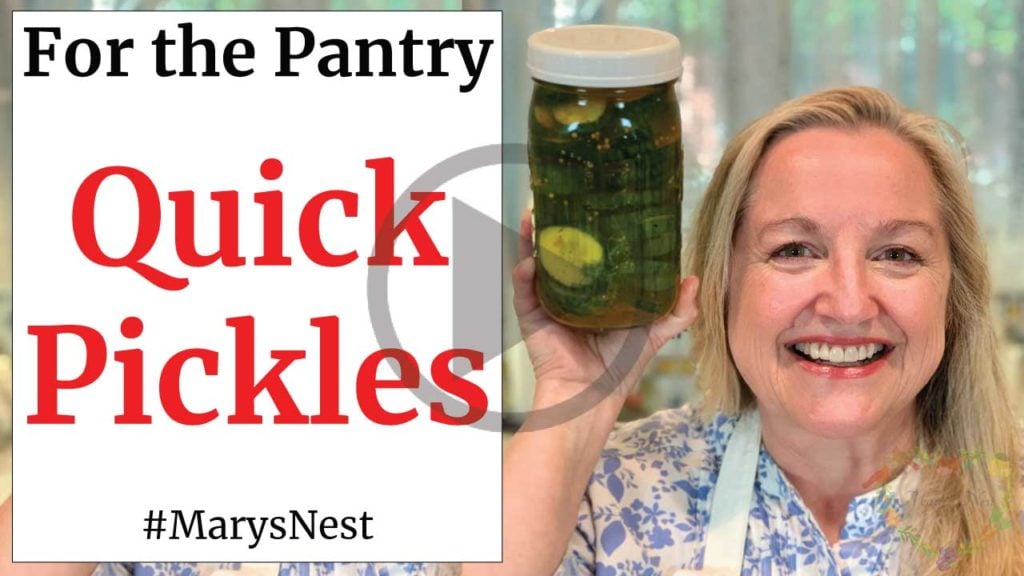
Now that you’ve learned how to make bread and butter pickles, try these Quick Pickles that can be ready in a little over an hour!
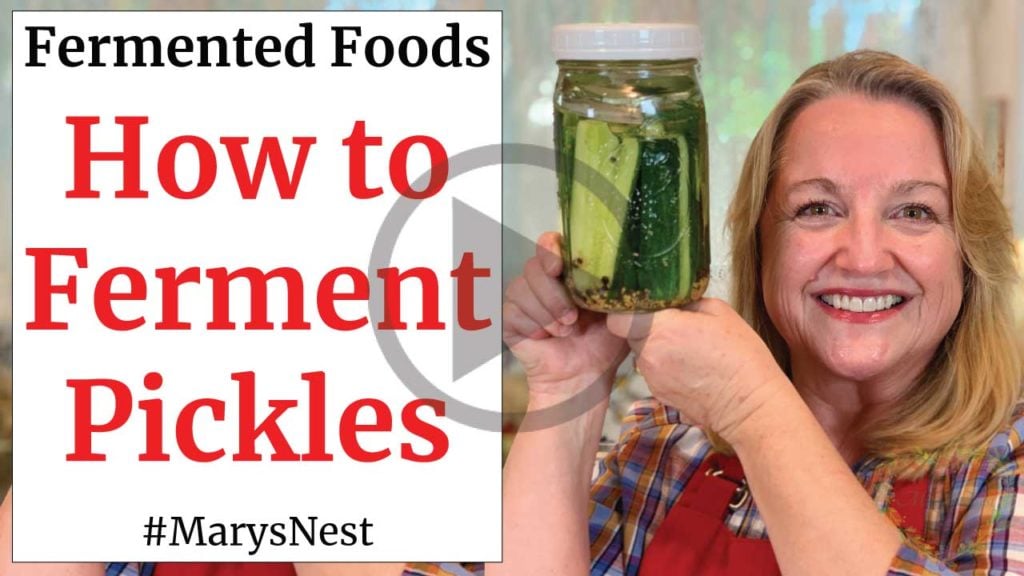
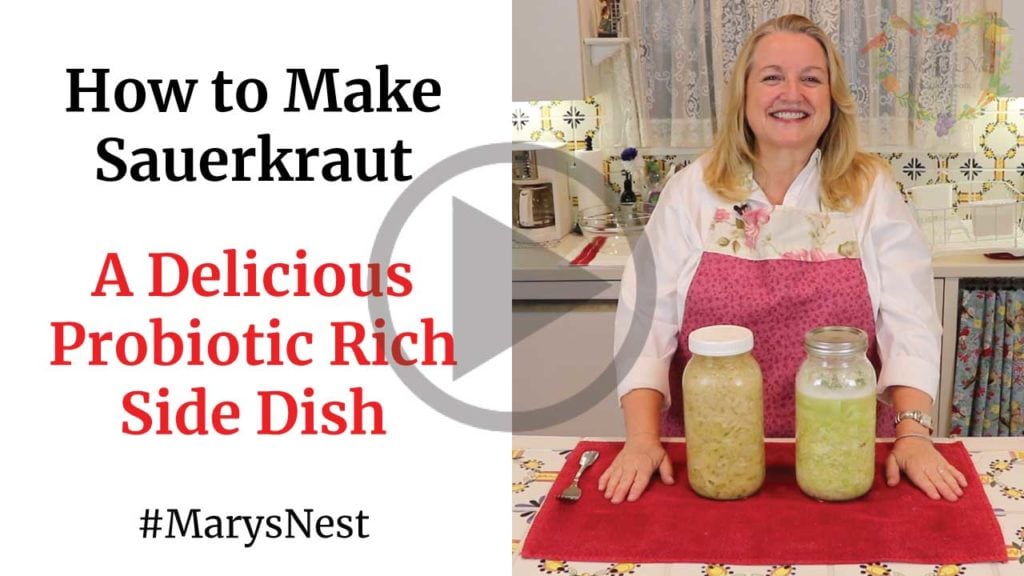
If you want to try fermenting vegetables, check out the following videos where I share the secret to crisp lacto-fermented pickles and how to make sauerkraut, red cabbage, salsa, and giardiniera—a tasty dish of Italian pickled vegetables.

And when you are ready to try your hand at canning more homemade foods, check out these videos where I share how to can crushed tomatoes and homemade jam. Both recipes are wonderful staples for your traditional foods pantry.


Water Bath Canning Recipes
How to Make No Sugar Strawberry Jam with Water Bath Canning Tutorial
Enjoy this sugar-free treat and also learn how to make it shelf-stable for long-term pantry storage.
How to Can Pears – NO SUGAR Recipe
Learn how to home can fruit for long-term storage in your pantry.
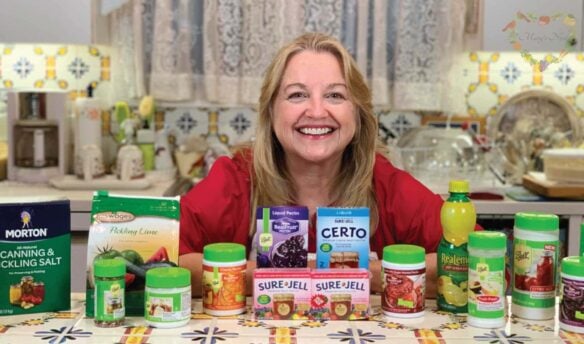
Water Bath Canning Ingredients – Salts, Spices, and Pectin
Learn about the key ingredients for the water bath canning of pickles, jams, jellies, marmalades, and tomatoes.

Order YOUR COPY Now!
The Modern Pioneer Pantry
Simple ingredients, timeless techniques, and a well-stocked pantry. Discover over 100 nourishing recipes to preserve food and turn pantry staples into delicious, homemade meals. Build a wholesome, traditional pantry—just like a modern pioneer!
Download Your Free 36-Page Pantry List
For an extensive list of the traditional foods you can make and purchase to stock your pantry, be sure to download my free 36-page Traditional Foods Pantry List. This comprehensive eBook is full of links to recipe videos, helpful articles, and more!

And if you’re looking for a printed book full of my traditional foods recipes that shows you how to create a traditional foods kitchen, be sure to order your copy of my new bestselling book, The Modern Pioneer Cookbook.

Order YOUR COPY Now!
The Modern Pioneer Cookbook
Seasonal ingredients, traditional techniques, and nourishing recipes. Over 85 traditional, from-scratch recipes! Discover for yourself how you can use simple ingredients and traditional techniques to cook the modern pioneer way.
Stay in Touch with Mary’s Nest
- Subscribe to My YouTube Channel for Traditional Foods Videos (Free) - When you subscribe, be sure to click on the notification bell that will let you know each time I upload a new video.
- Subscribe to Mary’s Traditional Foods Newsletter (Free) - Get a free 36-page eBook for signing up: How to Stock Your Essential Traditional Foods Four-Corners Pantry.
- Join the Traditional Foods Kitchen Academy - For more detailed videos and exclusive members-only perks, join my YouTube membership community.
- Order The Modern Pioneer Cookbook - Get a hardcover book of Mary's nourishing recipes from a Traditional Foods Kitchen. This bestselling cookbook is published by Penguin Random House with their DK imprint.
- Order The Modern Pioneer Pantry - Get Mary's latest hardcover cookbook about preserving food and making delicious meals from your Four Corners Pantry. Mary's second cookbook is also published by Penguin Random House.
I look forward to having you join me in my Texas Hill Country Kitchen!
I’d like to receive more tips and recipes from Mary’s Nest.
Bread and Butter Pickles with Water Bath Canning Instructions

Equipment
- 6 pint-sized jars or 3 quart-sized jars with screw top lids
- Water bath canner, optional
- 6 pint-sized wide mouth canning jars with lids and rings (bands), optional
Ingredients
- 4 pounds Cucumbers, preferably Kirby pickling cucumbers, approximately 12 cucumbers Other thin-skinned cucumbers can be substituted, such as English or Hot House cucumbers.
- 2 pounds Yellow onions, thinly-sliced, approximately 2 large onions.
- 1/3 cup Salt that is free of preservatives and anti-caking agents. Sea salt or Himalayan pink salt are good choices. However, if you are going to water bath can these pickles, use salt made for pickling and canning.
- 3 cups Sugar You can reduce this ingredient, but using this amount of sugar will give you a flavor that's close to grocery store or deli bread and butter pickles.
- 2 tablespoons Yellow mustard seeds
- 2 teaspoons Ground turmeric
- 2 teaspoons Celery seeds
- 1 teaspoon Ground ginger
- 1 teaspoon Whole black peppercorns
- 3 cups White vinegar, 5% acidity
- 1 teaspoon "Pickle Crisp," optional for water bath canning This is calcium chloride. It will keep your pickles "crisp," however, I do not recommend this ingredient, as it is a chemical that I prefer not to add to my pickles. And personally, I think the salt keeps these pickles sufficiently crisp.
Instructions
Making Pickles
- Using a colander, rinse the cucumbers under cold water. Drain and transfer to a large bowl.
- Remove the stem and blossom end of each cucumber. Cut cucumbers crosswise into 1/4 inch slices and place the slices into a colander that you have placed over a bowl to catch any liquid drippings.
- Add sliced onions to the colander that contains the sliced cucumbers. Toss the entire mixture with salt.
- Allow the mixture to drain at room temperature for 1 1/2 hours. Alternatively, you can drain the mixture in the refrigerator for 3 hours.
- After the cucumber mixture has completed the draining process, combine sugar, spices, and vinegar in a large non-reactive saucepan or stockpot (stainless-steel or enameled). Bring this brine mixture to a boil and stir until the sugar dissolves. Now add the un-rinsed cucumbers and onions, along with any liquid that has drained into the bowl, into the saucepan and bring the brine back up to a boil. Stir well. Once the mixture comes up to a boil, remove it from the heat.
- If you are NOT water bath canning your hot pickles and brine, transfer them to clean jars that have been washed in hot soapy water and rinsed well. Make sure the jars are still hot when you fill them with the pickles and brine.
- And if your NOT water bath canning, once the jars are filled, allow the pickles to cool slightly, place the lids on the jars, and refrigerate. Pickles should stay fresh stored in the refrigerator for six months.
Steps for Water Bath Canning Pickles
- Pack the hot pickles and brine into a hot jar leaving a 1/2 inch headspace.
- At this point, if you are using the "Pickle Crisp," add approximately 1/8 teaspoon to the jar.
- Use a debubbler to remove any air pockets and recheck for 1/2 inch headspace. If headspace has dropped, add a bit of additional hot brine.
- Wipe jar rim with a paper towel dipped in white vinegar.
- Center the canning lid on to the rim of the jar.
- Apply the canning ring (band) and adjust to "fingertip" tight. (See video.)
- Place the jar into your water bath canner and repeat this process until all your jars are filled. Place the lid onto the canner. Bring the water in your water bath canner up to a rolling boil and process (boil) for 10 minutes. (Be sure to check with the National Center for Home Food Preservation's website for altitude adjustments.)
- After 10 minutes, turn off the heat and remove the lid of the canner. Be careful when you remove the lid, as steam will be released. Allow the jars to stand in the hot water for 5 minutes.
- After 5 minutes, remove the jars, one at a time, from the water bath canner using a jar lifter. Keep the jars upright as you remove them and place them on a well-padded surface. Allow them to cool for 24 hours.
- After 24 hours, verify that each jar is sealed properly by checking to see that the "button" (raised area) on the canning lid is now depressed. (See video.) If all the jars are sealed properly, remove the rings (bands) and store them in a cool, dry place, preferably in the dark but at the very least out of direct sunlight.
- If, for any reason, a jar did not seal properly, refrigerate it to keep the contents fresh. Water bath canned pickles should stay fresh, unopened, for 18 months. Once opened, they must be refrigerated and should stay fresh for six months.
Video
Notes
Shop for items used in this blog post or video
Favorite Water Bath Canning Equipment
Favorite Water Bath Canning Supplies
- Canning Essentials Kit (includes debubbler)
- Canning Scoop/Ladle
- Canning Funnel with Head Space Markings
- Ball Quilted 12-ounce Jelly Jars with Lids and Bands
- Ball Regular Mouth Lids and Bands
- Ball Regular Mouth Pint 16-oz Mason Jar with Lids and Bands
- Ball Wide Mouth Jars 32-oz with Lids and Bands
- Secure Lift Jar Lifter
Amazon Shop and Shopping Guide
- Visit Mary’s Nest Amazon Shop
- Get a 30-day Audible trial with a free audiobook
- Visit my Shopping Guide page
Get up to 15% off for stocking your Traditional Foods Pantry and equipping your Modern Pioneer Kitchen, including discounts from US Wellness Meats, Farmhouse Teas, Backwoods Home, Masontops, Cultures for Health, Survival Garden Seeds, Redmond Real Salt, and More!
Favorite Water Bath Canning Books
- The Modern Pioneer Cookbook
- The Modern Pioneer Pantry
- Ball Canning Back to Basics
- USDA Complete Guide to Home Canning
- Ball Complete Book of Home Preserving
- The All New Ball Book Of Canning And Preserving
- Bernardin Guide to Home Preserving
- The River Cottage Preserves Handbook
- The Amish Canning Cookbook
- Preserving Today
- Jam On – The Craft of Canning Fruit

The pickles are delicious. My husband has requested a repeat performance! And Mary, as someone who is a relative beginner at canning, your video is a blessing. Thank you. I am also a fan of your bone broth recipes and video. With appreciation and thanks.
Oh Irene, I am SO happy to hear this!! And glad that the canning instructions are helpful! Love, Mary
Mary, I hate pickles but my husband craves them. He is currently going through chemo and was eating a ton of pickles. So to get him eating less preservatives and chemicals I found your recipe and tried it. He is over the moon and said they are much better than store bought and crunchy too. He is blowing through them so fast and has shared some with friends and family. I’ve already had to make this recipe twice within a month. Can’t thank you enough!!!!
Oh Jean! Thank you so much for the kind words!! Although I am sorry to hear that your husband is going through chemo, it brings me joy that his is able to enjoy your homemade pickles!! Yes, homemade is always better!! So glad the recipe turned out well for you!! You and your husband are in my prayers. Love and God Bless, Mary ❤️🤗❤️