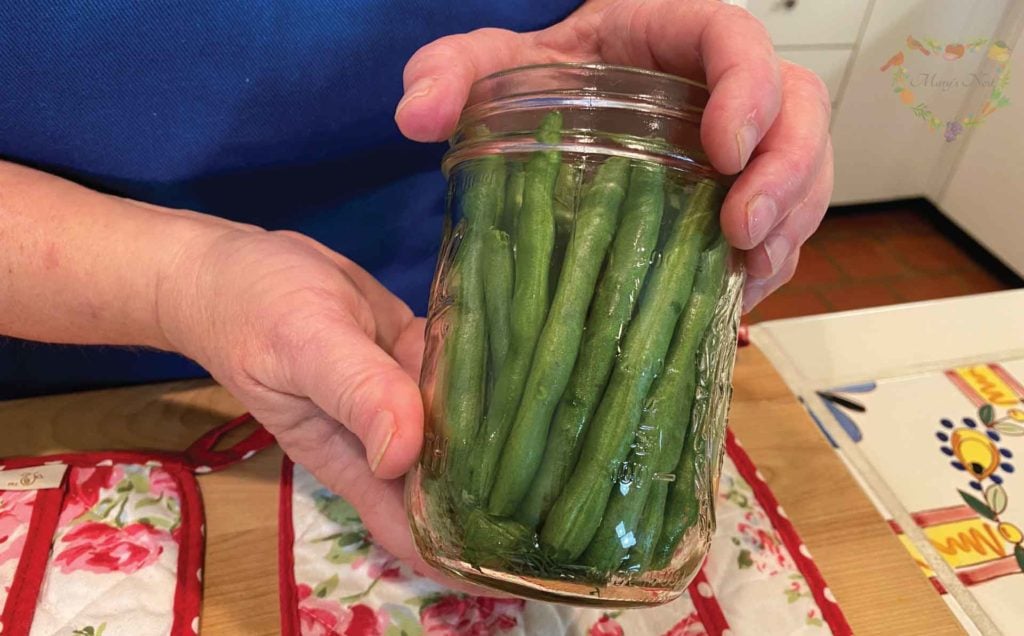
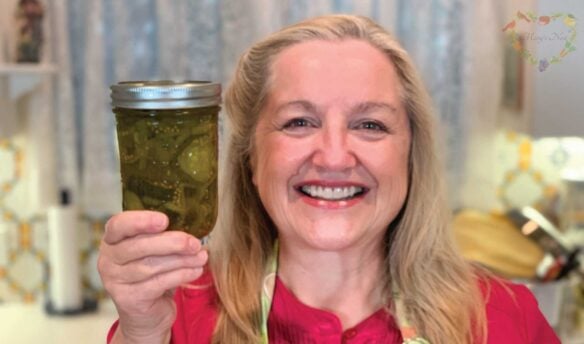
Learn how to make crisp pickled green beans and enjoy them now. You can also optionally learn how to water bath can these green beans if you want to make them shelf-stable for long-term storage.

Affiliates note: As an Amazon Associate I earn from qualifying purchases. My content may contain affiliate links to products and services. If you click through and make a purchase, I’ll receive a small commission. It does not affect the price you pay.
Table of Contents
- Make Crisp Pickled Green Beans in Minutes
- Choosing the Vinegar for Pickled Green Beans
- Should I Parboil Green Beans Before Pickling?
- Altitude and Water Bath Canning
- Different Types of Water Bath Canners
- Water Bath Canning 101 Series
- More Pickling Recipes
- More Water Bath Canning Recipes
- The Modern Pioneer Pantry
- Download Your Free 36-Page Pantry List
- The Modern Pioneer Cookbook
- Join the Traditional Foods Kitchen Academy
- Crisp Pickled Green Beans Recipe
- Shop for items used in this blog post or video
Make Crisp Pickled Green Beans in Minutes
Pickled veggies are your best friend when you want a quick way to add some zing to your everyday meals. And pickled green beans couldn’t be easier to make!
I describe the ingredients and steps in detail in my printable recipe, but the basic steps are as follows:
- Wash your green beans.
- Trim the stems.
- Pack your jars with the beans.
- Pour in a hot brine. (The brine only takes about a minute to make.)
All that’s left to do is refrigerate your green beans so they can cool and all the flavors can meld. Then, when you open the jar and bring them to the dinner table, I am confident that everyone will enjoy your crisp pickled green beans!
If you’d like to enjoy your pickled green beans a few months from now, you can also water bath can your green beans. With this optional step, you’ll extend the shelf-life of your pickled green beans, as well as be able to store the unopened jars outside of your refrigerator, such as in your extended or Prepper Pantry.
Choosing the Vinegar for Pickled Green Beans
When it comes to pickling green beans or any vegetable for that matter, you can use a variety of flavored vinegars to suit your tastes. However, if you plan to water bath can your pickled green beans for long-term storage, you’ll need to choose a specific kind of vinegar.
- If you want to water bath can your pickled veggies, you need to make sure that your vinegar has at least a 5% acidity level. The acidity ensures that your home-canned goods will stay safe and not spoil.
- If you don’t want to go through the water bath canning process and you just want to refrigerate your pickled green beans (or other vegetables), you can choose to use your homemade vinegars, such as apple cider vinegar.
Using Apple Cider Vinegar in Your Pickling Brine
I show you how to make this homemade apple cider vinegar in the video series below, where I walk you through the entire 30-day process.
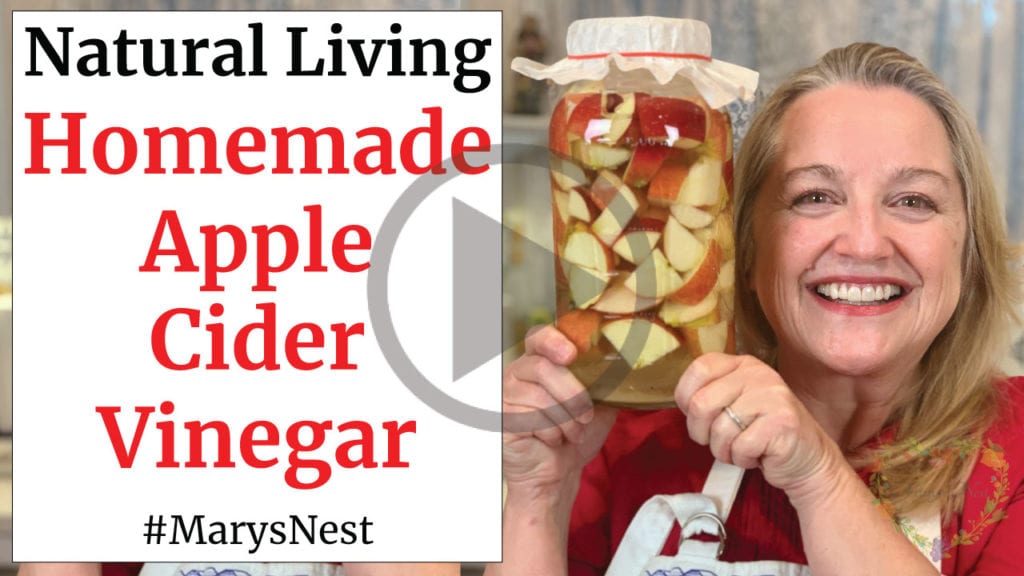
Keep in mind, if you follow the recipe for making these crisp pickled green beans that you plan to refrigerate, you will still be heating your vinegar to make your brine. If your vinegar is raw and homemade, the heating process will destroy all the good bacteria contained in it.
To avoid losing all of your good bacteria, I recommend that you fill the jars 3/4 of the way full with your heated brine, which you can make with white vinegar. After allowing the brine to cool, use your raw apple cider vinegar to top off the jars to give your green beans a probiotic boost.
Should I Parboil Green Beans Before Pickling?
You may read some recipes that recommend you parboil your green beans before you pickle them. However, other recipes will say that parboiling is not necessary. Why the difference?
It all comes down to proteins called lectins, which all beans contain—even fresh beans like green beans. If you parboil your green beans, you deactivate some of these lectins, which may make the beans easier to digest if you are sensitive to lectins.
To learn more about lectins and decide how to best prepare your green beans, read the Plants Bite Back article from Weston A Price Foundation.
Altitude and Water Bath Canning
The altitude at which you live affects the processing time for your home-canned goods. The processing time for water bath canning refers to the time your jars are submerged in boiling water.
The processing time given in this recipe (10 Minutes) is for high-acid foods being water bath canned at or below 1,000 feet above sea level. If you are water bath canning at altitudes higher than 1,000 feet, adjust the 10 minute processing time using the following chart:
| Altitude in Feet | Increase in Processing Time |
| 1,001 – 3,000 | 5 Minutes |
| 3,001 – 6,000 | 10 Minutes |
| 6,001 – 8,000 | 15 Minutes |
| 8,001 – 10,000 | 20 Minutes |
Water boils at a lower temperature at higher altitudes, so the processing time is longer the higher your elevation. For example, if you’re at 1,500 feet, your processing time will be 10 + 5 = 15 minutes.
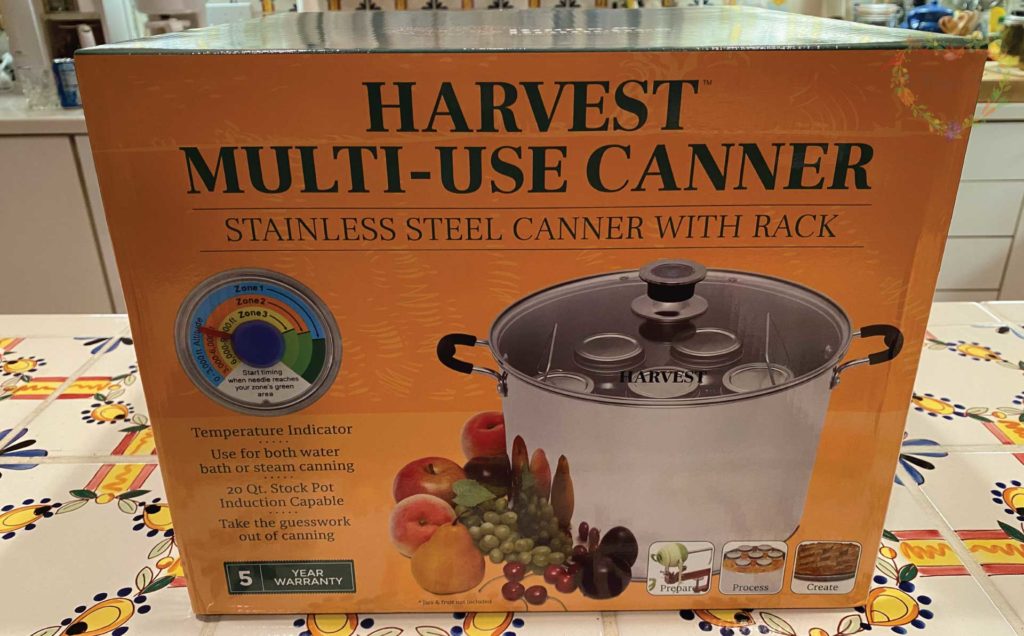
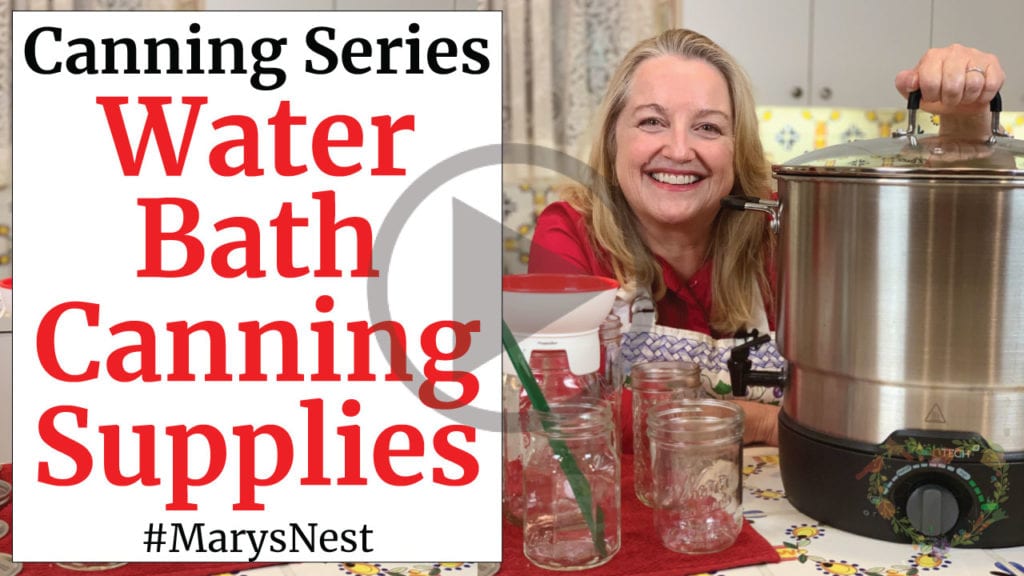
Different Types of Water Bath Canners
You can choose from a number of different types of water bath canners for home canning:
- Traditional graniteware canners. (These canners are very common and have a concave bottom.)
- Flat bottom, stainless-steel water bath canners
- Electric water bath canners
What type of water bath canner you decide to use will often depend on what kind of stovetop you have.
Using a Water Bath Canner on a Flat Glass Stovetop
Make sure your canner has a flat bottom if you decide to use your flat glass stovetop to water bath can. However, that said, be sure to check with your stovetop manufacturer’s instructions because regardless of the type of canner you choose to use, your manufacturer may recommend that you not use your stovetop to can.
Even though I have a flat bottom water bath canner (pictured below), I do not use it on my glass stovetop. Instead, I use it on a portable countertop burner, as I show you in my recipe video. This is because I do not want to take any chances of cracking my glass stovetop.
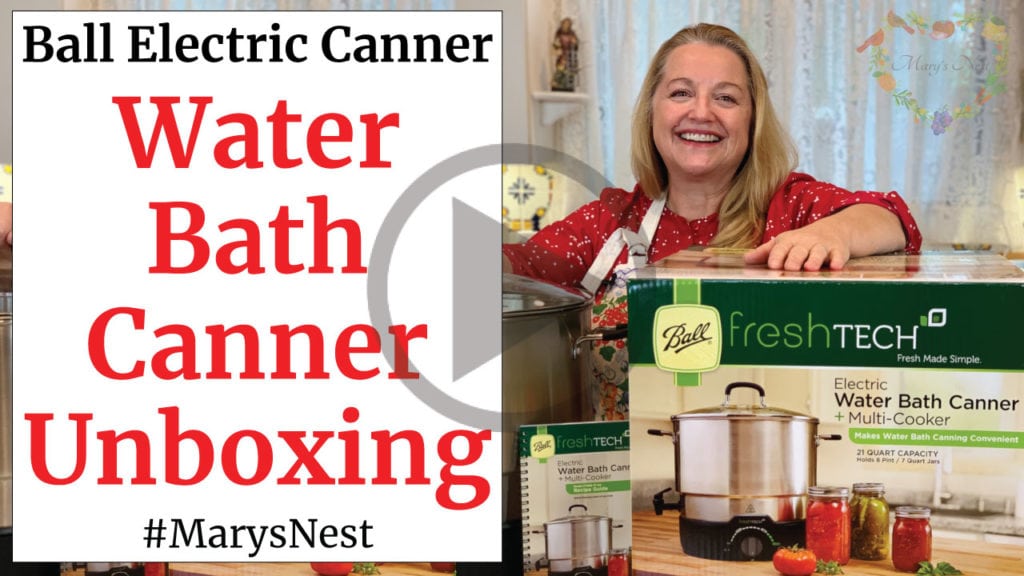
Using an Electric Water Bath Canner
In addition to my flat bottom stainless steel water bath canner, I also have an electric water bath canner, and I’ve used this canner in many of my recipe videos.
As I show you in my Ball Electric Water Bath Canner unboxing video, this canner is an excellent addition to any traditional foods kitchen because it frees up your stove for cooking. Plus, if you have a glass stovetop, you do not need to worry about using it and risking any damage to it.
Water Bath Canning 101 Series
If you are new to water bath canning, check out my Water Bath Canning 101 series, where I walk you through everything you will need to get started. Water bath canning is a great place to learn how to home can before you graduate up to pressure canning.
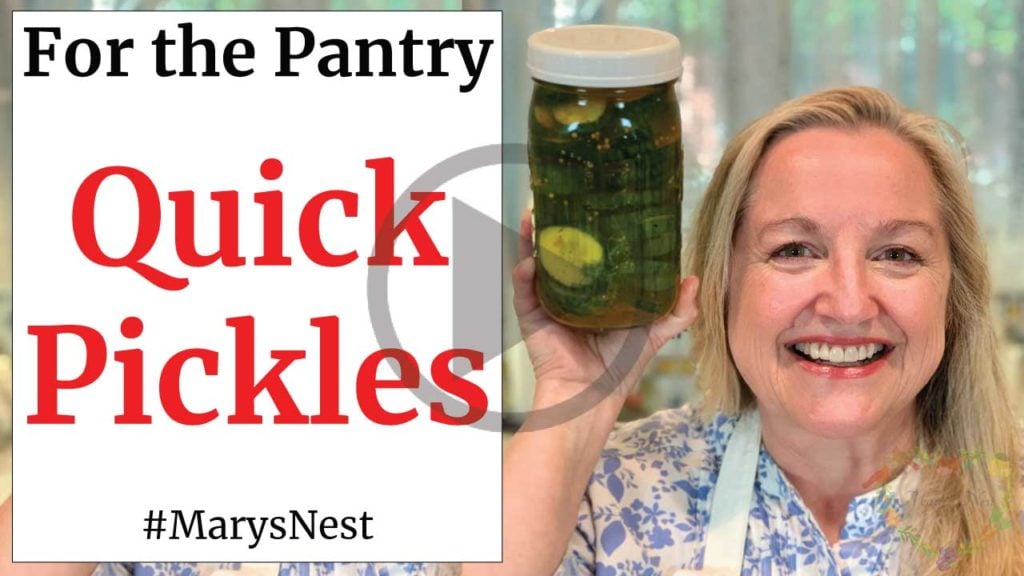
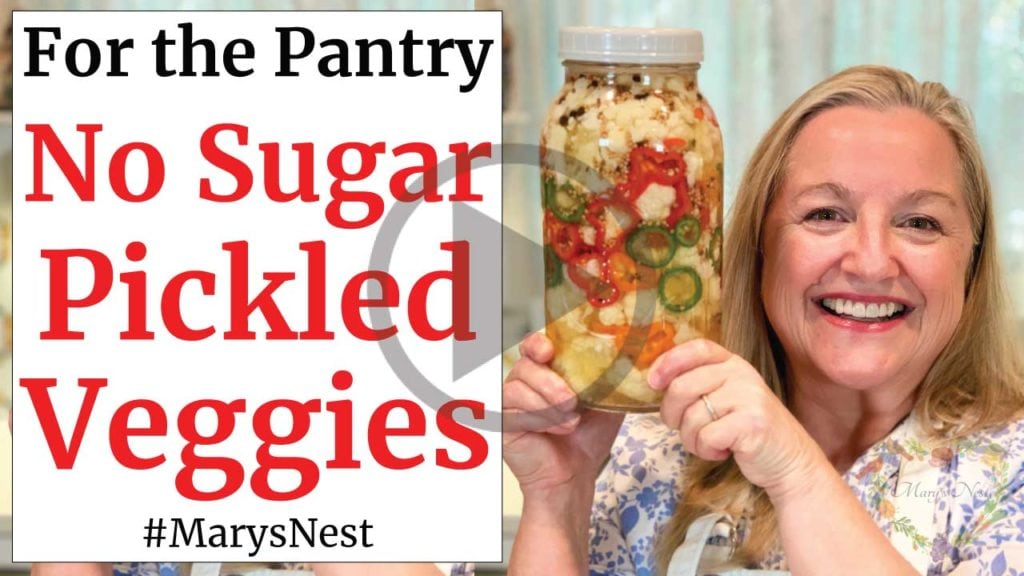
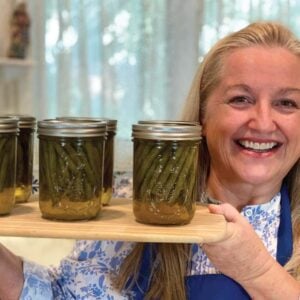
More Pickling Recipes
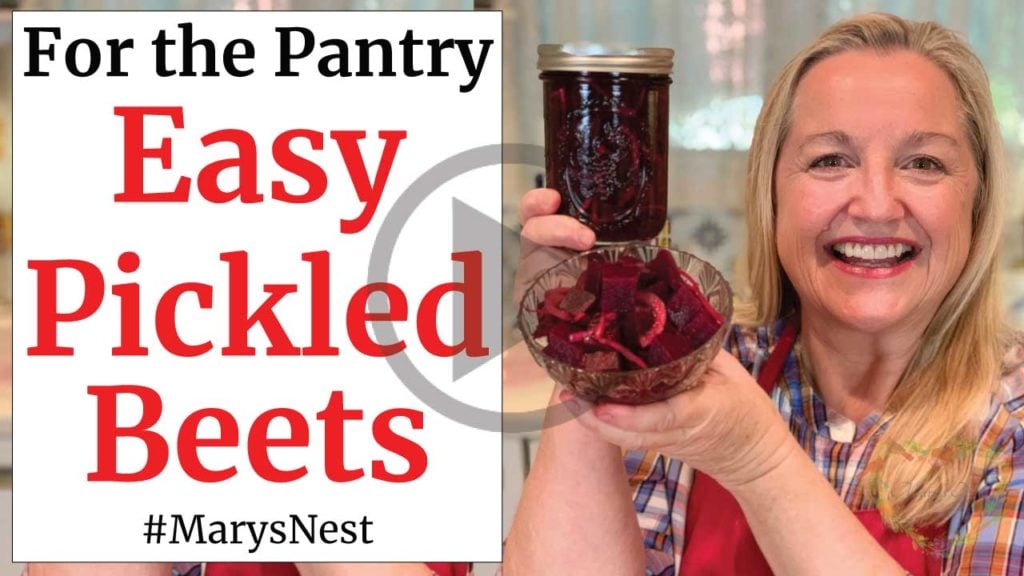
If you enjoyed making pickled green beans, check out the videos below, where I show you how to make quick pickles and quick-pickled vegetables that can be sweet or tangy. The recipes are a great accompaniment to any meal. (The old fashioned pickled beets recipe will turn any reluctant beet eater into a beet enthusiast!)
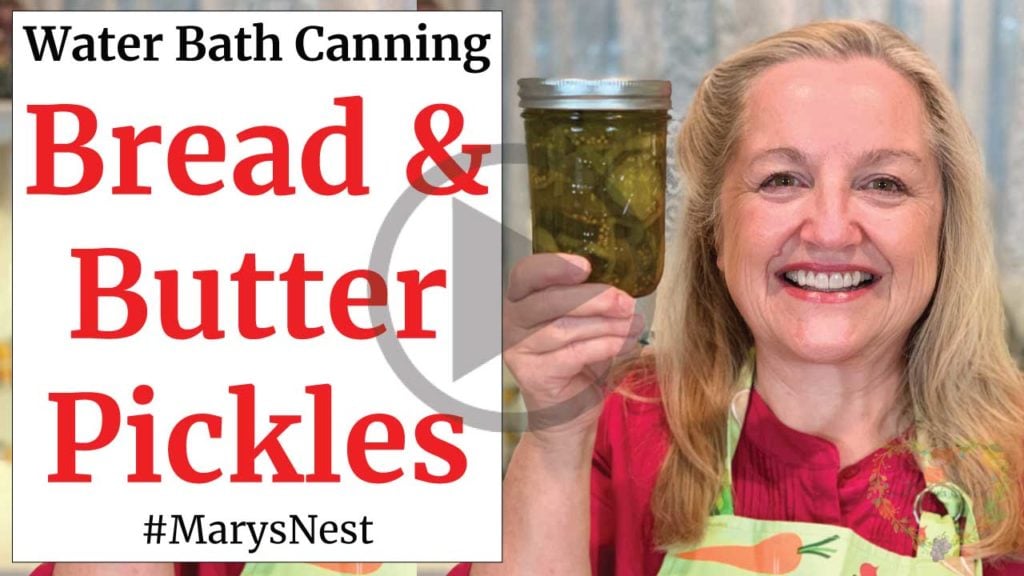
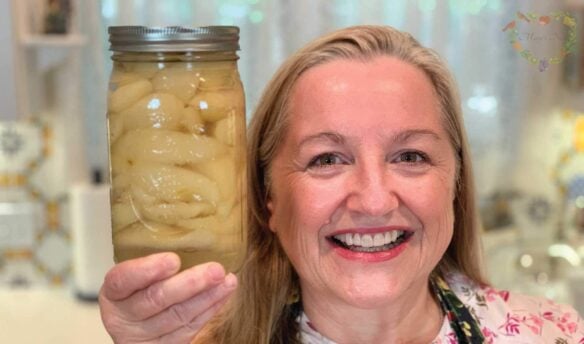
More Water Bath Canning Recipes
Ready to try your hand at making more home-canned goods to stock your pantry? If so, be sure to watch the videos below where I show you how easy it is to make and water bath can pickles and tomatoes.

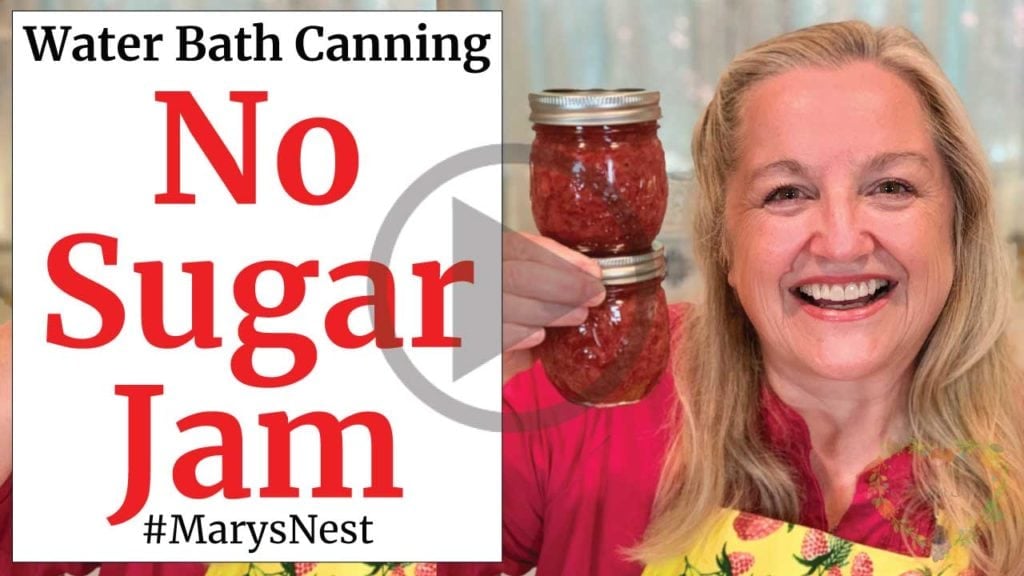
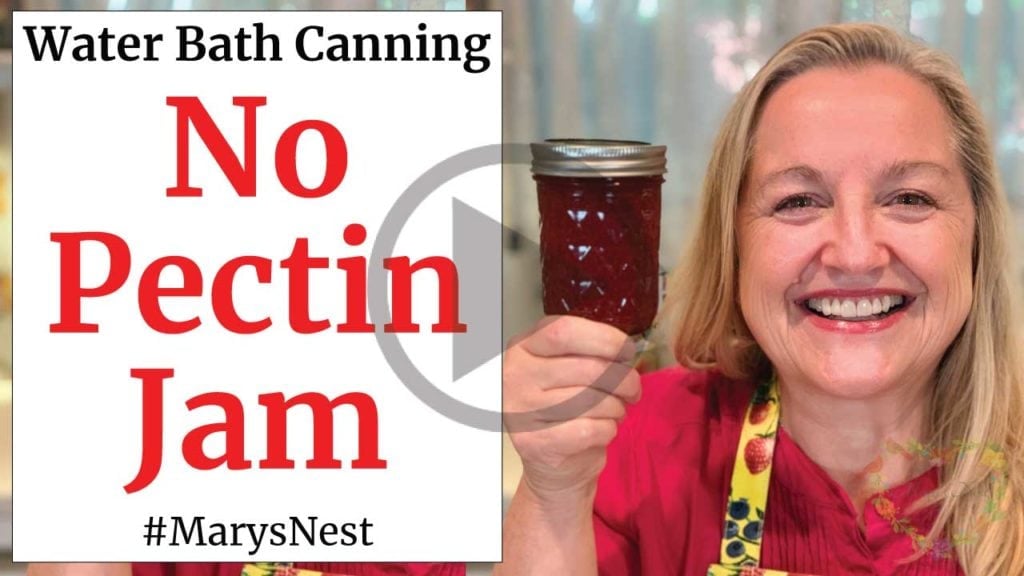
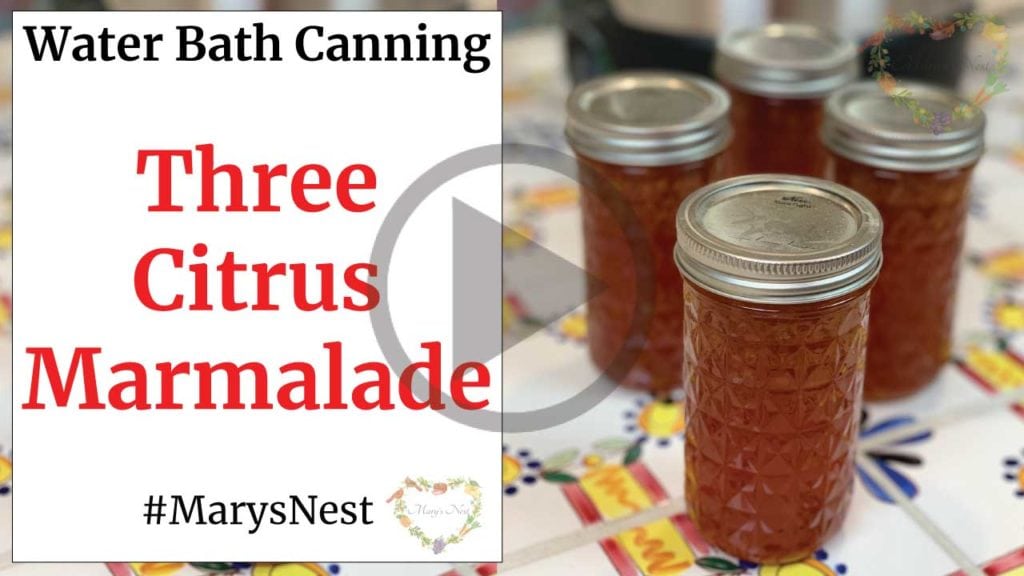
Jam Recipes with Water Bath Canning Tutorials
With the following videos, you can learn how to make different kinds of strawberry jam, as well as three citrus marmalade. (What a treat!)


Order YOUR COPY Now!
The Modern Pioneer Pantry
Simple ingredients, timeless techniques, and a well-stocked pantry. Discover over 100 nourishing recipes to preserve food and turn pantry staples into delicious, homemade meals. Build a wholesome, traditional pantry—just like a modern pioneer!
Download Your Free 36-Page Pantry List
For a comprehensive list of the traditional foods you can make and purchase to stock your pantry, be sure to download my free 36-page Traditional Foods Pantry List. This extensive eBook is full of links to recipe videos, helpful articles, and more!

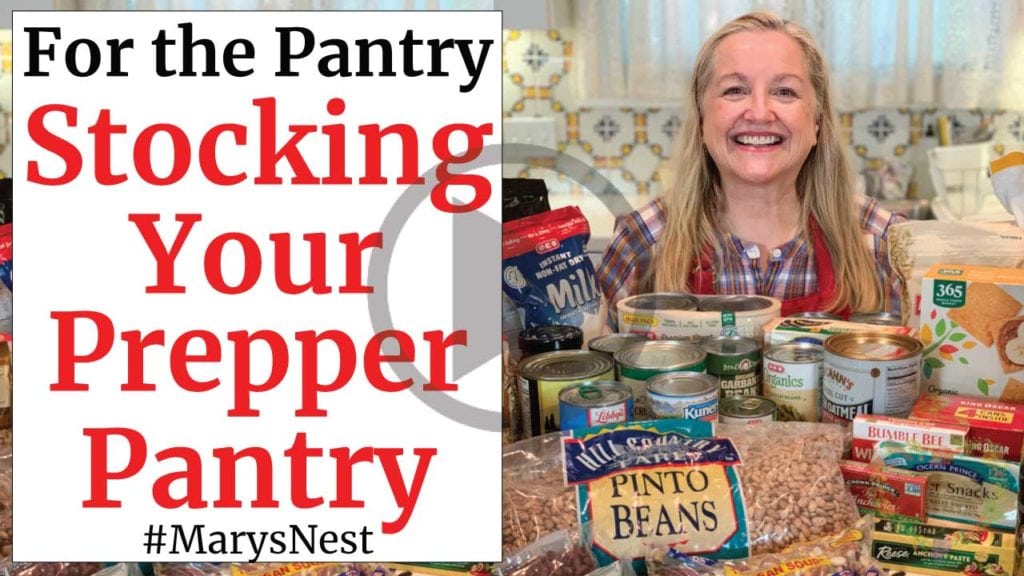
If you water bath canned your picked green beans, you can store them in your extended or Prepper Pantry. Watch the following video to learn more about stocking your Prepper Pantry with real food.
And if you’re looking for a printed book full of my traditional foods recipes that shows you how to create a traditional foods kitchen, be sure to order your copy of my new bestselling book, The Modern Pioneer Cookbook.

Order YOUR COPY Now!
The Modern Pioneer Cookbook
Seasonal ingredients, traditional techniques, and nourishing recipes. Over 85 traditional, from-scratch recipes! Discover for yourself how you can use simple ingredients and traditional techniques to cook the modern pioneer way.
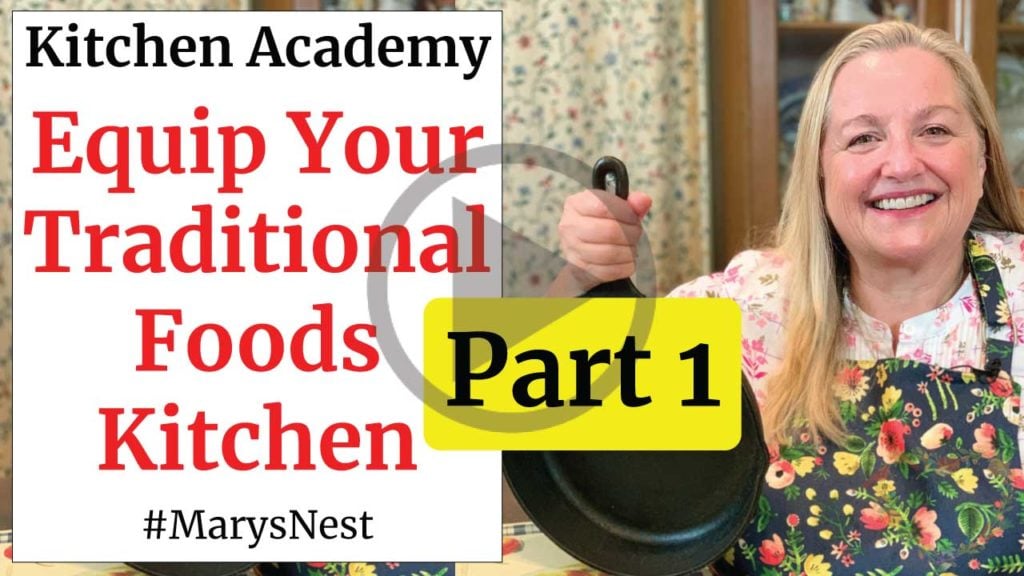
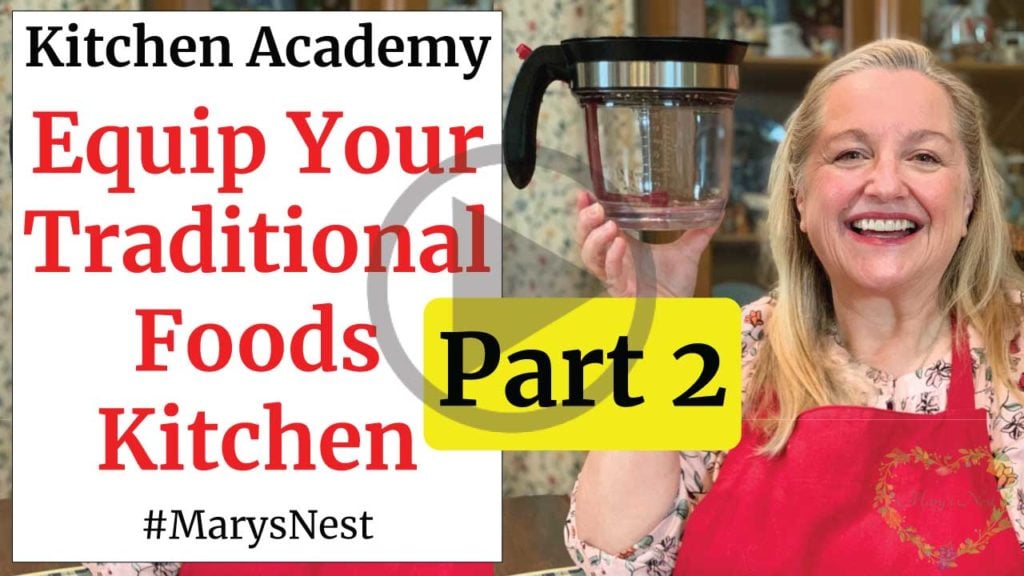
Join the Traditional Foods Kitchen Academy
Are you looking for more traditional foods videos? Then, I invite you to join the Traditional Foods Kitchen Academy. Members of this optional paid YouTube community get access to exclusive videos and other members-only perks. Plus, your YouTube comments include a special members-only badge.
In the following members-only video, I talk about how to equip the Traditional Foods Kitchen.
Stay in Touch with Mary’s Nest
- Subscribe to My YouTube Channel for Traditional Foods Videos (Free) - When you subscribe, be sure to click on the notification bell that will let you know each time I upload a new video.
- Subscribe to Mary’s Traditional Foods Newsletter (Free) - Get a free 36-page eBook for signing up: How to Stock Your Essential Traditional Foods Four-Corners Pantry.
- Join the Traditional Foods Kitchen Academy - For more detailed videos and exclusive members-only perks, join my YouTube membership community.
- Order The Modern Pioneer Cookbook - Get a hardcover book of Mary's nourishing recipes from a Traditional Foods Kitchen. This bestselling cookbook is published by Penguin Random House with their DK imprint.
- Order The Modern Pioneer Pantry - Get Mary's latest hardcover cookbook about preserving food and making delicious meals from your Four Corners Pantry. Mary's second cookbook is also published by Penguin Random House.
I look forward to having you join me in my Texas Hill Country Kitchen!
I’d like to receive more tips and recipes from Mary’s Nest.
Crisp Pickled Green Beans
Equipment
- 6 pint-sized jars with lids or 6 pint-sized canning jars
- Ladle
- Debubbler or butter knife, optional
- Magnetized lid lifter, optional
- Canning lids and rings, optional
- Water bath canner, optional
- Jar lifter, optional
- Drying mat or 2 dish towels, optional
Ingredients
- 3 1/2 pounds Fresh green beans, washed with stems removed
- 5 cups White vinegar, 5% acidity
- 2 cups Water
- 1/3 cup Pickling and canning salt
- 1 1/2 tsp Crushed red pepper flakes, optional
- 12 sprigs Fresh dill, optional
- 3/4 tsp "Pickle Crisp", optional Use if water bath canning.
Instructions
- Wash green beans and trim the stem ends. You can also trim the tails, but it is not necessary.
- Combine vinegar, water, and salt into a non-reactive saucepan (stainless steel or enameled). Add red pepper flakes, if using. Place the saucepan on the stovetop and bring the mixture to a boil. This is your pickling brine.
- Place 2 sprigs of fresh dill, if using, into clean pint-sized jars. Pack each jar tightly with 4" green beans. (In the video, I show you how I keep my jars clean and waiting in my water bath canner until I am ready to use them since the jars need to be hot for canning.)
- Ladle hot pickling brine into the jars. You'll want to cover the green beans and leave a 1/2 inch headspace below the rim of the jar. (In the video, I show you how to use the debubbler to measure the headspace in a jar.)
- If you are not canning your pickled green beans, allow each jar to cool to room temperature, which will take approximately 1 hour. Afterward, put a lid on each jar and refrigerate the jars of pickled green beans. Allow the pickled green beans to chill for at least 4 hours, but overnight is better to allow the green beans to fully absorb the pickling brine. For best flavor, consume your refrigerated jars within 3 months.
- If you are water bath canning your pickled green beans, add 1/8 teaspoon of pickle crisp to each jar (if using). Remove air bubbles from the jars using a knife or debubbler tool.
- Wipe each jar rim with a clean cloth dipped in vinegar. Then dry each rim with a clean, dry cloth. Place a lid on each jar and then add the ring, but tighten each ring only to finger-tip tight. (See video for the cleaning process and how to finger-tip tighten your jar lids.)
- Place each jar into the water bath canner with the simmering water and ensure the jars are underneath the water.
- Once all jars are in the water bath canner, turn the burner heat to high, bring water up to a boil, and put the lid on the canner. Once the water is at a rolling boil, set the timer and process the jars for 10 minutes. (You'll need to adjust the processing time for your altitude. See the accompanying blog post for this recipe for more information.)
- After 10 minutes, turn off the heat and remove the canner lid. Allow the jars to rest in the canner for 5 minutes. After 5 minutes, remove the jars from the canner using a jar lifter, and place the jars on a cushioned surface.
- Allow the jars to cool between 12-24 hours. Once cool, check that the canning lids have sealed completely. (In the video, you'll hear the cooling pings and see how a depressed canning lid looks.) Remove the rings and store the jars in a cool, dark place.
- Generally, canning lids guarantee that your food will stay fresh for 12-18 months, but to be sure, check your lid packaging information for freshness times.
Video
Notes
Shop for items used in this blog post or video
Favorite Canning Supplies
- Stovetop Water Bath Canner (This is the canner I use in my pickled green beans recipe video.)
- Graniteware Water Bath Canner
- Electric Water Bath Canner (This is the canner I use in many of my canning videos.)
- Pressure Canner
- Canning Essentials
- Jar Lifter
- Funnel
- Ladle
- Debubbler
- Lid Lifter
- Pint-Sized Canning Jars
- Wide Mouth Canning Rings and Lids
- Wide Mouth Storage Lids
Favorite Kitchen Supplies
- Favorite Aprons
- Whisk
- Silica Gel Packets
- Cast Iron Dutch Oven
- 8-Quart Slow-Cooker
- Fat Separator (Clever kitchen device to help you decant bone broth)
- Flour Sack Towels
Amazon Shop and Shopping Guide
- Visit Mary’s Nest Amazon Shop
- Get a 30-day Audible trial with a free audiobook
- Visit my Shopping Guide page
Get up to 15% off for stocking your Traditional Foods Pantry and equipping your Modern Pioneer Kitchen, including discounts from US Wellness Meats, Farmhouse Teas, Backwoods Home, Masontops, Cultures for Health, Survival Garden Seeds, Redmond Real Salt, and More!
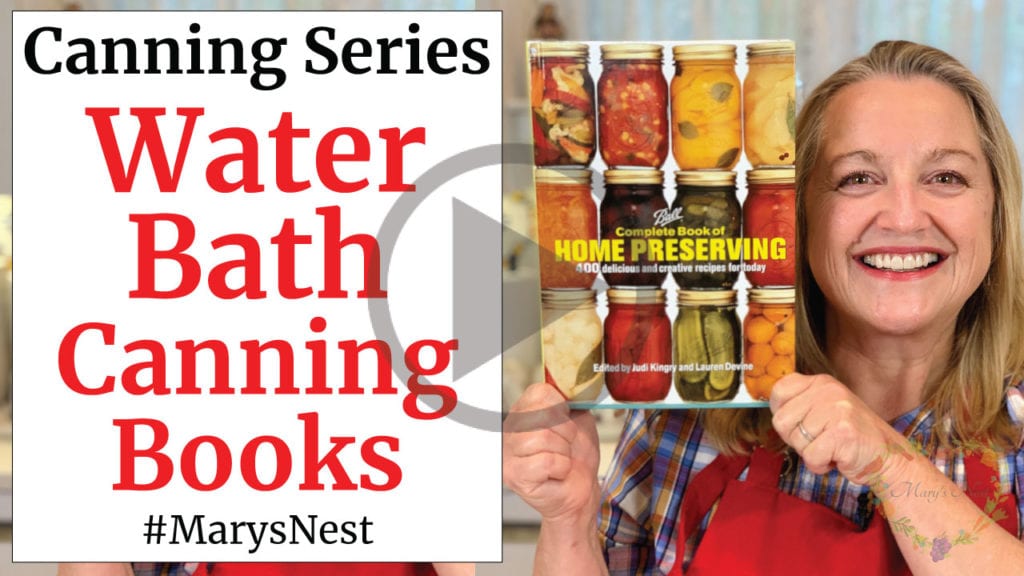
Favorite Water Bath Canning Books
- The Modern Pioneer Cookbook
- The Modern Pioneer Pantry
- Ball Canning Back to Basics
- USDA Complete Guide to Home Canning
- Ball Complete Book of Home Preserving
- The All New Ball Book Of Canning And Preserving
- Bernardin Guide to Home Preserving
- The River Cottage Preserves Handbook
- The Amish Canning Cookbook
- Preserving Today
- Jam On – The Craft of Canning Fruit

Thank you for the vwry thorough information.
Hi Elizabeth, So happy you found this helpful! Love, Mary