Learn How to Make Croutons with this easy recipe that can be made in the oven or on the stovetop. And both ways will be delicious! Plus, learn which cooking fat makes the lightest, crunchiest croutons!

Affiliates note: As an Amazon Associate I earn from qualifying purchases. My content may contain affiliate links to products and services. If you click through and make a purchase, I’ll receive a small commission. It does not affect the price you pay.
Table of Contents
- Fresh Bread or Stale Bread Croutons?
- What About the Crusts?
- Two Simple Ways—Two Great Results!
- Stocking the Traditional Foods Pantry
- Grand Teton Ancient Grains
- Grind Your Own Flour with the Mockmill
- The Modern Pioneer Cookbook
- The Modern Pioneer Pantry
- Start Your Traditional Foods Journey
- Download Your Free 36-Page Pantry List
- Join the Traditional Foods Kitchen Academy
- Kitchen Academy Videos
- Homemade Croutons Recipe
- Shop for items used in this blog post or video
Fresh Bread or Stale Bread Croutons?
When it comes to making homemade croutons, I prefer to use stale bread. And when I say “stale,” I’m not referring to bread that has hardened, but instead, bread that is just a few days old that I previously added to my bread scrap bag that I keep in the freezer.
When the bag is full, I defrost the bread scraps, which are still pliable, and start cutting them up into cubes. But first, remove all the crusts. Crust-free croutons, in my humble opinion, are tastier and have a more even texture, making for the perfect crunch!
What About the Crusts?
Don’t worry. If you’ve been with me for awhile now, you know I don’t waste anything. Although I don’t like to use the crusts to make croutons, I use the crusts to make breadcrumbs—both fresh and toasted—which I’ll share with you in a future post.
Two Simple Ways—Two Great Results!
Be sure to watch my video where I show you how you can make these croutons in the oven or on the stovetop. Both ways are easy, and both will produce great results. And I also share my favorite fat to use that produces the lightest and crunchiest croutons!
Stocking the Traditional Foods Pantry
For more Traditional Foods Pantry ideas, watch these other videos too where I show you how to make 5 Homemade Salad Dressings, including Ranch and Green Goddess. Plus, I share How to Make 1-Minute Homemade Mayonnaise and Sour Cream. And if you enjoy making your own Flavored Extracts, be sure to check out my videos where I show you how to make a total of 10 flavors, including a “Perpetual” Vanilla Extract!



- How to Make Homemade Extracts – Flavored Extracts – Baking Basics
Grand Teton Ancient Grains
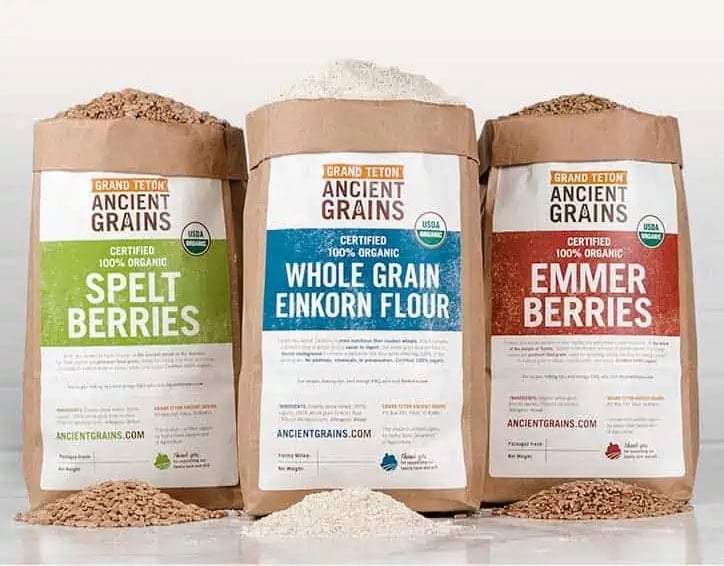
Check out the organic berries and flours available from Grand Teton Ancient Grains. I love their high-quality Einkorn, Emmer, Spelt, Millet, and more you can get to create nutritious and delicious baked goods.
Exclusive Newsletter Discount Code
Sign up for my Mary’s Nest newsletter for an exclusive discount code you can use on your order of berries and flours. This discount is available for a limited time, so be sure to stock up on the Ancient Grains you would enjoy using to bake delightful breads, desserts, and more.
And if you’re looking for a grain mill to make fresh flour from your wheat berries, I recommend the Mockmill electric grain grinder. (See below.)
Grind Your Own Flour with the Mockmill
When it comes to electric grain mills, after I did A LOT of research, I decided to buy a Mockmill. And am I so happy I did! The Mockmill is a very affordable but beautifully crafted German-made mill that stone grinds grain with settings ranging from 1 to 10—fine to coarse ground grain.
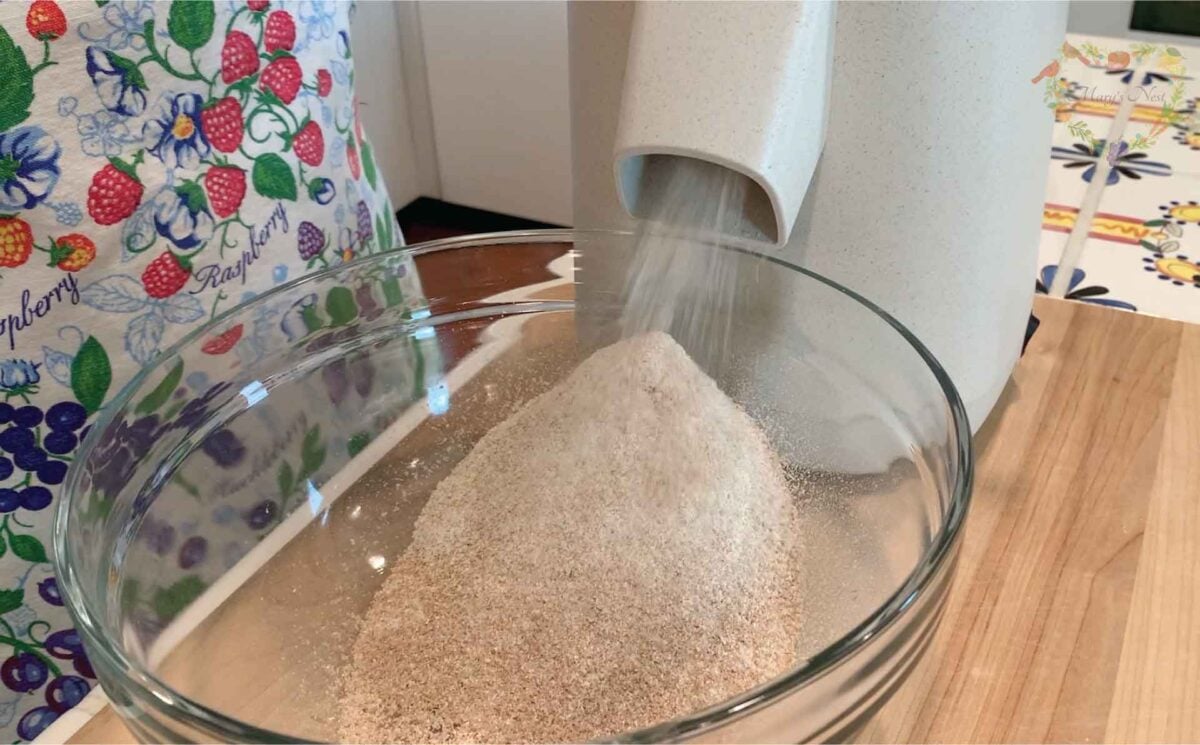
Learn more about Mockmill electric grain mills for making fresh flour and their Flake Lover’s Flaker that flakes whole grain in minutes. (This is not a sponsored post. I bought the Mockmill products that I show you, and I’m a happy user of their devices in my kitchen.)
- Get the Mockmill 100 Stone Grain Mill (Same product I show you in my unboxing video.)
- Mockmill 100 Grain Mill unboxing
- Flake Lover’s Flaker from Mockmill in action (Using this device, you can flake whole grain in minutes.)
Order YOUR COPY Now!
The Modern Pioneer Cookbook
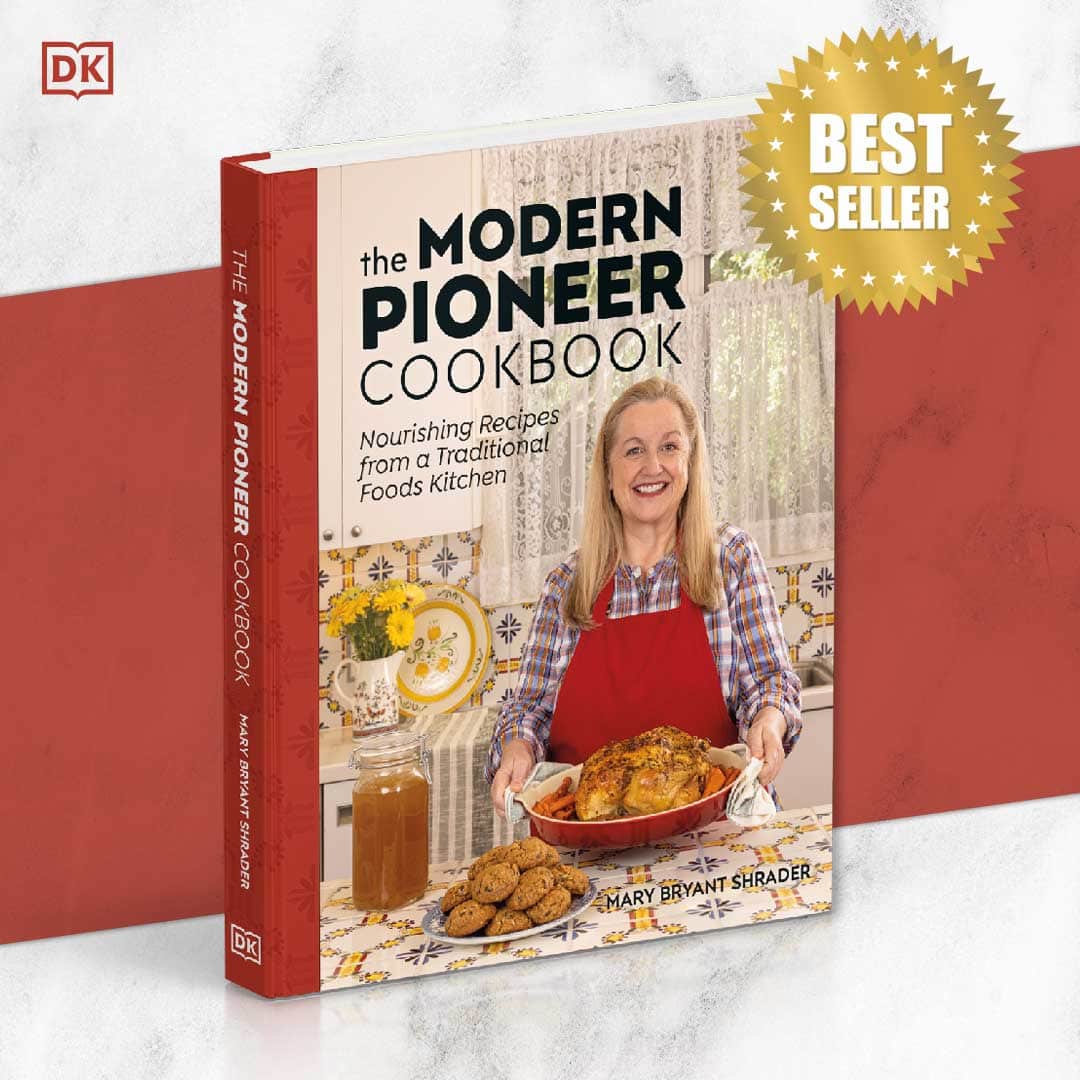
Seasonal ingredients, traditional techniques, and nourishing recipes. Over 85 traditional, from-scratch recipes! Discover for yourself how you can use simple ingredients and traditional techniques to cook the modern pioneer way.
Order YOUR COPY Now!
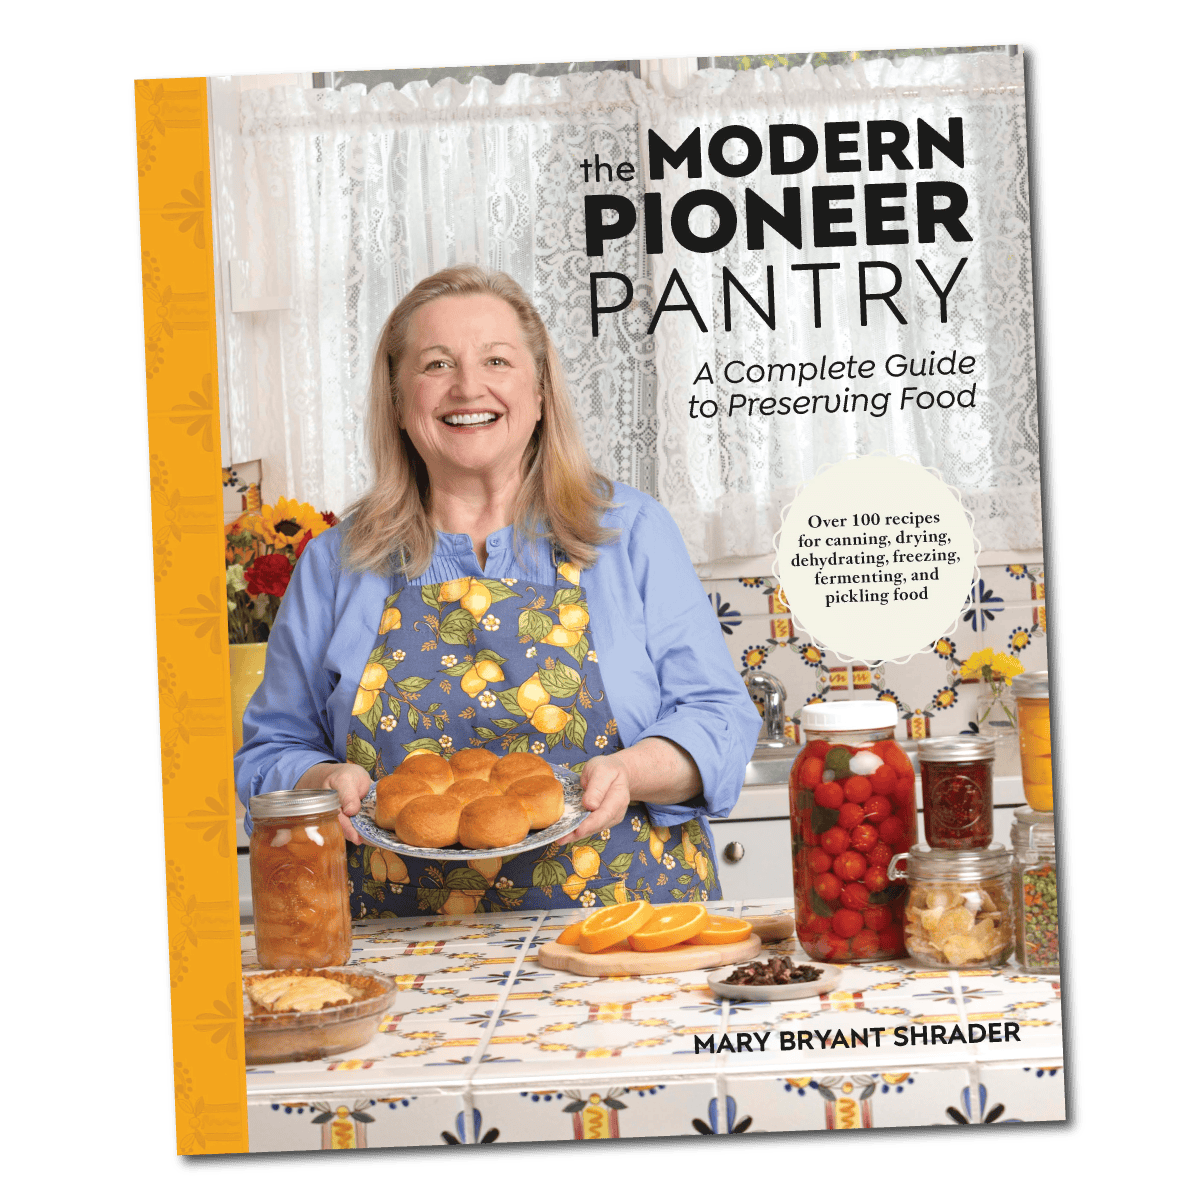
The Modern Pioneer Pantry
Simple ingredients, timeless techniques, and a well-stocked pantry. Discover over 100 nourishing recipes to preserve food and turn pantry staples into homemade meals. Build a wholesome, traditional pantry—just like a modern pioneer!
Start Your Traditional Foods Journey
Sharing my passion for traditional cooking goes beyond my YouTube cooking school—it also comes to life in the pages of my cookbooks. Both of my books, The Modern Pioneer Cookbook and The Modern Pioneer Pantry, are proudly published by Penguin Random House.
The first is filled with time-honored recipes to help you create a traditional foods kitchen, while the second is your complete guide to home food preservation. Order both books today to start or continue your traditional foods journey.
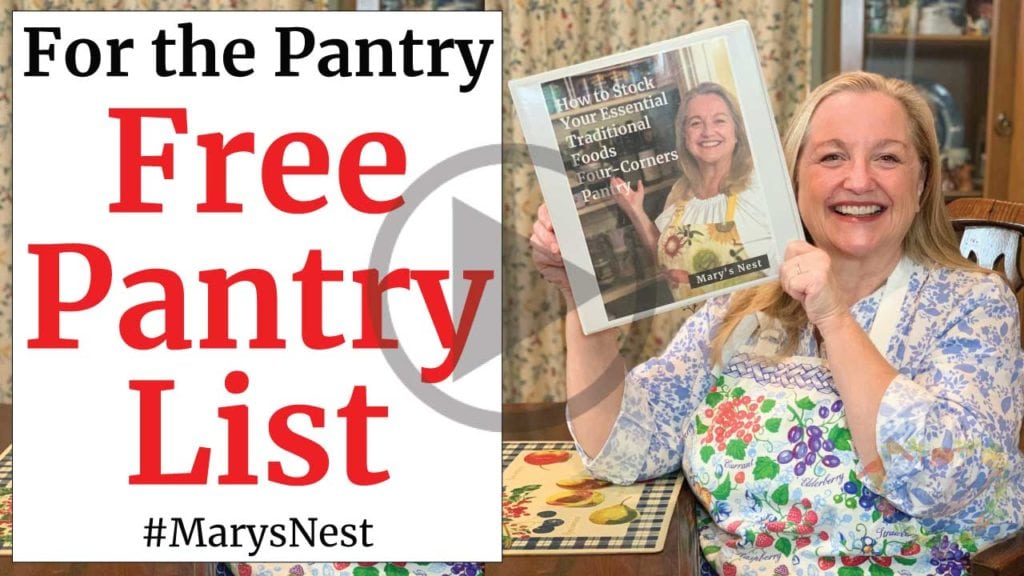
Download Your Free 36-Page Pantry List
For an extensive list of the traditional foods you can make and purchase to stock your pantry, be sure to download my free 36-page Traditional Foods Pantry List. This comprehensive eBook is full of links to recipe videos, helpful articles, and more!
Join the Traditional Foods Kitchen Academy
Are you looking for more traditional foods videos? If so, I invite you to join the Traditional Foods Kitchen Academy. Members of this optional paid YouTube community get access to exclusive videos and other members-only perks. Plus, your YouTube comments include a special members-only badge.
Kitchen Academy Videos
A Cozy Fall Kitchen: Cooking, Books, and Cherished Memories
Join me for a cozy fall visit filled with oven cooking, favorite books, and memories of my mother’s winter pantry preparations.
How to Mix Whole Grains for a Warm and Nourishing Porridge
Learn to mix oat groats, barley, and other whole grains for a warm, nourishing porridge with easy make-ahead tips and tasty toppings.
How Much of Each Natural Remedy Should You Make?
Use your family’s needs, past experience, and seasonal habits to decide how much to prepare for your Healing Pantry.
Stay in Touch with Mary’s Nest
- Subscribe to My YouTube Channel for Traditional Foods Videos (Free) - When you subscribe, be sure to click on the notification bell that will let you know each time I upload a new video.
- Subscribe to Mary’s Traditional Foods Newsletter (Free) - Get a free 36-page eBook for signing up: How to Stock Your Essential Traditional Foods Four-Corners Pantry.
- Join the Traditional Foods Kitchen Academy - For more detailed videos and exclusive members-only perks, join my YouTube membership community.
- Order The Modern Pioneer Cookbook - Get a hardcover book of Mary's nourishing recipes from a Traditional Foods Kitchen. This bestselling cookbook is published by Penguin Random House with their DK imprint.
- Order The Modern Pioneer Pantry - Get Mary's latest hardcover cookbook about preserving food and making delicious meals from your Four Corners Pantry. Mary's second cookbook is also published by Penguin Random House.
I look forward to having you join me in my Texas Hill Country Kitchen!
I’d like to receive more tips and recipes from Mary’s Nest.
Homemade Croutons

Equipment
- Rimmed baking sheet
Ingredients
- 4 cups Cubed day-old bread
- 1/4 cup Fat or oil of choice that has a smoke point of 350°F (177°C) or higher, such as lard, butter, ghee, olive oil, avocado oil, or coconut oil
- 1 teaspoon Fine ground sea salt
- 1/2 – 1 teaspoon Various seasonings, optional For example, dried herbs, spices, garlic powder, etc.
Instructions
For the Oven Method
- Place bread cubes in a bowl and toss in oil or melted fat (that has been allowed to cool) with salt and seasoning (if using).
- Spread bread cubes on a parchment-lined rimmed baking sheet, and place the sheet on the middle rack of a pre-heated 350°F (177°C) oven.
- After 7-8 minutes, open the oven and remove the baking sheet to a heat-proof surface.
- Toss bread cubes using a spatula, and redistribute them evenly on the baking sheet.
- Return bread cubes on the baking sheet into oven, and continue to bake for the remaining time for a total of 15 minutes.
- Check bread cubes at 15 minutes. If they are a golden brown, remove them from the oven. If they are not quite a golden brown yet, allow them to bake for another minute or two until the desired color is obtained.
- Allow croutons to cool before storing them in an airtight container in the pantry or the refrigerator. Croutons will stay fresh in the pantry or the refrigerator for approximately 2 weeks or up to 2-3 months in the freezer.
For the Stovetop
- Place fat or oil into a large frying pan and set to medium heat. Once the oil begins to warm, test the temperature with one bread cube. If the bread cube starts to sizzle, add all the bread cubes into a frying pan. Be careful not to crowd the bread cubes. If you are using a medium-sized frying pan, you will need to do this in two batches.
- Toss bread cubes in the frying pan so that all the cubes are coated in the melted fat or oil. Continue to toss bread cubes until they are a golden brown. While the bread cubes are still in the frying pan, sprinkle with salt and seasoning (if using).
- Once the bread cubes have reached the desired color, remove them from the frying pan onto a cooling rack or paper towel-lined plate to allow to drain.
- Allow croutons to cool before storing in an airtight container in the pantry or the refrigerator. Croutons will stay fresh in the pantry or the refrigerator for approximately 2 weeks or up to 2-3 months in the freezer.
Video
Notes
Shop for items used in this blog post or video
Favorite Crouton Making Supplies
- Rubbermaid Slim Container
- Rubbermaid Airtight Container
- Hefty Jumbo Slider Bags
- ScanPan Frying Pan
- Baking Sheet
- Parchment Paper
- Extra Virgin Olive Oil (This is my favorite!)
- Pure Lard
- Duck Fat
- FoodSaver Handheld Vacuum Sealer (Latest Version)
- FoodSaver Accessory Kit
- Handheld FoodSaver (older version)
Amazon Shop and Shopping Guide
- Visit Mary’s Nest Amazon Shop
- Get a 30-day Audible trial with a free audiobook
- Visit my Shopping Guide page
Get up to 15% off for stocking your Traditional Foods Pantry and equipping your Modern Pioneer Kitchen, including discounts from US Wellness Meats, Farmhouse Teas, Backwoods Home, Masontops, Cultures for Health, Survival Garden Seeds, Redmond Real Salt, and More!