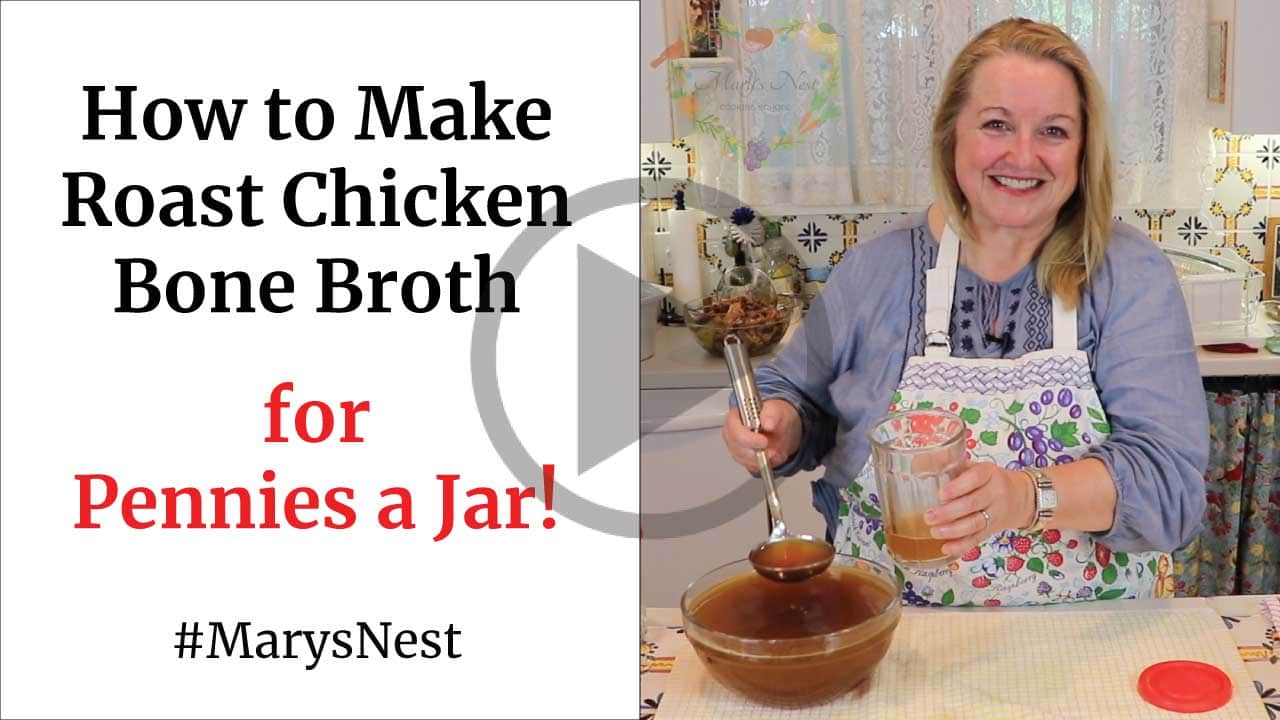
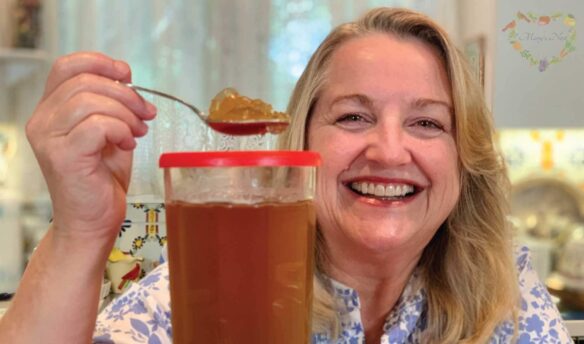
Harness the last bit of goodness from your chicken carcass and from bits and bobs around your kitchen to create a delicious broth that is rich in nourishing minerals and gelatin. Enjoy your chicken bone broth by itself or use it as a base for tasty soups, stews, gravies, and sauces.
Affiliates note: As an Amazon Associate I earn from qualifying purchases. My content may contain affiliate links to products and services. If you click through and make a purchase, I’ll receive a small commission. It does not affect the price you pay.
Table of Contents
- Chicken Bone Broth for Just Pennies?
- Can You Save Cooked Chicken Bones for Broth?
- Ingredients
- How to Make Chicken Bone Broth
- How to Use Chicken Bone Broth
- Recipe Tips
- Storing Tips
- Learn How to Make Other Bone Broths
- The Modern Pioneer Pantry
- Download Your Free 36-Page Pantry List
- Join the Traditional Foods Kitchen Academy
- More Kitchen Pioneer Videos
- How To Make Roast Chicken Bone Broth for Pennies a Jar Recipe
- Shop for items used in this blog post or video
Chicken Bone Broth for Just Pennies?
I love to make a Simple Roast Chicken. And now, I’m sharing how I make Chicken Bone Broth. And for pennies a jar!
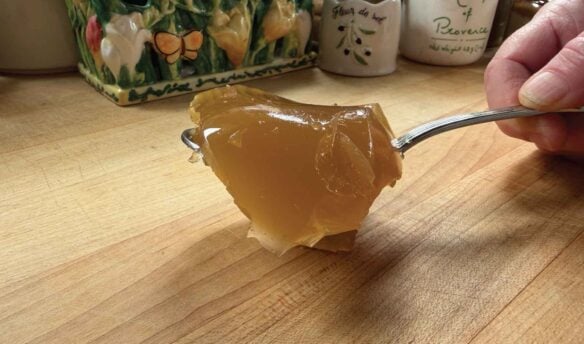
How? By simply using the leftover chicken bones and carcasses. And a secret ingredient! Or what I like to call the pièce de résistance—otherwise known as chicken feet! Adding these little gems will make the most gelatinous chicken bone broth.
You can also make a turkey bone broth from your leftover turkey carcass!
If you’re new to making bone broth and don’t understand what makes it different from regular broth, learn more about the differences between stock vs. bone broth.
Can You Save Cooked Chicken Bones for Broth?
Yes, of course, and here are all the reasons why!
- Less Waste! I find it’s a great way to make use of scraps that many cooks might otherwise throw out. But by harnessing the last bit of goodness from bits and bobs around my kitchen, I can create a delicious broth that is rich in nourishing minerals and gelatin.
- Chicken Bone Broth is Extremely Versatile. It can be enjoyed simply by itself or as a base for tasty soups, stews, gravies, and sauces.
- This Bone Broth Recipe is Easy…and Flexible. Although I am providing a “recipe” for this bone broth, this really is the sort of thing for which there isn’t a specific hard and fast recipe. In this recipe how many chicken carcasses you use, and what chicken scraps you throw into your stock pot, can be a bit variable. So by all means, customize this recipe and make it your own.
- It’s the Secret to a Rich and Flavorful Broth. Of course, chicken bone broth can be made from raw chicken. However, using the carcass and scraps from a roast chicken, the flavor of the broth will be so much richer.
Ingredients
Find the full printable recipe with measurements below.
For this specific recipe, I recommend the following ingredients:
- Chicken bones: Store the carcass left from roasted chicken in the freezer in a container that will hold up to three carcasses along with their scraps. It’s a great way to use the whole chicken instead of throwing away the carcass.
- White vermouth: My preferred acid for this particular bone broth. The acid is necessary to help the minerals in the bones come out and enrich your broth.
- Apple cider vinegar: Only needed if you aren’t adding the white vermouth.
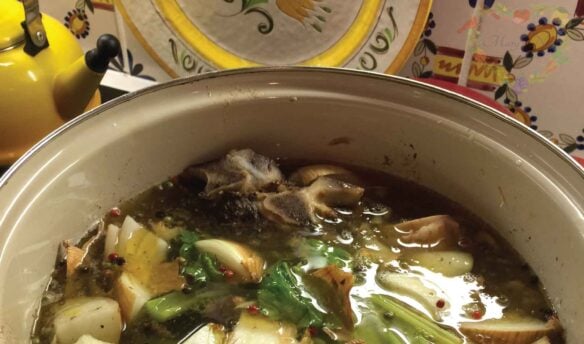
- Veggies: This easy chicken bone broth uses onions, celery, carrots, bay leaves, and peppercorns for seasoning and flavor. You can also use veggie scraps here as well including onion skin, celery ends, and carrot tops and peels. But I do recommend avoiding garlic and cruciferous veggies which add an off-flavor and potatoes which can make the broth a bit cloudy.
- Other chicken parts. Optional but if you’re using chicken feet, wings, necks or backs will work. I always add in chicken feet because it makes a nice gelatinous bone broth.
How to Make Bone Broth Taste Better?
Making a great-tasting bone broth depends as much as what you DON’T add as the ingredients you use. Here are some ingredients I recommend avoiding.
- I recommend not adding garlic. Garlic can leave a bit of an off-putting taste after a long simmer, so it can be best to add garlic later when you use the bone broth for soup or for whatever purpose you choose.
- Avoid adding potatoes or other root vegetables to the stock pot. They can make the bone broth cloudy, and in some cases, depending on the root vegetable used, add a strong flavor.
- Don’t add any vegetables from the cruciferous family (the brassicas which include broccoli, cauliflower, and cabbage) when making bone broths. They, too, can add unwanted flavor.
How to Make Chicken Bone Broth
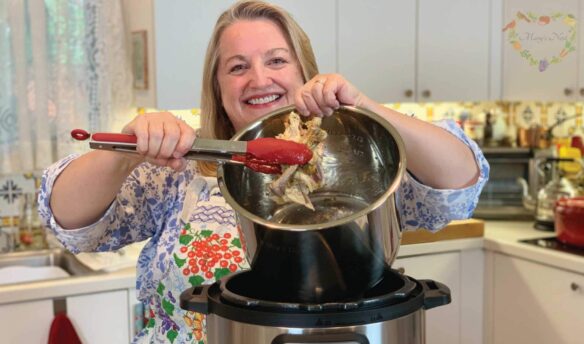
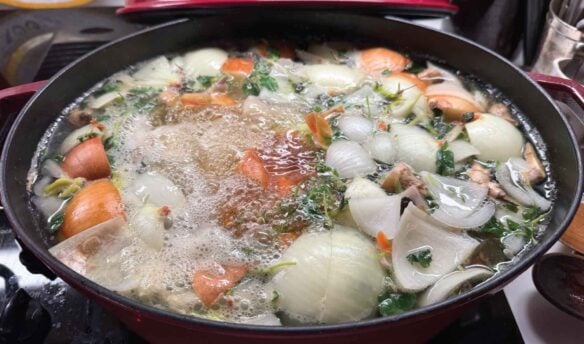
Step 1 – Place all the ingredients into the slow cooker or stock pot. Add your water and acid of choice (vinegar or white vermouth) to your slow cooker or stock pot. You need just enough water to cover all the ingredients.
Step 2 – Turn the slow cooker to cook on high for one hour, then turn it down to the keep warm setting and allow it to simmer for six hours.
PRO TIP: If your slow cooker does not have a keep warm setting, turn it down to low and tilt the slow cooker lid to allow for some of the steam to escape to prevent the broth from boiling.
Step 3 – Place your stock pot on the stove and bring it to a boil. Once it boils, immediately reduce the heat to low and simmer for six hours.
Step 4 – Turn off the slow cooker or stove after cooking for six hours. Allow the broth to cool slightly and then begin to strain ingredients with a slotted spoon to remove the solids.
PRO TIP: Save the ingredients if you want to reuse them to make a second batch of broth.
Step 5 – Line a colander with cheesecloth or a flour sack towel and place it over a deep pot. Transfer the broth with a ladle into the lined colander so the broth drains through the lined colander into the deep pot.
Step 6 – Transfer the strained pot of broth to the refrigerator until the fat rises to the top and congeals.
Step 7 – Skim off this fat and transfer it to a separate container to be used in other recipes.
Step 8 – Transfer the broth to one or more containers with a lid. Store in the refrigerator or freezer
Get more tips for How to Make Stovetop Chicken Bone Broth if you want to learn more.
How Long Do I Need to Simmer Chicken Bone Broth?
A Simple Six-Hour Simmer is All You Need! Although you may have heard that you need to simmer bone broth for three days on your stovetop, that really isn’t the case.
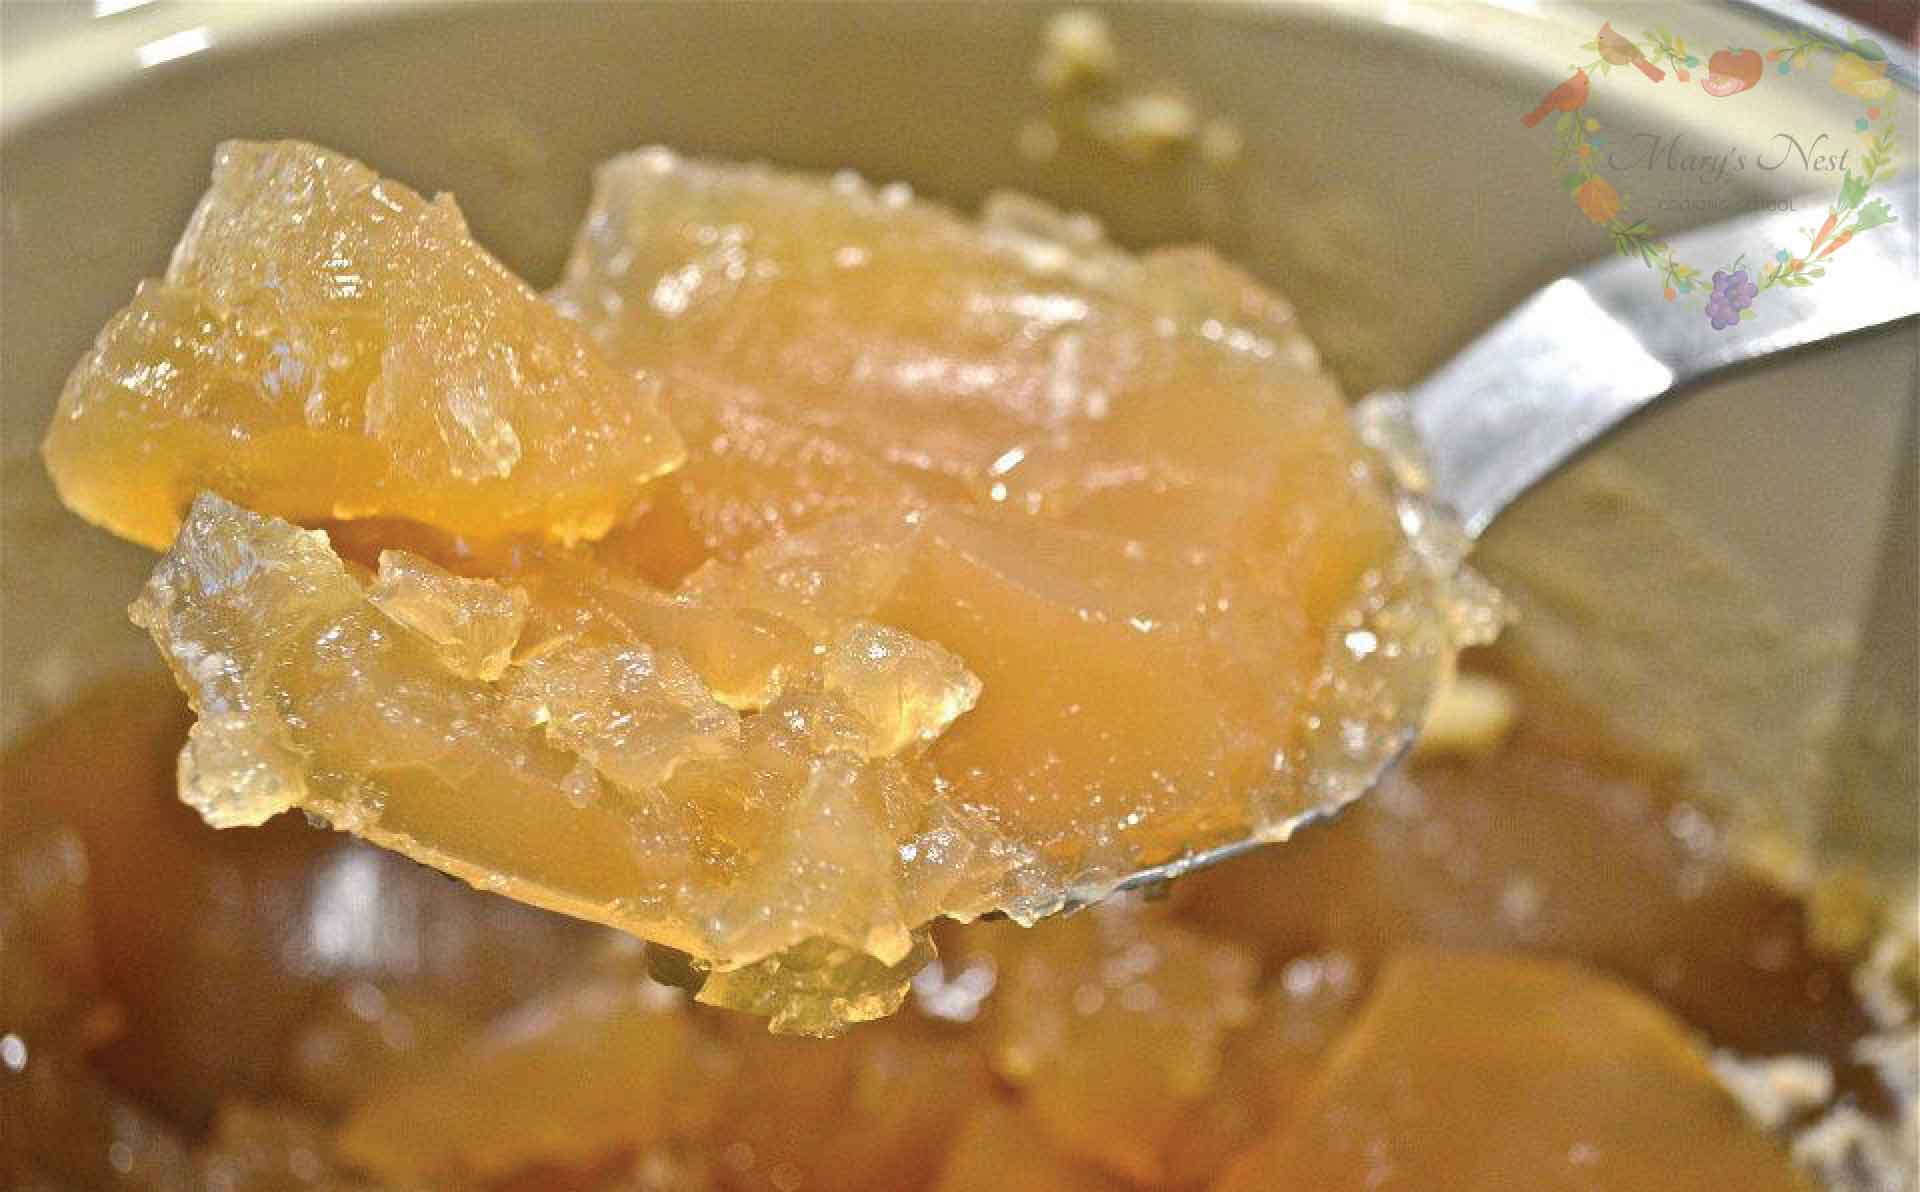
Simmering for about six hours is sufficient to leach the nutrients out of the bones and create a nice gelatinous broth. Excessive simmering can actually “break” the gelatin and make a watery broth. Plus, bone broth simmered too long can develop an “overcooked” flavor.
Once you’ve mastered making slow cooker chicken bone broth, you can also try making an Instant Pot Chicken Bone Broth That Gels Every Time.
How to Use Chicken Bone Broth
- Enjoy sipping chicken bone broth.
- Add it to water for cooking rice or other grains.
- It makes a terrific base for soups and stews. It’s amazing in this Easy Chicken Soup Recipe.
- Use chicken bone broth in fruit smoothies in place of the other liquid.
- You can also use it as a base for making gravy.
Recipe Tips
- Save your chicken carcasses to make chicken bone broth. I do this by storing a chicken carcass each time I roast a chicken in a container that holds about 3 carcasses along with their scraps in the freezer. Once the container is full, I make the bone broth and add a few chicken feet to boost the gelatinous consistency of the final product.
- Can I make chicken bone broth with just one carcass? Yes, you can though I suggest waiting until you have at least two. However, that said, if you have only one carcass but you have some chicken feet, wings, necks, or backs, you can make bone broth with just one carcass.
- Remove the fat from your bone broth using a Fat Separator Device! This saves the time of chilling the bone broth in your refrigerator so the fat rises to the top and congeals.
- Cook chicken bone broth on the stove or in a slow cooker. If you’re using a slow cooker make sure it has a warm setting that maintains a temperature of 180°F. (82°C). You can check the temperature by heating water and checking it with a thermometer.
- If you don’t have a warm setting on your crockpot, tilt the lid so steam escapes and lowers the temperature.
Storing Tips
You can store the broth in multiple smaller containers or one single large container, depending on how you plan to use it.
This bone broth will stay fresh for 3-4 days in the refrigerator or up to 6 months in the freezer.
You can extend the time in the freezer by storing it in a separate freezer that is not opened frequently where it will stay fresh for up to 12 months.
Learn How to Make Other Bone Broths
How to Make Rich and Gelatinous Beef Bone Broth
Discover which are the best bones to use to make the most gelatinous beef bone broth!
How to Make Fish Bone Broth in 45 Minutes
Enjoy this Iodine-rich broth that supports thyroid health.
How to Make Pork Bone Broth in a Slow Cooker
Great for our skin, hair, nails, and gut health…and a great base for ramen too!
Instant Pot Chicken Bone Broth That Gels Every Time
Make this tasty gelatin-rich liquid that is wonderful for promoting good gut health.
Download Your Free 36-Page Pantry List
For an extensive list of the traditional foods you can make and purchase to stock your pantry, be sure to download my free 36-page Traditional Foods Pantry List. This comprehensive eBook is full of links to recipe videos, helpful articles, and more!
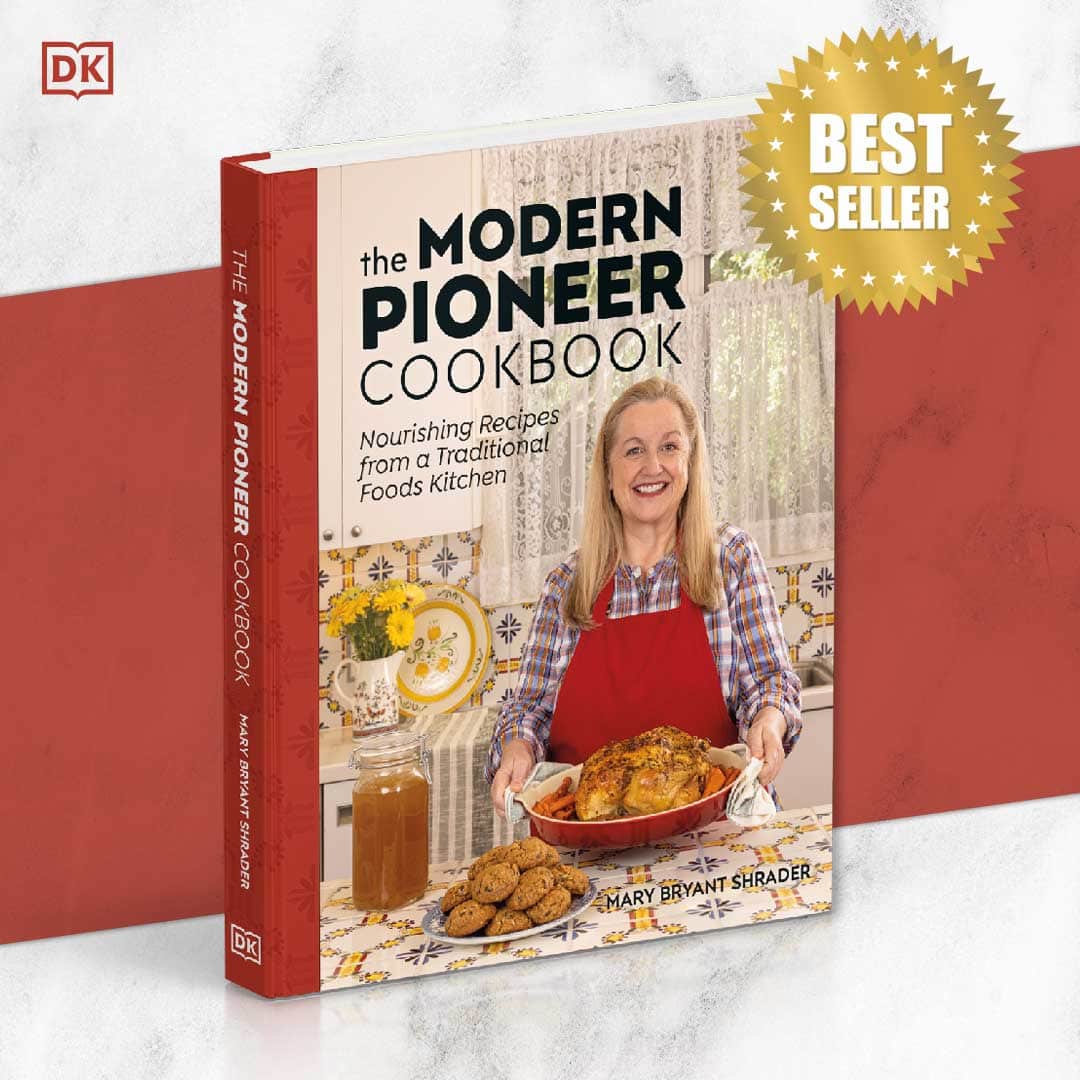
And if you’re looking for a printed book full of my traditional foods recipes to show you how to create a traditional foods kitchen, be sure to order your copy of my bestselling book, The Modern Pioneer Cookbook.
Join the Traditional Foods Kitchen Academy
Are you looking for more traditional foods videos? If so, I invite you to join the Traditional Foods Kitchen Academy. Members of this optional paid YouTube community get access to exclusive videos and other members-only perks. Plus, your YouTube comments include a special members-only badge.
More Kitchen Pioneer Videos
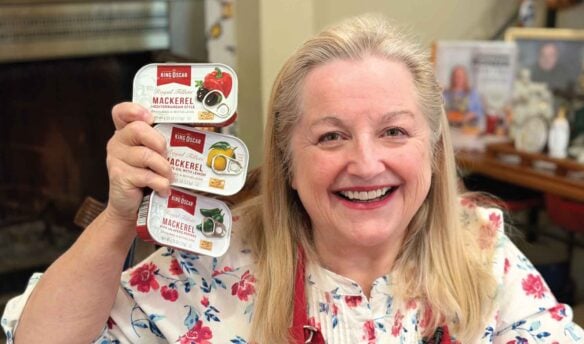
Why We Should Incorporate Mackerel Into Our Diet
Easy and nourishing ways to enjoy mackerel into your meals.
The Gentle Power of Fermented Beverages—All Year Long
Learn how fermented beverages gently support digestion year-round, shifting with the seasons to nourish the gut through traditional, living drinks.
How to Make Oatmeal Higher in Protein (The Old-Fashioned Way)
Turn simple oats into a hearty, protein-rich porridge.
Stay in Touch with Mary’s Nest
- Subscribe to My YouTube Channel for Traditional Foods Videos (Free) - When you subscribe, be sure to click on the notification bell that will let you know each time I upload a new video.
- Subscribe to Mary’s Traditional Foods Newsletter (Free) - Get a free 36-page eBook for signing up: How to Stock Your Essential Traditional Foods Four-Corners Pantry.
- Join the Traditional Foods Kitchen Academy - For more detailed videos and exclusive members-only perks, join my YouTube membership community.
- Order The Modern Pioneer Cookbook - Get a hardcover book of Mary's nourishing recipes from a Traditional Foods Kitchen. This bestselling cookbook is published by Penguin Random House with their DK imprint.
- Order The Modern Pioneer Pantry - Get Mary's latest hardcover cookbook about preserving food and making delicious meals from your Four Corners Pantry. Mary's second cookbook is also published by Penguin Random House.
I look forward to having you join me in my Texas Hill Country Kitchen!
I’d like to receive more tips and recipes from Mary’s Nest.
How To Make Roast Chicken Bone Broth for Pennies a Jar
Ingredients
- 3 items chicken carcass From roasted chickens
- 1 cup White vermouth Optional, if you don't use apple cider vinegar for the acid in your bone broth
- 1/4 cup Apple cider vinegar
- 3 Onions Quartered with skins on
- 3 Celery stalks
- 3 Carrots
- 2 Bay leaves
- 10 Peppercorns
- 1 Filtered water Enough to cover all the ingredients
- 6 Chicken feet Optional
- 6 Chicken wings Optional
- 3 Chicken necks Optional
- 3 Chicken backs Optional
Instructions
- Place all the ingredients into the slow cooker or stock pot. If you choose to use the white vermouth, you can omit the apple cider vinegar. Add water to the slow cooker or stock pot just to cover all the ingredients.
- If using a slow cooker, turn it to the high setting for one hour, then turn it down to the keep warm setting and allow to simmer on keep warm for six hours. If your slow cooker does not have a keep warm setting, turn it down to the low setting but tilt the slow cooker lid to allow for some of the steam to escape to prevent the broth from boiling.
- If using a stock pot on the stove, bring to a boil and immediately reduce heat to low and simmer for six hours.
- After six hours, turn off the slow cooker or stove. Allow the broth to cool slightly and then begin to strain ingredients with a slotted spoon. Save the ingredients if you want to reuse them to make a second batch of broth.
- Once all the ingredients have been strained from the broth, line a colander with cheese cloth or a flour sack towel and place over a deep pot. Use a ladle to transfer the broth from the slow cooker or stock pot into the lined colander. The broth will drain through the lined colander into the deep pot.
- Once all the broth has been strained through the lined colander into the deep pot, transfer this pot to the refrigerator until the fat rises to the top and congeals. Skim off this fat and transfer it to a separate container to be used in other recipes. Transfer the broth to one or more containers with a cover that can then be refrigerated or frozen. You can store the broth in multiple smaller containers or one single large container, depending on how you plan to use it. This bone broth will stay fresh for 3-4 days when refrigerated. If frozen in the freezer of a refrigerator, it will stay fresh for 6 months. In a separate freezer that is not opened frequently, it will stay fresh for up to 12 months.
Video
Notes
Shop for items used in this blog post or video
Favorite Bone Broth Making Supplies
- 8-Quart Duo Plus Instant Pot
- 16-Quart Stock Pot
- 8-Quart Stock Pot
- 7-Quart Slow Cooker
- 8-Quart Slow Cooker
- 10-Quart Slow Cooker
- Fat Separator
- Stainless Steel Strainer
- Flour Sack Towels
Amazon Shop and Shopping Guide
- Visit Mary’s Nest Amazon Shop
- Get a 30-day Audible trial with a free audiobook
- Visit my Shopping Guide page
Get up to 15% off for stocking your Traditional Foods Pantry and equipping your Modern Pioneer Kitchen, including discounts from US Wellness Meats, Farmhouse Teas, Backwoods Home, Masontops, Cultures for Health, Survival Garden Seeds, Redmond Real Salt, and More!





Hi Mary. I watched your chicken bone broth video and found it so informative. I am making it for the second time but this time I May doing it on the stove. My crock pot isn’t really big enough. My question is, when you simmer for six hours do you leave it covered or is the lid slightly ajar? Thanks.
Lisa
Hi Lisa,
Thanks for your kind words. If you leave your bone broth simmering on your stove, you’ll want to have your lid slightly ajar.
I’m glad that you’re enjoying some wonderful chicken bone broth! 🙂
Love and God bless,
Mary
Good evening Mary, I enjoy watching your lessons and your emails, I have a question
about chicken broth I have raw chicken bone will the flavor be improved if I roast the bones
in the oven for awhile.
thank you
Elaine
Hi Elaine,
Thanks for your kind comment. Yes. Roasting will always help to improve the flavor of your bone broth, and I highly recommend it.
I hope that you enjoy many batches of delicious and nutritious bone broth!
Thank you for being a subscriber and a sweet friend!
Love and God bless,
Mary
Hi Mary, I have been looking for your video and recipe for chicken stock using raw chicken legs. I have used that recipe and loved it, but can’t remember the specific amounts of water, number of chicken legs, (I think it was 12) and time (I think it was 8 hours for the first run.) Then you did a second run after removing the meat. Please let me know how to find this recipe. Thanks!
PS I loved this recipe because it was so easy compared to cutting up 2 whole chickens and to top it off, it really gelled!
Hi Corinne,
Thanks so much for your comment. And also, thanks for your email. I hope my email about this was helpful. Love, Mary
Hi Mary, is the white vermouth here the bianco or extra dry? I love the idea of adding this but want to make sure I’m getting the right one. Thanks!
Hi Mary,
Thanks so much for your comment. I am not 100% sure what the difference is between the two you mentioned but the one I use is “extra dry”. However, that said, it shouldn’t make a big difference. All you need is some for of an acidic base to acidulate the water. Hope this helps.
Love, Mary
Thank you!
Great website and thank you for serving people.
Hi Caroline, Thank you SO much for your kind words!! Please let me know if you have any questions. I’m happy to help! Love, Mary
Why no salt?
Hi Pamela,
Thanks so much for your comment. I generally don’t add salt to any of my bone broths since I prefer to add it when I use it in a recipe or drink it. Also – as for the Roast Chicken Bone Broth – there is usually a residue of salt on the carcass, skin, etc., so I definitely don’t want to add any more salt.
Thanks for visiting and please let me know if you have anymore questions. Glad you’re here!!
Love, Mary