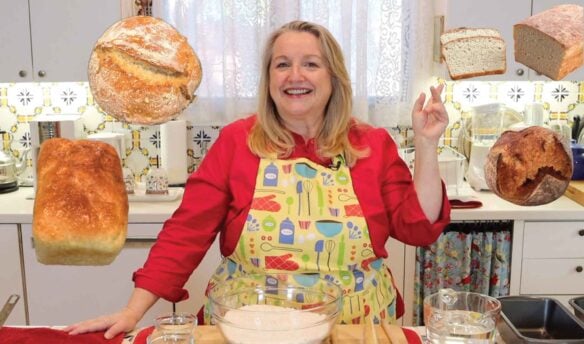
It may seem hard to believe, but yes, you can actually create a type of yeast using water, and this yeast will rise bread dough and allow you to make yeast water bread!
The bread you bake with yeast water will be indistinguishable from the bread that you can make with packaged yeast or sourdough starter. This concept is quite opportune given how many folks are struggling to find packaged yeast at their local grocery stores these days.
Affiliates note: As an Amazon Associate I earn from qualifying purchases. My content may contain affiliate links to products and services. If you click through and make a purchase, I’ll receive a small commission. It does not affect the price you pay.
Table of Contents
- Speaking of Sourdough Starter…
- The Simplicity of Yeast Water
- Using Yeast Water in Bread Recipes
- More Bread Baking Videos
- The Modern Pioneer Cookbook
- Download Your Free 36-Page Pantry List
- The Modern Pioneer Pantry
- Join the Traditional Foods Kitchen Academy
- Kitchen Academy Videos
- How to Make Yeast Water Starter and Yeast Water Bread Recipe
- Shop for items used in this blog post or video
Speaking of Sourdough Starter…
You might be wondering why I am not simply recommending that everyone just create a traditional sourdough starter and use that starter to bake their bread if they can’t find packaged yeast. Well, a traditional sourdough starter is great but not everyone has success with it. Others may have success getting their starter going, but then they may forget to feed it every day, or they may not like the fact that you have to remove some of it—the “discard”—with each feeding.
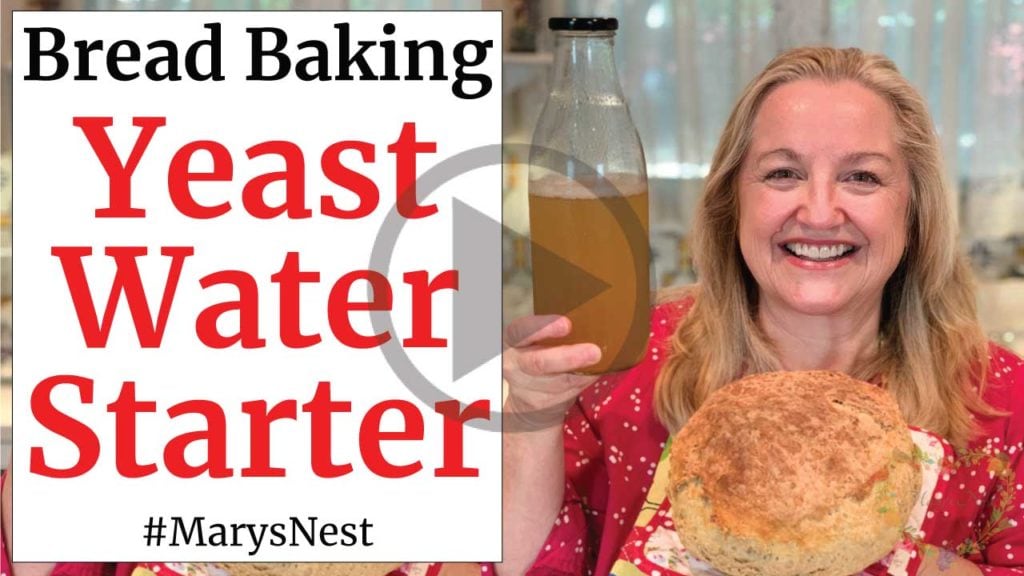
The Simplicity of Yeast Water
On the other hand, yeast water is straightforward to make and easy to maintain. All you need is:
- Water
- A bit of sugar
- Salt
- A small piece of fruit
Dried fruit works the fastest, but you can use fresh fruit too. All you need is a small piece. I’ll show you the simple process step-by-step when you watch my recipe video.
Your yeast water will last in your fridge for about two months without any additional feedings. This extended shelf-life will come as a relief to those who don’t want to feed their starter every day, not to mention if you’re not sure what to do with the discard! (However, if you have a traditional sourdough starter and are looking for ideas of what to do with your discarded starter, I have a Discarded Sourdough Starter recipes video playlist that will give you a few ideas.)
To maintain your yeast water, all you have to do is remember not to use every drop of it. When the bottle of yeast water has about a cup of liquid in it, just refresh your bottle in a similar process to how you started making your yeast water in the first place. It really couldn’t be easier and allows you to create the ultimate foolproof “starter.”
Using Yeast Water in Bread Recipes
Once you’ve made yeast water and utilized it to make your yeast water “starter,” you can use it as a substitute in your favorite bread recipes that call for sourdough starter.
In my recipe, I show you how to make your yeast water starter. (Be sure to print out my recipe when you’re ready to begin the process.) All you have to do is mix your yeast water with equal amounts of flour and let the mixture ferment overnight. Afterward, you can use what is now your yeast water starter as you would a traditional sourdough “starter” to add to your bread recipes. The only difference is that your “starter” is a yeast water “sourdough” starter.
More Bread Baking Videos
If you’re unsure about the process for using yeast water, don’t worry. I walk you through the recipe for how to make yeast water, and then how to make and use your yeast water starter in baking bread with step-by-step instructions in my recipe video. And yes, we’ll bake a loaf of bread together in the video using our yeast water starter.
Once you learn the process, be sure to try your hand at using your yeast water starter in these bread recipes below.

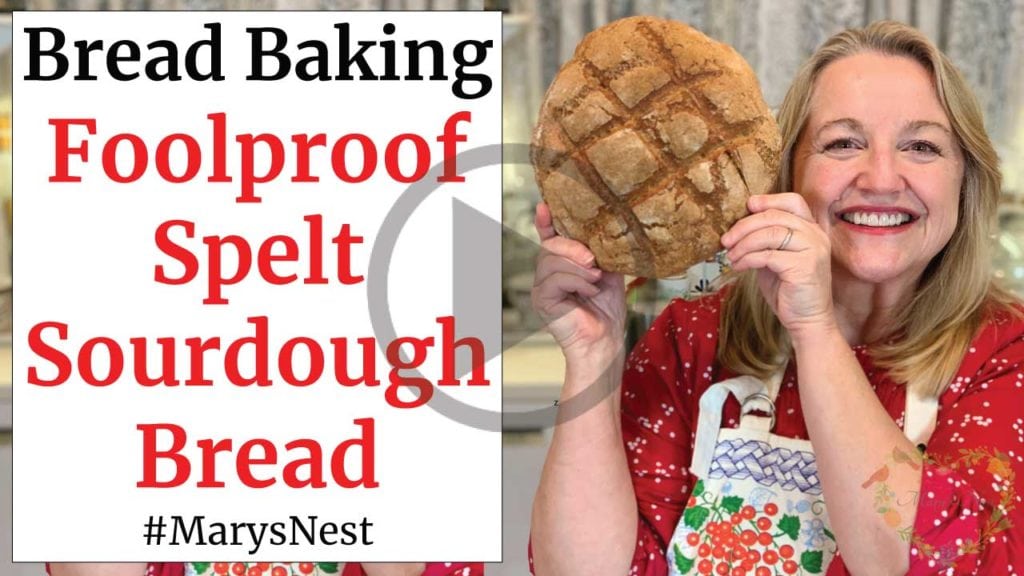
And when you feel confident to try your hand at making a traditional sourdough starter, be sure to check out my Complete Sourdough Starter Guide and My Foolproof Sourdough Starter videos below. And don’t miss my Busy Mother’s Sourdough Secret – How to Make Sourdough Starter and Sourdough Bread the Easy Way! This recipe is perfect for all you beginners out there.

Order YOUR COPY Now!
The Modern Pioneer Cookbook
Seasonal ingredients, traditional techniques, and nourishing recipes. Over 85 traditional, from-scratch recipes! Discover for yourself how you can use simple ingredients and traditional techniques to cook the modern pioneer way.
Download Your Free 36-Page Pantry List
For an extensive list of the traditional foods you can make and purchase to stock your pantry, be sure to download my free 36-page Traditional Foods Pantry List. This comprehensive eBook is full of links to recipe videos, helpful articles, and more!


Order YOUR COPY Now!
The Modern Pioneer Pantry
Simple ingredients, timeless techniques, and a well-stocked pantry. Discover over 100 nourishing recipes to preserve food and turn pantry staples into homemade meals. Build a wholesome, traditional pantry—just like a modern pioneer!
Join the Traditional Foods Kitchen Academy
Are you looking for more traditional foods videos? If so, I invite you to join the Traditional Foods Kitchen Academy. Members of this optional paid YouTube community get access to exclusive videos and other members-only perks. Plus, your YouTube comments include a special members-only badge.
Kitchen Academy Videos
Baking with Whole Grains: The Maslin Method, Grain Mills, and America’s Bread Basket
Explore whole grain baking with The Maslin Method, fresh-milled flour, grain mills, heritage wheats, and more.
A Sweet Season of Celebration and New Beginnings with The Maslin Method Baking School Series
Celebrate the close of a heartfelt book tour and the exciting launch of The Maslin Method Baking School for traditional baking.
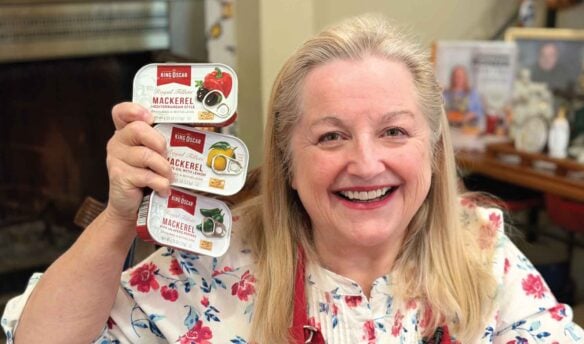
Why We Should Incorporate Mackerel Into Our Diet
Easy and nourishing ways to enjoy mackerel into your meals.
Stay in Touch with Mary’s Nest
- Subscribe to My YouTube Channel for Traditional Foods Videos (Free) - When you subscribe, be sure to click on the notification bell that will let you know each time I upload a new video.
- Subscribe to Mary’s Traditional Foods Newsletter (Free) - Get a free 36-page eBook for signing up: How to Stock Your Essential Traditional Foods Four-Corners Pantry.
- Join the Traditional Foods Kitchen Academy - For more detailed videos and exclusive members-only perks, join my YouTube membership community.
- Order The Modern Pioneer Cookbook - Get a hardcover book of Mary's nourishing recipes from a Traditional Foods Kitchen. This bestselling cookbook is published by Penguin Random House with their DK imprint.
- Order The Modern Pioneer Pantry - Get Mary's latest hardcover cookbook about preserving food and making delicious meals from your Four Corners Pantry. Mary's second cookbook is also published by Penguin Random House.
I look forward to having you join me in my Texas Hill Country Kitchen!
I’d like to receive more tips and recipes from Mary’s Nest.
How to Make Yeast Water Starter and Yeast Water Bread

Equipment
- 32-ounce bottle or jar with lid
Ingredients
First Yeast Water Feeding
- 2 Dates Other dried fruit can be substituted, such as 2 figs, a handful of raisins, etc. Fresh fruit may also be used. Apples, grapes, or berries work best. You will need to fill the bottle or jar a quarter of the way full if using fresh fruit.
- 1/4 cup Sugar White sugar or dried whole cane juice (Sucanat) can be used.
- 2 cups Water, preferably filtered
Second Yeast Water Feeding
- 1 Date Other dried fruit can be substituted, such as 1 fig, a tablespoon of raisins, etc. Fresh fruit may also be used. Apples, grapes, or berries work best. You will need to fill a bottle or jar an eighth of the way full if using fresh fruit.
- 1 1/2 tablespoons Sugar White sugar or dried whole cane juice (Sucanat) can be used.
- 1 teaspoon Salt
- 2 cups Water Enough water to fill bottle or jar will be needed, leaving about two inches of headspace to allow for the contents to be easily mixed.
Subsequent Yeast Water Feedings
- 2 Dates Other dried fruit can be substituted, such as 2 figs, a handful of raisins, etc. Fresh fruit may also be used. Apples, grapes, or berries work best. You will need to fill a bottle or jar a quarter of the way full if using fresh fruit.
- 1 tablespoon Sugar White sugar or dried whole cane juice (Sucanat) can be used. If you do not see any foam developing after 2 days, you may find that on these subsequent feedings, you will need more than the 1 tablespoon of sugar. If so, you can increase the sugar up to 1/4 cup.
- 1 teaspoon Salt
- 3 cups Water Enough water to fill a bottle or jar will be needed, leaving about two inches of headspace to allow for contents to be easily mixed.
Preparing Yeast Water Starter
- 1 cup Yeast water All purpose or "plain" flour can be substituted.
- 2 cups Bread flour
Baking Yeast Water Bread (A No-Knead Bread)
- 3 cups Bread flour All purpose or "plain" flour can be substituted.
- 1 teaspoon Salt
- 1 cup Water, warm
- 1/2 cup Yeast water starter
Instructions
First Yeast Water Feeding
- To your bottle (or jar), add the date (or other fruit), sugar, and water. Shake well until the sugar is dissolved. Place the bottle in a warm place between approximately 78°F-80°F.
- Each day for the next four days, shake your bottle twice per day, preferably once in the morning and once in the evening. If there's a lot of foam in the bottle, be sure to loosen and then retighten the lid before shaking the bottle. Otherwise, loosen and retighten the lid after you shake the bottle. This process will release some of the build up of carbon dioxide gas in the bottle or jar and prevent breakage.
Second Yeast Water Feeding
- On the morning of the fifth day, strain the yeast water into a large measuring cup or bowl and remove the old dates. Return the yeast water to the bottle.
- To the bottle, add 1 new date, 1 tablespoon of sugar, and 1 teaspoon of salt. Add enough water to the bottle, leaving about 2 inches of headspace. Put the lid on the bottle and shake well until all the sugar and salt are dissolved.
- Return yeast water to its warm place, and each day, for the next four days, shake your bottle twice per day, preferably once in the morning and once in the evening. If there's a lot of foam in the bottle, be sure to loosen and then retighten the lid before shaking the bottle. Otherwise, loosen and retighten the lid after you shake the bottle. This process will release some of the build up of carbon dioxide gas in the bottle and prevent breakage.
- On the evening of the eighth day, the yeast water should be quite foamy. Strain the yeast water into a large measuring cup or bowl and remove the dates. Return the yeast water to the bottle and refrigerate. Your yeast water will stay active in the refrigerator for two months.
Subsequent Yeast Water Feedings
- As you use your yeast water, remember to always leave approximately 1 cup of yeast water in your bottle. When you reach this amount, it is time to feed your yeast water. To your bottle containing the yeast water, add 2 dates, 1 tablespoon of sugar, and 1 teaspoon of salt. Add enough water to the bottle, leaving about 2 inches of headspace. Put the lid on the bottle and shake well until all the sugar and salt are dissolved.
- Place your bottle of yeast water in a warm place for 3 days, remembering to shake the bottle twice per day and loosen the lid to release the build up of gases as described earlier.
- After the third day, the yeast water should be quite foamy. Strain the yeast water into a large measuring cup or bowl and remove the dates. Return the yeast water to the bottle and refrigerate. Your yeast water will stay active in the refrigerator for another two months.
- To keep your yeast water active, repeat this process every 2 months.
Preparing Yeast Water Starter
- Mix the 1 cup of yeast water with the 2 cups of flour in a bowl. Stir well until all the flour is moistened.
- Cover the bowl with plastic wrap, a damp towel, or a well floured towel.
- Place the bowl in a warm place, out of drafts, and leave undisturbed for approximately 16 hours.
- After approximately 16 hours, the yeast water "starter" should show some bubbles on top and some bubbles throughout the mixture. The mixture will look similar to a traditional sourdough starter.
Baking Yeast Water Bread (A No-Knead Bread)
- In a large bowl, mix the flour and the salt together.
- In a measuring cup, mix the water and the yeast water starter together. Add this mixture to the bowl with the flour and salt. Mix well until a wet shaggy dough forms. Cover the bowl loosely with a towel and allow the dough to rest for 30 minutes.
- After 30 minutes, place dough onto an un-floured board or other flat surface and fold the dough over onto itself about 4 times. Next, shape the dough into a ball and place the dough onto a parchment-lined baking sheet.
- Cover the dough with a damp towel and allow the dough to double in size in a warm place for 1 1/2 – 2 hours.
- At 1 1/2 hours, stick your finger in the dough up to your nail bed. If the dough springs back, it has not risen enough. Give the dough more time to rise. If the finger poke stays indented, your bread has risen sufficiently, and it is ready to bake. (See the video for a demonstration of the finger poke test.)
- Place the baking sheet with your dough on it into a preheated 450°F oven and bake for approximately 30 minutes until golden brown on the top. When you tap your bread on the bottom, it should sound hollow.
- Dutch Oven Method: Alternatively, if you prefer, you may bake your dough in a dutch oven. If so, preheat your oven to 500°F with your dutch oven in your cooking oven. Once the oven reaches 500°F, carefully remove the dutch oven from your cooking oven onto a heatproof surface and place the dough along with the parchment paper into the heated dutch oven. Cover your dutch oven with a lid, and return the dutch oven into your cooking oven. Bake the bread for approximately 30 minutes, then remove the dutch oven from your cooking oven. Once again, carefully remove the lid and the parchment paper from the hot dutch oven. Return the dutch oven with the bread in it into your cooking oven and allow the bread to bake for another 5-10 minutes until golden brown, and you hear a hollow sound when you tap the bread on the bottom.
- Regardless of which method you use to bake your bread, once baked, transfer the bread to a cooling rack and allow the bread to cool completely before slicing.
- Your bread will stay fresh for about 2-3 days on the counter in a bread bag or bread box. If refrigerated, your bread will stay fresh for about one week if wrapped well. And yes, bread may be frozen if wrapped well in freezer-proof wrapping and then placed in a freezer-proof bag. Bread will stay fresh for 2-3 months when frozen.
Notes
Shop for items used in this blog post or video
Favorite Bread Making Supplies
- Baking Apron
- Yeast Water Glass Bottle
- 10-Piece Glass Bowl Set
- Danish Dough Whisk
- BreadSmart Plastic Handle Danish Dough Whisk and Kit
- Wooden Scraping Spoon
- Plastic Bench Scrape
- Metal Loaf Pans
- Cast-Iron Dutch Oven
- Baking Stone
Favorite Baking Yeast Supplies
- SAF Instant Yeast
- SAF Premium Instant Yeast
- SAF Gold Instant Yeast
- Red Star Active Dry Yeast
- Fleischmann’s Active Dry Yeast
- Bob’s Red Mill GLUTEN FREE Active Dry Yeast
Amazon Shop and Shopping Guide
- Visit Mary’s Nest Amazon Shop
- Get a 30-day Audible trial with a free audiobook
- Visit my Shopping Guide page
Get up to 15% off for stocking your Traditional Foods Pantry and equipping your Modern Pioneer Kitchen, including discounts from US Wellness Meats, Farmhouse Teas, Backwoods Home, Masontops, Cultures for Health, Survival Garden Seeds, Redmond Real Salt, and More!