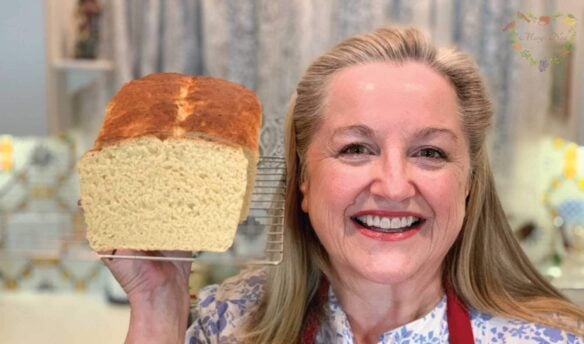
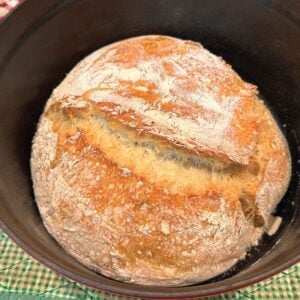
If you’ve ever wanted to bake your own bread but felt intimidated, you’re in the right place. Today, I will show you how to make the most delightful Easy Artisan Bread with just a few simple ingredients and a tiny bit of packaged yeast.
This recipe is perfect for beginners and seasoned bakers alike—it’s a no-fuss, hands-off approach that yields a beautifully rustic loaf with a crisp crust and a soft, chewy interior. Trust me, your kitchen will smell heavenly, and your family will think you’ve become a master baker overnight!
So watch the video tutorial below and find out why anyone can bake bread!
Affiliates note: As an Amazon Associate I earn from qualifying purchases. My content may contain affiliate links to products and services. If you click through and make a purchase, I’ll receive a small commission. It does not affect the price you pay.
Table of Contents
- How to Make an Easy Artisan Bread Video
- Why You’ll Love This Easy Artisan Bread Recipe
- Ingredients You’ll Need
- How to Make an Easy Artisan Bread
- Variations
- Recipe Tips
- Storing
- Always Remember – We Are Home Bakers
- Home Baker Recipes
- Grind Your Own Flour with the Mockmill
- The Modern Pioneer Cookbook
- Download Your Free 36-Page Pantry List
- Join the Traditional Foods Kitchen Academy
- Kitchen Academy Videos
- Anyone Can Make This Bread – Easy Artisan Bread Recipe
- Shop for items used in this blog post or video
How to Make an Easy Artisan Bread Video
Watch Mary make this Easy Artisan Bread in A Bread SO EASY Anyone Can Make It! video
Why You’ll Love This Easy Artisan Bread Recipe
One of the things I adore about this bread is how incredibly simple it is. With just four ingredients that you probably already have in your pantry, you can create a loaf that’s perfect for any occasion. Whether you’re serving it alongside a hearty soup, making sandwiches, or enjoying it warm with a pat of butter, this bread is sure to become a staple in your home.
Plus, there’s something so satisfying about baking your own bread from scratch. It’s a way to connect with traditional methods, slow down, and enjoy the simple pleasures in life.
Ingredients You’ll Need
Find the full printable recipe with ingredients below.
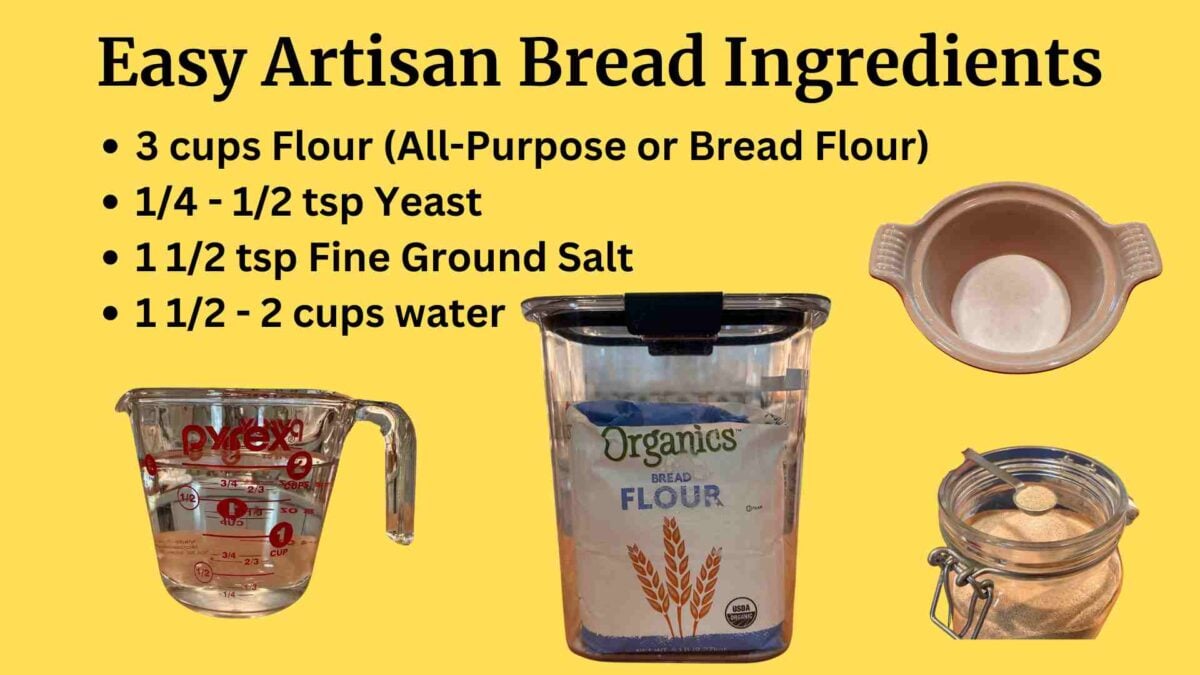
Let’s start by gathering our ingredients to make this Easy Artisan Bread—also known as a boule. Here’s what you’ll need:
- 3 cups flour: I recommend using all-purpose flour, but you can also experiment with bread flour for a slightly chewier texture.
- 1/4 to 1/2 teaspoon packaged yeast: Just a small amount is all you need to give this bread a nice rise.
- 1 1/2 teaspoons fine-ground sea salt: This enhances the flavor of your bread without overpowering it.
- 1 1/2 to 2 cups water: Use lukewarm water to help activate the yeast and bring everything together.
How to Make an Easy Artisan Bread
Find the full printable recipe with measurements below.
Here are the step-by-step instructions:
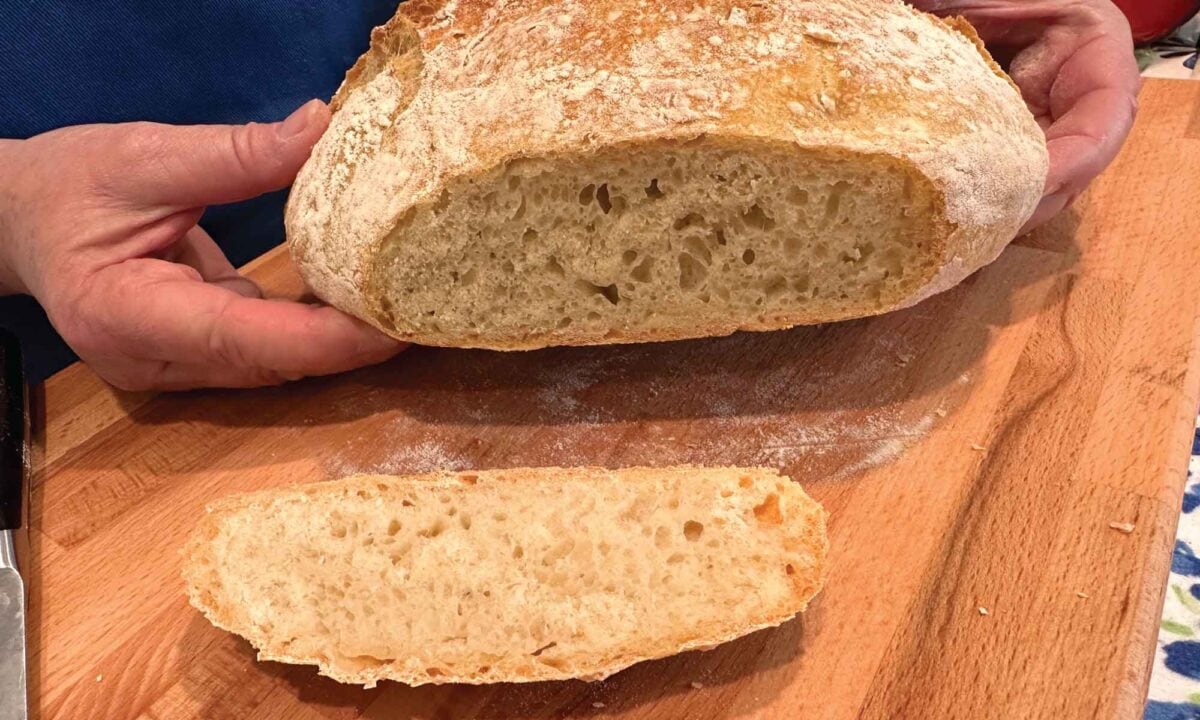
- Mix the Dough: In a large mixing bowl, combine the flour, yeast, and salt. Gradually add the water, starting with 1 1/2 cups, and stir until a sticky dough forms. You can add a bit more water if needed, but the dough should be shaggy and sticky—not dry or stiff.
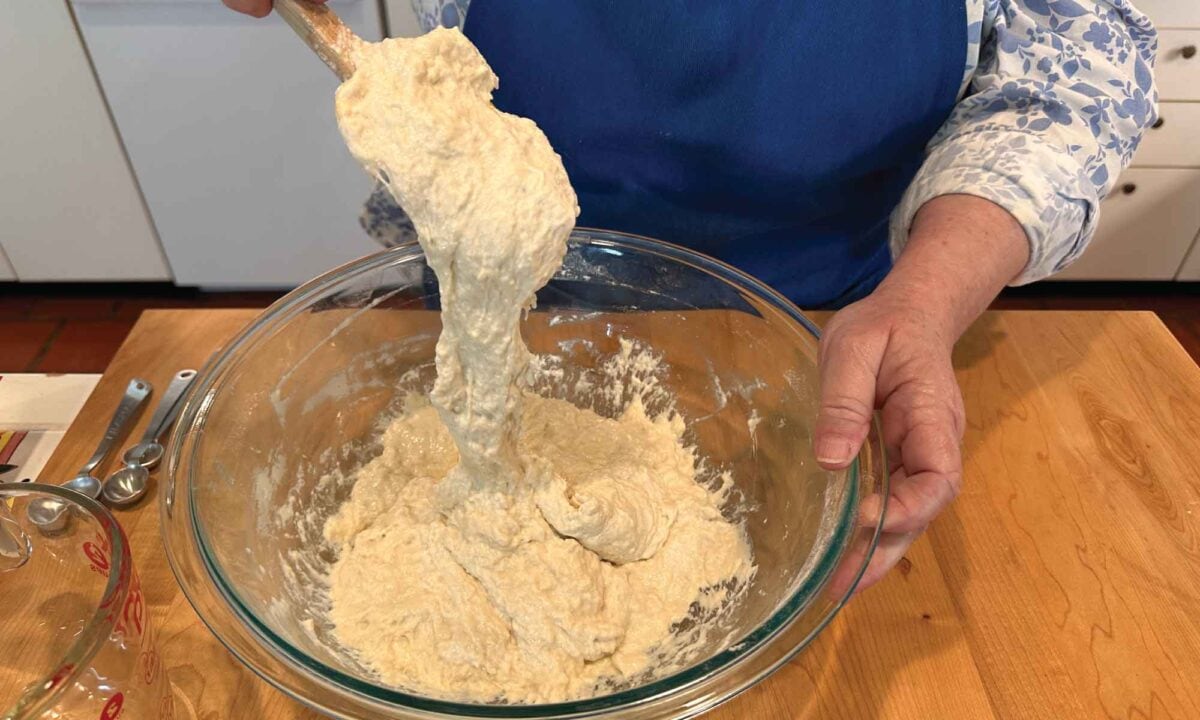
- Let it Rise: Cover the bowl with a clean kitchen towel and let the dough rest at room temperature for 8-18 hours. Yes, that’s right—just let it sit there and do its thing! The dough will rise during this time, and the yeast will work its magic, developing wonderful flavors and texture. Want a longer rise time? No problem. Put the dough in the fridge and let it slowly rise over a 24-48 hour timeframe.
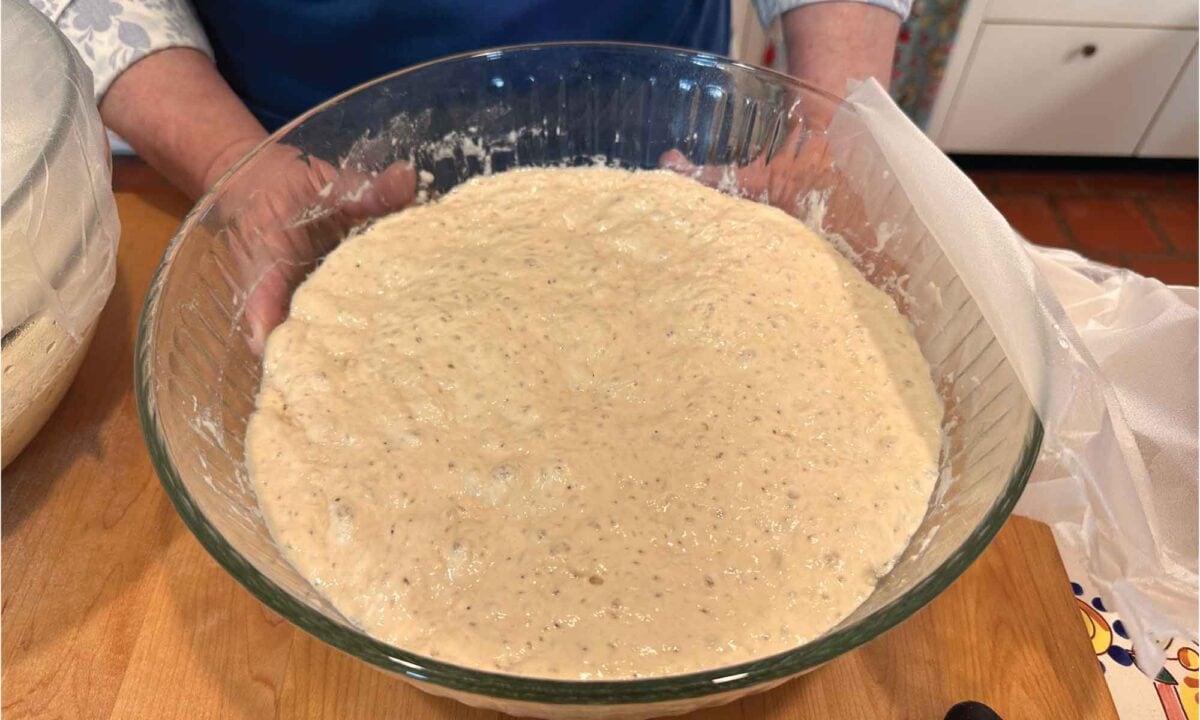
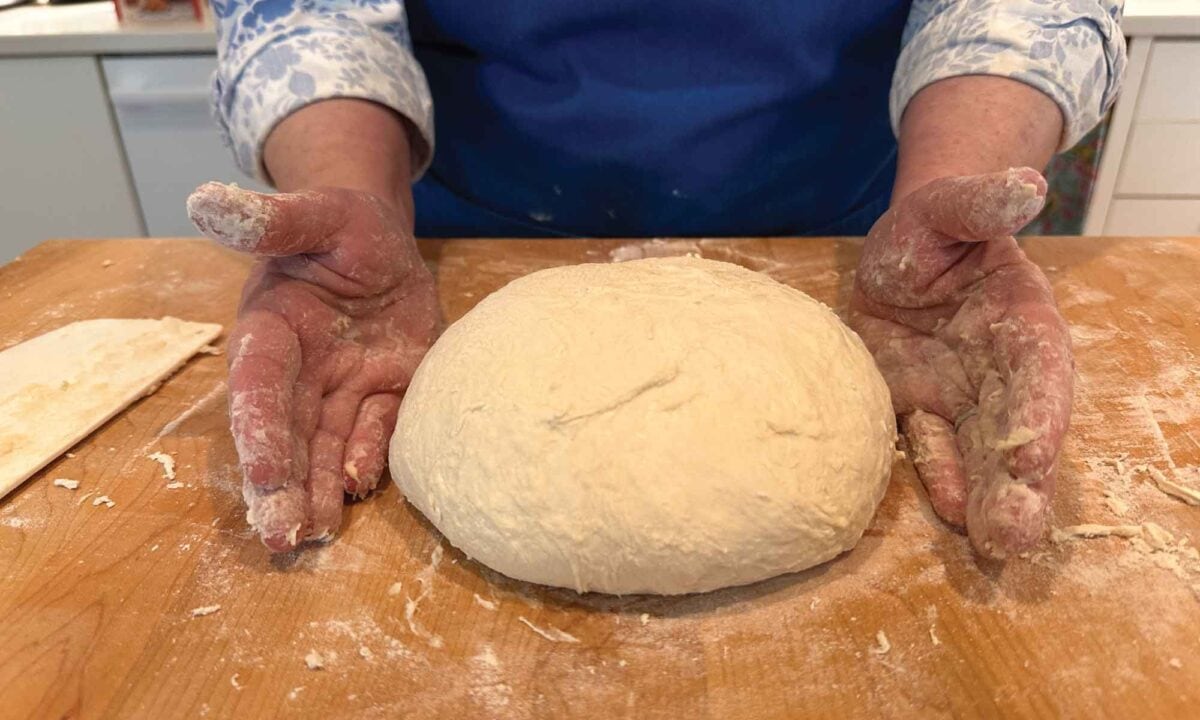
- Shape and Preheat: After the dough has risen, it will be bubbly and slightly larger. Place it on a floured surface and gently shape it into a round loaf. No Kneading required. The long rise did the job for you! Meanwhile, preheat your oven to 500°F (260°C) and place a Dutch oven or heavy oven-proof pot with a lid inside the oven to heat it up.
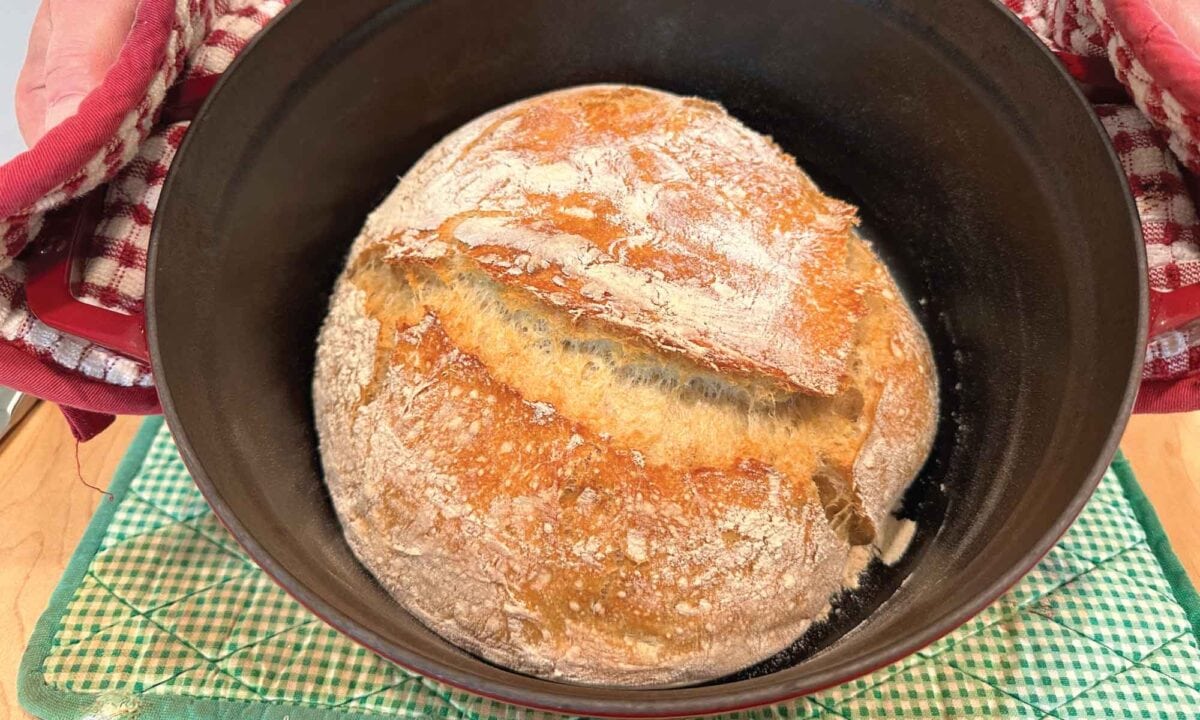
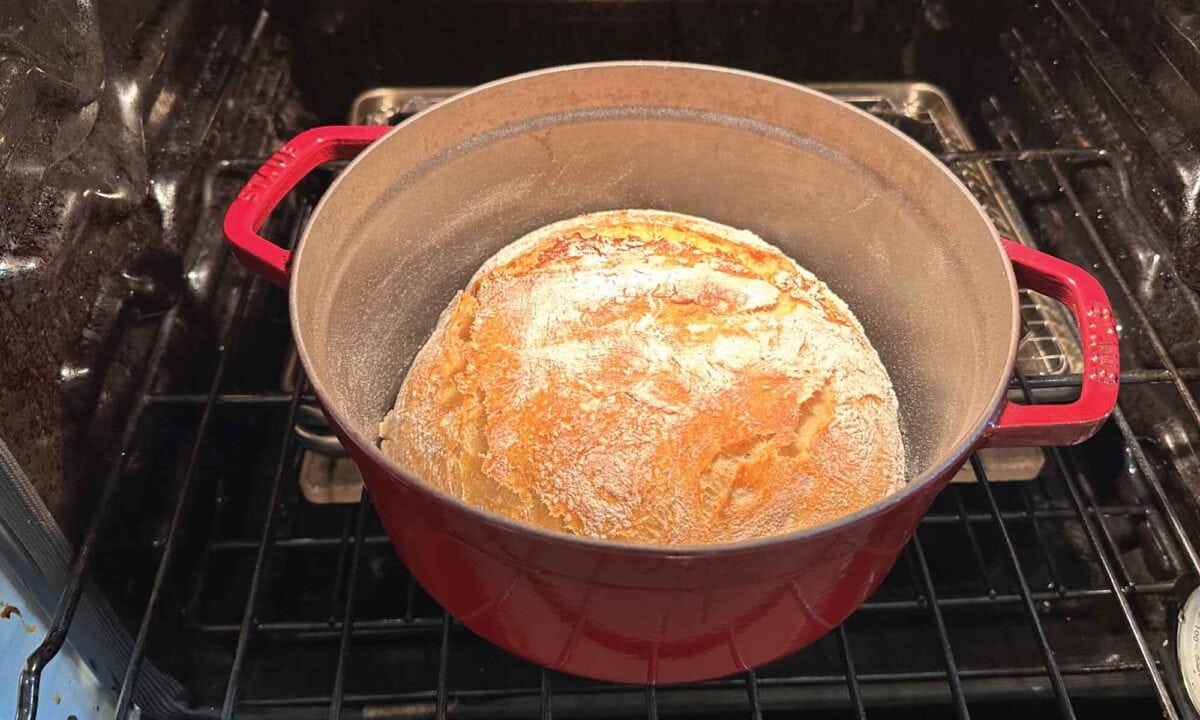
- Bake the Bread: Carefully transfer your dough to a piece of parchment paper, then lower it into the preheated Dutch oven. (Or, if you are brave, you can carefully plop your dough right into the Dutch oven.) Be sure to remove the parchment paper. Cover the Dutch oven with its lid and bake for 30 minutes. For a small oven, turn the temperature down to 425°F (218°C). You can set larger ovens to 450°F (232°C). After 30 minutes, remove the lid and bake for an additional 10-15 minutes, or until the bread is golden brown and has a crisp crust.
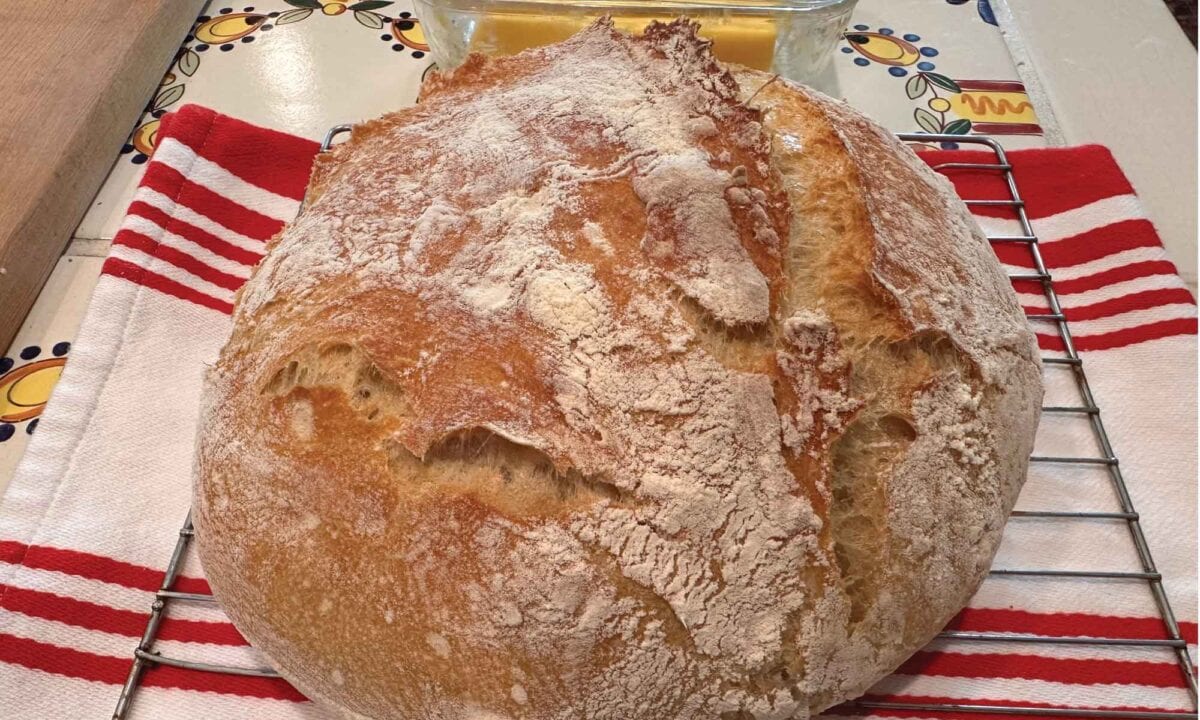
- Cool and Enjoy: Once baked, remove the bread from the Dutch oven and let it cool on a wire rack. I know it’s tempting, but resist the urge to slice into it right away—let it cool completely to set the texture.
Variations
Try these variations to make your Easy Artisan Bread even more special.
- Flour Options: While any all-purpose flour or bread flour works beautifully, including the all-purpose versions of ancient grains, like Spelt and Einkorn, you can also try using a 1:1 ratio of whole grain flour to all-purpose or bread flour for a heartier loaf or a mix of flours for a unique flavor profile.
- Add-Ins: Consider adding seeds, nuts, dried fruits, herbs, or even some grated cheese to the dough for a special twist.
- Storage: This bread is best enjoyed fresh but will keep for a day or two at room temperature in a bread bag or wrapped in a clean kitchen towel.
Recipe Tips
When it comes to making a successful artisan bread, keep these tips in mind:
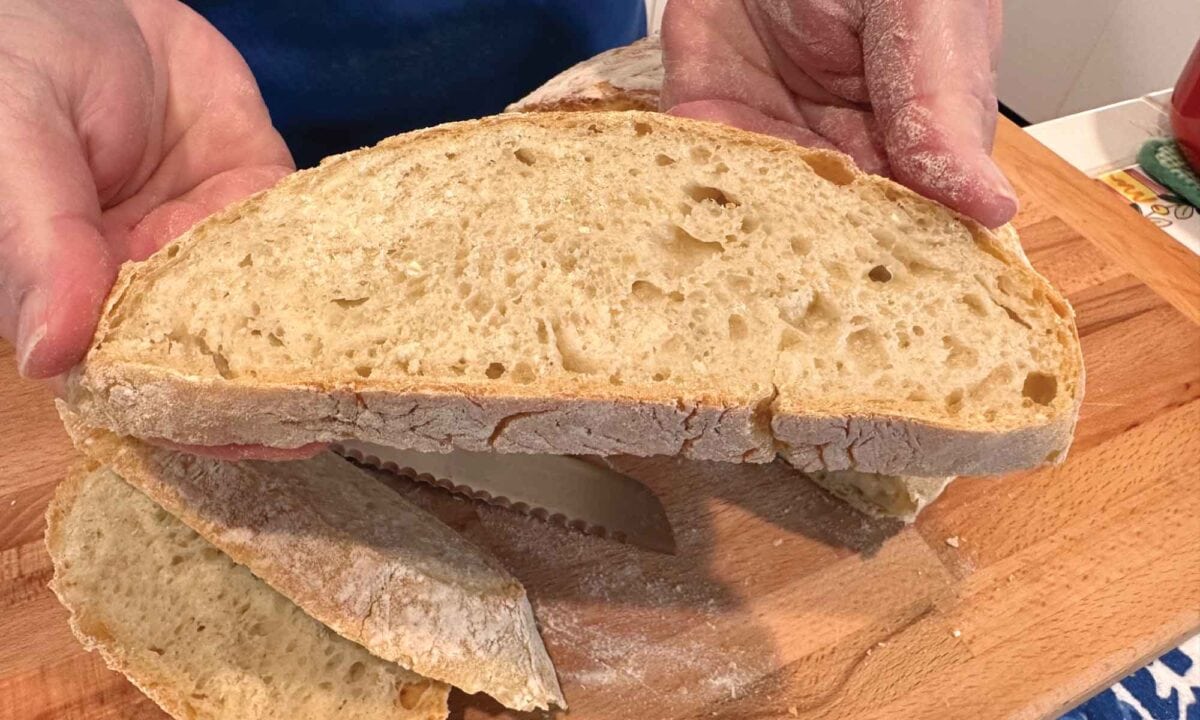
- Don’t add too much flour! You want a sticky, shaggy dough.
- Every kitchen is different, and every oven is different. You may have to experiment with your first boule to find just the right temperature for your oven. If at 450°F (232°C) the bottom browns too much, just lower the temperature next time.
- I share a lot more tips for making this Artisan Bread in my recipe video that will help you create the perfect boule every time!
Storing
This bread is best enjoyed fresh but will keep for a day or two at room temperature in a bread bag or wrapped in a clean kitchen towel.
Always Remember – We Are Home Bakers
Making homemade bread doesn’t have to be complicated. Keep in mind that we are home bakers, not professional bakers. Nothing needs to be perfect. With this Easy Artisan Bread recipe, you can create a delicious loaf with minimal effort.
This Artisan Bread Recipe is perfect for beginners and experienced home bakers alike, and the results are always impressive. So go ahead, give it a try, and enjoy the simple joy of baking your own bread at home.
Home Baker Recipes
Answering Your Top Traditional Foods Questions: Baking Tips and More!
I chat about baking, L. Reuteri yogurt, pantry essentials, avocado oil, and more!
Baking with Ancient Grains in the Traditional Foods Kitchen
Bake with Einkorn, Emmer, and Spelt—nutritious ancient grains that bring rich flavor and tradition to your favorite recipes.
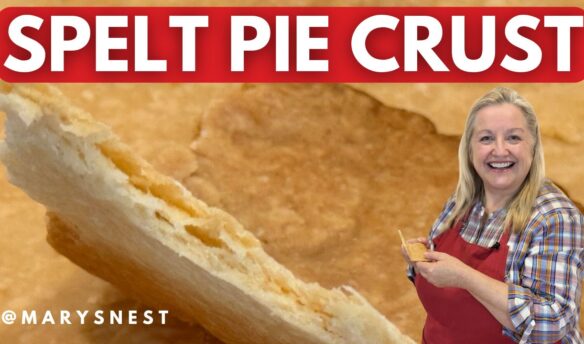
How to Make a White Spelt Flour Pie Crust
Baked goods made with Ancient Grains can be healthier than modern-day wheat. I’ll show you how to use Spelt flour to make an incredibly flakey and tasty pie crust!
Grind Your Own Flour with the Mockmill
If you’re new to baking bread, I recommend using all-purpose or bread flour from your local grocery store for this Easy Artisan Bread recipe. Once you find that you enjoy baking (and I’m confident you will!), you may want to store your own whole grains and grind them to make fresh flour. To do that, you’ll need a manual or electric grain mill.
When it comes to electric grain mills, after I did A LOT of research, I decided to buy a Mockmill. And am I so happy I did! The Mockmill is a very affordable but beautifully crafted German-made mill that stone grinds grain with settings ranging from 1 to 10—fine to coarse ground grain.
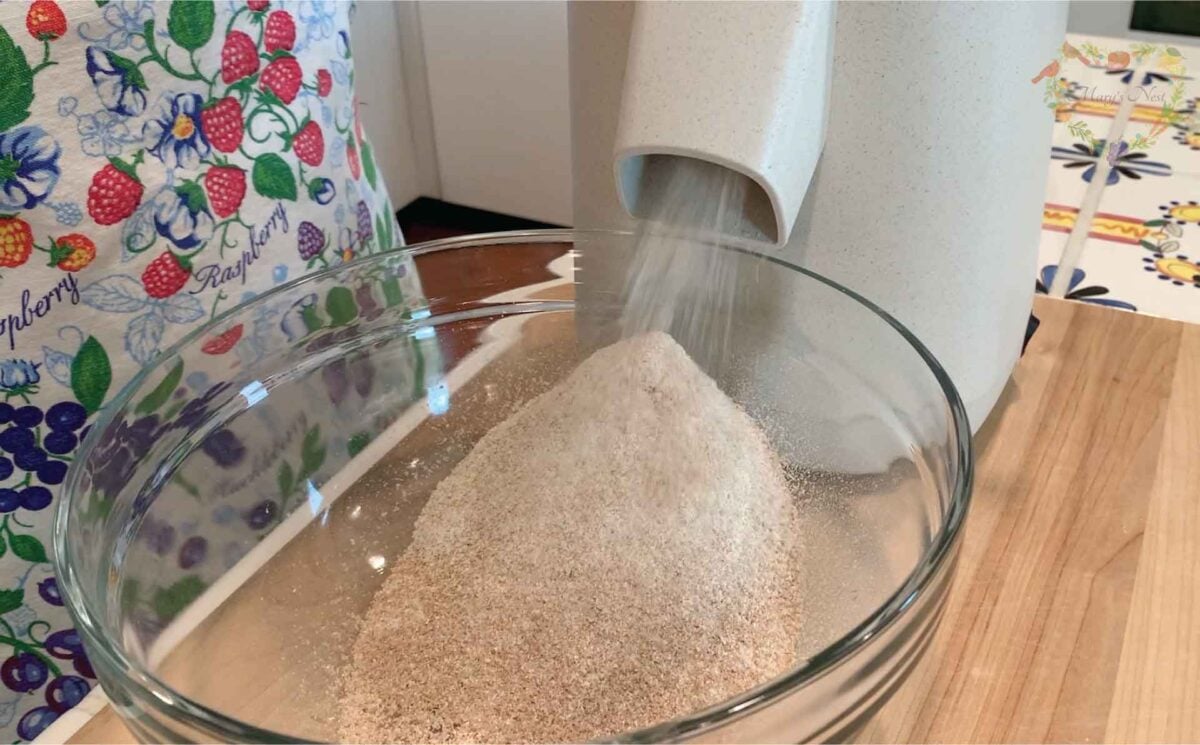
Learn more about Mockmill electric grain mills for making fresh flour and their Flake Lover’s Flaker that flakes whole grain in minutes. (This is not a sponsored post, I bought the Mockmill products that I show you, and I’m a happy user of their devices in my kitchen.)
- Mockmill 100 Grain Mill unboxing
- Get the Mockmill 100 Stone Grain Mill (Same product I show you my unboxing video.)
- Flake Lover’s Flaker from Mockmill in action (Using this device, you can flake whole grain in minutes.)
Order YOUR COPY Now!
The Modern Pioneer Cookbook
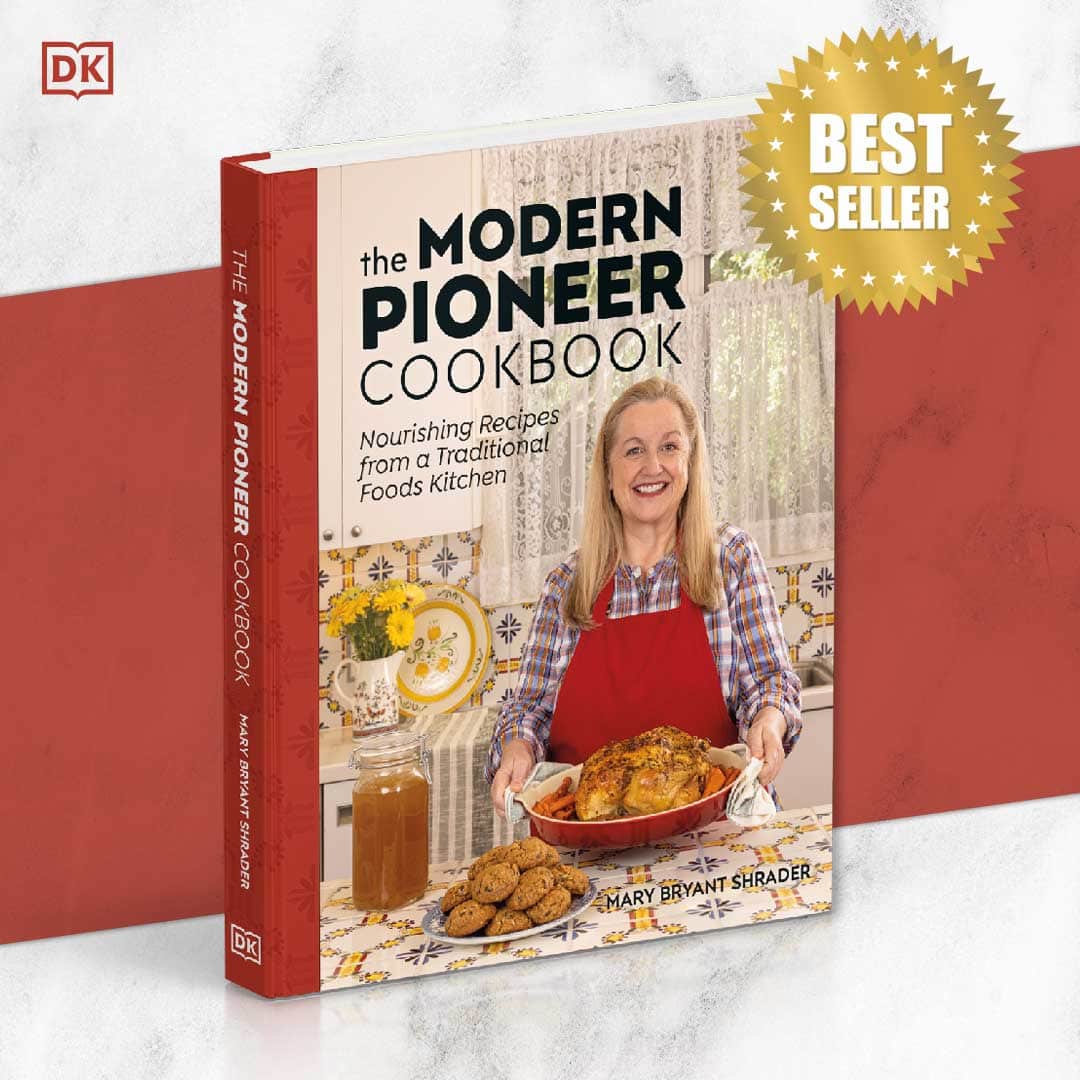
Seasonal ingredients, traditional techniques, and nourishing recipes. Over 85 traditional, from-scratch recipes! Discover for yourself how you can use simple ingredients and traditional techniques to cook the modern pioneer way.
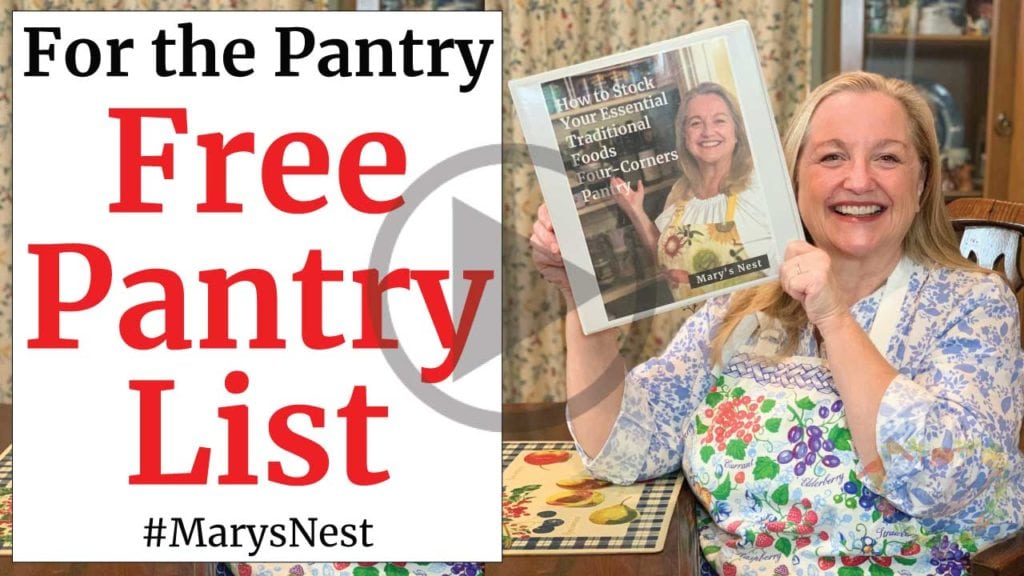
Download Your Free 36-Page Pantry List
For an extensive list of the traditional foods you can make and purchase to stock your pantry, be sure to download my free 36-page Traditional Foods Pantry List. This comprehensive eBook is full of links to recipe videos, helpful articles, and more!
If you’re looking for a printed book full of my traditional foods recipes that shows you how to create a traditional foods kitchen, be sure to order your copy of my new bestselling book, The Modern Pioneer Cookbook.
Join the Traditional Foods Kitchen Academy
Are you looking for more traditional foods videos? If so, I invite you to join the Traditional Foods Kitchen Academy. Members of this optional paid YouTube community get access to exclusive videos and other members-only perks. Plus, your YouTube comments include a special members-only badge.
Kitchen Academy Videos
Discussing the Secrets to Perfect Green Herbal Oils
Let’s talk about the popularity of flavored herbal oils.
Are You Salt Sensitive or Salt Resistant? Get the Latest Salt Intake Research
Learn how your body may react to salt intake differently from others.
What Is the Best Time to Eat Dinner?
Find out if eating dinner early or late is best for you. You might be surprised!
Stay in Touch with Mary’s Nest
- Subscribe to My YouTube Channel for Traditional Foods Videos (Free) - When you subscribe, be sure to click on the notification bell that will let you know each time I upload a new video.
- Subscribe to Mary’s Traditional Foods Newsletter (Free) - Get a free 36-page eBook for signing up: How to Stock Your Essential Traditional Foods Four-Corners Pantry.
- Join the Traditional Foods Kitchen Academy (Optional Paid) - For more detailed videos and exclusive members-only perks, join my YouTube membership community.
- Order The Modern Pioneer Cookbook (Optional Paid) - Get a printed book of Mary's nourishing recipes from a Traditional Foods Kitchen. This bestselling cookbook is published by Penguin Random House with their DK imprint.
I look forward to having you join me in my Texas Hill Country Kitchen!
I’d like to receive more tips and recipes from Mary’s Nest.
Anyone Can Make This Bread – Easy Artisan Bread
Equipment
- 1 Large Dutch Oven You can also use a baking sheet pan with parchment paper.
Ingredients
- 3 cups Bread Flour You can also use All-Purpose Flour.
- 1/4-1/2 tsps Yeast For an 8-12 hour rise use 1/2 teaspoon for a 12-18 hour rise use 1/4 teaspoon.
- 1 tsp Fine Ground Salt You can also use up to 1 1/2 tsp of Fine Ground Salt.
- 1 1/2 cups Water If needed for dough consistency, you can add up to 2 cups of water.
Instructions
- In a large mixing bowl, combine the flour, yeast, and salt.
- Gradually add the water, starting with 1 1/2 cups, and stir until a sticky dough forms. You can add a bit more water if needed. The dough should be shaggy and sticky—not dry or stiff.
- Cover the bowl with a clean kitchen towel and let the dough rest at room temperature for 8-18 hours. The dough will rise during this time. (You can also put the dough in the fridge and let it slowly rise over a 24-48 hour timeframe.) After the dough has risen, it will be bubbly and slightly larger.
- Place the dough on a floured surface and gently shape it into a round loaf. No Kneading required.
- Preheat your oven to 500°F (260°C) and place a Dutch oven or heavy oven-proof pot with a lid inside the oven to heat it up.
- Carefully transfer your dough to a piece of parchment paper, then lower it into the preheated Dutch oven. Remember to remove the parchment paper. (You can also carefully plop your dough right into the Dutch oven.)
- Cover the Dutch oven with its lid and bake for 30 minutes. For a small oven, turn the temperature down to 425°F (218°C). You can set larger ovens to 450°F (232°C).
- After 30 minutes, remove the lid and bake for an additional 10-15 minutes, or until the bread is golden brown and has a crisp crust.
- Once baked, remove the bread from the Dutch oven and let it cool on a wire rack. Although tempting, resist the urge to slice into it right away—let it cool completely to set the texture.
Video
Notes
Nutrition
Shop for items used in this blog post or video
Favorite Baking Supplies
- Dutch Oven
- SAF Yeast
- Sea Salt
- OXO Whisk
- Large Glass Bowl
- Large Glass Bowl with Lid
- Glass Measuring Cup
- Baking Sheet
- Parchment Paper
Favorite Kitchen Supplies
- Favorite Aprons
- Spice Grinder
- Countertop Burner (On my kitchen island in many recipe videos.)
- Handheld Vacuum Sealing System
- Vacuum Lids
- Whisk
- Silica Gel Packets (Helps keep moisture from building up in your mix)
- Cast Iron Dutch Oven
- 8-Quart Slow-Cooker
- Fat Separator (Clever kitchen device to help you decant bone broth)
- Flour Sack Towels
- pH Strips (Helps you check on the acidity of your vinegar)
Amazon Shop and Shopping Guide
- Visit Mary’s Nest Amazon Shop
- Visit my Shopping Guide page
Get up to 15% off for stocking your Traditional Foods Pantry and equipping your Modern Pioneer Kitchen, including discounts from US Wellness Meats, Farmhouse Teas, Lehman's, Masontops, Cultures for Health, Survival Garden Seeds, Redmond Real Salt, Plan to Eat, and More!
