Learn how to make the best homemade hamburger buns ever! These buns are pillowy soft, yet firm enough to hold up to even the juiciest hamburger or the sloppiest sloppy joe.

Affiliates note: As an Amazon Associate I earn from qualifying purchases. My content may contain affiliate links to products and services. If you click through and make a purchase, I’ll receive a small commission. It does not affect the price you pay.
Table of Contents
- Homemade Hamburger Buns
- Looking for Pastured Raised Meats?
- White or Whole Wheat Hamburger Buns
- Start with Flour or Whole Grains
- Grind Your Own Flour with the Mockmill
- What Types of Grain Can I Grind?
- Sugar for Baking Hamburger Buns
- Knead or No Knead?
- Homemade Condiments for Hamburger Buns
- New to Fermenting?
- One-Minute Homemade Mayo Anyone?
- Download Your Free 36-Page Pantry List
- The Modern Pioneer Cookbook
- Homemade Sandwich Bread Recipes
- Join the Traditional Foods Kitchen Academy
- Kitchen Academy Videos
- Homemade Hamburger Buns Recipe
- Shop for items used in this blog post or video
Homemade Hamburger Buns
You can certainly buy hamburger buns at the grocery store. However, just as I have shared with you in my how to make homemade sandwich bread recipe video, you can make pretty much make any type of supermarket bread at home.
And what you make at home will be fresher, tastier, and healthier. Your homemade hamburger buns will contain simple ingredients like:
- Flour (Your choice!)
- Salt
- Water
- Yeast
These are all ingredients you can pronounce. Plus, the best ingredient in anything you make homemade is love!
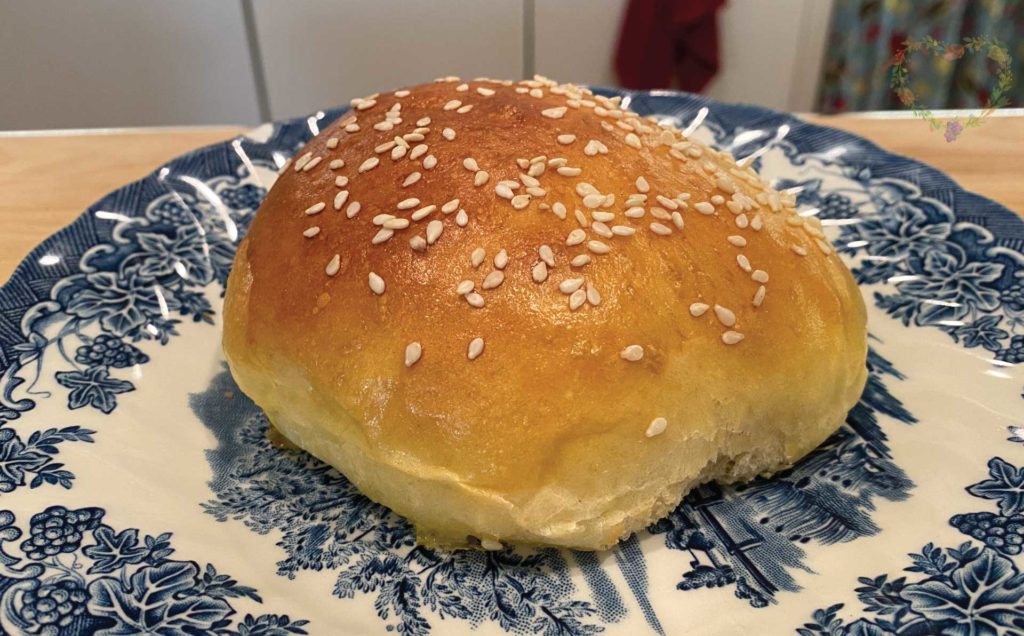
Pillowy Soft Yet Substantial
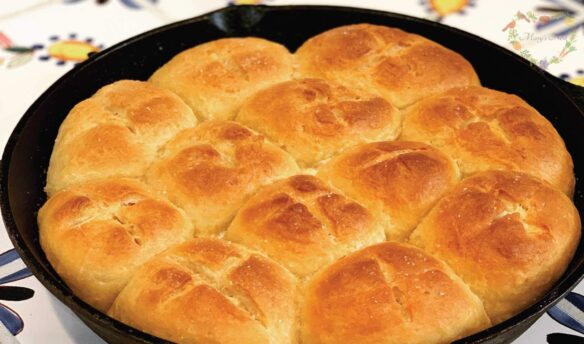
This recipe for homemade hamburger buns creates a bread that is pillowy soft on the inside but is substantial enough to hold a large hamburger without falling apart or becoming a mushy mess.
And speaking of hamburgers…
Looking for Pastured Raised Meats?
If you can’t find ground beef from grass-fed cattle in your neighborhood supermarket or farmer’s market, check out US Wellness Meats for some of the best organic meats, pastured chickens, beef bones, and more.
- Use discount code MARYNEST and my link to save 15% off regular-priced items on your US Wellness Meats order. You can shop for a variety of products, including:
This post is not sponsored. I’m a long-time customer of US Wellness Meats because I have always been impressed by the quality of their products. Check out my US Wellness Meats unboxing video to see the types of products you can get, including bones for beef bone broth!
White or Whole Wheat Hamburger Buns
This recipe for hamburger buns is well suited for beginners, since you can choose from one of the following easy-to-find flours:
- All-purpose flour (also referred to as white flour or plain flour)
- Bread flour
Both of these flours have the bran and the germ sifted out of them, and you can find them at almost any grocery store.
Using Whole Grain Flours
If you decide that you want to try your hand at making whole-grain hamburger buns, you can easily use one of these flours in place of some or all of the all-purpose or bread flour:
- Whole wheat flour
- Ancient whole grain flours
In the printable recipe below, I share how to make the modifications necessary when baking with whole grains.
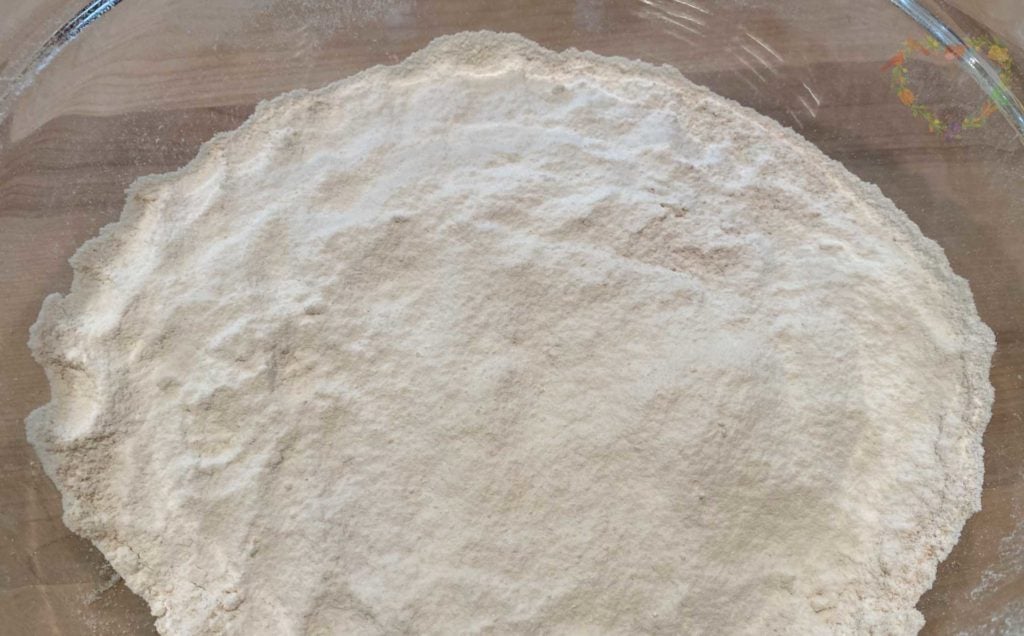
Start with Flour or Whole Grains
In my recipe video, I show you two ways to start making homemade hamburger buns using:
- Whole grains, milled into fresh flour using a grain mill, and then sifted to make a homemade all-purpose flour; or
- All-purpose flour, available at pretty much any grocery store.
Check the timestamps in my video description to go directly to the video section where you’d like to start. For example, if you already have all-purpose flour, you can hop to the “Ingredients for Hamburger Buns” section.
If you start with whole grain, this video provides a step-by-step tutorial to show you how to use the Mockmill grain grinder using whatever whole grains you choose. I also show you how to sift out some of the bran and the germ using a mesh strainer and a baker’s sifter (or flour sifter).
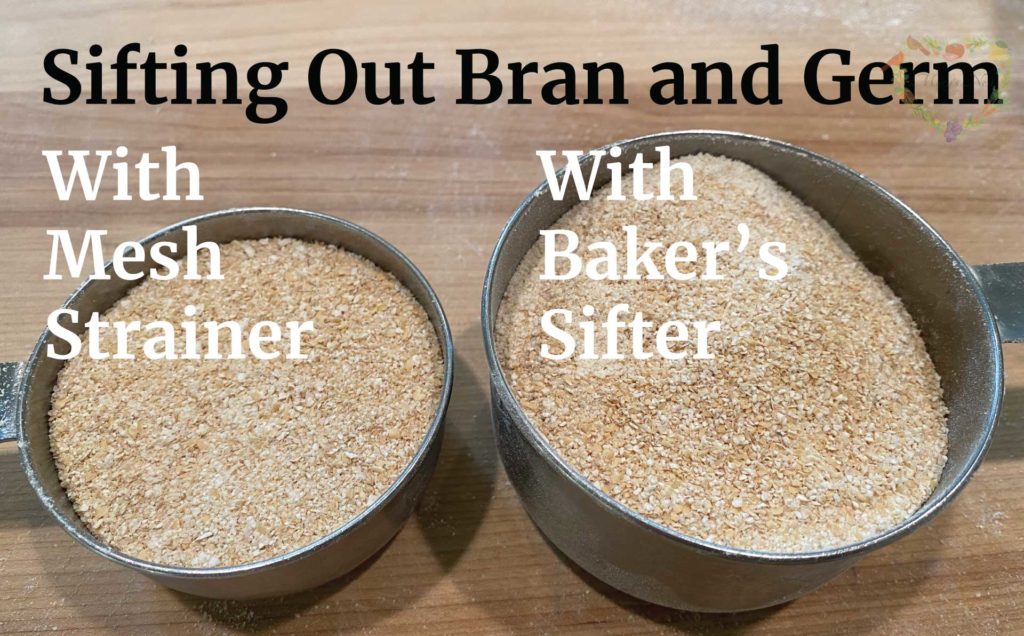
Using a Mesh Strainer or Baker’s Sifter
When using a standard mesh strainer, you will sift out a little less than half a cup of bran and germ from your freshly milled flour. When you re-sift the flour using a baker’s sifter that has a tighter mesh, you will sift out an additional amount of bran and germ equally, a little less than one cup.
Don’t worry if you don’t have a baker’s sifter. You can re-sift your flour using your standard mesh strainer, and you will increase the amount of bran and germ that you are able to sift out of the flour. Of course, it won’t be as much as what you can sift out using a baker’s sifter, but you will still create a flour that will bake up lighter than a 100% whole grain flour.
After you sift out as much of the bran and germ as you can, you’ll create a homemade all-purpose flour that you will use in the hamburger buns recipe.
Grind Your Own Flour with the Mockmill
When it comes to electric grain mills, after I did A LOT of research, I decided to buy a Mockmill. And am I so happy I did! The Mockmill is a very affordable but beautifully crafted German-made mill that stone grinds grain with settings ranging from 1 to 10—fine to coarse ground grain. (I use setting 5 in my hamburger buns recipe video.)
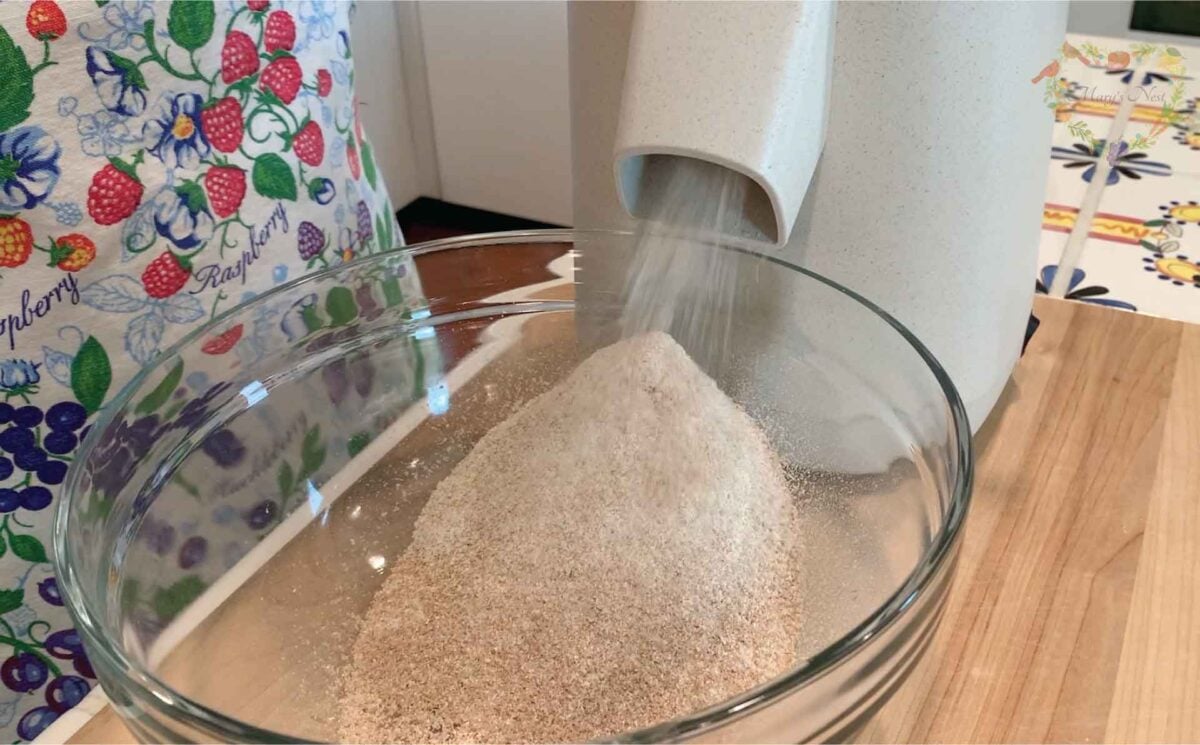
Learn more about Mockmill electric grain mills for making fresh flour and their Flake Lover’s Flaker that flakes whole grain in minutes. (This is not a sponsored post, I bought the Mockmill products that I show you, and I’m a happy user of their devices in my kitchen.)
- Mockmill 100 Grain Mill unboxing
- Get the Mockmill 100 Stone Grain Mill (Same product I show you my unboxing video.)
- Flake Lover’s Flaker from Mockmill in action (Using this device, you can flake whole grain in minutes.)
What Types of Grain Can I Grind?
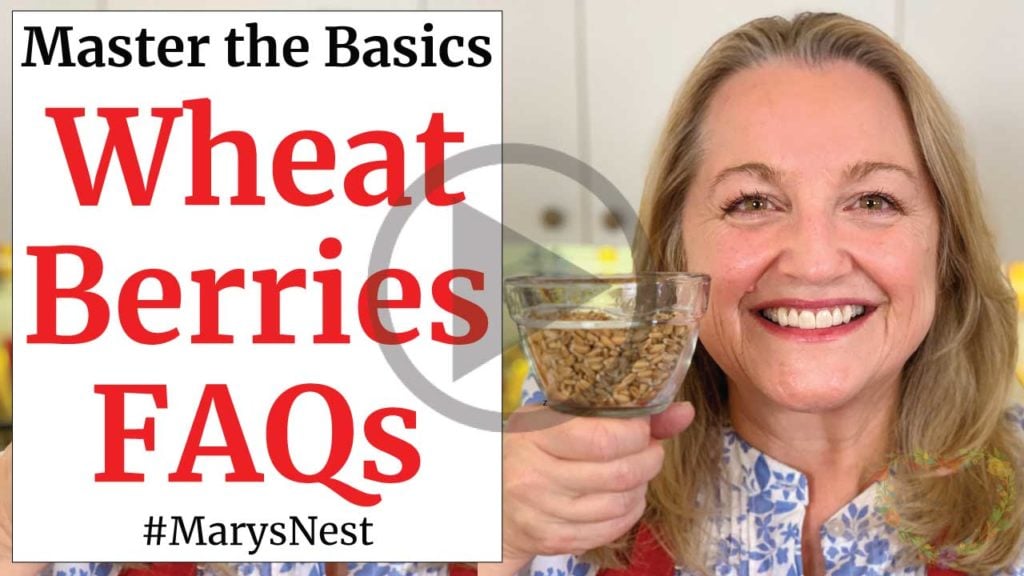
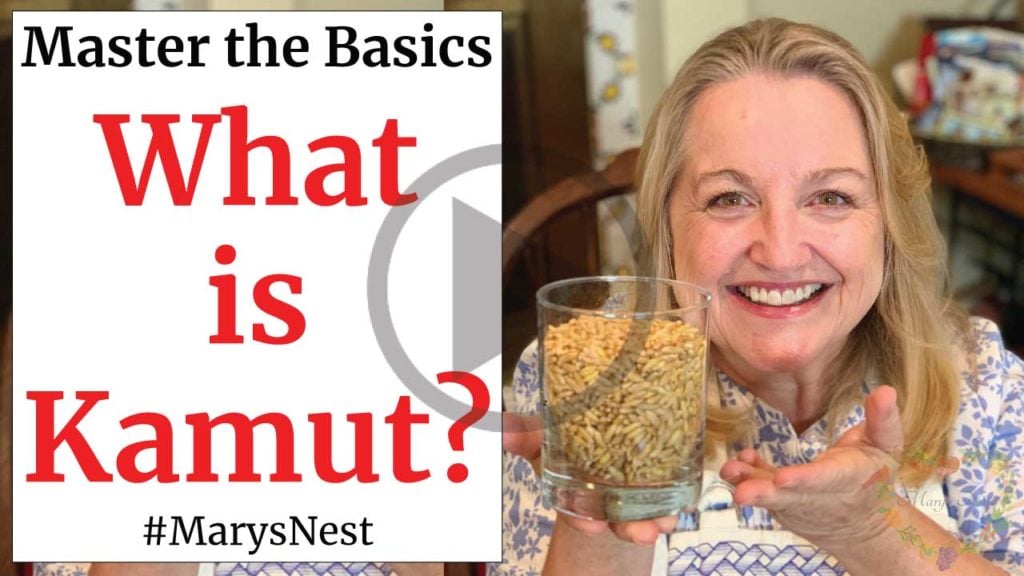
Using your Mockmill or another type of grain grinder, you can choose a modern-day wheat berry (such as Hard Red Wheat or Hard White Wheat) or choose from a variety of ancient whole grains (such as Einkorn, Emmer, Spelt, or Kamut) to grind into all-purpose flour for making your hamburger buns.
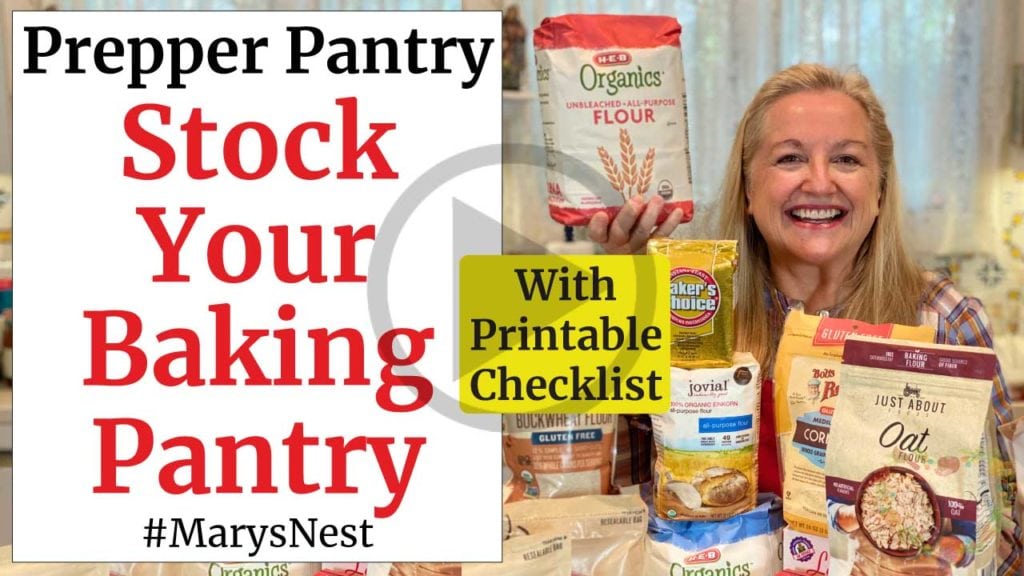
In the following videos, I introduce you to the different wheat berries that you can grind into flour. These whole grains range from Einkorn to Kamut. I also show you how to stock your baking pantry with the best ingredients.
Sugar for Baking Hamburger Buns
One of the ingredients for making hamburger buns is a small amount of sugar. To make this recipe accessible to beginners, I use plain white sugar. However, if you are farther along in your traditional foods journey, you can use other healthier sugars, such as Sucanat.
To learn more about the different sugars you can choose from, watch my essential sugars for your Prepper Pantry video.
Knead or No Knead?
Also, to help beginners make their first homemade hamburger buns, I show you how to use a stand mixer for kneading your dough. (For making pillowy-soft hamburger buns, you really want to use a kneaded dough.)
However, if you don’t have a stand mixer, you can always knead your dough out by hand. You can learn how to knead dough in my tutorial video on how to make easy homemade bread.
No Knead Bread Recipes
If you’d rather not knead your dough, I have a number of no knead recipes, such as my homemade sandwich bread (with over 1 million views) that I mentioned earlier, as well as these other no knead bread recipe videos too:
Homemade Condiments for Hamburger Buns
When you take the time to learn how to make fresh, homemade hamburger buns, you may also want to bring some homemade condiments to the table as well! But not just any condiments. Try your hand at making homemade fermented condiments.
Why Fermented Condiments?
Fermented condiments will not only be fresher and tastier than anything you can buy at the store, but they will also be rich in probiotics. And these probiotics help you by creating a diverse colony of good bacteria in your digestive tract that aid in digestion and contribute to your overall good health.
Although fermenting may take a little longer in the wintertime, the good news is that longer ferments typically have a better flavor, and you don’t have to worry about summertime fermenting problems, such as mold or Kahm yeast. Just find a nice, cozy warm spot for your ferments (around 65-72°F) and let them do the work for you.
So be sure to try your hand at making your own fermented:
- Ketchup
- Mustard
- Giardiniera (A delightful Italian vegetable mix!)
New to Fermenting?
If you are new to fermenting, you might find using the Masontops Fermentation Kit quite helpful to get you started. Novice and experienced fermenters have found the Masontops system a joy to use.
In my Masontops unboxing video, I show you my Masontops Complete Mason Jar Fermentation Kit and go over everything the kit includes.
If you decide to get one, be sure to use my coupon code below for a special discount.
- Use promo code MARYSNST for a one-time 15% off Masontops and Breadsmart products on Amazon.com. (This is not a sponsored post. Masontops provided me with a special discount code for my viewers. I like their products, and I think you will too.)
One-Minute Homemade Mayo Anyone?
And speaking of condiments, would you like to learn how to make your own homemade mayonnaise and how to do it in one minute? If so, I have the perfect recipe for you, and it will taste great on your hamburger buns!
In this easy recipe video, I share the best oils to use to make a mayonnaise that will rival any store-bought brand. Plus, it contains NO soybean oil. That is one highly-processed oil we definitely DO NOT want in our traditional foods kitchens or our bodies!
Download Your Free 36-Page Pantry List
For an extensive list of the traditional foods you can make and purchase to stock your pantry, be sure to download my free 36-page Traditional Foods Pantry List. This comprehensive eBook is full of links to recipe videos, helpful articles, and more!
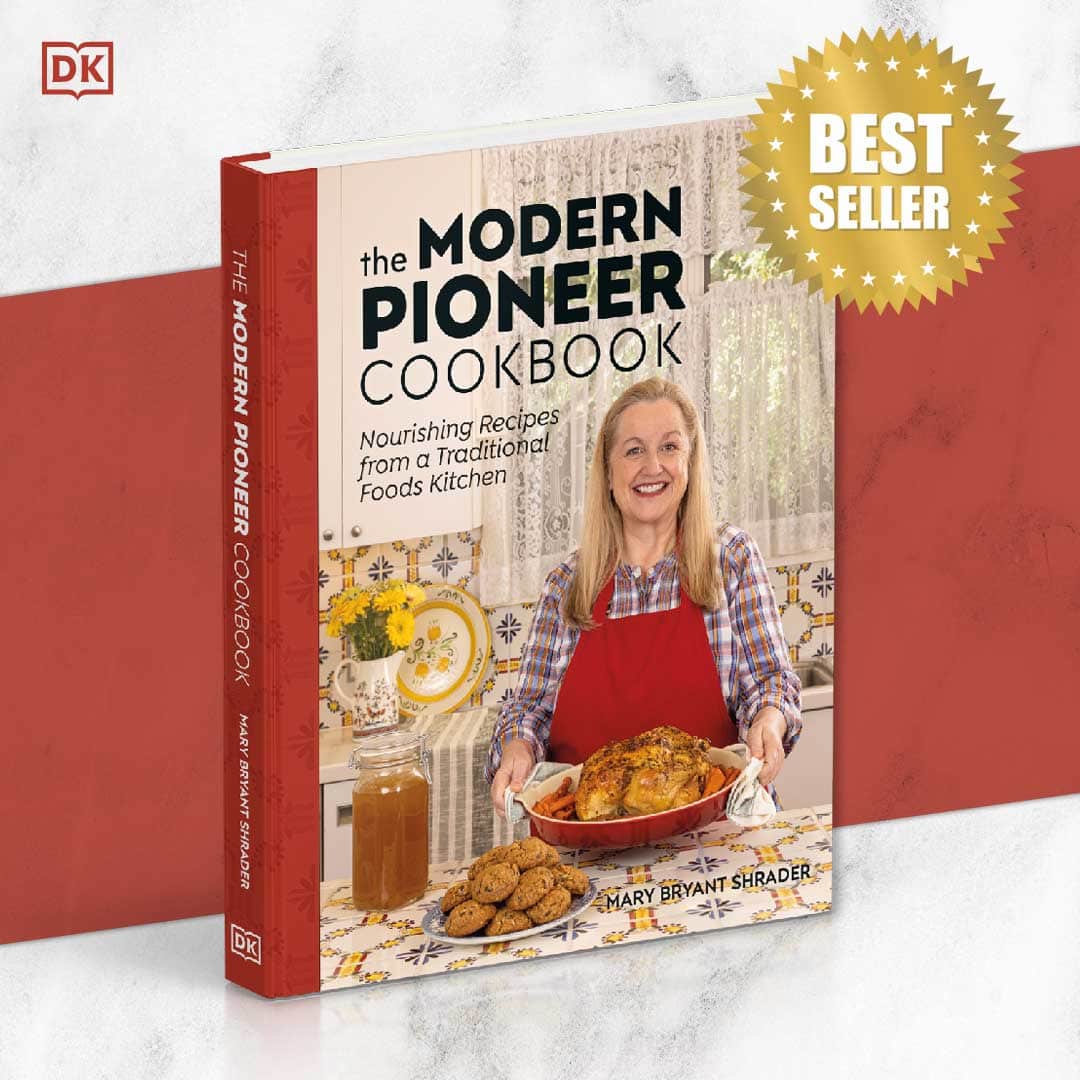
And if you’re looking for a printed book full of my traditional foods recipes that shows you how to create a traditional foods kitchen, be sure to order your copy of my new book, The Modern Pioneer Cookbook.
Order YOUR COPY Now!
The Modern Pioneer Cookbook
Seasonal ingredients, traditional techniques, and nourishing recipes. Over 85 traditional, from-scratch recipes! Discover for yourself how you can use simple ingredients and traditional techniques to cook the modern pioneer way.
Homemade Sandwich Bread Recipes
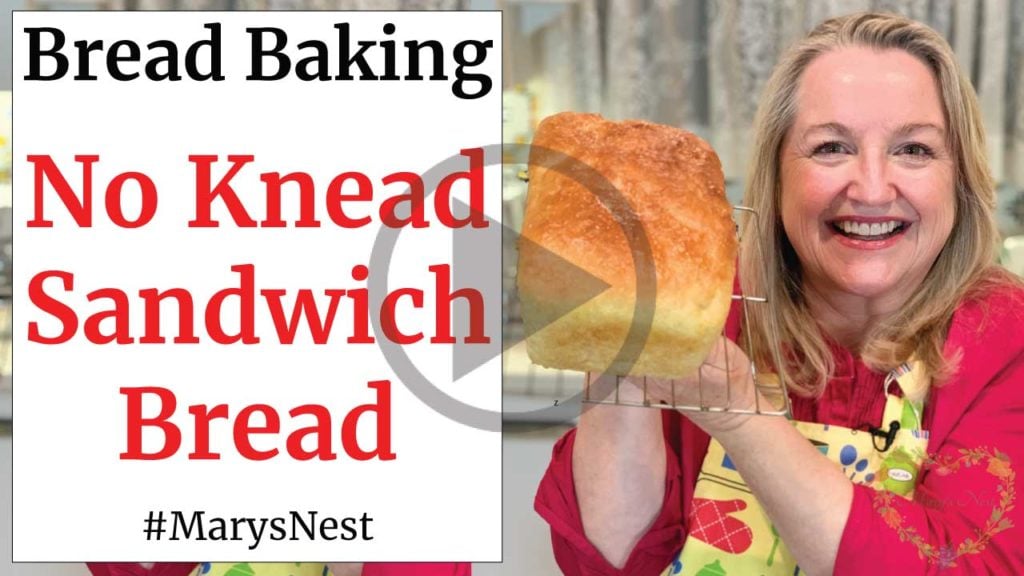
If you enjoyed making homemade hamburger buns, and you’re looking for more bread recipes, especially an easy homemade sandwich bread, I have the recipe for you!
Experienced bakers will love the ease of this no-knead sandwich bread, and new bakers will find this to be a great introduction to home bread making. And making bread homemade is a huge money saver!
This no-knead sandwich bread will rival any soft sandwich bread you can buy in a plastic sleeve in the bread aisle at your local grocery store. Plus, it’s made with wholesome ingredients you can pronounce as opposed to dough conditioners and a list of preservatives.
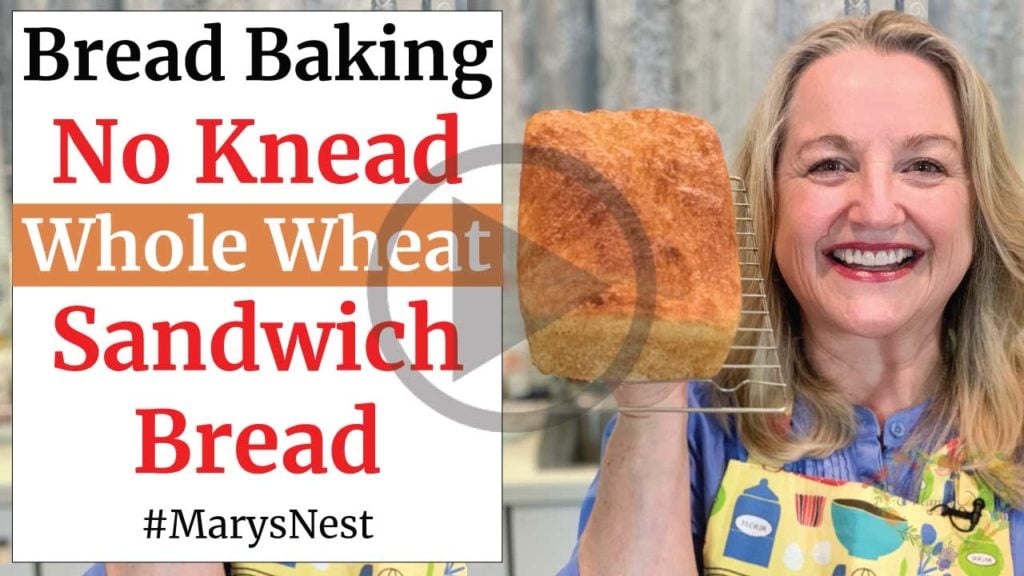
As you move further along on your journey, leaving a processed foods kitchen behind and building your traditional foods kitchen, you might want to start incorporating whole grains into your baking repertoire. So, if you are looking for an easy no-knead whole wheat bread, look no further than the following recipe video.
Join the Traditional Foods Kitchen Academy
Are you looking for more traditional foods videos? If so, I invite you to join the Traditional Foods Kitchen Academy. Members of this optional paid YouTube community get access to exclusive videos, live streams, and other members-only perks. Plus, your YouTube comments include a special members-only badge.
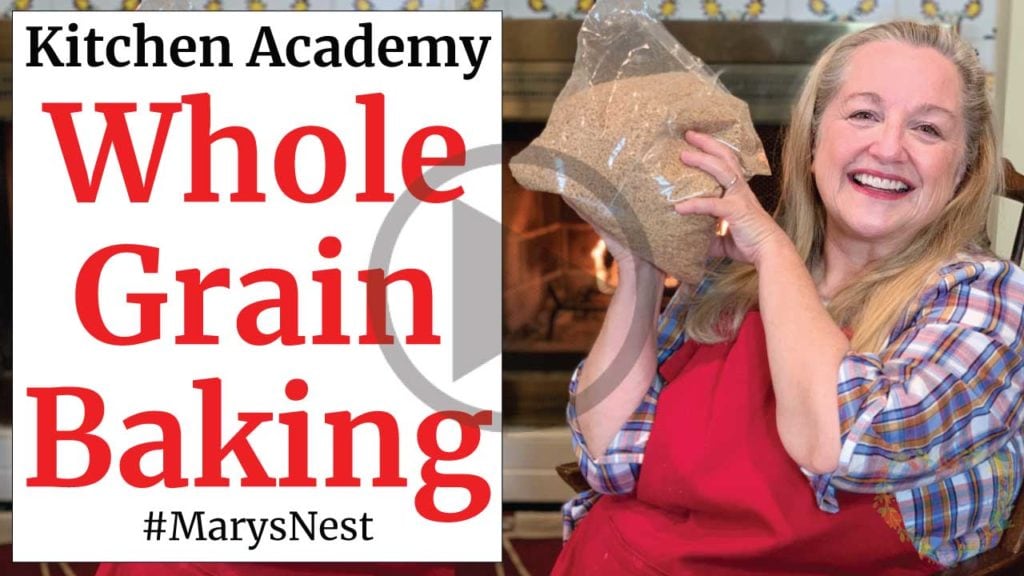
In the following members-only video, I talk about Whole Grain Baking for the Traditional Foods Kitchen.
Kitchen Academy Videos
Are You Salt Sensitive or Salt Resistant? Get the Latest Salt Intake Research
Learn how your body may react to salt intake differently from others.
What Is the Best Time to Eat Dinner?
Find out if eating dinner early or late is best for you. You might be surprised!
Does Eating Food in a Specific Order Fight Disease?
Research suggests that the order in which we eat our food may significantly impact our health and ability to fight disease.
Stay in Touch with Mary’s Nest
- Subscribe to My YouTube Channel for Traditional Foods Videos (Free) - When you subscribe, be sure to click on the notification bell that will let you know each time I upload a new video.
- Subscribe to Mary’s Traditional Foods Newsletter (Free) - Get a free 36-page eBook for signing up: How to Stock Your Essential Traditional Foods Four-Corners Pantry.
- Join the Traditional Foods Kitchen Academy (Optional Paid) - For more detailed videos and exclusive members-only perks, join my YouTube membership community.
- Order The Modern Pioneer Cookbook (Optional Paid) - Get a printed book of Mary's nourishing recipes from a Traditional Foods Kitchen. This bestselling cookbook is published by Penguin Random House with their DK imprint.
I look forward to having you join me in my Texas Hill Country Kitchen!
Homemade Hamburger Buns

Equipment
- 1 Wooden spoon
- 1 Danish dough whisk, optional
- 1 Electric hand mixer with dough hook, optional
- 1 Electric stand mixer with dough hook, optional
- 1 Sheet of parchment paper or silicone baking mat
- 1 Small whisk, optional
- 1 Pastry brush
Ingredients
- 1 pkg Active dry yeast 1 package equals approximately 2 1/4 teaspoons of active dry yeast.
- 3-4 cups All-purpose flour Also known as white flour or plain flour.
- 1 – 1 1/2 cups Warm water, approximately. 110°F Similar to warm bath water.
- 2 large Eggs, raw, divided One egg will be used for the bread dough, the other will be used for a wash.
- 3 tbsp Butter, melted You can substitute olive oil or coconut oil, if you need to keep this recipe dairy-free.
- 3 tbsp White sugar or a whole sweetener I generally prefer to use sucanat, but for these hamburger buns, white sugar works best. You can also use a liquid sweetener, like honey, but you will most likely need a bit less liquid when mixing the dough.
- 1 1/4 tsp Sea salt, fine ground
- 1 tsp Olive oil
- 1 tbsp Milk
- 1 tsp Sesame seeds, optional
Instructions
- To a glass measuring cup, add 1 cup water and sugar, and then stir to dissolve the sugar.
- To the water sugar mix, add yeast and stir. Set the mixture aside to allow the yeast to proof (foam). This will take approximately 10 minutes or more.
- Cook's Note: If you are using instant yeast instead of active dry yeast, you do not need to proof the yeast and can immediately move on to the next step.
- Once the yeast has proofed, add the melted butter and 1 egg to the yeast mixture. Stir well until the butter and egg are fully incorporated.
- To either a large bowl or the bowl of an electric mixer, add yeast mixture, 1/2 cup of flour, salt, and mix well.
- Begin adding flour, one cup at a time, mixing well between each addition until a sticky dough mixture begins to form and begins to pull away from the sides of the bowl. (See video.)
- Cook's Note: If you are mixing this by hand, the handle of a wooden spoon or a Danish dough whisk can be helpful. If you are using an electric mixer, use the dough whisk attachment.
- Mixing by Hand: Once the sticky dough mixture has formed, it's time to knead it into a smooth dough. If you are doing this by hand, transfer the dough to a floured surface and knead the dough for about 10 minutes. If the dough sticks to the surface, add a little more flour to the surface and continue to knead the dough. A plastic bench scrape can also be helpful for this purpose.
- Mixing by Hand: Once the dough is smooth, form it into a ball and make sure that any loose ends are tucked underneath the bottom of the ball.
- Mixing with an Electric Mixer: If you are using an electric mixer, knead the dough at low speed for about 5 minutes. If you find that some of the sticky dough is sticking to the sides of the bowl, stop your mixer and scrape down the sides. If the sticky dough continues to stick the sides of the bowl and does not form into a ball, completely pulling away from the sides of the bowl, sprinkle in one tablespoon of flour at a time until the dough forms into a smooth mass.
- Mixing with an Electric Mixer: Transfer the dough onto a floured surface and form the dough into a smooth ball, tucking in the loose ends underneath the bottom of the ball.
- Once you have the dough formed into a ball, drizzle the olive oil in whatever bowl you are using and place the dough into the bowl. Turn the dough over and over several few times in the bowl to completely coat the dough with the oil.
- Cover the bowl with plastic wrap, aluminum foil, or a tea towel, and let the dough rise in a warm place until it has doubled in size. This process will take about 1-2 hours. (The shorter rise time will be when using instant yeast. The longer rise time will be for when using active dry yeast.)
- Once the dough has doubled in size, transfer the dough to a floured surface and pat it down to form it into a 5"x10" rectangle about 1/2 inch thick. Dust the dough lightly on top if it is exceptionally sticky.
- Cut the rectangle of dough into eight equal pieces.
- Form each piece of dough into a round ball, tucking the loose ends underneath the ball. Then pat the dough balls between your hands until they resemble a flat disk about 1/2 inch in thickness. (See video.)
- Line a baking sheet with parchment paper or a silicone baking sheet and place each disk of dough onto the baking sheet about 1 inch apart.
- Dust disks very lightly with flour and cover with a clean piece of plastic wrap, aluminum foil, or a tea towel.
- Allow disks to rise in a warm place until doubled in size and look like hamburger buns. This will take approximately 30 minutes to 1 hour depending on what type of yeast you used.
- While the disks are rising, preheat the oven to 375°F (190°C).
- Whisk the remaining egg with the milk in a small bowl until completely combined. Set aside.
- Once the disks have risen and look like hamburger buns, using a pastry brush, gently brush the tops of the buns with the egg/milk mixture. This is known as a "wash."
- Immediately after brushing the wash onto the top of the buns, sprinkle them with the sesame seeds, if using.
- Bake hamburger buns in the preheated oven until lightly golden brown on top. This can take between 15-20 minutes.
- Remove baking sheet from oven and place on a heatproof surface. Allow the buns to cool slightly, then transfer to a wire cooling rack to finish cooling completely.
- Once cooled, slice hamburger buns in half crosswise and serve.
- Well wrapped, hamburger buns will stay fresh in the refrigerator for 5-7 days or 3 months in the freezer.
Video
Notes
Nutrition
Shop for items used in this blog post or video
Favorite Baking Supplies
- Favorite Aprons
- 10-Piece Glass Bowl Set
- Glass Measuring Cup
- Stainless Steel Measuring Cups/Spoons
- Danish Dough Whisk
- Electric Stand Mixer
- Bench Scrape
- Baking Sheet
- Flour Sifter
- Magic Whisk
- Pastry Brush
Amazon Shop and Shopping Guide
- Visit Mary’s Nest Amazon Shop
- Visit my Shopping Guide page
Get up to 15% off for stocking your Traditional Foods Pantry and equipping your Modern Pioneer Kitchen, including discounts from US Wellness Meats, Farmhouse Teas, Lehman's, Masontops, Cultures for Health, Survival Garden Seeds, Redmond Real Salt, Plan to Eat, and More!






Hands down the best bun recipe I have ever made and your instructions are so thorough!❤️
Hi Bonnie,
Thanks so much for your kind comment. I’m so glad you enjoy the recipe! 😊
Love and God bless,
Mary
My family always loves when I make these!
Hi April,
Thanks so much for your kind comment. I’m so glad your family enjoys this recipe!
Love and God bless,
Mary
My 9 yr. old daughter and I made these today for our burgers tonight! This was a lovely homeschool cooking class for my daughter and I. My 15 yr. old son is making the delicious burgers for them:) Such a great recipe and you are a wonderful teacher. I already preordered your cookbook and cannot wait to receive it!!
Hi Sara,
Thanks so much for your wonderful comments and for ordering my book. I’m glad that you were able to use this recipe as a cooking class. It brings back fond memories of our homeschool days! 🙂
Love and God bless,
Mary
Excellent recipe—so easy and delicious!
Mary is such a wonderful “traditional foods” teacher! She is so thorough in her guidance, and when watching Miss Mary, I always feel like I’m listening to a friend give me a recipe or advice.
Hi Dara,
Thanks so much for your kind comment.
I’m so glad we’re on this traditional foods journey together! 🙂
Love and God bless,
Mary