Learn how to make bread with these easy to follow, yet detailed step-by-step instructions. And there is no machine required!
Affiliates note: As an Amazon Associate I earn from qualifying purchases. My content may contain affiliate links to products and services. If you click through and make a purchase, I’ll receive a small commission. It does not affect the price you pay.
Table of Contents
Homemade Bread
There is something exceptional about being able to make homemade bread. You get such a feeling of accomplishment when you bake your own bread, and no one can resist a hot loaf that’s fresh from your oven!
Unfortunately, for many people, the skill of baking bread has eluded them for one reason or another. Maybe their mom wasn’t a baker, or their high school had long ago relegated home economics classes, sadly, to the trash heap. But baking bread is not a mystery. Nor is it difficult. It’s actually quite easy. And with the step-by-step instructions that I walk you through in my recipe video, you’ll be baking your own homemade bread in no time!
With my printable recipe, I give you the ingredients and steps to bake a loaf of traditional hand-kneaded bread. And with my recipe video, I show you how to make bread by hand, so don’t worry if you don’t have a stand mixer with a dough hook.
Besides, even if you have a variety of kitchen equipment to use at some point in your life, knowing how to bake bread by hand is what I call a life skill. We should all know how to do more things (cook, repair, and more) by hand. Having these skills can be very empowering because once you know how to do something by hand, everything else is a lot easier!
White or Whole Grain?
In my recipe video, I walk you through the steps for making basic white bread. However, you can easily convert this recipe to use whole grain flour. But keep in mind that if your or your family’s palate are new to whole grains, I recommend you start by using half all-purpose or bread flour and half whole grain flour.
Using 100% whole grain flour can create a somewhat dense texture and unpleasant taste to those that are used to eating white sandwich bread. It’s best to ease into whole grains gradually to help your family successfully transition from processed foods to traditional foods.
And as far as whole-grain substitutions go, you can use modern whole wheat or any of the ancient grains, including einkorn or spelt. In my printable recipe, I explain the adjustments you need to make if you decide to incorporate some whole grains into this bread dough recipe. (Also, in my Wheat Berries FAQ about Einkorn, Spelt, and More blog post and video, I show you the variety of wheat berries that you can use for traditional foods cooking.)
Don’t feel bad about not using all whole grains in your recipe right from the start. Even our ancestors sifted out some of the bran and germ from their flour after milling their grain to create a lighter, more digestible loaf of bread.
So, even when you decide to start adding whole grains to your baking repertoire, I often recommend allowing for at least one-half cup or one full cup of all-purpose or bread flour in your recipe. You’ll still get the nutritional benefits of the whole grain flour, but your final product will be more palatable.
More Bread Recipe Videos
Now that you’ve learned how to knead dough by hand (congratulations!), you can learn about all the tips and tricks of making bread without hand kneading.
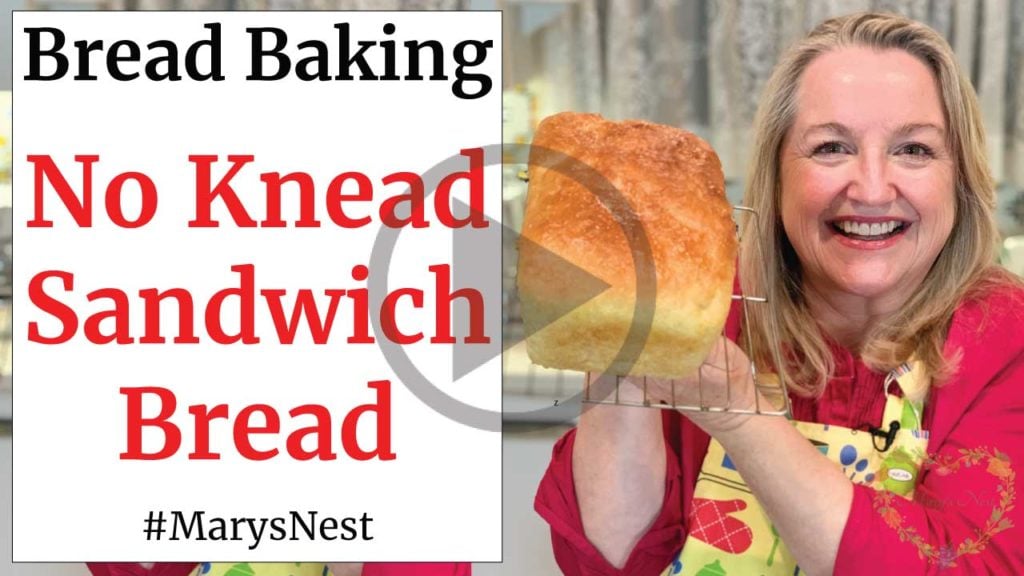
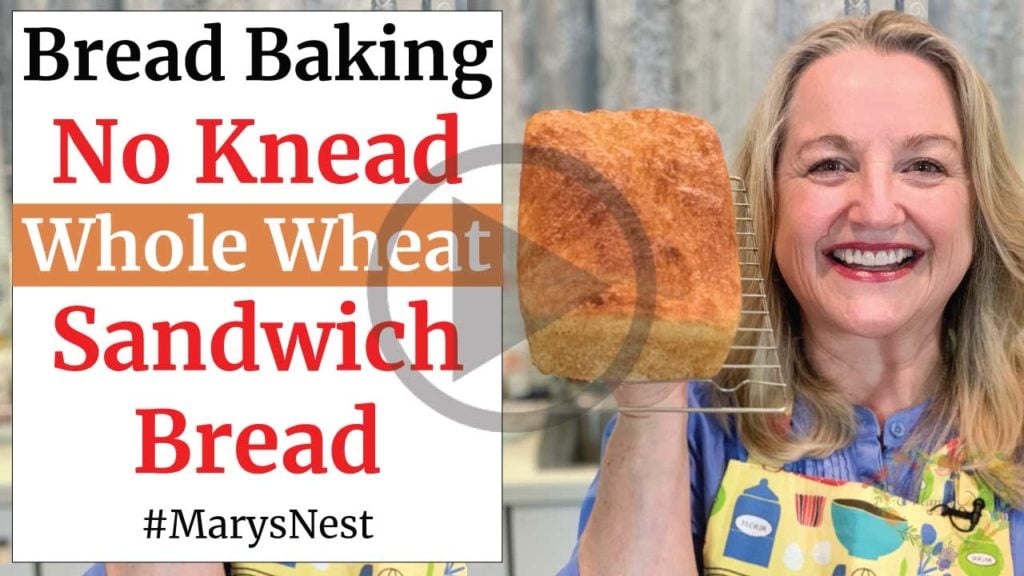
In the following videos, I’ll show you how to make a quick and easy No Knead Sandwich bread—both with white flour and whole wheat flour. And if you want to get fancy, you can try your hand at my No Knead Crusty Artisan Bread. It sounds elaborate, but it’s perfect for beginners.
And if you don’t have any yeast, don’t worry. Try these recipes for making breads that don’t require any yeast to rise.
If you’re ready to start making sourdough bread, watch my complete sourdough starter guide, and you’ll be baking sourdough bread in no time!
Bonus Bread Topping Videos
In case you need something to top your bread with, be sure to try your hand at making homemade Marmalade and Low Sugar Strawberry Jam.
And speaking of learning how to make things homemade without any special equipment…the marmalade recipe does not require any special ingredients, such as in store-bought pectin. I show you how to make marmalade the old-fashioned way. Another life skill! Once you learn how to make marmalades and jams without any added store-bought pectin, everything else is easier! Enjoy!
Download Your Free 36-Page Pantry List
For an extensive list of the traditional foods you can make and purchase to stock your pantry, be sure to download my free 36-page Traditional Foods Pantry List. This comprehensive eBook is full of links to recipe videos, helpful articles, and more!
And if you’re looking for a printed book full of my traditional foods recipes to show you how to create a traditional foods kitchen, be sure to order your copy of my new bestselling book, The Modern Pioneer Cookbook.
Join the Traditional Foods Kitchen Academy
Are you looking for more traditional foods videos? If so, I invite you to join the Traditional Foods Kitchen Academy. Members of this optional paid YouTube community get access to exclusive videos, live streams, and other members-only perks. Plus, your YouTube comments include a special members-only badge.
Kitchen Academy Videos
The Only Traditional Recipes You’ll Ever Need!
Focus on traditional recipes with real food. Don’t chase trends.
Let’s Talk Akkermansia: A Tiny Helper for Big Gut Health
Discover how Akkermansia muciniphila supports gut and immune health—and how traditional foods help this mighty microbe thrive.
How to Eat a Mediterranean Diet with a Keto Twist
Explore a Mediterranean-Keto twist with a full sample menu focused on healthy fats, quality proteins, and low-carb veggies.
Stay in Touch with Mary’s Nest
- Subscribe to My YouTube Channel for Traditional Foods Videos (Free) - When you subscribe, be sure to click on the notification bell that will let you know each time I upload a new video.
- Subscribe to Mary’s Traditional Foods Newsletter (Free) - Get a free 36-page eBook for signing up: How to Stock Your Essential Traditional Foods Four-Corners Pantry.
- Join the Traditional Foods Kitchen Academy - For more detailed videos and exclusive members-only perks, join my YouTube membership community.
- Order The Modern Pioneer Cookbook - Get a hardcover book of Mary's nourishing recipes from a Traditional Foods Kitchen. This bestselling cookbook is published by Penguin Random House with their DK imprint.
- Preorder The Modern Pioneer Pantry - Be one of the first to get Mary's hardcover book about preserving food and making delicious meals from your Four Corners Pantry. Mary's second cookbook is also published by Penguin Random House.
I look forward to having you join me in my Texas Hill Country Kitchen!
I’d like to receive more tips and recipes from Mary’s Nest.
How to Make Bread with Step-by-Step Instructions
Equipment
- 9" x 5" loaf pan
Ingredients
- 3 cups Flour, all-purpose flour or bread flour See Recipe Notes for whole grain flour adjustments.
- 1 teaspoon Salt
- 1/2 cup Milk, whole, low-fat, or fat-free Alternative kinds of milk may also be used, such as almond milk or oat milk.
- 3/4 cup Water In place of water, you can use all milk or an all milk alternative.
- 1 tablespoon sugar
- 2 1/4 teaspoons Commercial yeast, active dry or instant This is equivalent to one 1/4 ounce package of commercial yeast.
- 3 tablespoons Butter, unsalted and softened
- 1 tablespoon Oil of choice I generally use olive oil. You will use this ingredient to oil the bowl in which you will be placing the kneaded dough to allow it to rise.
Instructions
- In a large bowl, mix flour with salt and set aside.
- In a small bowl or measuring cup, mix milk, water, sugar, and active dry yeast. Stir and set aside for 5 minutes allowing yeast to foam. (If you are using instant yeast, you can mix the instant yeast with the flour and salt in step one. It does not need to be mixed in with the liquids.)
- After 5 minutes, add the liquids to the large bowl that contains the flour and salt. Mix well with a wooden spoon or clean hands until the dough comes together and "cleans the bowl." (See video.)
- Transfer the dough to a flat surface and knead for 8-10 minutes until the dough is soft and pliable. You knead the dough by flattening it slightly, then folding it over on itself. In the video, I demonstrate the kneading technique and the "windowpane test" to show you how you will know that the dough has been sufficiently kneaded. After you have been kneading the dough for about 7 minutes, begin to work in the butter about 1 tablespoon at a time until fully incorporated into the dough.
- Grease a large bowl with olive oil.
- Once fully kneaded, transfer the dough to the oiled bowl, and cover the bowl with plastic wrap, a damp towel, or a floured towel to prevent the dough from sticking to the covering as it rises.
- Place the dough that is in the covered bowl in a warm place such as on top of a refrigerator or in an oven that is turned off but has the electric light or pilot light on. Allow the dough to double in size in this warm place for 1 – 1 ½ hours.
- Test the dough at 1 hour to see if it has doubled in size. You can know if it has risen sufficiently by using the finger poke test. Insert your finger, up to the nail bed into the risen dough. If the indentation springs back, it has not risen sufficiently, so continue to let it rise. If the indentation stays indented or moves back very slowly, the dough has risen sufficiently. (See video.)
- About 20 minutes before the dough has doubled in size, preheat the oven to 450°F (232°C). Next, prepare the loaf pan by buttering the bottom and sides very generously.
- Once the dough has doubled in size, punch it down to deflate it, and transfer it to a flat surface that has been lightly floured. Roll out the dough using a floured rolling pin until it is approximately the length of the long side of the loaf pan. Roll the dough up like a jelly roll and seal the seam on the bottom and the sides by pinching the dough together. (See video.)
- Transfer the rolled dough to the well-buttered loaf pan and allow to rise for approximately 45 minutes until nicely domed. You can use another loaf pan to cover the dough or a well floured towel. Then place the loaf pan into the preheated oven. Close the oven door and reduce the oven temperature to 350°F (177°C). Bake the bread for 35-40 minutes until golden brown on top. Once removed from the pan, the bread should sound hollow when tapped on the bottom. If not, return to the oven for approximately an additional 5 minutes of bake time.
- If you find that your bread is browning too quickly but not done yet, you can tent it with a piece of aluminum foil and allow it to continue to bake.
- Once the bread is baked completely, use pot holders to remove the loaf pan from the oven and transfer the bread to a cooling rack. While continuing to use pot holders, invert the pan, remove the bread from the pan, and allow the baked bread to cool on the cooling rack completely before slicing.
- Bread can be stored on the counter in a bread bag or bread box for up to 2-3 days. Or the bread can be stored, well-wrapped in the refrigerator for up to one week. Alternatively, the bread may be frozen for up to 2-3 months, if well wrapped in appropriate freezer-proof packaging.
Video
Notes
Shop for items used in this blog post or video
Favorite Bread Making Supplies
- Baking Apron
- Rubbermaid Food Container
- 10-Piece Glass Bowl Set
- Danish Dough Whisk
- Wooden Scraping Spoon
- Plastic Bench Scrape
- Metal Loaf Pans
- Cast-Iron Dutch Oven
- Baking Stone
Favorite Baking Yeast Supplies
- SAF Instant Yeast
- SAF Premium Instant Yeast
- SAF Gold Instant Yeast
- Red Star Active Dry Yeast
- Fleischmann’s Active Dry Yeast
- Bob’s Red Mill GLUTEN FREE Active Dry Yeast
Amazon Shop and Shopping Guide
- Visit Mary’s Nest Amazon Shop
- Visit my Shopping Guide page
Get up to 15% off for stocking your Traditional Foods Pantry and equipping your Modern Pioneer Kitchen, including discounts from US Wellness Meats, Farmhouse Teas, Lehman's, Masontops, Cultures for Health, Survival Garden Seeds, Redmond Real Salt, Plan to Eat, and More!




I’ve made this bread before and am making it again tonight because my daughter and I just made fresh homemade butter from raw cream from local grass fed cows. It is the most delicious and beautiful, deep yellow butter we have ever had! So, of course I have to make a loaf of fresh homemade bread to spread it on and your bread recipes, Mary, have always been a big success in our house. By the way, my favorite place to put my bread to rise (unless it’s very cold outside) is in my car. If the car is parked in a sunny location it gets very warm in there even on a cooler day. Sometimes I put it on the dashboard in the sunshine or on the front seat if it feels too warm in the direct sun. In any case, it always rises quickly and beautifully in the car!
Hi Julene, Wow!! Thanks so much for sharing this!! Love, Mary