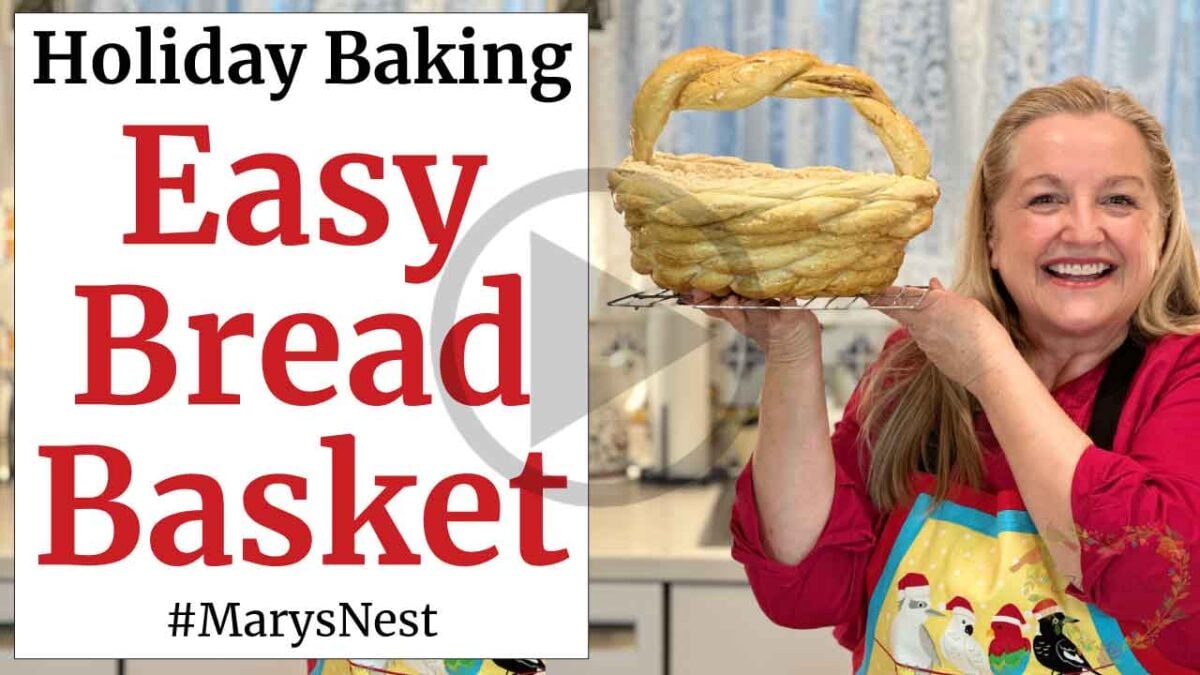
As a treat for this holiday season, I’m excited to share with you how to make a bread basket the easy way. You’ll make it with a simple twist method instead of having to create a complicated braid. And best of all, this bread basket is edible!
Affiliates note: As an Amazon Associate I earn from qualifying purchases. My content may contain affiliate links to products and services. If you click through and make a purchase, I’ll receive a small commission. It does not affect the price you pay.
Table of Contents
- How to Make a Bread Basket
- Show-Stopping Bread Basket for Your Holiday Table Centerpiece
- More Options to Fill Your Bread Basket
- Holiday Dessert Recipes
- Christmas Gift Ideas
- Finding Vintage Cookbooks at Used Book Stores
- Grind Your Own Flour with the Mockmill
- The Modern Pioneer Cookbook
- Download Your Free 36-Page Pantry List
- The Modern Pioneer Pantry
- Join the Traditional Foods Kitchen Academy
- Kitchen Academy Videos
- How to Make an Edible Bread Basket Recipe
- Shop for items used in this blog post or video
How to Make a Bread Basket
As I was flipping through a used cookbook titled A Yankee Christmas, I came across a recipe for a bread basket. I was so intrigued, but it looked challenging.
However, when I read through the recipe, I realized I didn’t need to make fancy braids or loop all the braids together. Instead, the method described in the recipe simply relied on twisting two strands of dough together and then using a bowl turned upside down as a mold. I had to try this!
Show-Stopping Bread Basket for Your Holiday Table Centerpiece
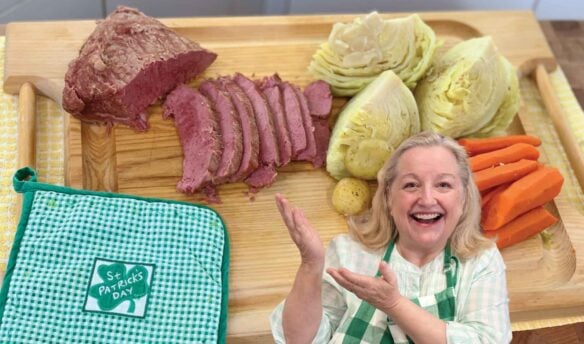
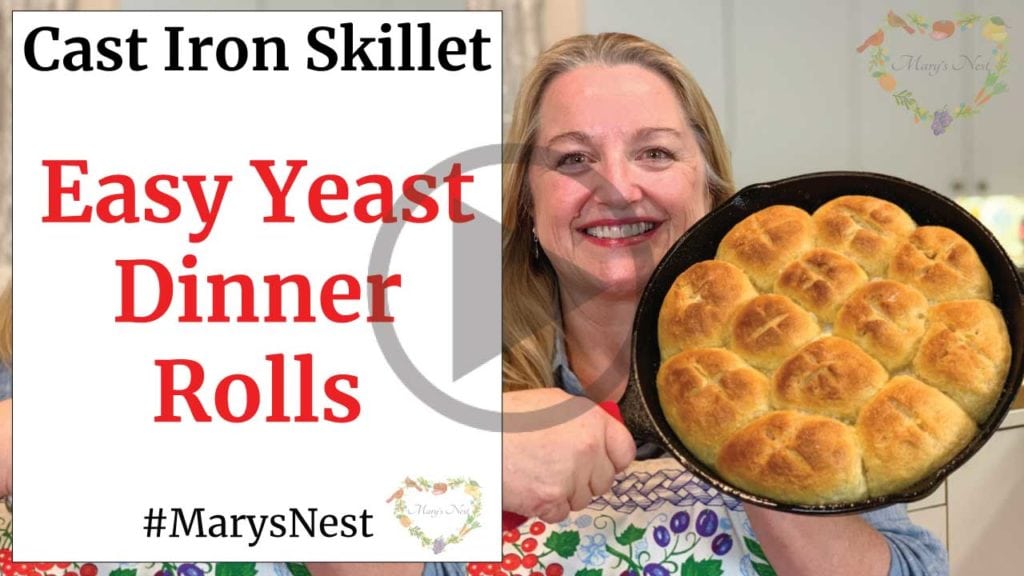
This bread basket, which you may have also heard referred to as a dough basket or edible dough basket, came together easily and baked up to a beautiful golden brown. It’s going to make the perfect centerpiece for my Christmas dinner tablescape filled with my Easy Yeast Dinner Rolls.
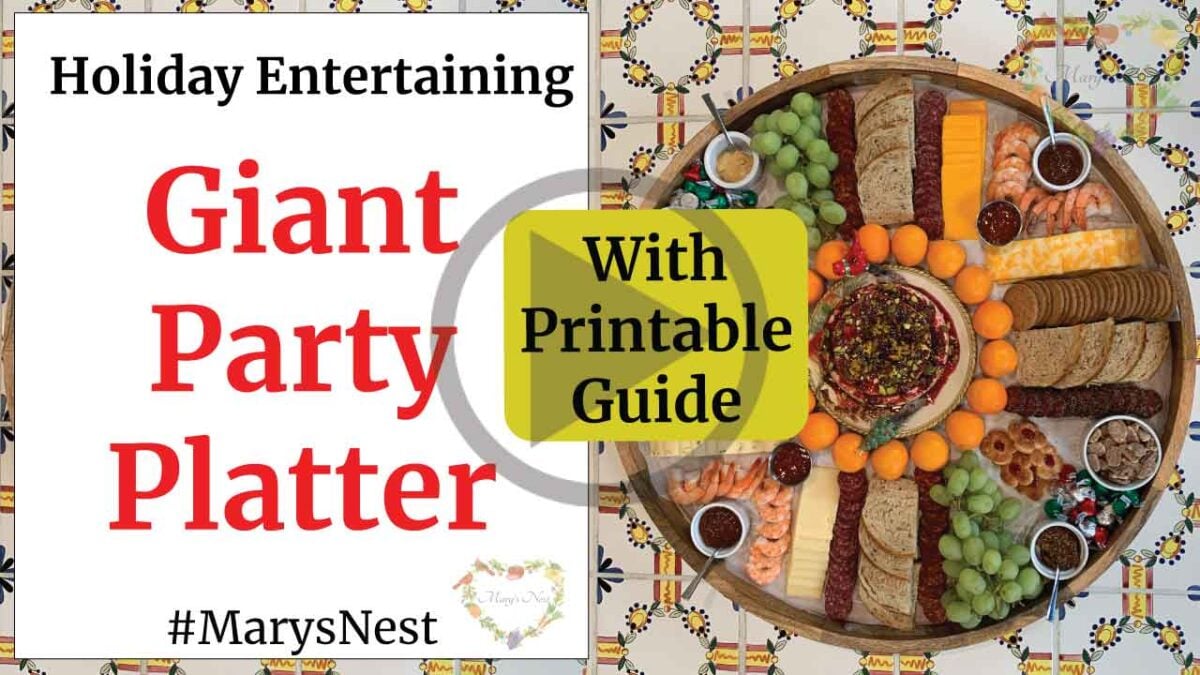
You can also serve the bread basket alongside a charcuterie platter, such as my giant party platter. (Be sure to download the free printable guide that accompanies the platter.)
You can also make this edible bread basket for Easter or other holidays too!
More Options to Fill Your Bread Basket
You can make this bread basket at any time of the year for a special occasion and fill the basket with:
- Breadsticks
- Homemade Slice and Bake Crackers
- No-Roll Sourdough Crackers
- Or a little bit of everything!


Holiday Dessert Recipes
If you are looking for more holiday dessert recipes that are easy to make and are always welcome at any dinner table, be sure to try my recipe for old-fashioned gingerbread cake, chocolate truffles, and my personal favorite—Italian ricotta cookies!


Christmas Gift Ideas
If you need some inspiration for homemade Christmas gifts, check out the video below, where I share a whole host of great ideas that are easy to make and delicious. (Your homemade bread basket would be a wonderful Christmas gift too!)

And in the following video, I share my seven best kitchen tools for the Modern Pioneer Kitchen. You’ll find some delightful surprises you can get for yourself or your favorite traditional foods cook.

Finding Vintage Cookbooks at Used Book Stores
In today’s video, I share with you where I found the book, A Yankee Christmas. We enjoy visiting used bookstores, such as Half Price Books and Recycled Reads in Austin, Texas, to find old cookbooks. Here are a few videos where I talk about some of my vintage finds and why these books intrigued me.


Grind Your Own Flour with the Mockmill
When it comes to electric grain mills, after I did A LOT of research, I decided to buy a Mockmill. And am I so happy I did! The Mockmill is a very affordable but beautifully crafted German-made mill that stone grinds grain with settings ranging from 1 to 10—fine to coarse ground grain.
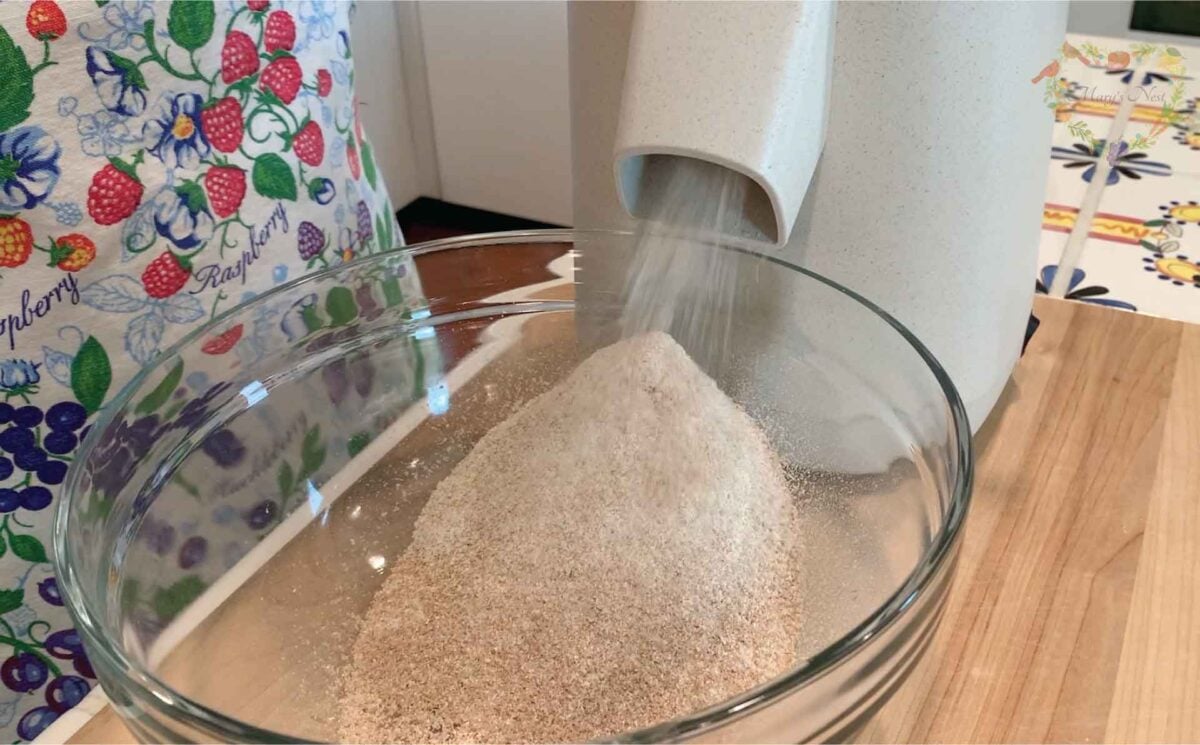
Learn more about Mockmill electric grain mills for making fresh flour and their Flake Lover’s Flaker that flakes whole grain in minutes. (This is not a sponsored post, I bought the Mockmill products that I show you, and I’m a happy user of their devices in my kitchen.)
- Mockmill 100 Grain Mill unboxing
- Get the Mockmill 100 Stone Grain Mill (Same product I show you in my unboxing video.)
- Flake Lover’s Flaker from Mockmill in action (Using this device, you can flake whole grain in minutes.)

Order YOUR COPY Now!
The Modern Pioneer Cookbook
Seasonal ingredients, traditional techniques, and nourishing recipes. Over 85 traditional, from-scratch recipes! Discover for yourself how you can use simple ingredients and traditional techniques to cook the modern pioneer way.
Download Your Free 36-Page Pantry List
For an extensive list of the traditional foods you can make and purchase to stock your pantry, be sure to download my free 36-page Traditional Foods Pantry List. This comprehensive eBook is full of links to recipe videos, helpful articles, and more!


Order YOUR COPY Now!
The Modern Pioneer Pantry
Simple ingredients, timeless techniques, and a well-stocked pantry. Discover over 100 nourishing recipes to preserve food and turn pantry staples into homemade meals. Build a wholesome, traditional pantry—just like a modern pioneer!
Join the Traditional Foods Kitchen Academy
Are you looking for more traditional foods videos? If so, I invite you to join the Traditional Foods Kitchen Academy. Members of this optional paid YouTube community get access to exclusive videos and other members-only perks. Plus, your YouTube comments include a special members-only badge.
Kitchen Academy Videos
Why We Should Incorporate Mackerel Into Our Diet
Easy and nourishing ways to enjoy mackerel into your meals.

The Gentle Power of Fermented Beverages—All Year Long
Learn how fermented beverages gently support digestion year-round, shifting with the seasons to nourish the gut through traditional, living drinks.

How to Make Oatmeal Higher in Protein (The Old-Fashioned Way)
Turn simple oats into a hearty, protein-rich porridge.
Stay in Touch with Mary’s Nest
- Subscribe to My YouTube Channel for Traditional Foods Videos (Free) - When you subscribe, be sure to click on the notification bell that will let you know each time I upload a new video.
- Subscribe to Mary’s Traditional Foods Newsletter (Free) - Get a free 36-page eBook for signing up: How to Stock Your Essential Traditional Foods Four-Corners Pantry.
- Join the Traditional Foods Kitchen Academy - For more detailed videos and exclusive members-only perks, join my YouTube membership community.
- Order The Modern Pioneer Cookbook - Get a hardcover book of Mary's nourishing recipes from a Traditional Foods Kitchen. This bestselling cookbook is published by Penguin Random House with their DK imprint.
- Order The Modern Pioneer Pantry - Get Mary's latest hardcover cookbook about preserving food and making delicious meals from your Four Corners Pantry. Mary's second cookbook is also published by Penguin Random House.
I look forward to having you join me in my Texas Hill Country Kitchen!
I’d like to receive more tips and recipes from Mary’s Nest.
How to Make an Edible Bread Basket

Equipment
- 2 Medium ovenproof stainless steel bowls The bowls should have a 9 to 9 1/2-inch diameter opening. The bowl used to make the basket (as opposed to just the handle) should have an approximately 25-inch circumference at its widest part and be approximately 7 inches in height. The bowl used to make the handle should measure approximately 12 inches when turned upside down and measured across the outside of the bowl from rim to rim.
- 2 Cooling racks, approximately 10" x 10" Optionally, you could use one large one.
Ingredients
- 2 1/2 cups Warm water 110°F if using active dry yeast, 130°F if using instant yeast. (Basically feeling like warm bath water.)
- 4 1/2 teaspoons Active dry or instant yeast Or two small packages of either yeast.
- 1 tablespoon Sugar I used organic white cane sugar.
- 1 tablespoon Salt I used fine ground sea salt.
- 2 tablespoons Butter, unsalted and softened You will need additional butter to grease the bowls.
- 6 -7 cups Flour, all-purpose or bread flour I used all-purpose flour.
- 1 large Egg, beaten
- 1 tablespoon Whole milk
Instructions
- In a large bowl, mix together the water, yeast, and sugar.
- To the bowl, add 3 cups of flour, the softened butter, and the salt. Mix well until all the flour is completely moistened and well incorporated.
- Begin adding one cup of flour to the bowl until you have a stiff dough. After you have added the 6th cup of flour, but do not yet have a stiff dough, begin adding the flour in 1/4 cup increments. (I used 6 3/4 cups of flour to obtain the correct consistency.)
- Turn the dough out onto a lightly floured board and knead for 8 to 10 minutes until the dough is smooth and elastic. (Alternatively, you can use a stand mixer. If so, you will knead the dough for approximately 4 minutes on low using a dough hook.)
- Wash and dry the original large bowl and then use additional softened butter to grease the bowl. Place the kneaded dough into the bowl and turn the dough to thoroughly coat it with butter. Cover the bowl with a damp towel. Allow the dough to rise for about 1 hour until it has doubled in bulk.
- While the dough is rising, grease the outer-side exterior and rim of both stainless steel bowls. (See video). Place each bowl on a greased cooling rack. Set aside. (For additional helpful information for preparing the bowls, see the Recipe Notes below.)
- Once the dough has doubled in bulk, punch it down and divide it into approximately 16 pieces.
- Take two pieces and roll them each out to approximately 14 inches. Even though the underside of your bowl will measure 12 inches, you want to give yourself a bit of extra length to be able to attach the dough to the rim of the bowl. Take one end of one roll and pinch it to the end of the other roll and then twist the two pieces together to make a "mock" braid.
- Lay this braid across the exterior of one of the greased stainless steel bowls pinching each end to the rim of the bowl to hold it in place. This single braid on a bowl will create your bread basket handle. (See video.)
- Take the remaining 14 pieces of dough and roll each one out to approximately 25 inches. Take one end of one roll and pinch it to the end of the anther roll and then twist the two pieces together to make a "mock" braid. Take this first braid and begin wrapping it around the exterior of the remaining stainless steel bowl, starting at the rim of the bowl. You are now creating your bread basket on the second bowl. (See video.)
- Continue twisting two rolls together and wrapping them around the exterior of the stainless steel bowl, securing each twist to the previous twist by pinching the dough together until the entire bowl is wrapped in twists of dough.
- Cover the basket and handle with a damp towel and allow to rest for 30 minutes.
- While the basket and handle are resting, preheat the oven to 400°F.
- After 30 minutes, remove the damp towel from the basket and handle and transfer both bowls with the cooling racks to the middle rack of the preheated oven. Bake the basket and handle for approximately 20 to 30 minutes until golden brown. (See Recipe Notes below.)
- Once the basket and handle are finished baking, remove them from the oven and place them on a heatproof surface. Allow them to cool completely before removing the stainless steel bowls.
- Once cooled, attach the handle using toothpicks or wooden screwers that have been cut into 3 to 4-inch pieces.
- Your edible bread basket is now ready to be filled with rolls or any bread of your choice. Place it on your holiday table and enjoy!
Video
Notes
- You can use an electric stand mixer to make this dough or mix it by hand with a wooden spoon.
- If possible, grease and flour the bowls before wrapping them with the dough. And better yet, if you can manage it, wrap the bowls with greased and floured non-stick parchment paper.
- Every oven is different, and this basket may take anywhere from 20 to 30 minutes to bake completely and turn a delightful golden brown. If the top of either the basket or the handle begins to brown too quickly, tent the tops with foil to allow them to finish baking without over-browning.
- Allow both the handle and the bread basket to cool completely before removing the bowls.
- Instead of the originally recommended toothpicks, you may want to try using wooden skewers that you can cut into 3″ to 4″ pieces that will better secure the handle to the basket.
Shop for items used in this blog post or video
Favorite Bread Making Supplies
- 10-Piece Glass Bowl Set
- Wooden Spoon
- 5-Piece Stainless Steel Bowl Set
- 5-Piece Deep Stainless Steel Bowl Set
- Cooling Rack
- Danish Dough Whisk
- Plastic Bench Scrape
- SAF Instant Yeast
- Bob’s Red Mill GLUTEN FREE Active Dry Yeast
Favorite Kitchen Supplies
- Favorite Aprons
- Spice Grinder
- Countertop Burner (On my kitchen island in many recipe videos.)
- Handheld Vacuum Sealing System
- Vacuum Lids
- Whisk
- Silica Gel Packets (Helps keep moisture from building up in your mix)
- Cast Iron Dutch Oven
- 8-Quart Slow-Cooker
- Fat Separator (Clever kitchen device to help you decant bone broth)
- Flour Sack Towels
- pH Strips (Helps you check on the acidity of your vinegar)
Amazon Shop and Shopping Guide
- Visit Mary’s Nest Amazon Shop
- Get a 30-day Audible trial with a free audiobook
- Visit my Shopping Guide page
Get up to 15% off for stocking your Traditional Foods Pantry and equipping your Modern Pioneer Kitchen, including discounts from US Wellness Meats, Farmhouse Teas, Backwoods Home, Masontops, Cultures for Health, Survival Garden Seeds, Redmond Real Salt, and More!