In today’s video, I show you how to make gluten-free flour mixes, and I provide the accompanying recipes along with a special pantry list download. I share with you how to make three basic mixes, plus a fourth bonus mix for folks who love to make biscuits with self-rising flour.
Affiliates note: As an Amazon Associate I earn from qualifying purchases. My content may contain affiliate links to products and services. If you click through and make a purchase, I’ll receive a small commission. It does not affect the price you pay.
Table of Contents
- What’s In the Free Checklist?
- Homemade Gluten-Free Flour Mixes
- Are You New to Gluten-Free Baking?
- Start a Kitchen Journal
- Is it Cheaper to Make Your Own Gluten-Free Flour Mixes?
- Which Rice Flour Should I choose?
- Current Prices of Gluten-Free Flours
- Download Your FREE Gluten-Free Flour Mixes Pantry List
- How to Store Your Gluten-Free Mixes
- The Modern Pioneer Cookbook
- How to Start a Prepper Pantry
- All About Gluten-Free Whole Grains
- The Mockmill Grain Mill
- The Modern Pioneer Pantry
- Download Your Complete Baking Pantry List
- Download Your Free 36-Page Pantry List
- Join the Traditional Foods Kitchen Academy
- How to Make 3 Gluten-Free Flour Mixes, Plus a Bonus Mix Recipe
- Shop for items used in this blog post or video
What’s In the Free Checklist?
Be sure to download your free Gluten-Free Flour Mixes Pantry List PDF file that contains ingredient checklists for:
- All-Purpose Gluten-Free Flour Mix
- Whole Grain Gluten-Free Flour Mix
- Gluten-Free Cookie Mix
- Gluten-Free Self-Rising Flour Mix
Note: This is not a sponsored post. I bought and use all the products that I talk about in this video and recipe post.
Homemade Gluten-Free Flour Mixes
Gluten-free baking can be a challenge, especially for beginners. The selection of gluten-free flour mixes at your local grocery store can be overwhelming, not to mention pricey. Plus, pre-prepared gluten-free mixes may contain ingredients you don’t want.
I am here to show you how easy it is to make your own affordable gluten-free flour mixes. You can tailor them to use only the ingredients you want to bake with, so your baked goods will come out delicious and to your liking every time!
Start with Small Batches
Just remember that if you are at the beginning of your gluten-free baking journey, you want to start small.
Don’t rush out and buy a 50-pound bag of millet flour or another gluten-free flour until you have tried a small amount of each ingredient that you’re considering using. You want to make sure you like the flavor and the texture that the gluten-free flour creates in your baked good.
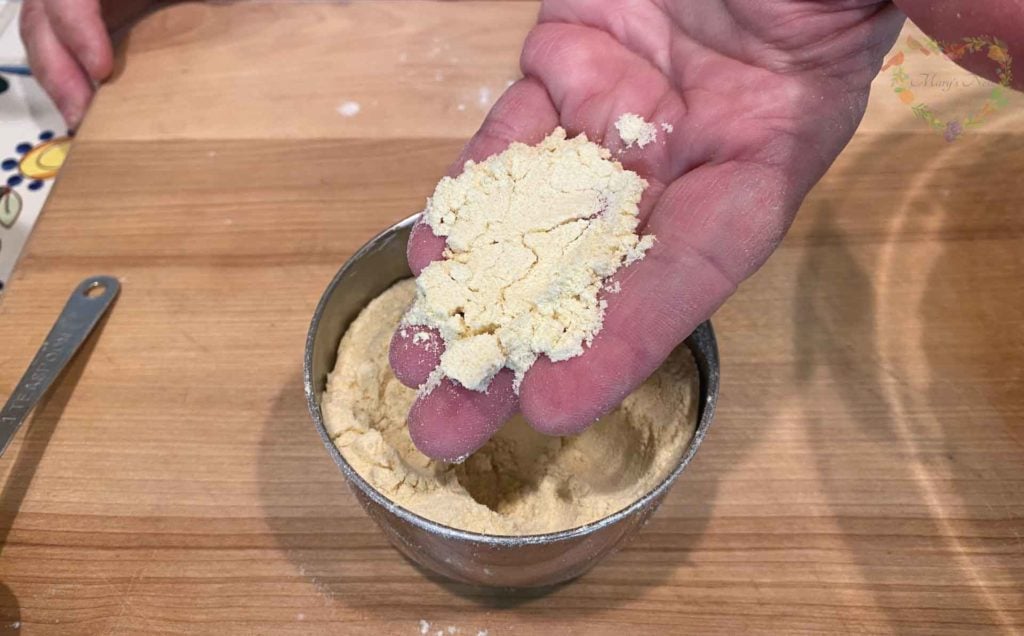
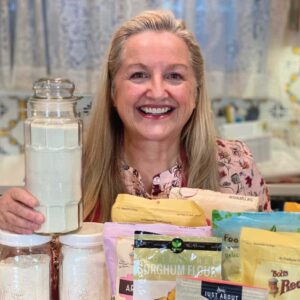
Speaking of millet, here’s a picture of what millet flour looks like:
Remember that starting small will save you a lot of money!
Are You New to Gluten-Free Baking?
Most importantly, I want to share a word of encouragement to new gluten-free bakers. Don’t give up if your first attempt doesn’t turn out well. Instead, go easy on yourself and don’t try to be perfect as you’re getting started.
Start a Kitchen Journal
Culinary mistakes can happen to any new baker, whether you are baking with or without gluten. So each time you bake, you’ll want to take notes to record the ingredients you used and whether or not it turned out as you expected. (And if you liked the baked good!)
Save these notes in your kitchen journal and refer back to your notes each time you begin to bake. If you don’t have a kitchen journal, watch my video where I share my kitchen journal and give you ideas on how to start your own.
Keep track of the outcome of each gluten-free baking attempt. For example:
- Was your first attempt at a gluten-free bread dry? Make a note to add a bit more liquid next time.
- Was the bread somewhat mushy? Add less liquid next time.
- Did you like the flavor of your quick bread? If not, try a different gluten-free flour next time.
Trust me. After about your third try at baking a gluten-free bread, you will begin to have success and be satisfied with your final product. (And be sure to make a note of your successes too!)
Is it Cheaper to Make Your Own Gluten-Free Flour Mixes?
Whenever you make something homemade, it is generally less expensive than something sold at the grocery that is pre-prepared for you. The same holds true for my Make Ahead Mixes and my Gluten-Free Flour Mixes in this recipe post.
But there’s one more important reason to make your mixes homemade. You can tailor the ingredients to what you want in your mix, not what the manufacturer wants.
As I mentioned earlier, when you shop for gluten-free flours, I highly recommend that you buy small amounts until you discover which individual flours you like the best. Then, once you find the gluten-free flours you like to bake with, you can start shopping in bulk for better savings.
Which Rice Flour Should I choose?
In my pantry list download and recipe mixes, you’ll notice that I include White Rice Flour as one of the primary ingredients for making the following mixes:
- All-Purpose Gluten-Free Mix
- Whole Grain Gluten-Free Mix
You’ll notice that I don’t include Brown Rice Flour. I don’t recommend this type of flour because it has a very short shelf life and can go rancid quickly. Brown rice is an oily grain, and once ground into flour, it is those oils that can spoil quickly and create an off-flavor in your final baked good.
If you decide to bake with Brown Rice Flour, I recommend that you:
- Buy a small amount
- Check the Best Used By (or Best Before) date, and
- Use it up quickly before the Best Used By date.
Unlike many other shelf-stable foods that can be used well after their Best Used By date, Brown Rice Flour is one of the few products that I consider to actually be BEST by the Best Used By date and should not be used after that.
Current Prices of Gluten-Free Flours
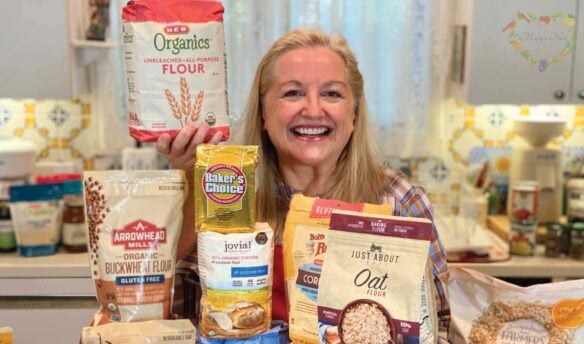
When you’re buying small amounts of gluten-free flours to try them out, you can expect to pay anywhere from $3.00 per pound to as high as over $10.00 per pound.
I know that grocery prices vary from area to area, and prices are rising significantly right now. However, here is a general estimate of what you can expect to pay (based on U.S. prices) for about a pound, or a bit more, of various gluten-free flours and gluten-free baking additives:
- Amaranth Flour: $8
- Arrowroot Starch: $6
- Chickpea Flour: $3
- Coconut Flour: $4
- Millet Flour: $4
- Oat Flour: $4
- Potato Starch: $4
- Quinoa Flour: $10
- Sorghum Flour: $4
- Tapioca: $3
- White Rice Flour: $3
- Xanthan Gum: $9
I describe specific prices from my local grocery store in Central Texas in the video accompanying this recipe post, 3 Ways to Make Gluten Free Flour Mixes.
If you can’t find these gluten-free flours at your grocery store, I also provide online links to my favorite ingredients in my supplies section.
Download Your FREE Gluten-Free Flour Mixes Pantry List
To make it easy for you to stock your pantry with Gluten-Free baking ingredients, I prepared a free printable Gluten-Free Flour Mixes Pantry List PDF file that you can download.
Print out my checklist or store it on your mobile phone and use it as your shopping list when you go to the grocery store to ensure you have everything you need to start Gluten-Free baking.
More Free Downloads
- Learn about my free 36-Page Traditional Foods Pantry List eBook
- Discover how to run a thrifty kitchen with a free checklist download
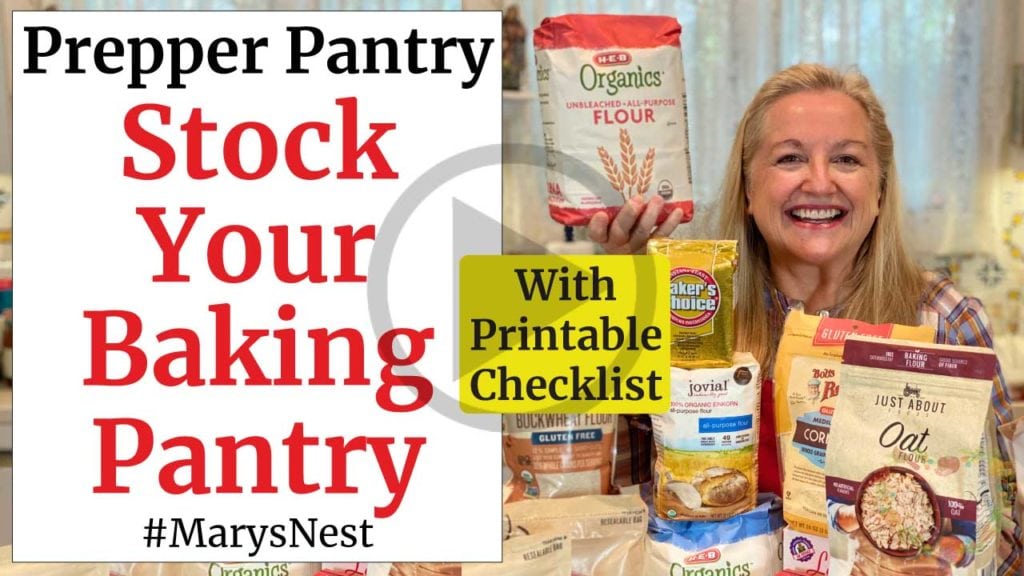
- Get the Checklist for How to Stock Your Baking Pantry with the Best Ingredients
How to Store Your Gluten-Free Mixes
Your home has what I like to call a Four-Corners Pantry that includes your:
- Working Pantry
- Refrigerator
- Freezer
- Extended or Prepper Pantry
Once you create your gluten-free mixes, you can store them in your working pantry, or if they have a longer shelf-life, you can keep them in your extended or Prepper Pantry.
If you don’t plan to use it often, you can store your all-purpose mix or self-rising mix in your Prepper Pantry because it has a shelf-life from one and a half to two years.
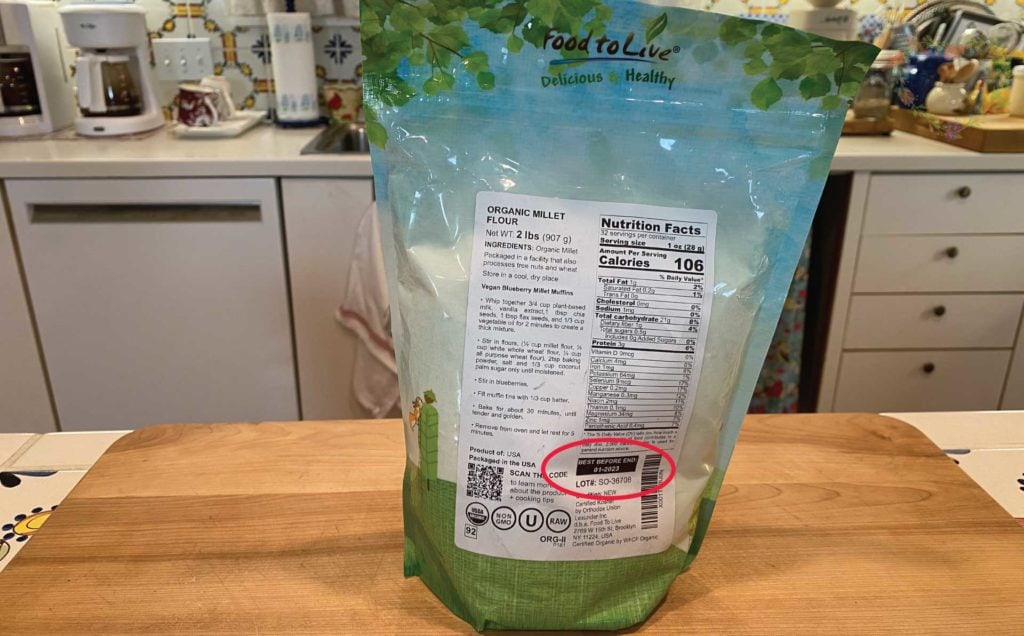
The other two mixes (whole grain and cookie) have a shelf-life that’s dependent on the whole grains that you use in the mixes. Check your whole grain packaging’s Best Used By (or Best Before) date for the recommended shelf life, which can range from 6 months to a year and a half.
Just remember that whole grain flours, whether they contain gluten or not, will go rancid quicker than all-purpose flours. So your whole grain flours are probably best stored in your working pantry, where you can keep an eye on their shelf-life.
How to Start a Prepper Pantry
Not sure what a Prepper Pantry is? Watch the following videos to learn why you need a Prepper Pantry and how you can get started stocking your Prepper Pantry for just $5 a week.
Inflation-Proof Your Prepper Pantry
Our grocery prices have been going up lately, and the prices I listed for gluten-free flours earlier in this recipe post will probably climb higher in the coming months. In the following video, I talk about five steps you can take to inflation-proof your Prepper Pantry.
And in the following video, I share 10 Thrifty Kitchen Tips to Incorporate Every Week into Your Traditional Foods Kitchen. Plus, I share how to implement these tips using the handy FREE Thrifty Kitchen Tips Checklist download.
- How to Run a Thrifty Kitchen (with a Free Checklist Download)
All About Gluten-Free Whole Grains
Did you know that some of the gluten-free grains you can choose from are known as Ancient Grains?
To learn more about many of the gluten-free whole grains you can get from local grocery stores, be sure to watch my video where I discuss the essential grains to stock in your Prepper Pantry. I have an entire section of the video devoted to gluten-free whole grains beginning at the 41:45 timestamp.
And keep in mind, regardless of what type of whole grains you buy, including gluten-free grains, it is almost always more affordable to purchase whole grains and then grind them into grain yourself.
The Mockmill Grain Mill
Speaking of grinding your own grain, I searched far and wide before I bought my electric grain mill, and after careful research, I finally settled on the Mockmill. It is an outstanding grain mill, and I am so pleased with my purchase!
- Learn more about on Mockmill Stone Grain Mill products, including Ancient Grains, like Einkorn, Emmer, and Spelt.
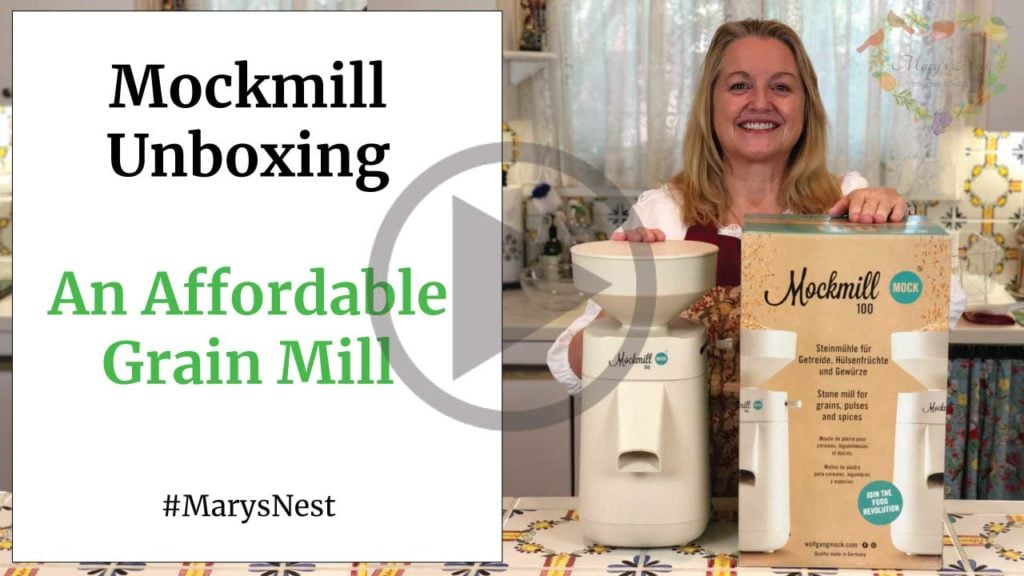
This is not a sponsored post. I bought my Mockmill 100 Grain mill and fell in love with it. You can see me unbox and try out my Mockmill 100 Grain mill in the following video.
Baker’s Note: When you start to grind whole grains, be sure to check your Mockmill owner’s manual for instructions on specific requirements or limitations on grinding oily grains, such as corn or brown rice.

Order YOUR COPY Now!
The Modern Pioneer Pantry
Simple ingredients, timeless techniques, and a well-stocked pantry. Discover over 100 nourishing recipes to preserve food and turn pantry staples into delicious, homemade meals. Build a wholesome, traditional pantry—just like a modern pioneer!
Download Your Complete Baking Pantry List
Be sure to download your FREE (no email required) Complete Baking Pantry List. You can take this list with you to the grocery store to help you stock your baking pantry, especially as we go into the holiday baking season!
I list everything you will need to fully stock your baking pantry. Plus, I also have a section devoted to gluten-free flours.
Download Your Free 36-Page Pantry List
If you are beginning your journey transitioning from a processed foods kitchen to a traditional foods kitchen, be sure to download my Essential Traditional Food Pantry List.
This comprehensive eBook is so much more than just a list of pantry items. I also share videos and printable recipes for how to use all the items in your pantry to make nutritious and delicious meals.
Join the Traditional Foods Kitchen Academy
Are you looking for more traditional foods videos? If so, I invite you to join the Traditional Foods Kitchen Academy. Members of this optional paid YouTube community get access to exclusive videos and other members-only perks. Plus, your YouTube comments include a special members-only badge.
In the following members-only video, I talk about How to Make Salt Part of a Healthy Diet.
Stay in Touch with Mary’s Nest
- Subscribe to My YouTube Channel for Traditional Foods Videos (Free) - When you subscribe, be sure to click on the notification bell that will let you know each time I upload a new video.
- Subscribe to Mary’s Traditional Foods Newsletter (Free) - Get a free 36-page eBook for signing up: How to Stock Your Essential Traditional Foods Four-Corners Pantry.
- Join the Traditional Foods Kitchen Academy - For more detailed videos and exclusive members-only perks, join my YouTube membership community.
- Order The Modern Pioneer Cookbook - Get a hardcover book of Mary's nourishing recipes from a Traditional Foods Kitchen. This bestselling cookbook is published by Penguin Random House with their DK imprint.
- Order The Modern Pioneer Pantry - Get Mary's latest hardcover cookbook about preserving food and making delicious meals from your Four Corners Pantry. Mary's second cookbook is also published by Penguin Random House.
I look forward to having you join me in my Texas Hill Country Kitchen!
I’d like to receive more tips and recipes from Mary’s Nest.
How to Make 3 Gluten-Free Flour Mixes, Plus a Bonus Mix
Equipment
- Whisk
- Food safe storage containers, preferably with airtight lids
Ingredients
All-Purpose Gluten-Free Flour Mix
- 2 cups White rice flour
- 1 cup Tapioca flour
- 1 cup Potato starch Make sure you use Potato Starch and not Potato Flour or Potato Flakes. They are different.
- 2 tsp Xanthan gum Although many gluten-free flour mixes will make this ingredient optional, I highly recommend adding Xanthan gum to help with the texture of your gluten-free baked good.
Whole Grain Gluten-Free Flour Mix
- 2 cups White rice flour
- 1 cup Tapioca flour
- 1 cup Potato starch Make sure you use Potato Starch and not Potato Flour or Potato Flakes. They are different.
- 2-4 tsp Xanthan gum Although many gluten-free flour mixes will make this ingredient optional, I highly recommend adding Xanthan gum to help with the texture of your gluten-free baked good. See the Recipe Notes for additional information on amounts.
- 1-4 cups Whole grain gluten-free flour See the Recipe Notes for additional information on the types of gluten-free flours to use and their amounts.
Gluten-Free Cookie Mix
- 2 cups Sorghum flour You can experiment with other whole grain gluten-free flours as well. Amaranth flour is another excellent gluten-free flour for use in this cookie mix.
- 1/2 cup Tapioca flour
- 1/4 cup Arrowroot Sometimes Arrowroot is referred to as Arrowroot "Starch." The packaging varies, but it is the same thing.
- 1/2 tsp Xanthan gum
Self-Rising Gluten-Free Flour Mix
- 2 cups White rice flour
- 1 cup Tapioca flour Sometimes Tapioca is referred to as Tapioca "Starch." The packaging varies, but it is the same thing.
- 1 cup Potato Starch Make sure you use Potato Starch and not Potato Flour or Potato Flakes. They are different.
- 2 tsp Xanthan Gum Although many gluten-free flour mixes will make this ingredient optional, I highly recommend adding Xanthan gum to help with the texture of your gluten-free baked good.
- 2 tbsp Baking powder Verify that the brand you use is guaranteed to be gluten-free.
- 2 tsp Salt
Instructions
All-Purpose Gluten-Free Flour Mix
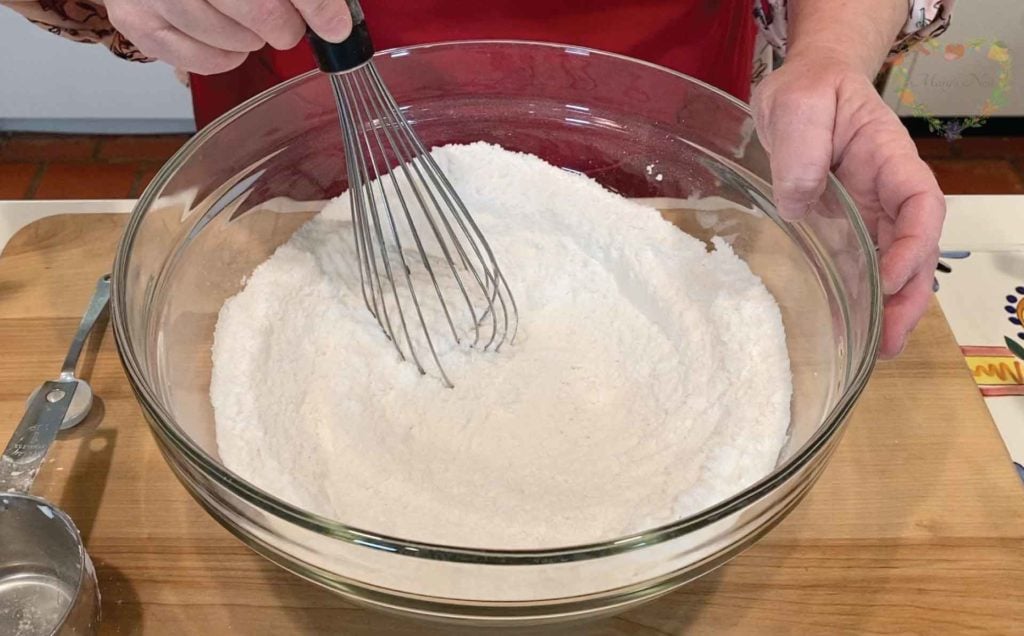
- Mix all ingredients in a large bowl and whisk well to incorporate completely. Store in a food-safe airtight container.
- The shelf life for this mix is 1 1/2 – 2 years.
- Use this mix as you would use any other all-purpose gluten-free flour. For example, when a recipe calls for 2 cups of an all-purpose gluten-free flour, you can use 2 cups of your homemade all-purpose gluten-free flour mix.
Whole Grain Gluten-Free Flour Mix
- Mix all ingredients in a large bowl and whisk well to incorporate completely. Store in a food-safe airtight container.
- The shelf life for this mix depends on the whole grain gluten-free flour that you use. Check the "Best Used By" date on the packaging of the gluten-free flour that you use.
- Use this mix as you would use any other whole grain gluten-free flour. For example, when a recipe calls for 2 cups of a whole grain gluten-free flour, you can use 2 cups of your homemade all-purpose gluten-free flour mix.
Gluten-Free Cookie Mix
- Mix all ingredients in a large bowl and whisk well to incorporate completely. Store in a food-safe airtight container.
- The shelf life for this mix will depend on which gluten-free flour you use. For example, I used Sorghum flour in this recipe, which will give this mix a 1 1/2 year shelf life based on the "Best Used By" date on the packaging.
- Use this mix as you would use any other gluten-free cookie mix. For example, when a recipe calls for 2 cups of a gluten-free cookie mix, you can use 2 cups of your homemade gluten-free cookie mix.
Self-Rising Gluten-Free Flour Mix
- Mix all ingredients in a large bowl and whisk well to incorporate completely. Store in a food-safe airtight container.
- The shelf life for this mix is 1 1/2 – 2 years.
- Use this mix as you would use any other self-rising gluten-free flour. For example, when a recipe calls for 2 cups of a self-rising gluten-free flour, you can use 2 cups of your homemade self-rising gluten-free flour mix.
Video
Notes
Shop for items used in this blog post or video
Favorite Baking Supplies
- Favorite Aprons
- Glass Bowls
- Danish Dough Whisk
- Bench Scrape
- Loaf Pans
- Dutch Oven
- Gluten-Free Active Dry Yeast
Favorite Gluten-Free Flours
- Amaranth Flour
- Arrowroot Starch/Flour
- Buckwheat Flour
- Chickpea Flour
- Coconut Flour
- Cornmeal
- Millet Flour
- Oat Flour
- Potato Starch
- Quinoa Flour
- Sorghum Flour
- Tapioca Flour
- White Rice Flour
- Xanthan Gum
Amazon Shop and Shopping Guide
- Visit Mary’s Nest Amazon Shop
- Get a 30-day Audible trial with a free audiobook
- Visit my Shopping Guide page
Get up to 15% off for stocking your Traditional Foods Pantry and equipping your Modern Pioneer Kitchen, including discounts from US Wellness Meats, Farmhouse Teas, Backwoods Home, Masontops, Cultures for Health, Survival Garden Seeds, Redmond Real Salt, and More!


Mary, I have been following your videos as well as cooking and fermenting many of your recipes throughout the pandemic. I so appreciate your kindness, gentleness, and soothing voice during this chaotic time. I do have a question about the all purpose gluten-free flour mix. Can it be used as a 1:1 substitute in recipes calling for regular (not gluten-free) all purpose flour? I’ve perfected some of my baking recipes over the years and would rather not begin again with specifically gluten-free recipes. Thank you for all you to do help me and so many others, Diana in Massachusetts
Hi Diana,
Thanks so much for your kind words.
Generally, yes. However, you probably may need to do some experimentation because when substituting gluten-free flour for all-purpose flour, sometimes the outcome of a particular baked good depends on the recipe.
For example, gluten-free flours react differently when making a yeasted bread recipe than one made with traditional all-purpose flour. However, some of the ingredients that I have added to my gluten-free flour mix will hopefully compensate for the lack of gluten.
Good luck, and keep me posted on your gluten-free baking adventures! 🙂
Love and God bless,
Mary
I so appreciate your gracious manner, your love for your husband and your love of home making and organization. I feel like I know you as I enjoy all of those things. I am trying many of your suggestions. Thank you! Thank you for All this valued info. Wow. You’re amazing Mary.
Hi Lise,
Thank you so much for the kind words! I appreciate all your heartfelt comments. I’m so happy that you’re here and on this traditional foods journey with me!
Love and God bless,
Mary