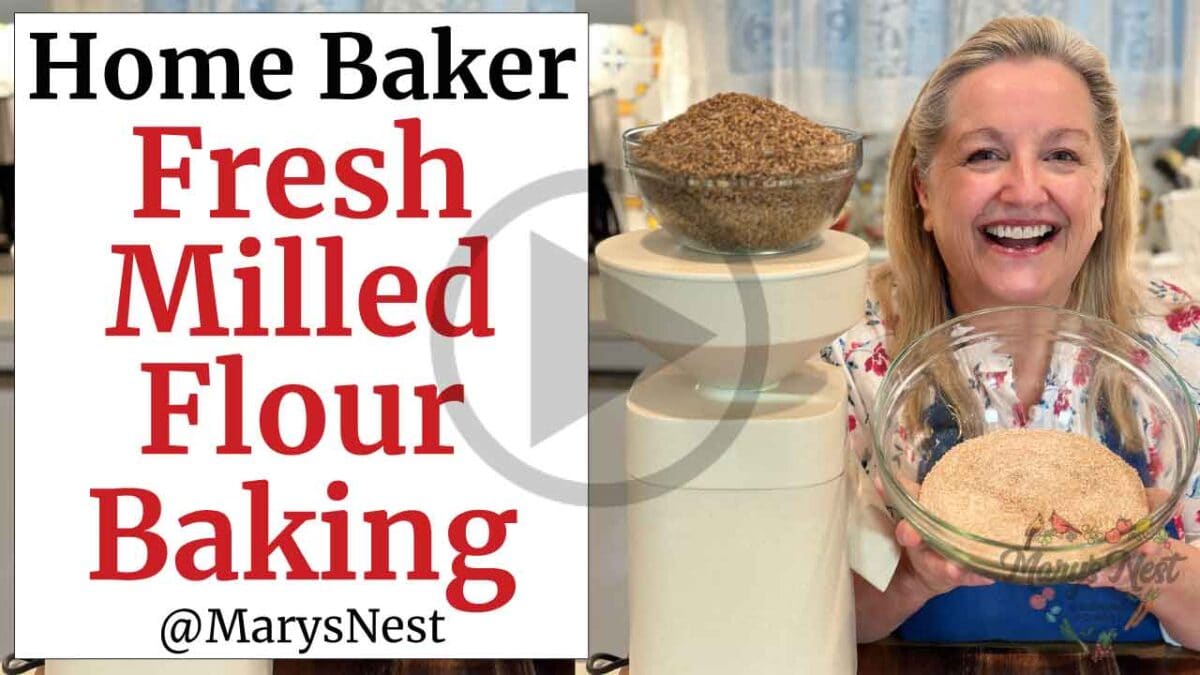
Learn the basics of how to bake with fresh milled flour so you can get the most out of your grain mill and bake quick breads, yeasted breads, and sourdough breads perfectly every time! This is Part 1 in a new series of videos and corresponding posts all about baking with fresh milled flour.
Affiliates note: As an Amazon Associate I earn from qualifying purchases. My content may contain affiliate links to products and services. If you click through and make a purchase, I’ll receive a small commission. It does not affect the price you pay.
Table of Contents
- How Much Flour Does One Cup of Whole Grain Make?
- How to Bake with Fresh Milled Flour
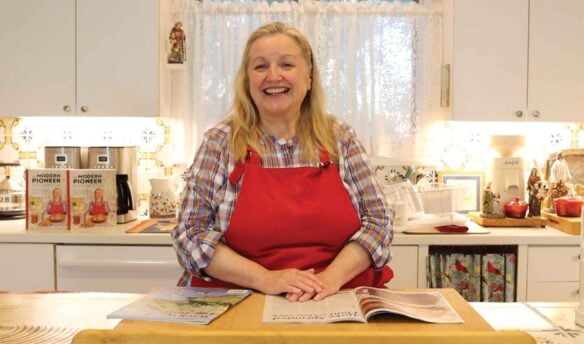
- The Modern Pioneer Cookbook
- When to Add Less Liquid to Fresh Milled Flour
- How to Sift Fresh Milled Flour
- What is the Proper Consistency of Batter or Dough When Baking with Fresh Milled Flour?
- Why Soak Fresh Milled Flour?
- What Are the Different Types of Farro?
- More Home Baker Videos
- Grind Your Own Flour with the Mockmill
- The Modern Pioneer Cookbook
- Download Your Free 36-Page Pantry List
- Join the Traditional Foods Kitchen Academy
- Kitchen Academy Videos
- Shop for items used in this blog post or video
How Much Flour Does One Cup of Whole Grain Make?
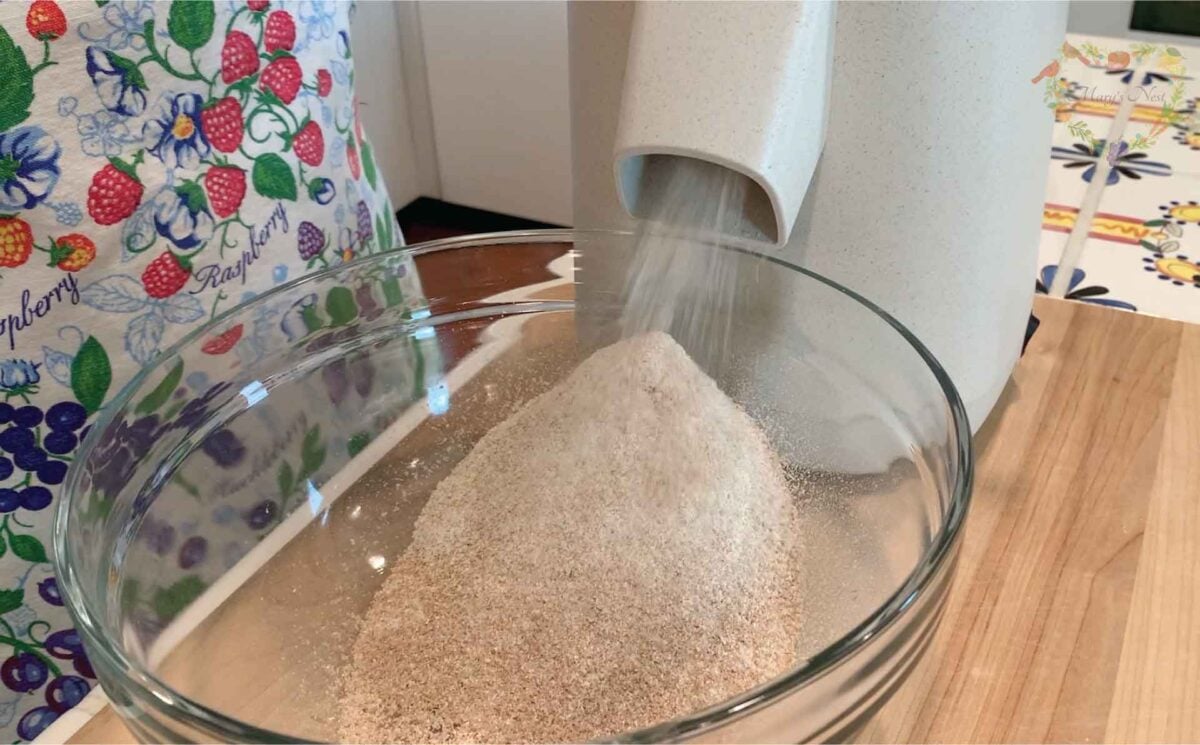
When grinding whole grain into flour, the general rule is that one cup of whole grain will make one and one-half cups of flour. There are slight variations to this if you are grinding a large whole grain like modern day wheat berries or a very small whole grain like einkorn.
If you have more fresh milled flour than you need for a recipe, you can store your flour in an airtight container at room temperature for up to three days or in the refrigerator or freezer for up to six months.
How to Bake with Fresh Milled Flour
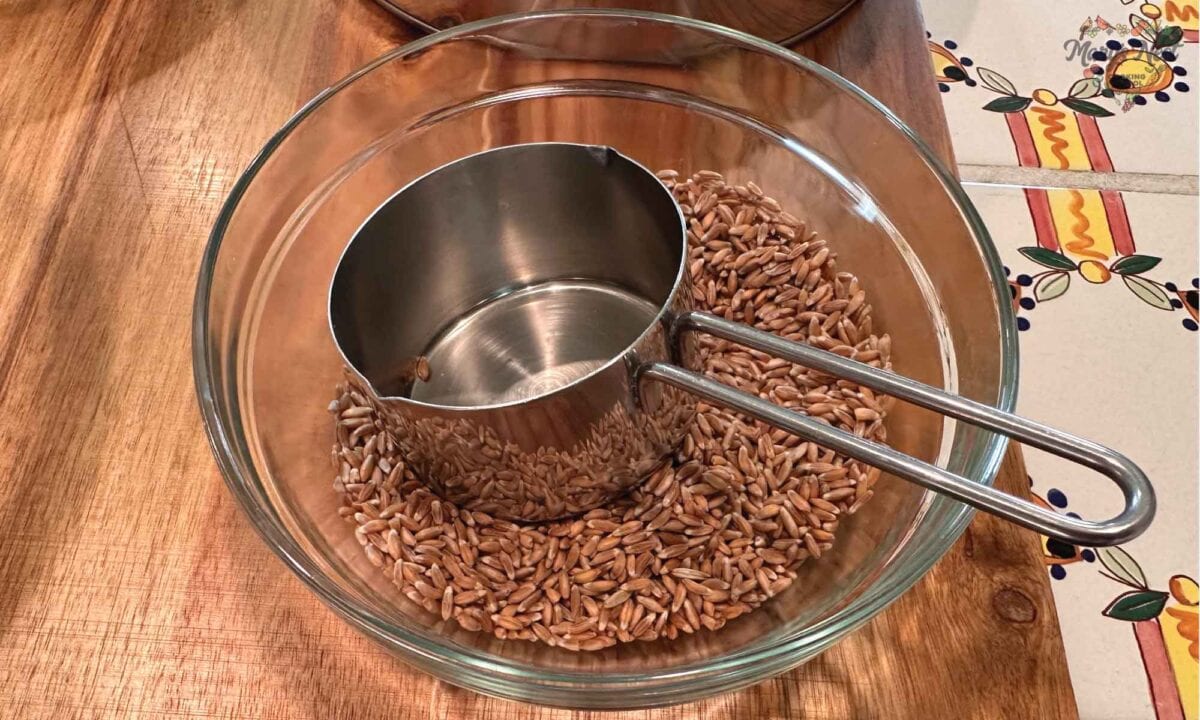
Fresh milled flour is more thirsty than store-bought flour, so you need to add more liquid than called for in a recipe, but how much? There are general rules that apply to baking with fresh milled flour, so your quick bread batter, yeasted bread dough, and sourdough bread dough will have the proper level of hydration.
The General Rules for baking with fresh milled flour:
- Modern Day Wheats: When you mill hard red wheat berries or hard white wheat berries into flour and bake with the fresh milled flour, you will need approximately 1/4 cup extra liquid per cup of fresh milled flour.
- Rye Flour: Rye flour, in general, can be thirstier than modern day wheat flour, so when baking with fresh milled rye flour, you will need approximately 1/3 cup extra liquid per cup of fresh milled rye flour.
- Ancient Wheats: On the other hand, ancient grains tend to be less thirsty than modern day wheat or rye. When you mill ancient whole grains, including spelt, emmer, or einkorn, into flour and then bake with the fresh milled flour, you will need approximately only 2 tablespoons extra liquid per cup of fresh milled flour.
Learn More About Ancient Grains and Modern Day Wheats
- Frequently Asked Questions About Wheat Berries
- What is Kamut? And What Are We Supposed to Do with It?
- How to Stock Your Baking Pantry with the Best Ingredients
Order YOUR COPY Now!
The Modern Pioneer Cookbook
Seasonal ingredients, traditional techniques, and nourishing recipes. Over 85 traditional, from-scratch recipes! Discover for yourself how you can use simple ingredients and traditional techniques to cook the modern pioneer way.
When to Add Less Liquid to Fresh Milled Flour
As described earlier, the ratio of fresh milled flour to liquid is only a general rule. A number of factors will require you to decrease the amount of liquid you add to fresh milled flour.
Generally, fresh milled flour is considered “fresh milled” if it is used the day it is milled or, at the latest, the day after it is milled. If you do not use fresh milled flour within this time frame, you will need to adjust the general rule that applies to the ratio of fresh milled flour to liquid.
There will be variations in how much liquid you will need to add to your flour if you are baking with fresh milled flour that has been stored:
- At room temperature (for no more than 3 days as it will go rancid),
- In the refrigerator, or
- In the freezer
If you store fresh milled flour in one of these three ways, it will begin to take on moisture. When this happens, fresh milled flour will become more similar to store-bought flour. In this case, it’s best to add the amount of liquid specified in the original recipe you are using and then slowly add additional liquid to the flour, one tablespoon at a time, as needed, until the batter or dough takes on the proper consistency.
How to Sift Fresh Milled Flour
Fresh milled flour includes three parts:
- Bran
- Endosperm
- Germ
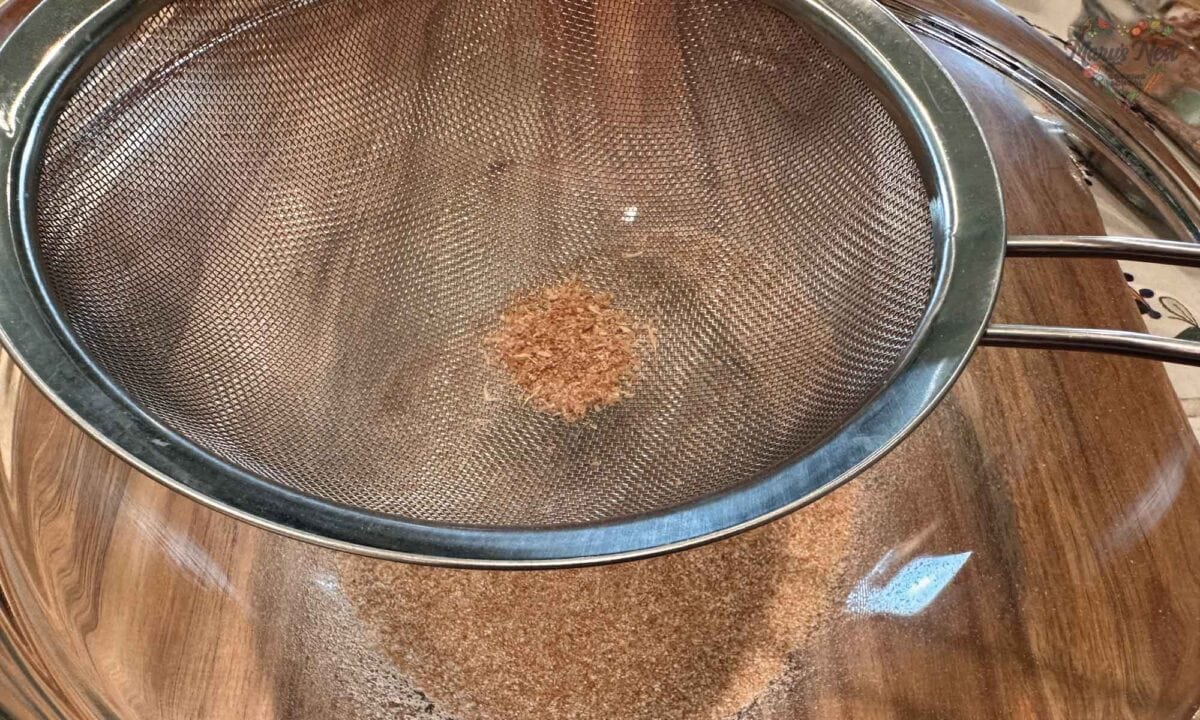
Together, they create whole grain flour. If you want to lighten your fresh milled flour, you can sift out some of the bran and germ. You can do this using a standard mesh strainer, which will sift out only a small amount of the bran and germ.
If you want to sift out considerably more bran and germ, I recommend that you use bakers sifters (40 mesh or 60 mesh). These come in different mesh densities that will allow you to create a fresh milled flour that’s closer to all-purpose or bread flour.
What is the Proper Consistency of Batter or Dough When Baking with Fresh Milled Flour?
This video and blog post are the first in a series on the subject of baking with fresh milled flour. In future videos, I will be demonstrating what a batter or dough should look like when baking with fresh milled flour. I will also include examples of baking with whole grain fresh milled flours as well as sifted flours.
If you want to be notified of those future videos, consider subscribing to my YouTube channel and signing up for my free newsletter. Most Saturday mornings, I send out a newsletter announcing my most recent video release and corresponding blog post.
Why Soak Fresh Milled Flour?
In my previous How to Soak Flour to Maximize Nutrition and Digestibility video, I shared why you want to soak flour, and I show you how to use my flour soaking technique to make the best muffins you’ve ever had. Soaking flour is best done when baking with fresh milled flour that you will use to make quick breads or yeasted breads. This isn’t as much of a concern when making sourdough breads.
Many whole grains contain phytic acid, which is an anti-nutrient that can make it hard for our digestive systems to absorb nutrients from the grain. Phytic acid can also strip nutrients from our digestive system. However, if we soak our whole grains or the fresh milled flour from whole grains, we can deactivate some of the phytic acid. When making sourdough bread, the fermentation stage helps to deactivate some of the phytic acid.
Do we deactivate all the phytic acid during the soaking process? No, but this is not a bad thing. Phytic acid is also an antioxidant, which means that it helps prevent oxidation in our bodies. Oxidation damages the cells in our bodies, so ingesting antioxidants can help slow or prevent this damage.
General Rule for Soaking Whole Grains or Fresh Milled Flour
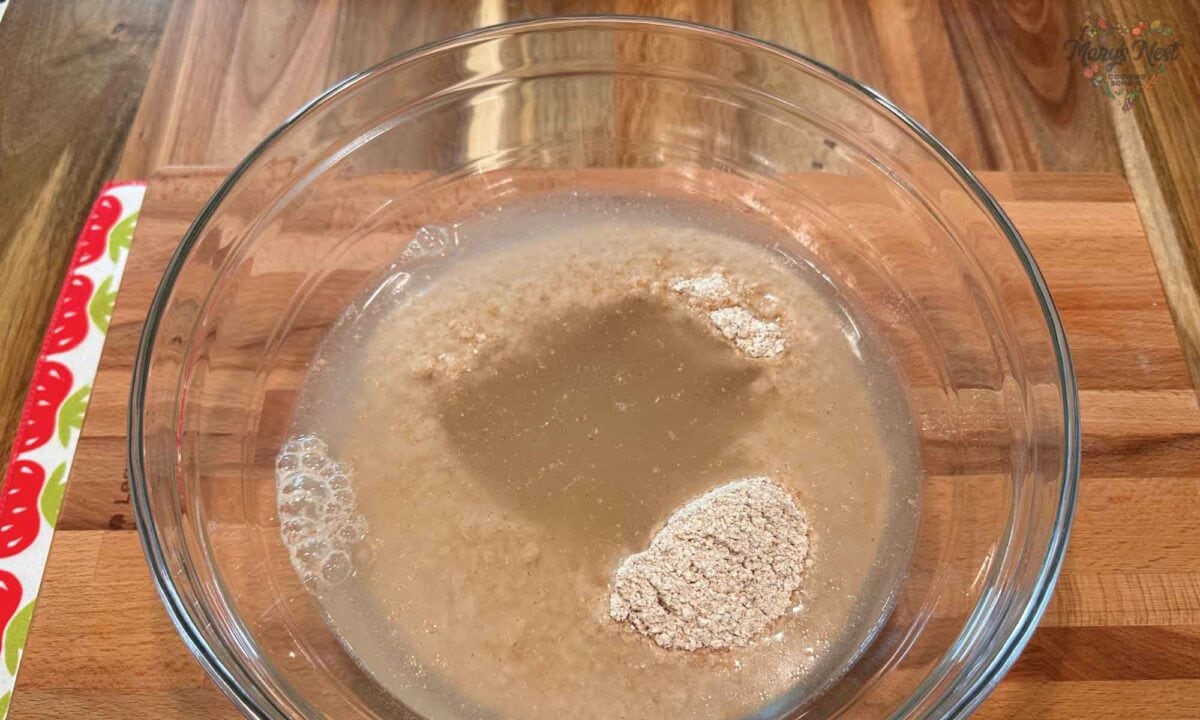
As with the general rules that apply to baking with fresh milled flour, a general rule also governs soaking whole grains or fresh milled flour, but it’s a rule that sometimes needs adjustment. The general rule is a basic 1:1 ratio. You should soak one cup of flour in one cup of cultured or acidulated liquid. Some of these liquids include:
- 1 cup water with one tablespoon of vinegar
- 1 cup water with one tablespoon of lemon juice
- 1 cup kefir
- 1 cup buttermilk
- 1/2 cup yogurt thinned with 1/2 cup water
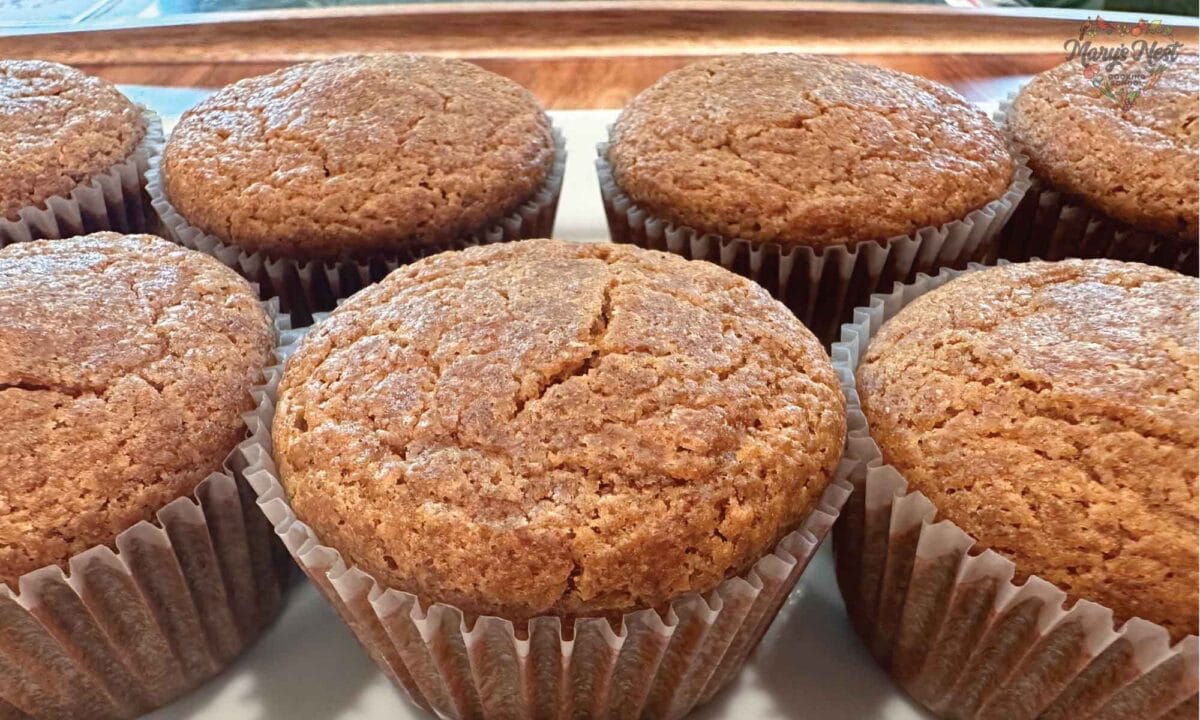
Modern day wheats are often thirstier than ancient wheats. However, if there is any liquid that does not appear to be absorbed after soaking whole grain fresh milled flour, you can easily pour it off and proceed with the recipe you are using. An easy recipe to begin with are my Soaked Flour Muffins. In the recipe video, you will be able to observe what a soaked batter should look like, which is very much like a thick pancake batter.
What Are the Different Types of Farro?
I like baking with flour milled from ancient grains since they are typically easier to digest than modern-day whole wheat flour. In today’s video, I show you how to make fresh milled flour from emmer.
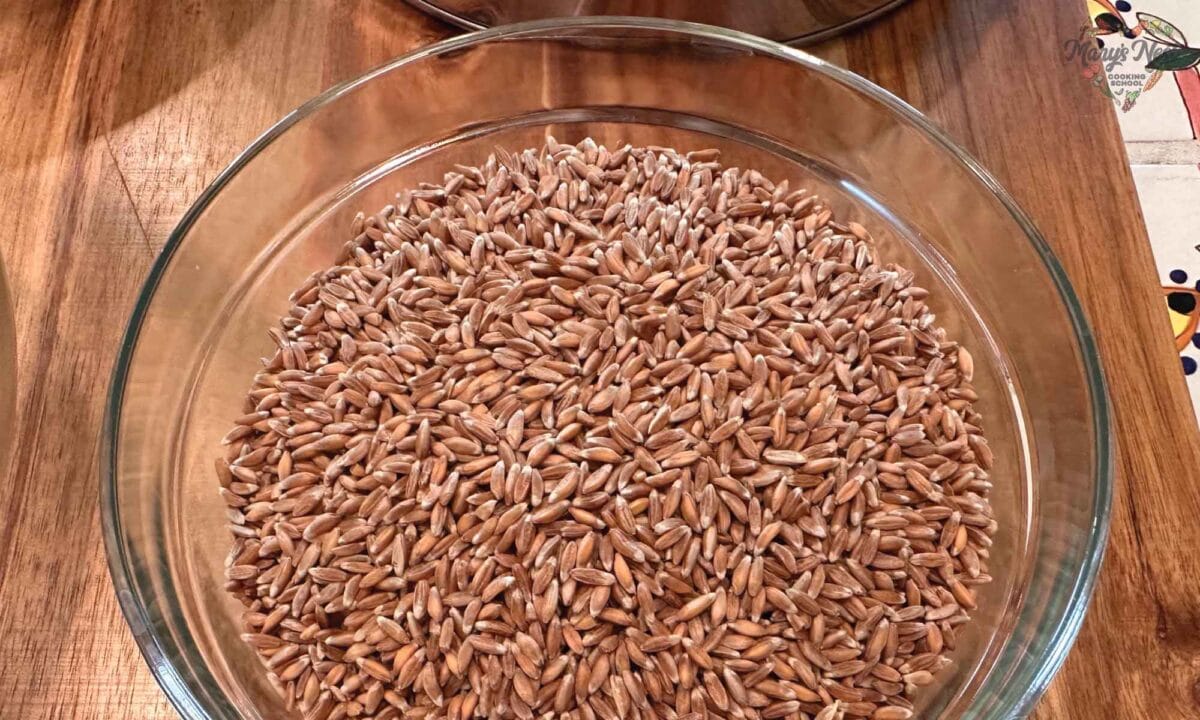
If ancient grains are new to you, it’s essential to understand the different labels given to these whole grains and flours. Farro is a common umbrella term that often describes the three most common ancient grains. The only difference is that the term farro is preceded by a word that indicates the size of the whole grain. So einkorn, emmer, and spelt are often described as follows:
- Einkorn – Piccolo (Small) Farro
- Emmer – Medio (Medium) Farro
- Spelt – Grande (Large) Farro
Learn more with Farro: An Ancient And Complicated Grain Worth Figuring Out.
More Home Baker Videos
Baking with Ancient Grains in the Traditional Foods Kitchen
Bake with Einkorn, Emmer, and Spelt—nutritious ancient grains that bring rich flavor and tradition to your favorite recipes.
How to Make a White Spelt Flour Pie Crust
Baked goods made with Ancient Grains can be healthier than modern-day wheat. I’ll show you how to use Spelt flour to make an incredibly flakey and tasty pie crust!
How to Make a Blender Pumpkin Cake with Spelt
Delight your guests with dessert that’s in the holiday spirit but is something different from pumpkin pie.
Grind Your Own Flour with the Mockmill
If you have ancient grains or modern day whole grains that you want to turn into freshly milled flour, you’ll need a manual or electric grain.
When it comes to electric grain mills, after I did A LOT of research, I decided to buy a Mockmill. And am I so happy I did! The Mockmill is a very affordable but beautifully crafted German-made mill that stone grinds grain with settings ranging from 1 to 10—fine to coarse ground grain.

Learn more about Mockmill electric grain mills for making fresh flour and their Flake Lover’s Flaker that flakes whole grain in minutes. (This is not a sponsored post, I bought the Mockmill products that I show you, and I’m a happy user of their devices in my kitchen.)

Order YOUR COPY Now!
The Modern Pioneer Cookbook
Seasonal ingredients, traditional techniques, and nourishing recipes. Over 85 traditional, from-scratch recipes! Discover for yourself how you can use simple ingredients and traditional techniques to cook the modern pioneer way.
Start Your Traditional Foods Journey
Part of my passion for keeping traditional cooking skills alive—in addition to my online cooking school on YouTube—is writing cookbooks. My first book, The Modern Pioneer Cookbook published by Penguin Random House (PRH), is full of my traditional foods recipes that show you how to create a traditional foods kitchen.
Be sure to order your copy of my bestselling book, The Modern Pioneer Cookbook, to start your traditional foods journey. And stay tuned for my next cookbook that will be published by PRH in 2025!
Download Your Free 36-Page Pantry List
For an extensive list of the traditional foods you can make and purchase to stock your pantry, be sure to download my free 36-page Traditional Foods Pantry List. This comprehensive eBook is full of links to recipe videos, helpful articles, and more!
Join the Traditional Foods Kitchen Academy
Are you looking for more traditional foods videos? If so, I invite you to join the Traditional Foods Kitchen Academy. Members of this optional paid YouTube community get access to exclusive videos and other members-only perks. Plus, your YouTube comments include a special members-only badge.
Kitchen Academy Videos
Discussing the Secrets to Perfect Green Herbal Oils
Let’s talk about the popularity of flavored herbal oils.
Are You Salt Sensitive or Salt Resistant? Get the Latest Salt Intake Research
Learn how your body may react to salt intake differently from others.
What Is the Best Time to Eat Dinner?
Find out if eating dinner early or late is best for you. You might be surprised!
Stay in Touch with Mary’s Nest
- Subscribe to My YouTube Channel for Traditional Foods Videos (Free) - When you subscribe, be sure to click on the notification bell that will let you know each time I upload a new video.
- Subscribe to Mary’s Traditional Foods Newsletter (Free) - Get a free 36-page eBook for signing up: How to Stock Your Essential Traditional Foods Four-Corners Pantry.
- Join the Traditional Foods Kitchen Academy (Optional Paid) - For more detailed videos and exclusive members-only perks, join my YouTube membership community.
- Order The Modern Pioneer Cookbook (Optional Paid) - Get a printed book of Mary's nourishing recipes from a Traditional Foods Kitchen. This bestselling cookbook is published by Penguin Random House with their DK imprint.
I look forward to having you join me in my Texas Hill Country Kitchen!
Shop for items used in this blog post or video
Favorite Baking Supplies
- Favorite Aprons
- 10-Piece Glass Bowl Set
- Stainless Steel Measuring Cups and Spoons
- 40 Mesh Bakers Sifter
- 60 Mesh Bakers Sifter
Favorite Kitchen Supplies
- Favorite Aprons
- Spice Grinder
- Countertop Burner (On my kitchen island in many recipe videos.)
- Handheld Vacuum Sealing System
- Vacuum Lids
- Whisk
- Silica Gel Packets (Helps keep moisture from building up in your mix)
- Cast Iron Dutch Oven
- 8-Quart Slow-Cooker
- Fat Separator (Clever kitchen device to help you decant bone broth)
- Flour Sack Towels
- pH Strips (Helps you check on the acidity of your vinegar)
Amazon Shop and Shopping Guide
- Visit Mary’s Nest Amazon Shop
- Visit my Shopping Guide page
Get up to 15% off for stocking your Traditional Foods Pantry and equipping your Modern Pioneer Kitchen, including discounts from US Wellness Meats, Farmhouse Teas, Lehman's, Masontops, Cultures for Health, Survival Garden Seeds, Redmond Real Salt, Plan to Eat, and More!






Which is the finer sifter — 40 mesh or the 60?
Hi Wendie,
Thanks for your comment.
The 60 mesh sifter is finer. The higher the mesh number, the smaller the particles that fall underneath.
Love and God bless,
Mary