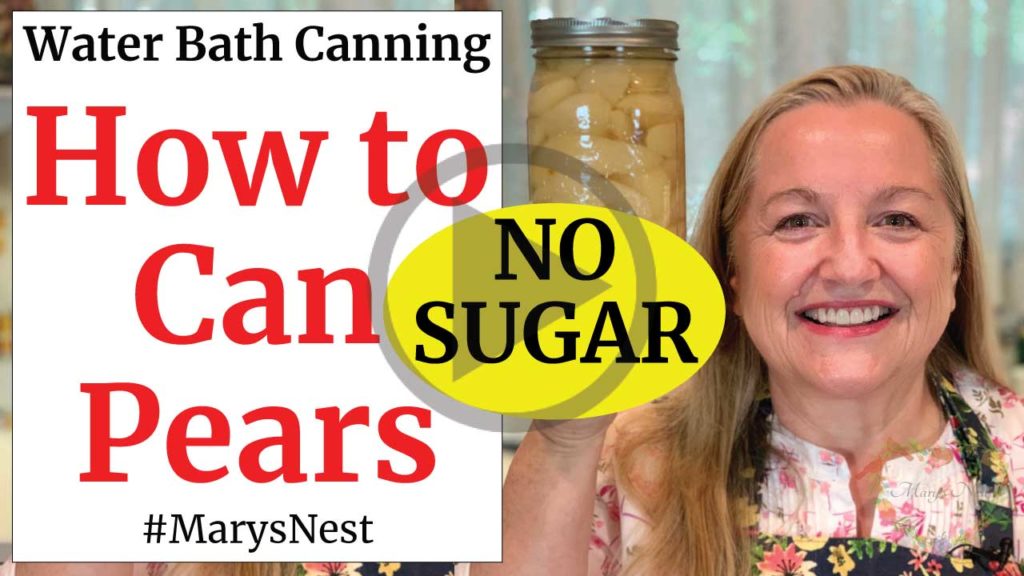
Learn how to can pears with no sugar with this step-by-step water bath canning tutorial. You can apply this technique to can any fruit. This video is a Canning 101 class that is perfect for beginners.
Affiliates note: As an Amazon Associate I earn from qualifying purchases. My content may contain affiliate links to products and services. If you click through and make a purchase, I’ll receive a small commission. It does not affect the price you pay.
Table of Contents
Can You Water Bath Can Fruit?
When it comes to water bath canning, you can water bath can fruit. The secret is to make sure that your fruit has the correct level of acidity because only high acid foods can be water bath canned. So how do we guarantee that our pears—or any fruit for that matter—is acidic enough to be water bath canned? Great question!
Does Bottled Lemon Juice Help with Caning?
You can guarantee the perfect level of acidity for your water bath canned foods by adding a bit of bottled lemon juice to every jar. Manufacturers produce bottled lemon juice to guarantee a certain level of acidity in each measurement, as opposed to a random squeeze of fresh lemon juice that adds an unpredictable acid level. So when it comes time to water bath can pears or any fruit, be sure to have some bottled lemon juice on hand.
Step-by-Step Instructions
In my tutorial video, I walk you through detailed instructions on how to prepare your pears for water bath canning and then proceed with the entire canning process. If you are new to canning, this is the perfect video and printable recipe for you!
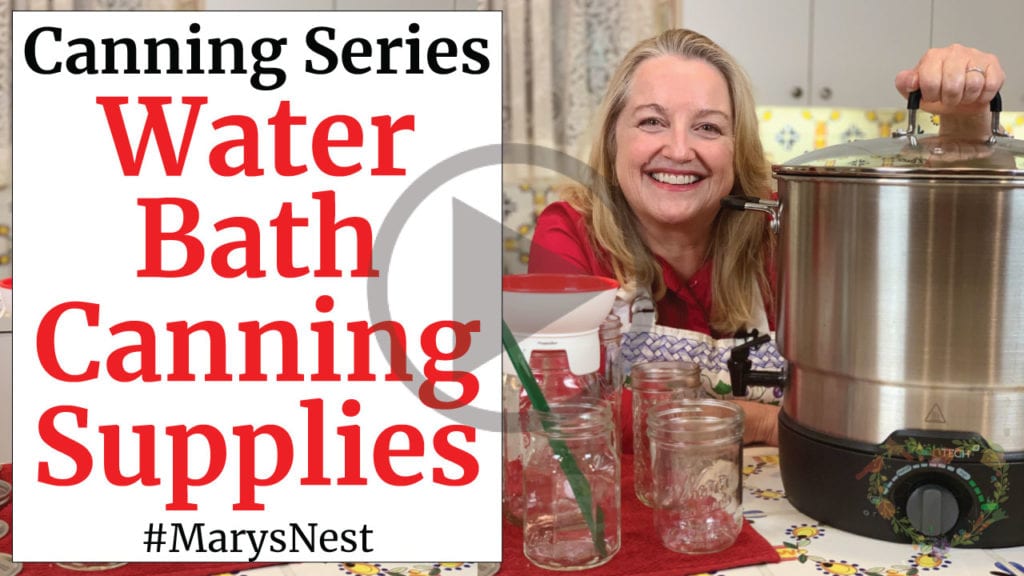
Water bath canning is the best place to learn how to can when you are new to canning. This type of canning is less intimidating than pressure canning, plus you do not need any special canning vessel. If all you have is a large stock pot or soup pot, you can start water bath canning. I even show you how to make a makeshift rack out of canning rings in the video!
Related Videos
Now that you’ve learned the basics of how to water bath can, be sure to try your hand at canning tomatoes and pickles.
Plus, be sure to try making all types of jams, including a low sugar and no sugar strawberry jam. And don’t forget to make some marmalade too! 😊
And for the truly adventurous, try making jam just like our grandmothers did—without store-bought pectin!
If you make strawberry jam, do not throw out the scraps. Instead, use them to make homemade strawberry vinegar. It’s easy to do, and the recipe just costs pennies to make!
And if you are completely new to water bath canning, be sure to watch the following three videos to learn about the best canning books, plus all the equipment and supplies that you’ll need to get started on your canning journey!
Download Your Free 36-Page Pantry List
For an extensive list of the traditional foods you can make and purchase to stock your pantry, be sure to download my free 36-page Traditional Foods Pantry List. This comprehensive eBook is full of links to recipe videos, helpful articles, and more!
And if you’re looking for a printed book full of my traditional foods recipes that shows you how to create a traditional foods kitchen, be sure to order your copy of my new bestselling book, The Modern Pioneer Cookbook.
Stay in Touch with Mary’s Nest
- Subscribe to My YouTube Channel for Traditional Foods Videos (Free) - When you subscribe, be sure to click on the notification bell that will let you know each time I upload a new video.
- Subscribe to Mary’s Traditional Foods Newsletter (Free) - Get a free 36-page eBook for signing up: How to Stock Your Essential Traditional Foods Four-Corners Pantry.
- Join the Traditional Foods Kitchen Academy - For more detailed videos and exclusive members-only perks, join my YouTube membership community.
- Order The Modern Pioneer Cookbook - Get a hardcover book of Mary's nourishing recipes from a Traditional Foods Kitchen. This bestselling cookbook is published by Penguin Random House with their DK imprint.
- Preorder The Modern Pioneer Pantry - Be one of the first to get Mary's hardcover book about preserving food and making delicious meals from your Four Corners Pantry. Mary's second cookbook is also published by Penguin Random House.
I look forward to having you join me in my Texas Hill Country Kitchen!
I’d like to receive more tips and recipes from Mary’s Nest.
How to Can Pears – No Sugar Recipe
Equipment
- Electric Water Bath Canner or Large Stock Pot
- Rack or Homemade Rack made with canning rings
- 6-7 Quart-sized wide mouth canning jars with bands (rings) and new lids
- Canning supplies including ladle, funnel, de-bubbler, and jar lifter
- Dish towel or cushioned drying mat
Ingredients
- 15-16 pounds Ripe but firm pears, peeled, cored, and halved or sliced Place into stock pot with water and lemon juice to prevent browning. See instructions below.
- 12-14 tbsp. Bottled lemon juice Plus additional lemon juice for cooking water.
- Water Sufficient to fill a large stock pot halfway.
- 1-2 tbsp. White vinegar For cleaning the rim of the jars.
Instructions
- Examine each canning jar to make sure that they are in good condition and have no cracks throughout the jar and/or chips on the rim of the jar.
- Place a rack at the bottom of the water bath canner and fill the canner 3/4 way full with water. Place 6-7 quart-sized canning jars into the canner. The jars should be submerged in the water.
- Turn on the heat to bring water in the canner to a simmer. Allow the jars to simmer in hot water until they are ready to be filled.
- Fill a large stock pot with water halfway full, and add 2 tablespoons of lemon juice.
- Add halved or sliced pears to the large stock pot as you are peeling and halving or slicing them. (This will prevent them from browning.) Once finished, bring the water and pears to a boil. Once the water boils, immediately turn the heat down to a simmer, and simmer the halved or sliced pears for 5 minutes before removing the stock pot from the heat.
- Remove one jar at a time from the canner. Empty out any hot water that might be in the jar back into the canner. Be careful. The water will be hot.
- Place the jar on a cushioned surface, such as a double-folded dish towel or cushioned drying mat. Next, place a funnel over the opening of the jar and pack the jar with pears. Leave a half-inch headspace from the rim of the jar.
- Add 2 tablespoons of bottled lemon juice to the jar.
- Next, fill the jar with the cooking liquid from the stock pot, leaving a half-inch headspace from the rim of the jar. This liquid will help to fill in the empty space in the jar.
- Use the de-bubbler tool to make sure you have released all bubbles from the jar. If the jar drops below a half-inch headspace after you have de-bubbled the jar, top off the jar with additional cooking liquid. (See video.)
- Clean the rim of the jar with a paper towel or clean rag that you have dipped in white vinegar.
- Place a new clean lid on the jar.
- Place a band (ring) on the jar and tighten it to fingertip tight. (See video.)
- Using a jar lifter, carefully place the jar on the rack in the water bath canner.
- Proceed filling remaining jars until all the jars are full and placed into the canner.
- After you have finished filling and placing the jars into the canner, add additional water, if needed, to cover the top of the jars by at least one inch. Place the lid on the water bath canner and bring the water to a boil.
- Once the water in the canner comes to a boil, start your timer. Boil quart-sized jars for 25 minutes. Depending on your altitude, or if you are using pint-sized jars, you may need to adjust your timing. (See RECIPE NOTES below.)
- After boiling canned pears for 25 minutes, turn off the canner and carefully remove the lid. Open the lid away from you as there will be a significant release of steam from the canner.
- Allow jars to rest in the canner for five minutes.
- After five minutes, remove the jars from the canner, one at a time, using the jar lifter. Place the jars on a cushioned surface.
- Allow the jars to cool at room temperature for 12-24 hours. After 12-24 hours, make sure that all the jars have sealed successfully by examining the lids. The "button" in the middle of the canning lid should be depressed (indented). (See video.)
- If all seals are successful, remove the rings and store the jars in the pantry. If any seal is not successful, refrigerate the jar immediately.
Video
Notes
Nutrition
Shop for items used in this blog post or video
Favorite Water Bath Canning Equipment
Favorite Water Bath Canning Supplies
- Canning Essentials Kit (includes debubbler)
- Canning Scoop/Ladle
- Canning Funnel with Head Space Markings
- Ball Quilted 12-ounce Jelly Jars with Lids and Bands
- Ball Regular Mouth Lids and Bands
- Ball Regular Mouth Pint 16-oz Mason Jar with Lids and Bands
- Ball Wide Mouth Jars 32-oz with Lids and Bands
- Secure Lift Jar Lifter
Amazon Shop and Shopping Guide
- Visit Mary’s Nest Amazon Shop
- Visit my Shopping Guide page
Get up to 15% off for stocking your Traditional Foods Pantry and equipping your Modern Pioneer Kitchen, including discounts from US Wellness Meats, Farmhouse Teas, Lehman's, Masontops, Cultures for Health, Survival Garden Seeds, Redmond Real Salt, Plan to Eat, and More!
Favorite Water Bath Canning Books
- The Modern Pioneer Cookbook (My bestselling book helps you get started water bath canning.)
- Ball Canning Back to Basics
- USDA Complete Guide to Home Canning
- Ball Complete Book of Home Preserving
- The All New Ball Book Of Canning And Preserving
- Bernardin Guide to Home Preserving
- The River Cottage Preserves Handbook
- The Amish Canning Cookbook
- Preserving Today
- Jam On – The Craft of Canning Fruit





Is it imperative to peel the pears? I like to get the extra fiber from the skins!
Hi Mia,
The National Center for Home Food Preservation recommends that you peel pears before water bath canning them. The reason for this is that botulism spores may live on the skin of the pears. This is not a problem when the pears are exposed to fresh air. However, home canning creates an aerobic environment in which botulism has the potential to grow to the point where it can make us sick.
Thanks for your comment. I’m so glad we’re on this traditional foods journey together!
Love and God bless,
Mary
My Ball Blue Book lists pears as an acid food. I use Fruit Fresh to keep my pears from turning brown but it says nothing about adding extra lemon juice.
Hi Grandma Dottie,
The lemon juice helps to ensure the correct level of acidity when you water bath can since the acidity of food items, such as pears, can vary in nature. However, by using Fruit Fresh, you are creating a high-acid environment, so your recipe does not require the additional lemon juice. Fruit Fresh is basically refined lemon juice, which contains lots of citric acid and some ascorbic acid.
Thanks so much for your comment.
Love and God bless,
Mary
Why do you boil them for 25 minutes? If I sterilize my jars and lids, fill the jars to the top with pears and juice and no air after boiling my pears for 5 minutes, do I still have to boil for 25 minutes?
I did what you said, I didn’t lose any air in my jars and will have to refrigerate them. It felt like an exercise in futility:(
Hi Elsie,
Thanks for your comment. It’s essential to keep the right amount of headspace to let the air escape and a tight seal to develop while the jars are underwater. If you fill up the jars without the right amount of headspace, the jars may not be able to seal correctly during the canning process.
Don’t feel like you are doing unnecessary work. Sterilizing your jars and ensuring they remain in your water bath canner for the right amount of time helps your canning turn out successfully. And please know I did not make up this method. This is what is recommended by the National Center for Home Food Preservation, which has been funded by the United States Department of Agriculture.
Love and God bless,
Mary
Can you use this same method to can peaches? My husband is now diabetic! The last time my mother-in- law canned peaches etc…..They were so acidy it !!!!!!! It really bothered my stomach!
Hi Lynnette,
Yes. You can follow this same process to can peaches without sugar. However, the acidic level of the fruit is inconsistent, so you need to add something to raise the acidity and make the fruit safe for water bath canning. So you will need to add the lemon juice to each jar. You can always give them a good rinse after you open the jars or try sweetening yours just a bit but not your husband’s.
Thanks for your comment. I’m so glad we’re on this traditional foods journey together!
Love and God bless,
Mary