The three most popular ancient grains to bake with are Einkorn, Emmer, and Spelt, and out of these nutritious selections, Spelt is the easiest to get started baking with. In today’s video, I’ll show you how easy it is to make a delightful white Spelt pie crust using all-purpose Spelt flour. It’s buttery, flaky, and perfect for sweet or savory pies. You’re going to love using this healthier alternative for your holiday baking!
So watch the video tutorial below and make this pie crust the next time you are craving pie. My step-by-step instructions will help you have a perfect pie crust every time!
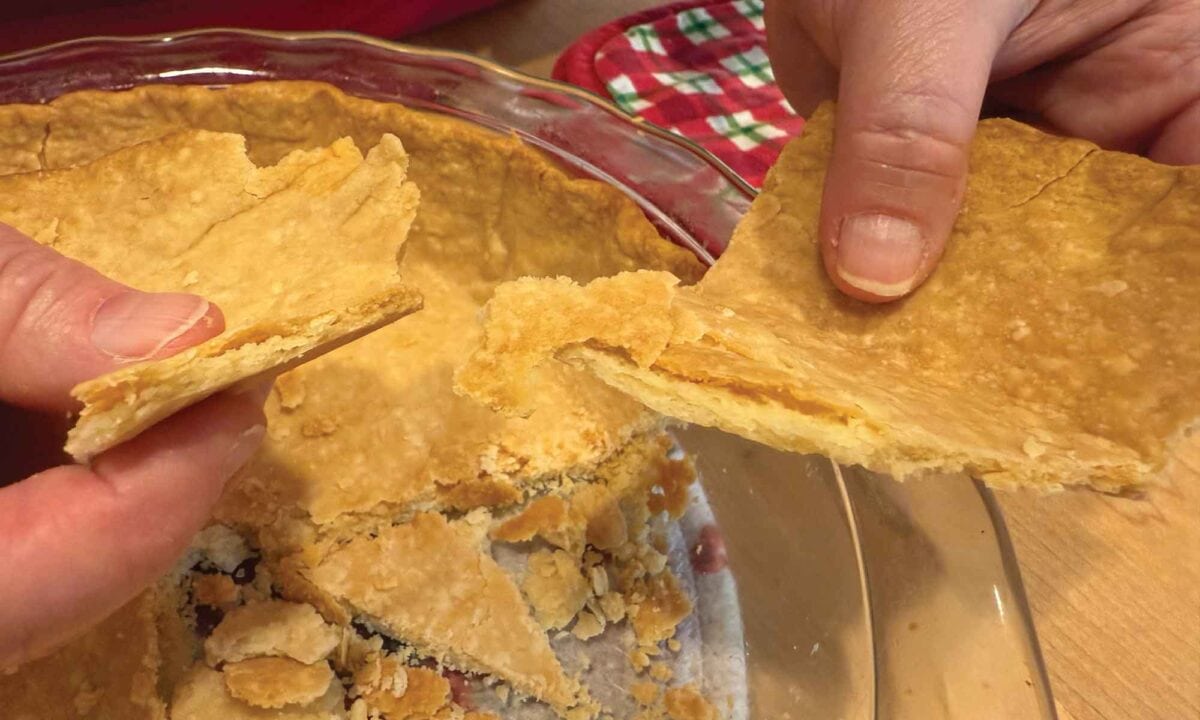
Your pie crust made of all-purpose Spelt flour gives you a healthier alternative over regular all-purpose flours created from modern-day wheats. Best of all, you will retain all the flakiness and taste to make your pie a delicious and memorable holiday treat!
Affiliates note: As an Amazon Associate I earn from qualifying purchases. My content may contain affiliate links to products and services. If you click through and make a purchase, I’ll receive a small commission. It does not affect the price you pay.
Table of Contents
- Spelt Flour Pie Crust Video Tutorial
- White Spelt Flour Pie Crust Recipe
- White Spelt Flour Pie Crust Ingredients
- Home Baker’s Tip: Baking Powder!
- Home Baker’s Tip: Vinegar!
- How to Make a White Spelt Flour Pie Crust
- Tips for Success
- What is a Par-Baked Pie Crust?
- What is a Blind Baked Pie Crust
- The Pros and Cons of Pie Crust Docking
- Bake More with Spelt Flour
- Grind Your Own Flour with the Mockmill
- More Recipes Using Ancient Grains
- The Modern Pioneer Cookbook
- The Modern Pioneer Cookbook
- Download Your Free 36-Page Pantry List
- Join the Traditional Foods Kitchen Academy
- Kitchen Academy Videos
- All Purpose Spelt Flour Pie Crust Recipe
- Shop for items used in this blog post or video
Spelt Flour Pie Crust Video Tutorial
I love making pies and bringing them to the table especially at holiday time. And with this pie crust recipe, you’ll find out why you can use an ancient grain flour, specifically made from an ancient wheat to create a nutritious pie crust that is also light and flakey. You’ll also learn the secret ingredient that will maintain flakiness in your crust even if you overwork the dough!
So watch my video tutorial for How to Make a White Spelt Flour Pie Crust and see how easy this is. And if you are new to baking pie crusts, be sure to use a glass pie plate so you can easily monitor the browning of the crust as it bakes.
White Spelt Flour Pie Crust Recipe
This white spelt flour pie crust is a game-changer for anyone exploring healthy pie crust alternatives. This crust is made with Spelt flour, an ancient grain celebrated for its nutty flavor and wholesome texture. It’s simple to prepare, with just the right balance of flour and butter to create a tender, flaky crust that pairs beautifully with any filling. Spelt’s unique properties make it a standout in the world of ancient grain baking, offering a nutrient-rich option that’s as delicious as it is versatile. Whether sweet or savory, this crust adds a touch of old-world charm to your favorite pies.
But honestly, the best part of baking pies is the variety of flavors you can explore. From the savory goodness of my Northern Italian Spinach Ricotta Pie to the sweet and comforting Skillet Apple Pie, or Old-Fashioned Apple Pandowdy, there’s a pie for every occasion. And don’t forget the Easy Pumpkin Pie with its no-roll crust—perfect for those who want a quick and delicious dessert. Each of these recipes brings its own unique charm to the table, making pie-baking a delightful adventure! And in many pie recipes, including some of mine, you can substitute the standard modern-day all-purpose pie crust with a white Spelt flour pie crust!
Why Choose To Bake With An Ancient Grain Flour?
Baking with ancient grain flours is like taking a step back in time to a simpler, more natural way of eating. Ancient grains, like Einkorn, Emmer, and Spelt are less hybridized than modern wheat, meaning they’ve been grown and used for centuries with minimal changes to their original structure. This makes them a more wholesome choice, as they retain their natural nutrients, including fiber, protein, and essential vitamins and minerals. Even in their all-purpose form (more on that later), ancient grain flours are still more nutritious than modern-day all-purpose flour.
Unlike today’s common highly processed flours, ancient grain flours bring a rich, nutty flavor to your baking and connect you to traditions that have stood the test of time. Plus, many people find these flours easier to digest, making them an excellent option for anyone looking to bake with care for taste and health!
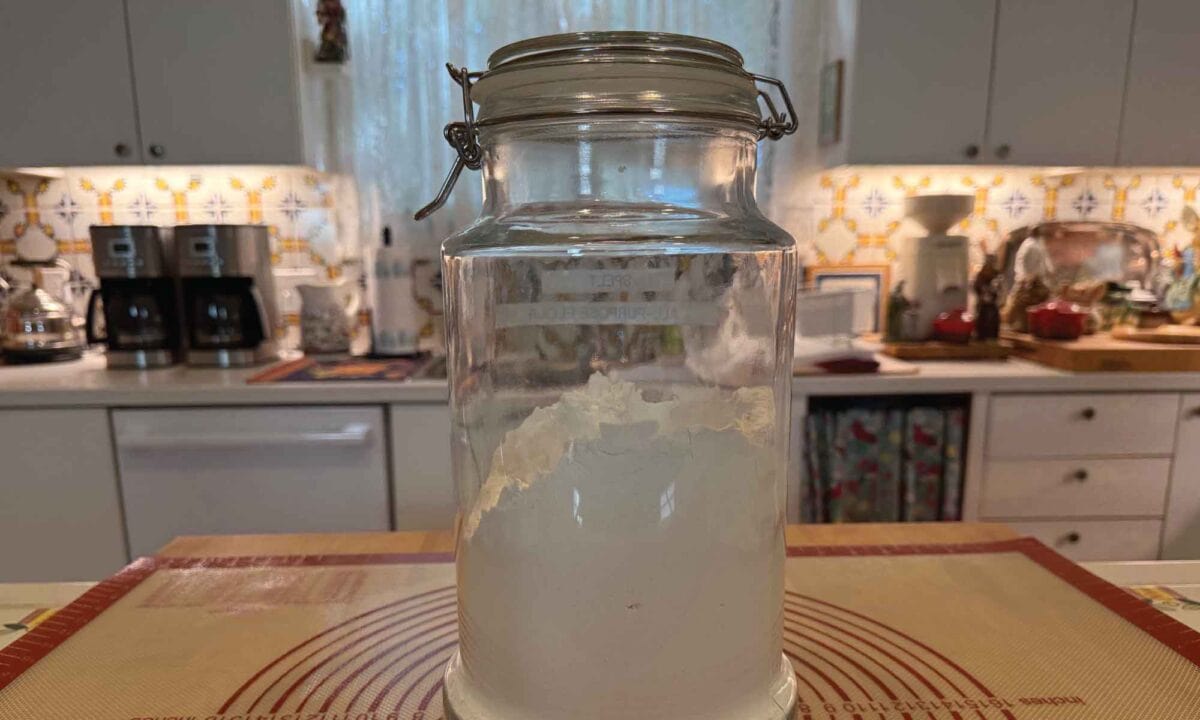
What is Spelt Flour?
Spelt flour, in its whole grain form, is a type of ancient grain flour made from whole grain Spelt. This whole grain is often referred to as Spelt berries. It is a relative of modern wheat that dates back thousands of years. Known for its light texture, Spelt has been cherished in traditional kitchens across Europe.
While Spelt shares some similarities with modern-day wheat, its slightly softer gluten structure makes it easier for many people to digest. Spelt flour is available in different forms—both whole grain and white, each suited to various types of baking, from hearty whole grain breads to tender, flaky pastries. In this recipe, we will be using white Spelt flour.
What is White Spelt Flour?
White Spelt flour, sometimes called all-purpose Spelt flour, is made by sifting out most of the bran and germ from the whole grain spelt flour. This process creates a lighter flour with a finer texture, perfect for baking delicate treats like pie crusts, cakes, or cookies.
While it has a slightly lower fiber content compared to whole Spelt flour, white Spelt flour retains the rich flavor and some of the nutritional benefits of this ancient grain, which are higher than those offered in modern-day all-purpose flours that have been sifted from modern-day whole wheat.
Why Choose White Spelt Flour?
White Spelt flour is an excellent option for bakers who want the best of both worlds—a more refined texture without sacrificing the unique taste and wholesome qualities of Spelt.
Spelt’s versatility makes it an excellent healthy pie crust alternative, as it creates a dough that’s easy to work with and produces a tender, flaky result. Plus, using white Spelt flour brings a touch of ancient grain baking into your kitchen, connecting you with a rich baking tradition.
Where to Buy White Spelt Flour
Today, you can purchase white Spelt flour from a variety of sources. It is becoming more common to find both white Spelt flour and its whole grain form at large grocery stores and specialty grocery stores. You can also find Spelt online from Grain Brain Flour and Central Milling.
However, did you know that you can make your own freshly milled whole grain flour as well as white or all-purpose flour, regardless of what whole grain you are using? It’s easy, and I show you how in a step-by-step tutorial.
Modifications When Baking with Spelt Flour
When baking with any ancient grain, and in this case, an ancient wheat, we need to modify standard pie crust recipes made with modern-day all-purpose flour. Whether the ancient wheat you are baking with is in its whole grain form or in its white or all-purpose form, you’ll need to adjust the fats and liquid in the recipe.
Generally, when baking with Spelt flour, you will find that you will need to decrease the fat you are using by 2 tablespoons for each cup of whole-grain Spelt flour called for in the recipe. If you are baking with white Spelt flour, the general rule is that you will need to decrease the fat called for in the recipe by 1 tablespoon.
We need to make these adjustments because ancient wheats, including Einkorn, Emmer, and Spelt, absorb fats and liquids at different rates than modern-day wheats.
Creating Pie Crusts
However, when it comes to creating pie crusts, we need to make specific adjustments that deviate from the general rule. Through lots of experimentation, I have discovered that when making a pie crust made with an ancient wheat flour, you need to be very careful when adding fat.
Too much fat, and you wind up with a greasy crust. So even though we are using white Spelt flour in this recipe, we decrease the butter by more than 1 tablespoon (per cup of flour) in this pie crust recipe than if we were simply using white Spelt flour to make a quick bread or muffins.
White Spelt Flour Pie Crust Ingredients
Find the full printable recipe with ingredients below.
- Spelt Flour: 1 1/3 cups white Spelt flour (all-purpose Spelt flour)
- Salt: 1/4 teaspoon fine ground sea salt
- Baking Powder: 1/8 teaspoon baking powder
- Butter: 6 tablespoons + 2 teaspoons unsalted butter
- Vinegar: 1 teaspoon apple cider vinegar1 1/2 to 2 1/2 teaspoons ice-cold water
Home Baker’s Tip: Baking Powder!
If you want your pie crust to have that extra tender texture reminiscent of pastry flour, here’s a little trick: add a pinch of baking powder to the dough! Baking powder works by slightly aerating the flour, helping to create a lighter, more delicate crust.
This simple addition softens the overall structure of the dough, making it easier to roll out and resulting in a flakier crust that melts in your mouth. It’s a small step that makes a big difference, especially when using flours like Spelt, which can sometimes feel a bit firmer to work with. Give it a try and see the magic!
Home Baker’s Tip: Vinegar!
Apple cider vinegar is a secret weapon for perfect pie crusts! Adding a teaspoon to your dough slows gluten development, which helps keep the crust tender and flaky.
Even if you accidentally overwork the dough, the vinegar acts as a safeguard, ensuring those delicate layers stay intact. Plus, the subtle tang of apple cider vinegar with just a touch of sweetness enhances the flavor without being overpowering. This little addition makes a big difference in creating bakery-worthy pie crusts at home!
How to Make a White Spelt Flour Pie Crust
Find the full printable recipe with measurements below.
- Prepare Ingredients:
Combine the Spelt flour, salt, and baking powder in a resealable plastic bag. Place the bag in the freezer for 30 minutes.
Cube the butter and divide it into two portions: 2/3 of the butter and 1/3 of the butter. Refrigerate the 2/3 portion and freeze the 1/3 portion.
2. Process the Dry Ingredients:
Transfer the cold flour mixture from the bag into a food processor using the standard blade (the S-shpaed blade). Pulse for a few seconds to combine to ensure that the salt and baking powder are fully distributed throughout the flour. (You can also do this by hand using a whisk.)
3. Add Butter:
Add the refrigerated butter (2/3 portion) to the food processor. Pulse until the mixture resembles coarse sand. (You can also do this by hand using a pastry cutter or two knives.)
Add the frozen butter (1/3 portion) and pulse a few times until the butter pieces are pea-sized and evenly distributed. (You can also do this by hand using a pastry cutter or two knives.)
4. Incorporate Liquid:
Add 1 1/2 teaspoons of ice-cold water and 1 teaspoon of apple cider vinegar to the flour butter mixture. Pulse a few times or gently incorporate using a wooden spoon or baking spatula.
Check the mixture by pinching it between your fingers. If it holds together, it’s ready. If it’s too dry, add ice-cold water 1/2 teaspoon at a time, pulsing between additions, until the mixture holds together.
5. Form the Dough:
Transfer the mixture back into the plastic bag. Knead gently from the outside of the bag until the dough comes together into a disk.
Refrigerate the disk for a minimum of 45 minutes.
6. Roll Out the Dough:
Remove the dough from the refrigerator and place it on a floured surface. Flour the top of the dough and flour your rolling pin. Alternatively, you can place the floured dough between two pieces of parchment paper, or simply cover your floured dough with a sheet of plastic wrap.
Roll the dough into a 12-inch circle.
7. Prepare the Pie Plate:
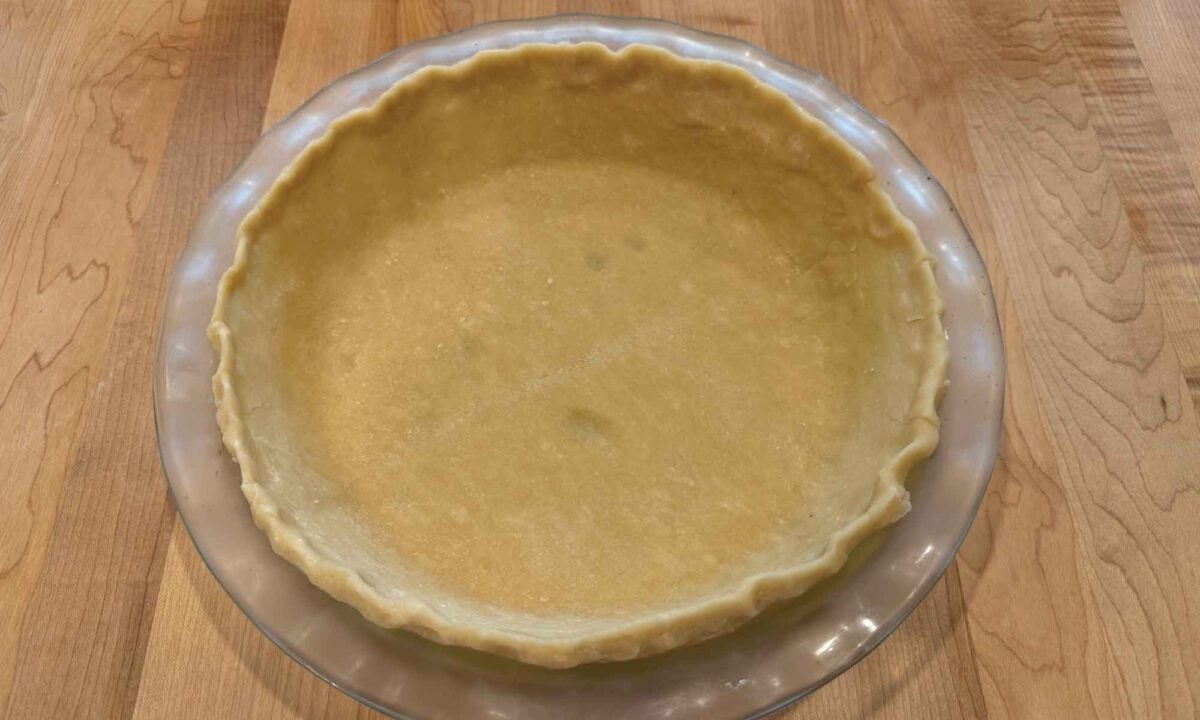
Place the rolled-out dough into a pie plate. Pie plates ranging in size from 8 1/2 to 10 inches will work. I used a 9 1/2-inch pie plate. Press the dough gently into the pan and crimp the edges as desired.
Refrigerate the prepared pie plate for at least 1 hour or up to 24 hours.
8. Bake as Desired:
Use this single pie crust as directed in your recipe. Follow specific instructions for a par-baked (partially baked) pie crust, or blind-baked (fully baked) pie crust, depending on your recipe.
Tips for Success
Keep Everything Cold: The key to a flaky pie crust is maintaining cold ingredients. If your kitchen is warm, consider chilling your mixing bowl and utensils.
Don’t Overwork the Dough: Even though we are adding vinegar to the dough, you still want to handle the dough as little as possible to prevent the development of too much gluten, which can lead to a tough crust.
Use the Right Tools: A food processor makes quick work of cutting the butter into the flour, but you can also use a pastry cutter or two knives.
What is a Par-Baked Pie Crust?
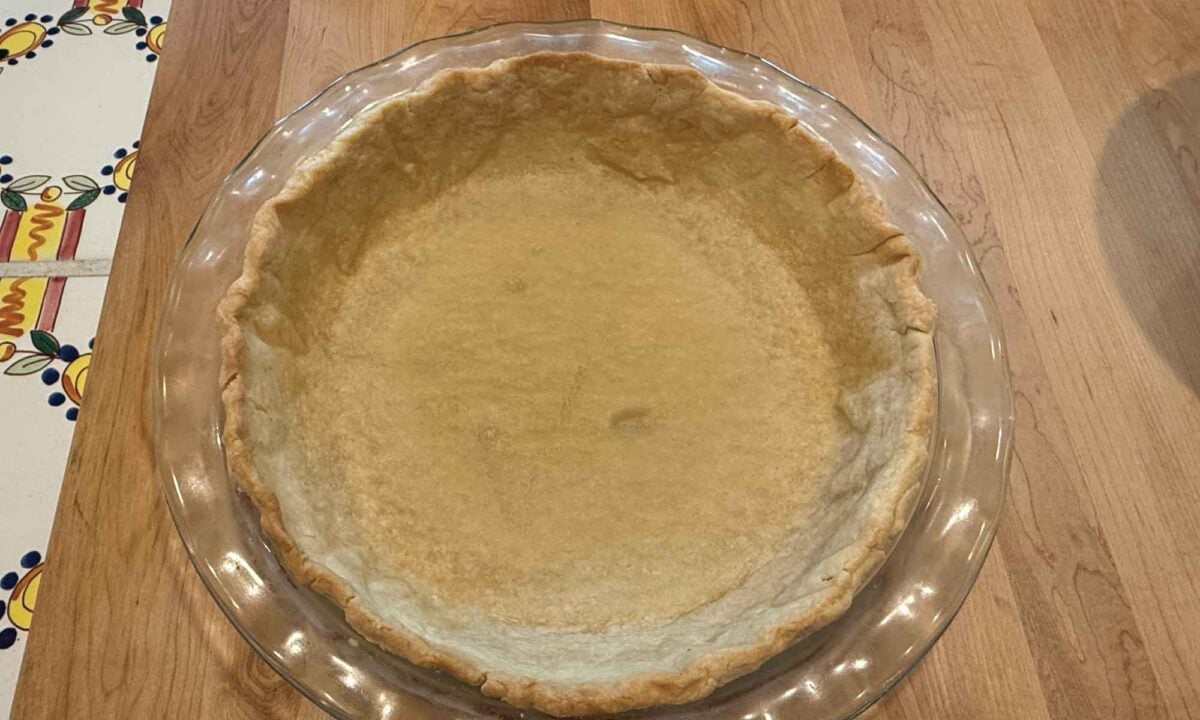
Par-baking, or partial baking, is the process of baking a pie crust partway before adding the filling. This technique is essential for recipes where the filling requires less baking time than the crust, ensuring both components are perfectly cooked.
How to Par-Bake a Pie Crust:
- Prepare the Dough: Roll out your pie dough and fit it into your pie plate, crimping the edges as desired. Chill the crust in the refrigerator for at least 1 hour to prevent shrinking during baking.
- Preheat the Oven: Set your oven to 425°F (218°C).
- Line the Crust: Place a sheet of parchment paper or aluminum foil over the chilled crust, ensuring it covers the bottom and sides completely.
- Add Pie Weights: Fill the lined crust with pie weights, dried beans, or uncooked rice. This weight prevents the crust from puffing up and helps maintain its shape. (See the section below about Pie Weights.)
- Bake: Place the pie plate on a baking sheet and bake for 15–20 minutes, or until the edges are set and just beginning to color.
- Remove Weights: Remove the par baked crust from the oven and carefully lift out the parchment paper or foil along with the weights.
- Cool and Fill: Allow the crust to cool slightly before adding your filling, then proceed with your recipe’s instructions.
Par-baking ensures your crust remains crisp and supports the filling without becoming soggy.
Blind baking involves fully baking the pie crust before adding a filling that doesn’t require baking, such as custards or cream pies. This method ensures the crust is thoroughly cooked and maintains its structure.
What Are Pie Weights?
If the term “pie weights” is new to you, they are simply small stainless steel balls that you use to weigh down a crust during baking. If you don’t have pie weights, no problem. Dry beans work great, and I prefer them.
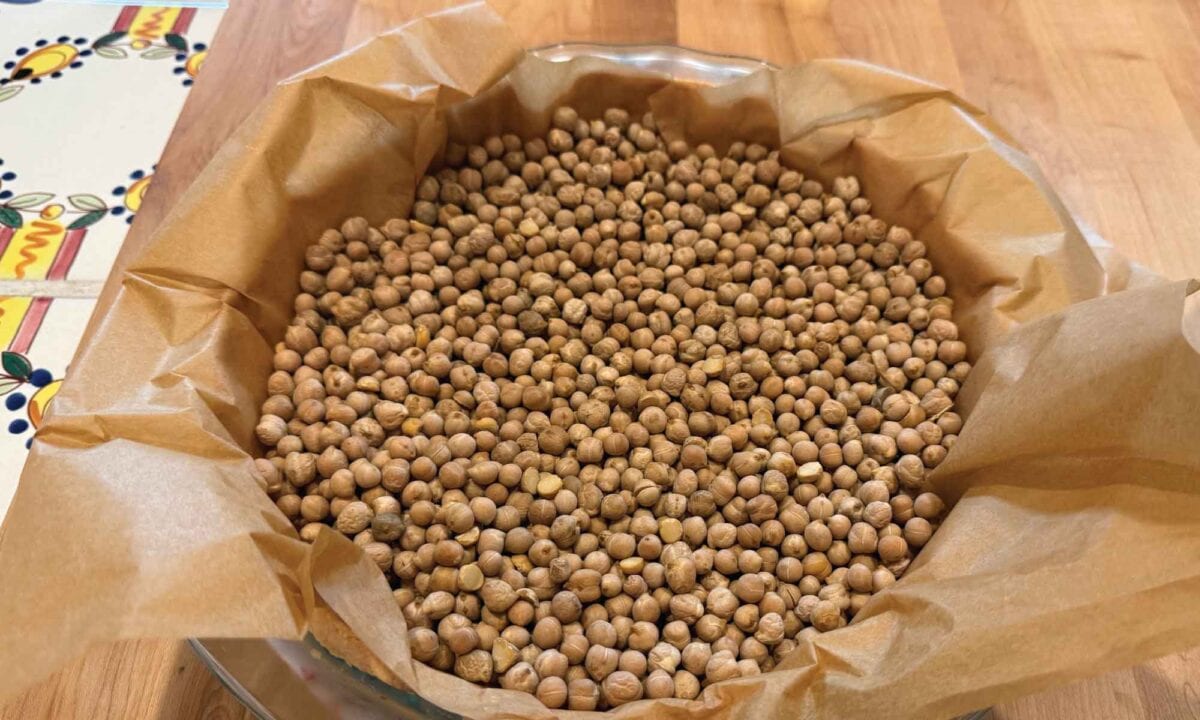
Just make sure that you designate the beans must only be used for pie weights. You should not use the same beans in recipes once you’ve used them as pie weights, but you can continue to reuse the beans as pie weights with your pie crusts over and over again.
What is a Blind Baked Pie Crust
Blind baking involves fully baking the pie crust before adding a filling that doesn’t require baking, such as custards or cream pies. This method ensures the crust is thoroughly cooked and maintains its structure.
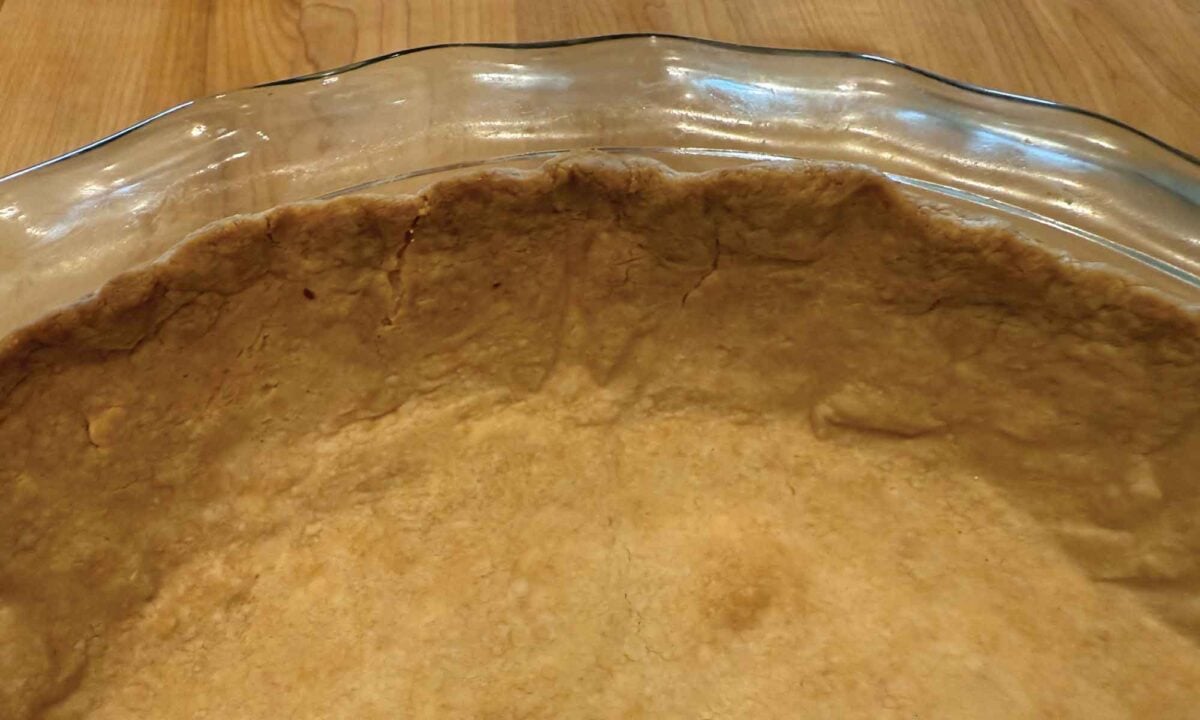
How to Blind Bake a Pie Crust:
- Prepare the Dough: Roll out your pie dough and place it into your pie plate, crimping the edges as desired. Chill the crust in the refrigerator for at least 1 hour to prevent shrinking.
- Preheat the Oven: Set your oven to 425°F (218°C).
- Line the Crust: Cover the chilled crust with parchment paper or aluminum foil, ensuring it fits snugly against the dough.
- Add Pie Weights: Fill the lined crust with pie weights, dried beans, or uncooked rice to keep the dough from puffing up.
- Bake: Place the pie plate on a baking sheet and bake for 15-20 minutes, or until the edges are lightly golden.
- Remove Weights: Carefully remove the parchment paper or foil along with the weights.
- OPTIONAL – Dock the Crust: You can use a fork to prick the bottom and up the sides of the crust to release steam and prevent bubbling. (Learn more about Pie Crust Docking)
- Continue Baking: Return the crust to the oven and bake for an additional 10–15 minutes until the entire crust is golden brown and fully cooked.
- Cool Completely: Allow the crust to cool completely before adding your no-bake filling.
Blind baking is crucial for pies with fillings that don’t require baking, ensuring a crisp and sturdy crust that complements your delicious fillings.
The Pros and Cons of Pie Crust Docking
If you’ve ever wondered why some pie recipes call for docking the crust, let’s break it down! Docking is the process of pricking small holes across the surface of your pie crust with a fork before baking. This technique is used to release steam as the crust bakes, helping to prevent bubbles from forming and ensuring the crust stays nice and flat. For pies with a filling that doesn’t need to bake, like cream pies, docking can be a real lifesaver for creating that smooth, even base.
One of the biggest pros of docking is that it keeps your pie crust in place during blind baking. Without those little steam vents, your crust might (but not always) puff up a bit or shrink a bit unevenly. It’s a simple step that can make all the difference in getting a professional-looking result. Plus, it’s quick and easy to do, requiring no special tools—just a trusty fork!
However, docking isn’t without its downsides. The most notable con is that those tiny holes can allow liquid filling to seep through, especially if you’re par-baking or blind baking the crust for a pie with a juicy filling like custard or fruit. This can lead to soggy spots or filling leaking onto your pan, which no baker wants! To avoid this, you might want to skip docking for pies with runny fillings.
In place of docking, if you are simply par-baking your pie crust, just rely on pie weights to keep the crust in place. If you are blind baking your pie crust, and therefore will be removing the pie weight for the final bake, make sure that you use a sufficient amount of pie weights during the first phase of baking. This first phase of baking, where the pie crust is weighted down sufficiently, might ensure that during the second phase of baking, the pie crust will not puff up or shrink.
Docking is a handy technique, but it’s not one-size-fits-all. Knowing when to use it—and when to leave your crust undocked—can help you achieve pie perfection every time!
What About an Egg Wash?
When par-baking or blind baking a pie crust, you might want to consider using an egg wash to further ensure that your crust stays light and flakey. This is very easy to do and generally involves using only one egg white whisked together with about a teaspoon of water.
Par-Baking: With par-baking, once you remove the parchment paper and pie weights, simply brush the egg white mixture onto the bottom and sides of the crust and pop it in the oven for about 30 seconds to dry.
Blind Baking: With blind baking, you simply wait until the crust is fully baked, brush it with the bottom and sides of the pie crust, and pop it back in the oven for 30 seconds to dry.
That’s it! Now, both types of pie crusts, whether par-baked or blind-baked, have an added layer of protection against any sogginess created by the filling.
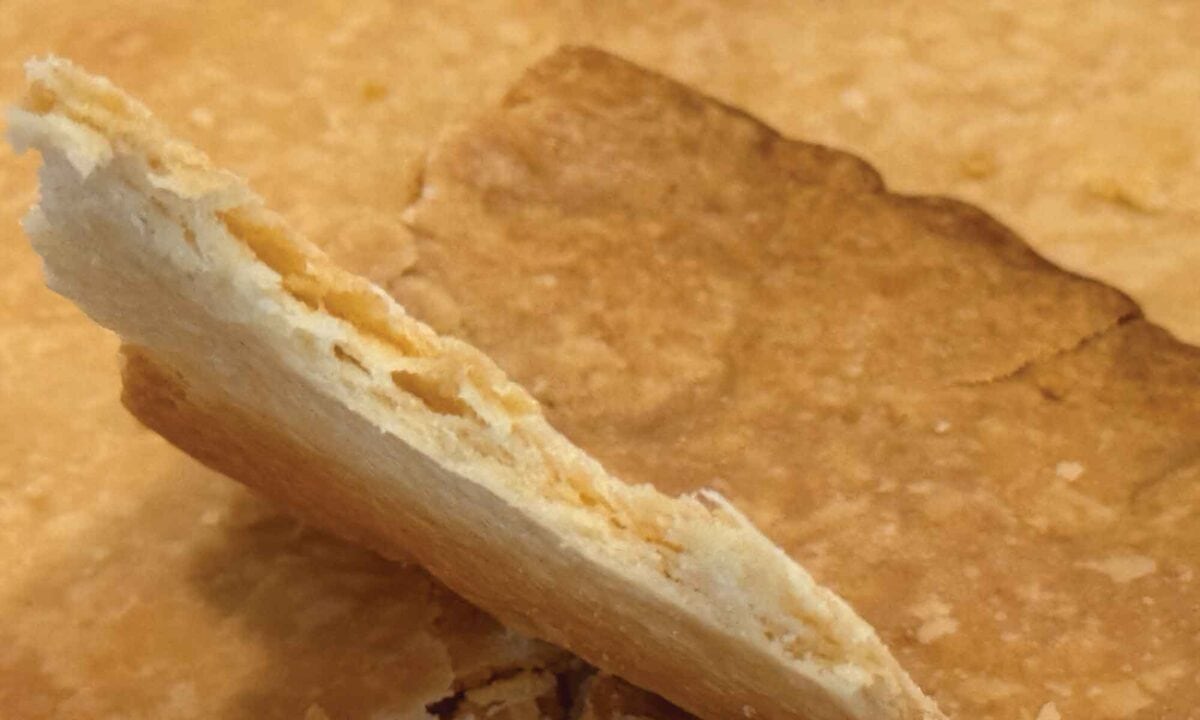
Bake More with Spelt Flour
If you find you like baking with Spelt flour—either in its whole grain form or its all-purpose form—try this Blender Pumpkin Cake made with White Spelt Flour. It comes together in minutes, and it’s perfect for your Thanksgiving dessert table.
Grind Your Own Flour with the Mockmill
When it comes to electric grain mills, after I did A LOT of research, I decided to buy a Mockmill. And am I so happy I did! The Mockmill is a very affordable but beautifully crafted German-made mill that stone grinds grain with settings ranging from 1 to 10—fine to coarse ground grain.
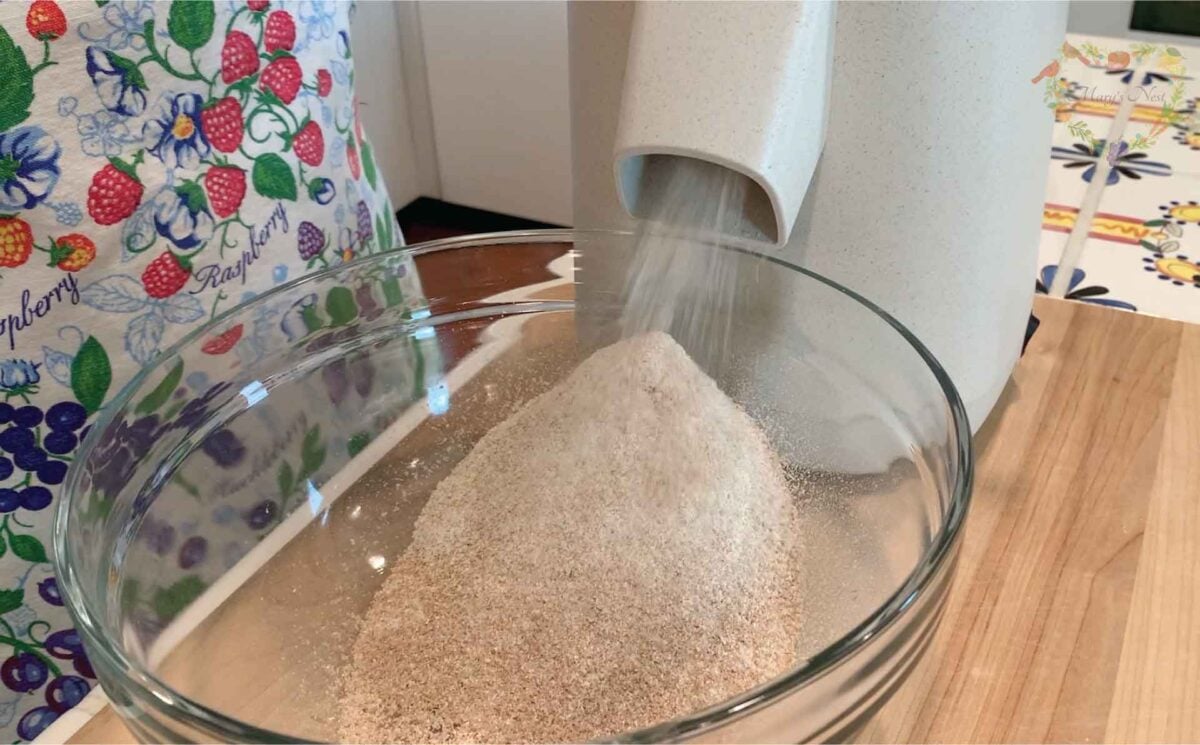
Learn more about Mockmill electric grain mills for making fresh flour and their Flake Lover’s Flaker that flakes whole grain in minutes. (This is not a sponsored post, I bought the Mockmill products that I show you, and I’m a happy user of their devices in my kitchen.)
- Mockmill 100 Grain Mill unboxing
- Get the Mockmill 100 Stone Grain Mill (Same product I show you in my unboxing video.)
- Flake Lover’s Flaker from Mockmill in action (Using this device, you can flake whole grain in minutes.)
How to Make White Spelt Flour
If you decide to stock whole grain Spelt and grind it into freshly milled flour using your Mockmill grain grinder, you can easily turn that whole grain flour into white Spelt flour. All you need to do is take the freshly milled flour and use a baker’s fine mesh strainer to sift out the bran and the germ. It couldn’t be easier, and I show you how to do this in an easy-to-follow step-by-step video.
Now, keep in mind in the video that I am using Einkorn whole grain, but the same principle applies whether using Einkorn, Emmer, Spelt, or any whole grain.
More Recipes Using Ancient Grains
Bring Ancient Grains Back to the Table with Grand Teton Ancient Grains
Meet the Idaho family behind Grand Teton Ancient Grains—growing ancient grains the old-fashioned way.
How to Make French Spice Bread: Pain d’Épices
Discover the Old World charm of French Spice Bread—a honey-sweet, spiced loaf perfect for cozy baking.
How to Make Whole Grain Einkorn Date Nut Bread
You’ll love baking this naturally sweet treat with fresh-milled Einkorn—an ancient grain you’ll love!
The Modern Pioneer Cookbook
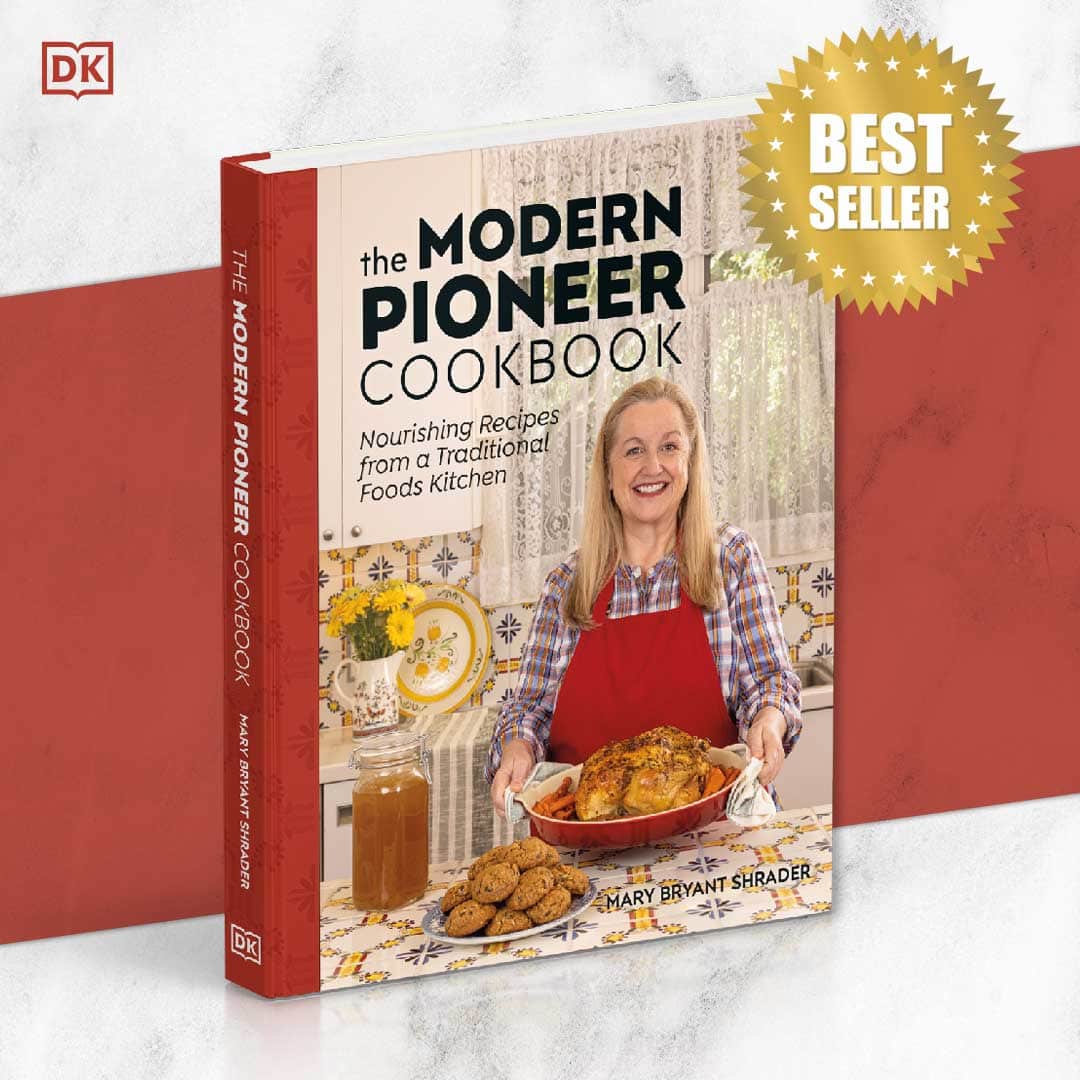
Part of my passion for keeping traditional cooking skills alive—in addition to my online cooking school on YouTube—is writing cookbooks. My first book, The Modern Pioneer Cookbook published by Penguin Random House (PRH), is full of my traditional foods recipes that show you how to create a traditional foods kitchen.
Be sure to order your copy of my bestselling book, The Modern Pioneer Cookbook, to start your traditional foods journey. And stay tuned for my next cookbook that will be published by PRH in 2025!
Download Your Free 36-Page Pantry List
For an extensive list of the traditional foods you can make and purchase to stock your pantry, be sure to download my free 36-page Traditional Foods Pantry List. This comprehensive eBook is full of links to recipe videos, helpful articles, and more!
Join the Traditional Foods Kitchen Academy
Are you looking for more traditional foods videos? If so, I invite you to join the Traditional Foods Kitchen Academy. Members of this optional paid YouTube community get access to exclusive videos and other members-only perks. Plus, your YouTube comments include a special members-only badge.
Kitchen Academy Videos
How to Make Oatmeal Higher in Protein (The Old-Fashioned Way)
Turn simple oats into a hearty, protein-rich porridge.
The Only Traditional Recipes You’ll Ever Need!
Focus on traditional recipes with real food. Don’t chase trends.
Let’s Talk Akkermansia: A Tiny Helper for Big Gut Health
Discover how Akkermansia muciniphila supports gut and immune health—and how traditional foods help this mighty microbe thrive.
Stay in Touch with Mary’s Nest
- Subscribe to My YouTube Channel for Traditional Foods Videos (Free) - When you subscribe, be sure to click on the notification bell that will let you know each time I upload a new video.
- Subscribe to Mary’s Traditional Foods Newsletter (Free) - Get a free 36-page eBook for signing up: How to Stock Your Essential Traditional Foods Four-Corners Pantry.
- Join the Traditional Foods Kitchen Academy - For more detailed videos and exclusive members-only perks, join my YouTube membership community.
- Order The Modern Pioneer Cookbook - Get a hardcover book of Mary's nourishing recipes from a Traditional Foods Kitchen. This bestselling cookbook is published by Penguin Random House with their DK imprint.
- Order The Modern Pioneer Pantry - Get Mary's latest hardcover cookbook about preserving food and making delicious meals from your Four Corners Pantry. Mary's second cookbook is also published by Penguin Random House.
I look forward to having you join me in my Texas Hill Country Kitchen!
I’d like to receive more tips and recipes from Mary’s Nest.
All Purpose Spelt Flour Pie Crust

Equipment
- 1 pie plate, 8 1/2 – 10 inches in circumference
- 1 food processor or a pastry cutter or 2 knives
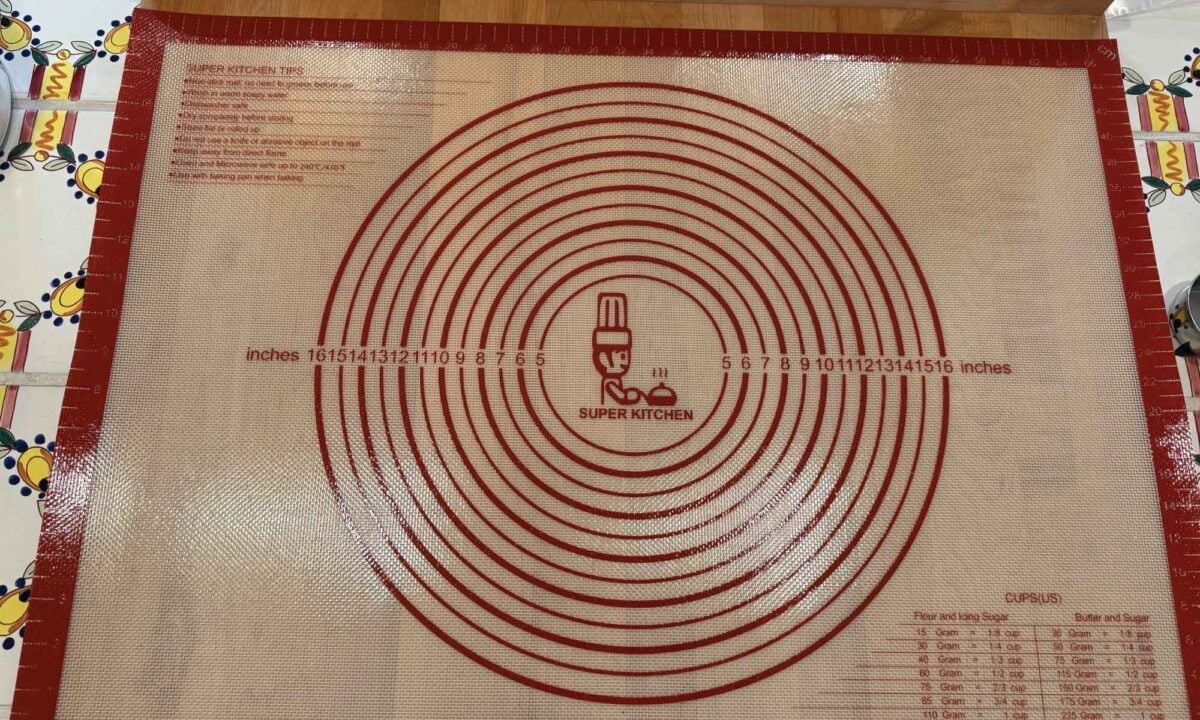
- 1 silicone mat optional
- pie weights or dry beans
Ingredients
- 1 1/3 cups white Spelt flour all-purpose Spelt flour
- 1/4 teaspoon fine ground sea salt
- 1/8 teaspoon baking powder
- 6 2/3 tablespoons unsalted butter This is equivalent to 6 tablespoons of butter plus 2 teaspoons of butter
- 1 teaspoon apple cider vinegar
- 1 1/2 to 2 1/2 teaspoons ice-cold water
Instructions
- Combine the spelt flour, salt, and baking powder in a resealable plastic bag. Place the bag in the freezer for 30 minutes.
- Cube the butter and divide it into two portions: 2/3 of the butter and 1/3 of the butter. Refrigerate the 2/3 portion and freeze the 1/3 portion.
- Transfer the cold flour mixture from the bag into a food processor using the standard blade (the S-shpaed blade). Pulse for a few seconds to combine to ensure that the salt and baking powder are fully distributed throughout the flour. (You can also do this by hand using a whisk.)
- Add the refrigerated butter (2/3 portion) to the food processor. Pulse until the mixture resembles coarse sand. (You can also do this by hand using a pastry cutter or two knives.)
- Add the frozen butter (1/3 portion) and pulse a few times until the butter pieces are pea-sized and evenly distributed. (You can also do this by hand using a pastry cutter or two knives.)
- Add 1 1/2 teaspoons of ice-cold water and 1 teaspoon of apple cider vinegar to the flour butter mixture. Pulse a few times or gently incorporate using a wooden spoon or baking spatula.
- Check the mixture by pinching it between your fingers. If it holds together, it’s ready. If it’s too dry, add ice-cold water 1/2 teaspoon at a time, pulsing between additions, until the mixture holds together.
- Transfer the mixture back into the plastic bag. Knead gently from the outside of the bag until the dough comes together into a disk.
- Refrigerate the disk for a minimum of 45 minutes.
- Remove the dough from the refrigerator and place it on a floured surface. Flour the top of the dough and flour your rolling pin. Alternatively, you can place the floured dough between two pieces of parchment paper, or simply cover your floured dough with a sheet of plastic wrap. (See Video.)
- Roll the dough into a 12-inch circle.
- Place the rolled-out dough into a pie plate. Pie plates ranging in size from 8 1/2 to 10 inches will work. I used a 9 1/2-inch pie plate. Press the dough gently into the pan and crimp the edges as desired.
- Refrigerate the prepared pie plate for at least 1 hour or up to 24 hours.
- Use this single pie crust as directed in your recipe. Follow specific instructions for a par-baked (partially baked) pie crust, or blind baked (fully baked) pie crust, depending on your recipe.
Video
Notes
Shop for items used in this blog post or video
Kitchen Supplies in This Video
Favorite Kitchen Supplies
- Favorite Aprons
- Spice Grinder
- Countertop Burner (On my kitchen island in many recipe videos.)
- Handheld Vacuum Sealing System
- Vacuum Lids
- Whisk
- Silica Gel Packets (Helps keep moisture from building up in your mix)
- Cast Iron Dutch Oven
- 8-Quart Slow-Cooker
- Fat Separator (Clever kitchen device to help you decant bone broth)
- Flour Sack Towels
- pH Strips (Helps you check on the acidity of your vinegar)
Amazon Shop and Shopping Guide
- Visit Mary’s Nest Amazon Shop
- Visit my Shopping Guide page
Get up to 15% off for stocking your Traditional Foods Pantry and equipping your Modern Pioneer Kitchen, including discounts from US Wellness Meats, Farmhouse Teas, Backwoods Home, Masontops, Cultures for Health, Survival Garden Seeds, Redmond Real Salt, Mother Earth News, and More!

