Building a Prepper Pantry and a Four Corners Pantry System is one of the most practical ways we can help our families weather difficult times. But once we’ve stocked those shelves, our work isn’t quite finished!
Periodically, it’s helpful to take a fresh look at our food storage and ask whether everything is still easy to see, reach, rotate, and protect. A few simple updates—from monitoring temperature and humidity to creating a “Use These Next” basket—can make your Prepper Pantry considerably easier to manage.
Affiliates note: As an Amazon Associate I earn from qualifying purchases. My content may contain affiliate links to products and services. If you click through and make a purchase, I’ll receive a small commission. It does not affect the price you pay.
Table of Contents
- A Quick Glance: Simple Prepper Pantry Storage Updates
- Why Your Prepper Pantry Needs an Occasional Checkup
- Monitor the Temperature and Humidity in Your Pantry
- Make Vacuum-Sealing Mason Jars More Convenient
- Make the Back of Every Shelf Easier to Reach
- Divide Bulk Foods into Smaller Portions
- Create a “Use These Next” Basket
- Keep an Inventory Where the Food Lives
- Arrange Your Pantry for Easy Rotation
- Schedule a Pantry Checkup
- A Well-Managed Pantry Brings Peace of Mind
- More Prepper Pantry Posts
- Grand Teton Ancient Grains
- Grind Your Own Flour with the Mockmill
- Redmond Real Salt
- Backwoods Home and Self-Reliance
- Mother Earth News
- The Modern Pioneer Cookbook
- The Modern Pioneer Pantry
- Start Your Traditional Foods Journey
- Download Your Free 36-Page Pantry List
- Join the Traditional Foods Kitchen Academy
- Kitchen Academy Videos
- Shop for My Favorite Items
A Quick Glance: Simple Prepper Pantry Storage Updates
- Monitor the temperature and humidity in your pantry.
- Protect appropriate dry foods with airtight containers or vacuum-sealed Mason jars.
- Choose practical storage lids for jars you open frequently.
- Use pull-out organizers, shelf risers, and turntables to reach foods in the back.
- Divide large packages into smaller, manageable portions.
- Create a “Use These Next” basket to prevent food waste.
- Keep an inventory sheet inside your pantry door.
- Label foods with the name, purchase or packing date, and cooking instructions.
- Store foods in a cool, dry, dark location whenever possible.
- Review your supplies regularly and adjust them as your family’s needs change.
Why Your Prepper Pantry Needs an Occasional Checkup
When we first build a Prepper Pantry, we naturally focus on what we need to buy. We add grains, beans, canned foods, baking ingredients, and other shelf-stable staples that can help us prepare meals when shopping is difficult.
But a successful Prepper Pantry is about more than accumulating food. We also need to protect what we store and make sure we can find and use it.
Even the most thoughtfully stocked pantry can develop a few problems over time. Older foods may become hidden behind newer purchases. Large packages may be opened repeatedly, exposing them to air and moisture. Labels may fade, and we may forget when something was purchased or how much we have.
Fortunately, we can correct many of these problems with a few simple storage updates.

Monitor the Temperature and Humidity in Your Pantry
Many of us have temperature monitors for our refrigerators and freezers, but we may not give much thought to the conditions in our Prepper Pantry.
Heat and moisture can shorten the storage life of food, so a small thermometer and humidity monitor—sometimes called a thermo-hygrometer—can be very helpful. Some of the newer models keep a record of changing conditions and can even send an alert to your phone if the temperature or humidity rises beyond the range you select.
This can be especially useful if you store food in a basement, closet, laundry room, spare room, or another area where conditions may change throughout the year.
Here in Texas, I would be very cautious about storing food in a garage. A garage can become extremely hot during our summers, even when it seems like a convenient place to keep extra supplies. A simple monitor can help you compare possible storage locations and choose the coolest, driest place available in your home.
- Product link: Digital Wireless Fridge and Freezer Thermometer with Alarm
- Product link: Digital Hygrometer Indoor Thermometer Humidity Monitor

Remember the Three Enemies of Stored Food
When choosing a location for your Prepper Pantry, think about these three conditions:
- Heat
- Moisture
- Light
A cool, dry, dark location will generally provide a better storage environment than a warm room, a damp area, or a shelf exposed to direct sunlight.
You don’t need a perfect storage room to begin. Simply choose the best location available to you and keep an eye on its conditions.
Make Vacuum-Sealing Mason Jars More Convenient
Mason jars are wonderful for storing many dry foods because they are reusable, easy to label, and allow you to see what is inside.
If you vacuum-seal dry foods in Mason jars, newer rechargeable handheld vacuum sealers can make the process more convenient. A small handheld device takes up less room than a full-sized countertop appliance and may work with compatible regular-mouth and wide-mouth jar attachments.
This type of system can be especially handy for dry foods that you use periodically but want to protect between uses.
- Product link: Vacuum Sealer for Mason Jars, Cordless, 10 Lids Included
Vacuum Sealing Is Not the Same as Canning
Vacuum sealing a Mason jar does not take the place of proper home canning. It also does not make moist or perishable food safe to store at room temperature.
Use this method only for suitable dry foods, and follow the instructions provided by the manufacturer of your vacuum sealer and jar attachment.
Add Practical Storage Lids to Frequently Used Jars
Traditional two-piece canning lids are essential for home canning, but they may not always be the most convenient choice for dry foods that you open regularly.
One-piece storage lids with silicone gaskets are now available for both regular-mouth and wide-mouth Mason jars. Depending on the particular product, these lids may provide an airtight seal and make jars easier to open, close, and stack.
Some storage lids are made from stainless steel, while others are made from sturdy plastic. Choose the material you prefer, and be sure the product is specifically intended for food storage.
Keep in mind that storage lids are for storing food. Unless the manufacturer specifically states otherwise, they are not intended to replace approved two-piece lids when processing jars in a water-bath or pressure canner.
- Product link: Stainless Steel One-Piece Mason Jar Lids, Regular Mouth
- Product link: Stainless Steel One-Piece Mason Jar Lids, Wide Mouth
Superb Canning Supplies

- Superb offers an amazing selection of canning supplies, including jars, lids, bands, and more. (Use this link and promo code NEST20 for 20% off orders at Superb.)
- Want to learn how to get started water with bath canning? Check out my Canning Crushed Tomatoes with Water Bath Tutorial video
Make the Back of Every Shelf Easier to Reach
Deep shelves may seem like a blessing when you’re filling your Prepper Pantry, but they can quickly become little caves where food disappears!
Pull-out organizers, shelf risers, baskets, and turntables can help you see what you have and reach the foods stored in the back.
- Product link: Stackable Clear Pantry Storage Drawers
- Product link: Spice Rack Cabinet Organizer, Non Skid
- Product link: Non-Skid Lazy Susan Organizers
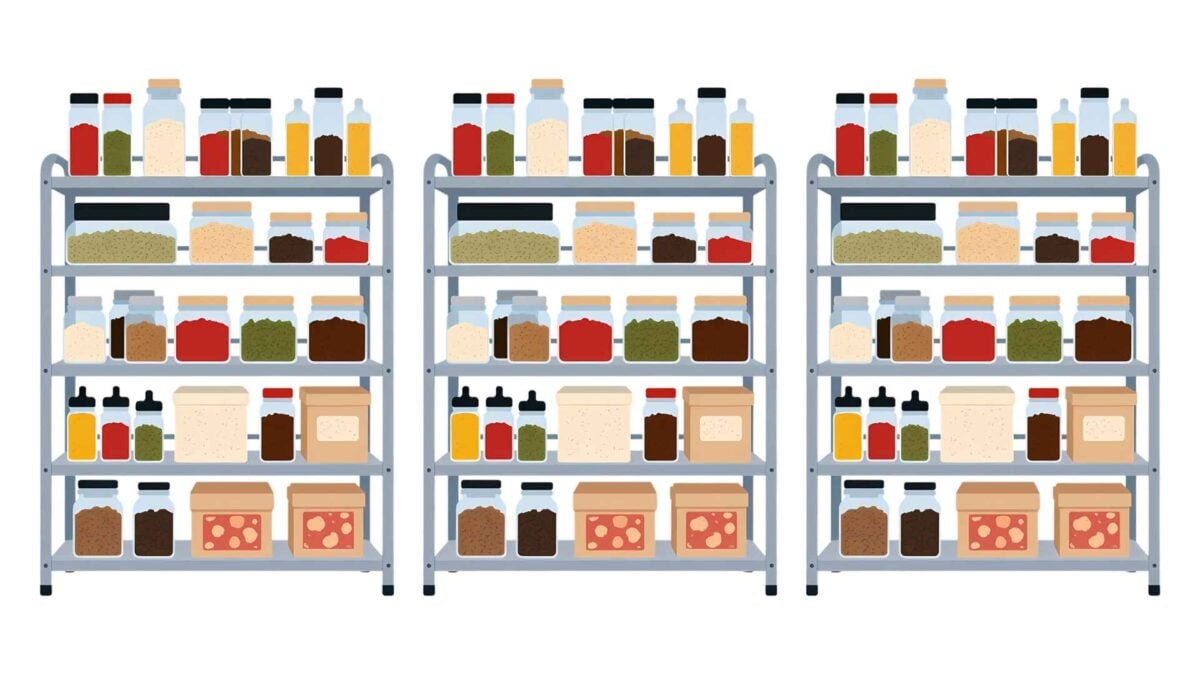
Pull-Out Organizers
A Pull-out organizer allows you to bring the contents of a deep cabinet toward you. This can be especially helpful for canned foods, jars, and smaller packages that tend to become lost in the back.
Before purchasing one, measure the interior of your cabinet carefully and check its weight limit. Canned goods and glass jars become very heavy when grouped together.
Shelf Risers
Shelf risers add a second level to a tall pantry shelf, allowing you to use empty vertical space. They can also help prevent small cans and jars from becoming hidden behind larger items.
Turntables
A turntable, sometimes called a Lazy Susan, works well for smaller containers, condiments, extracts, herbs, and spices. Choose one with a raised edge so items are less likely to fall as you turn it.
Divide Bulk Foods into Smaller Portions
Buying in bulk can be economical, but repeatedly opening a single large container exposes the entire supply to air, moisture, and the risk of contamination.
Instead, consider dividing a bulk purchase into several smaller portions. Keep one portion in your working pantry and leave the others properly sealed in your Prepper Pantry.
For example, rather than opening a large container of rice every week, you might package the rice in several appropriately sized containers. When the rice in your working pantry runs low, you can bring out one fresh portion.
- Product link: Food Storage Containers with Lids
- Product link: 5 Gallon Bucket – Food Grade w/Lid BPA-Free,6 Pack
- Product link: 120 Mylar Bags with 150 Oxygen Absorbers-168 Labels & Stand-Up Reusable
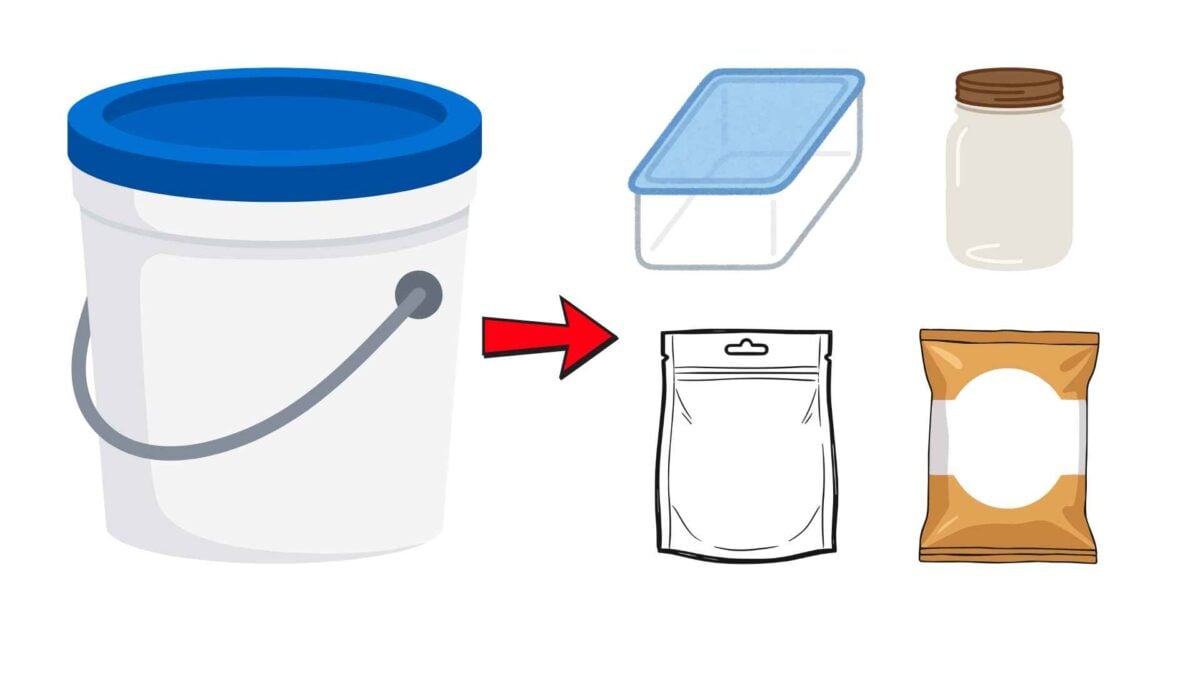
Match the Container to the Food
There is no single container that is ideal for every food. Depending on what you are storing and how long you plan to keep it, you might use:
- Glass jars
- Food-grade plastic containers
- Food-grade buckets
- Mylar bags
- Vacuum-sealed jars or bags
- The food’s unopened original packaging
Before repackaging anything, learn about the specific food and the storage method you plan to use. Oxygen absorbers are appropriate only for certain low-moisture foods in suitable sealed containers. They should never be added indiscriminately to every package in the pantry.

Create a “Use These Next” Basket
This may be one of the simplest and most useful improvements you can make.
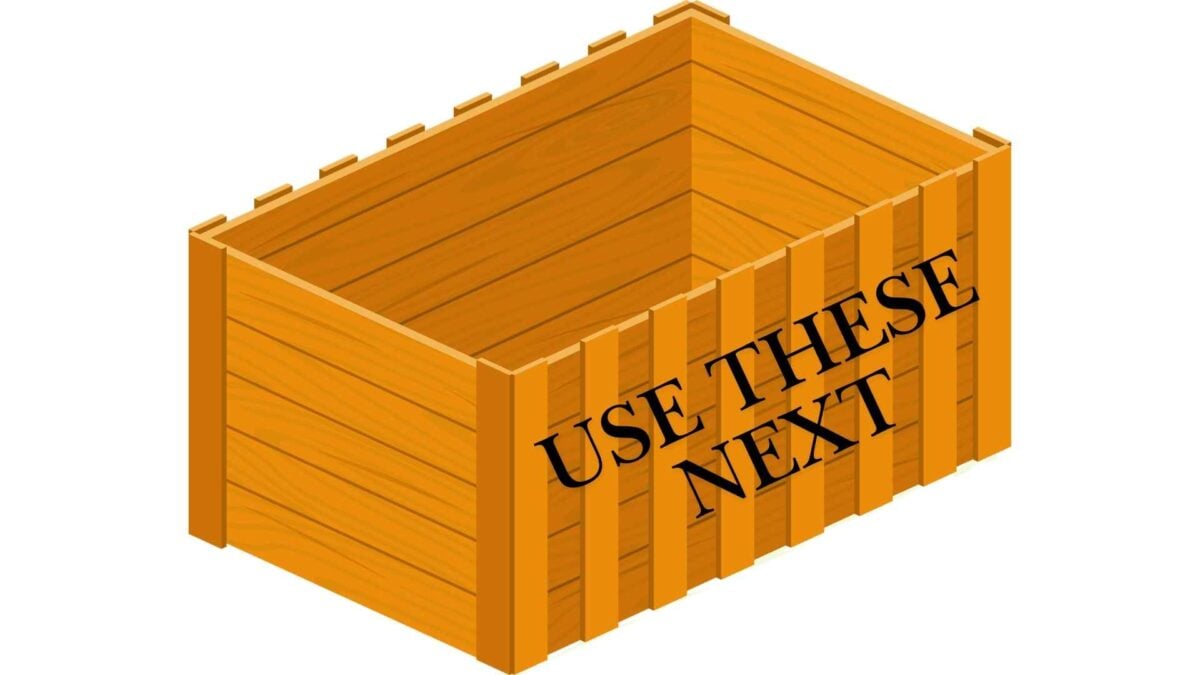
Place a basket or bin in an easy-to-see area of your pantry and label it: USE THESE NEXT.
As you review your supplies, place foods with approaching best-quality dates in this basket. You can also include partially used packages and anything you have been overlooking.
Before planning your meals or making your grocery list, look in the basket. A can of tomatoes might become part of a soup, while an older package of rice could accompany beans for lunch.
This simple habit can prevent good food from becoming forgotten and going to waste and help you rotate your pantry naturally.
- Product Link: Mesh Basket with Handle
Best-Quality Dates and Food Safety
A “best if used by” or similar date often refers to quality rather than an automatic food-safety deadline. However, always inspect stored food before using it.
Discard any package that is leaking, bulging, badly rusted, damaged, contaminated by pests, or showing other signs of spoilage. When you are uncertain about the safety of a food, it is wise to let it go.
Learn more with this United States Department of Agriculture (USDA) reference:
Keep an Inventory Where the Food Lives
An inventory does not need to be complicated. In fact, the simpler it is, the more likely you are to keep it up to date.
Attach a clipboard to the inside of your pantry door or hang it on a nearby wall.
Your inventory sheet might include:
• Name of the food
• Quantity on hand
• Purchase or packing date
• Best-quality date, when applicable
• Storage location
• Notes about what needs to be replaced
When you remove something from your Prepper Pantry, make a quick note. When you add new supplies, update the quantity.
You can certainly keep a digital inventory if that works well for you, but I like having a simple written list where I can see it. A paper inventory also remains accessible during a power outage or an interruption in internet service.
- Product link: Thick Clear Acrylic Clipboard
- Free Inventory Checklist: Why You Need to Stock Up On These Top 15 Foods NOW for Your Prepper Pantry!

Label Everything Clearly
When transferring food from its original package into another container, label it immediately. Include the name of the food and the date you purchased or packed it. Do not trust yourself to remember what every white powder or small grain is six months from now!
If you remove a food from its original packaging, you may also want to preserve:
- Cooking instructions
- Ingredient information
- Calorie information
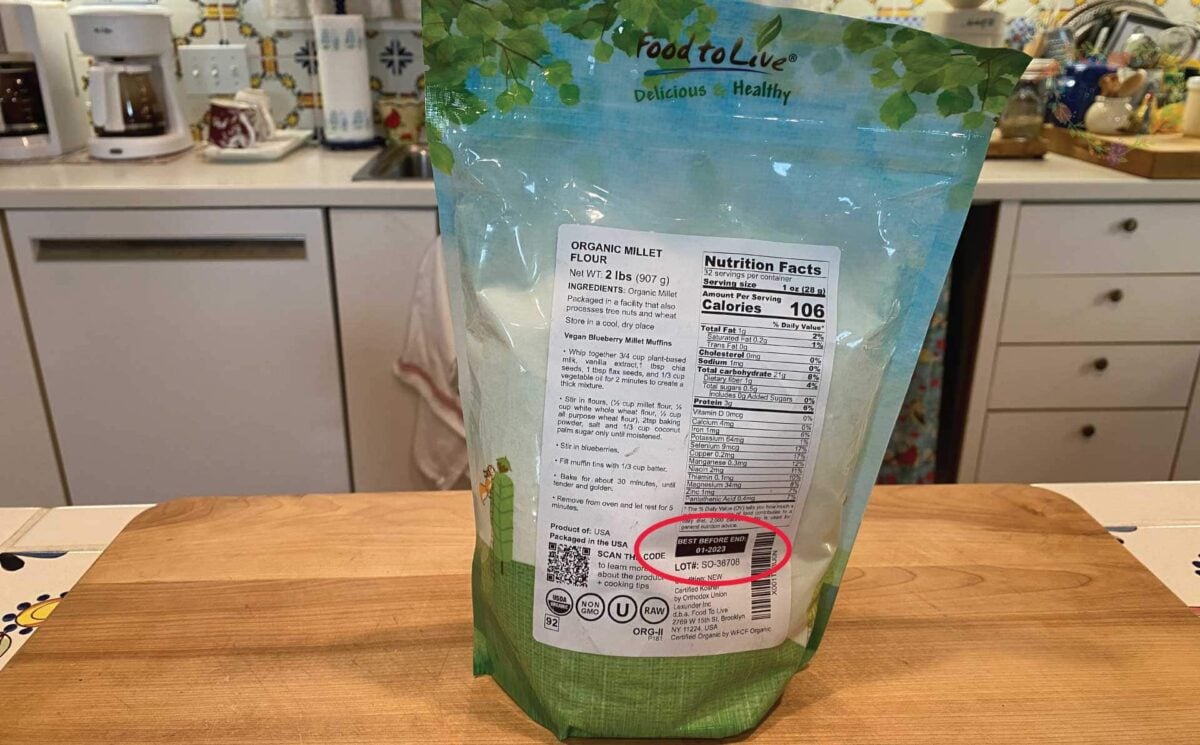
- The best-quality date
- The lot number or other identifying information
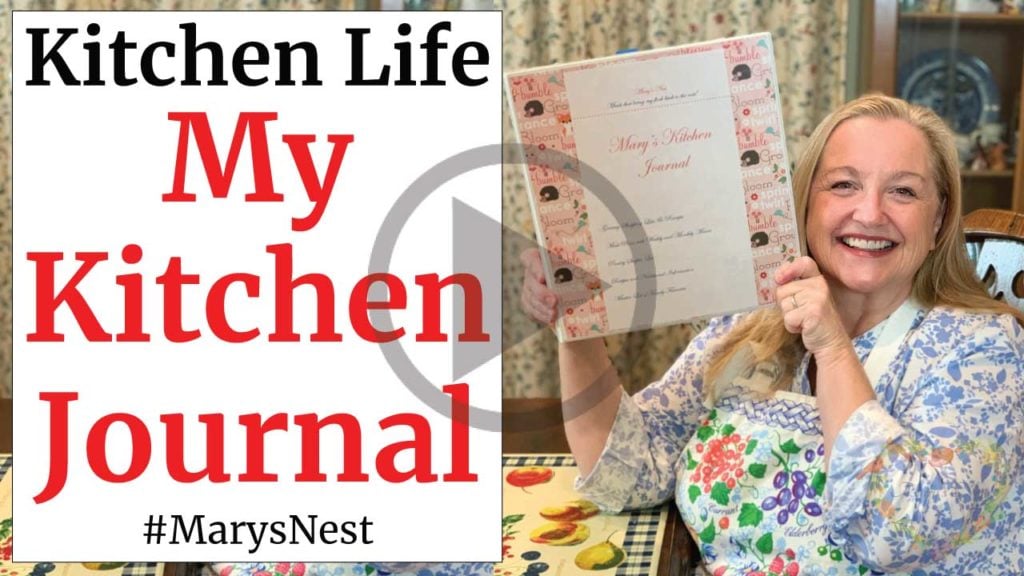
You can cut the instructions from the package and place them in a small envelope attached to the container. You might also copy the information into a kitchen journal.
- Product link: Chalkboard Labels-Waterproof Reusable Blackboard Stickers with 1 Liquid Chalk Marker
- Blog post: My Kitchen Journal for the Traditional Foods Kitchen
Arrange Your Pantry for Easy Rotation
You may be familiar with the phrase “first in, first out” and the acronym (FIFO). This simply means using your older foods before opening newer ones.
When you bring home additional supplies, place the newer foods behind the older ones. Move the older containers toward the front, where you will see and use them first.
This works especially well for canned foods. You can also purchase sloped can organizers that allow older cans to roll forward as you add newer cans from the back.
However, you do not need special equipment to rotate food successfully. A little attention when putting away groceries can accomplish the same thing.
- Project link: 3-Tier Stackable Can Organizer
Create a Small Pantry Station
If you have room, consider keeping your most frequently used pantry supplies together in one area, such as a small pantry supply bin. Your pantry station might include:
- Labels and markers
- A small flashlight
- Scissors
- A jar opener
- A measuring scoop
- Extra storage lids
- Food storage instructions
Having these supplies nearby makes it easier to label new purchases, update your inventory, and inspect your stored food.
A flashlight is especially helpful for checking the backs of deep or dimly lit shelves—and you’ll certainly be glad it’s there during a power outage!
- Product link: Plastic Storage Bins
Don’t Forget Accessibility
As we arrange our Prepper Pantries, we also need to think about what we can safely lift and reach.
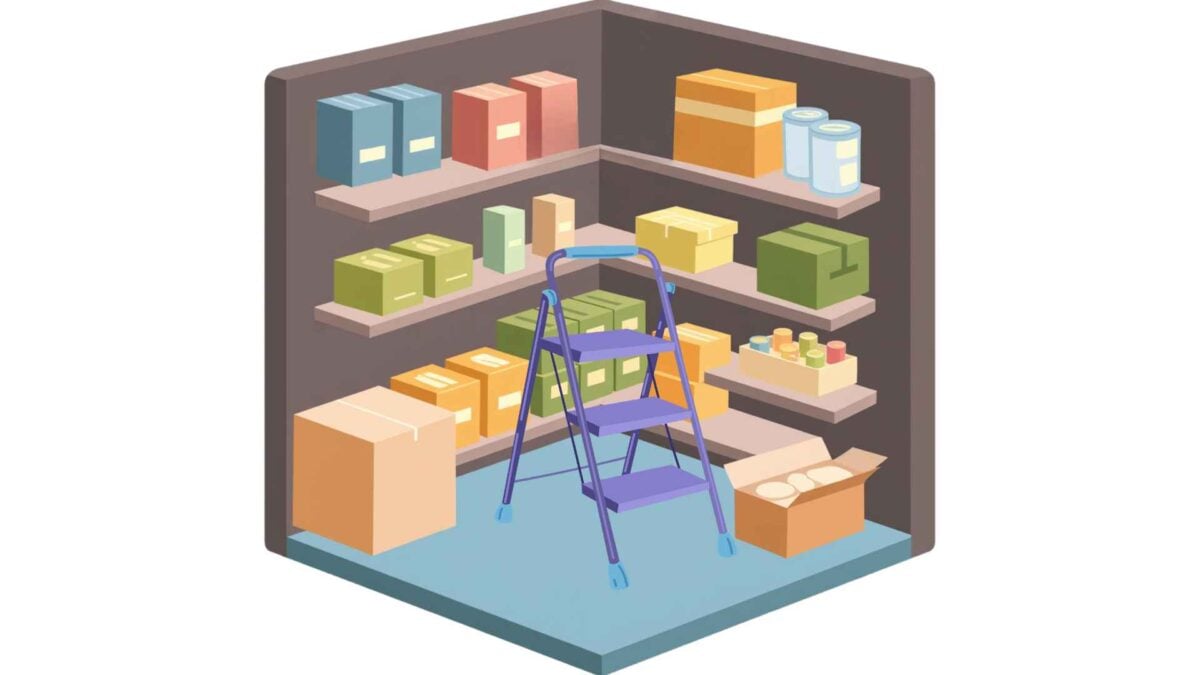
Large buckets and cases of canned food can be quite heavy. Store heavier supplies on lower, sturdy shelves, but avoid placing them directly on a floor where they could be exposed to moisture.
Keep the foods you use most often between waist and shoulder height. Reserve high shelves for lighter items, such as paper goods, and use a stable step stool when necessary.
Try not to stack glass jars so high that they become unstable. Safety and accessibility are just as important as making use of every inch of space.
Schedule a Pantry Checkup
Choose a regular time to review your Prepper Pantry. You might do this with the changing seasons or whenever you change the batteries in your smoke detectors.
During your checkup:
- Look for damaged packages, moisture, and signs of pests.
- Review best-quality dates.
- Move older foods to your “Use These Next” basket.
- Update your inventory.
- Check the temperature and humidity history.
- Test flashlights, radios, and other emergency equipment.
- Replace anything your family has used up.
- Remove foods your family no longer eats.
- Add supplies that reflect new dietary needs.
- Make sure you have appropriate food and water for your pets.
Your Prepper Pantry should grow and change along with your family.

A Well-Managed Pantry Brings Peace of Mind
Sweet friend, you don’t need to purchase every organizer or replace all your containers to improve your Prepper Pantry.
Begin by looking at what you already have. Perhaps you need to add a temperature and humidity monitor, bring older foods to the front, or create a simple inventory. Maybe dividing one large package into smaller portions would make it easier to use and protect.
Choose one improvement and begin there.
A well-stocked Prepper Pantry is valuable, but a well-managed Prepper Pantry is even better. When you can see your food, protect it, rotate it, and prepare meals from it, those carefully stored supplies become a true blessing to your family—and perhaps even to a friend or neighbor in need.
More Prepper Pantry Posts

A Well-Prepared Home with Enough to Share
Stock your pantry, plan for emergencies, and embrace the spirit of abbondanza by preparing enough for your family—and a little more.

3 Crucial Pantry Questions You Need to Ask
Ask yourself these questions to ensure you have the essentials in your pantry to prepare for emergencies.

How to Prep a Pantry That Can Withstand Price Controls – The 3 Essential Foods to Stock NOW!
Learn about foods you should stock in your pantry that would be the most affected by future price controls.
Grand Teton Ancient Grains
Do you want to store whole grains in your Prepper Pantry?
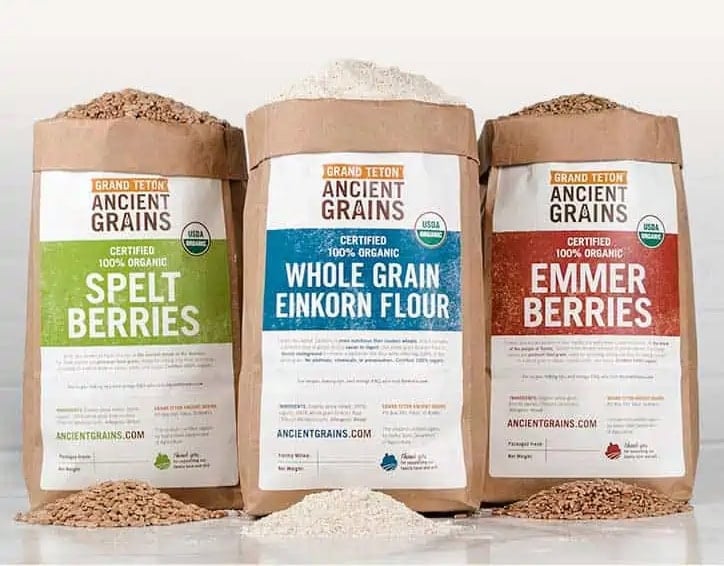
Check out the organic berries and flours available from Grand Teton Ancient Grains. I love their high-quality Einkorn, Emmer, Spelt, Millet, and more that you can get to create nutritious and delicious baked goods.
Exclusive Newsletter Discount Code
Sign up for my Mary’s Nest newsletter for an exclusive discount code you can use on your order of berries and flours. This discount is available for a limited time, so be sure to stock up on the Ancient Grains you would enjoy using to bake delightful breads, desserts, and more.
And if you’re looking for a grain mill to make fresh flour from your wheat berries, I recommend the Mockmill electric grain grinder. (See below.)
Grind Your Own Flour with the Mockmill
If you store whole grains, you’ll want a manual or electric grain mill to create fresh flour from the grains. When it comes to electric grain mills, after I did A LOT of research, I decided to buy a Mockmill. And am I so happy I did! The Mockmill is a very affordable but beautifully crafted German-made mill that stone grinds grain with settings ranging from 1 to 10—fine to coarse ground grain.
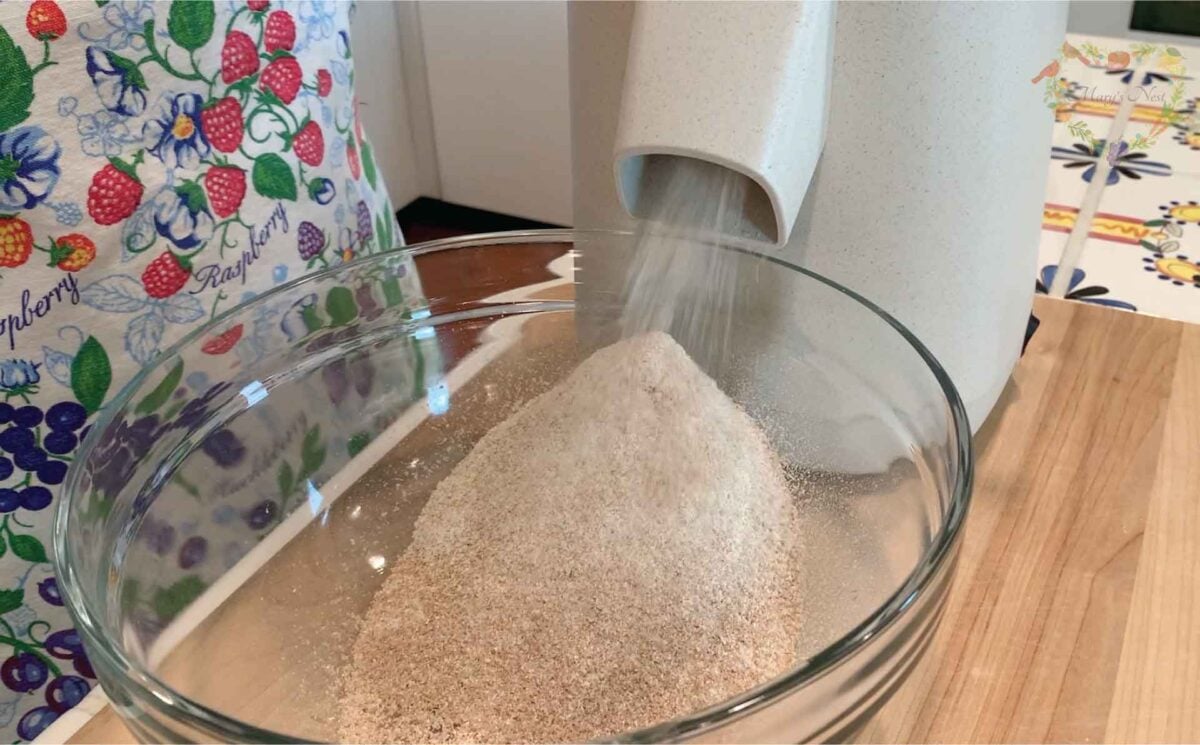
Learn more about Mockmill electric grain mills for making fresh flour and their Flake Lover’s Flaker that flakes whole grain in minutes. (This is not a sponsored post. I bought the Mockmill products that I show you, and I’m a happy user of their devices in my kitchen.)
- Get the Mockmill 100 Stone Grain Mill (Same product I show you in my unboxing video.)
- Mockmill 100 Grain Mill unboxing
- Flake Lover’s Flaker from Mockmill in action (Using this device, you can flake whole grain in minutes.)
Redmond Real Salt
When it comes to using salt in my recipes, I always like to use a real salt that has not been processed and does not contain any extra added chemicals or anti-caking agents. Redmond real salt is perfect!
- Redmond Real Life – For Real Salt and other products, use this link and discount code MARYSNEST for 15% off your purchase. (Discount will show at checkout.)
Backwoods Home and Self-Reliance
The Backwoods Home and Self Reliance printed magazines are two of our favorite publications, especially since they deal with topics of interest to traditional foods cooks and modern pioneers.
- Special Offer: The publisher of Backwoods Home and Self Reliance is offering my sweet friends 50% off subscriptions to their printed magazines. This is not a sponsored post. I love these publications, and I’m grateful you can get them at a discount.
Mother Earth News
- Use any of the following links and code MarysNest10 at checkout to save $10 off any $50+ order of books, subscriptions, and more:
🛒 Order any of these publications from the Mother Earth News store
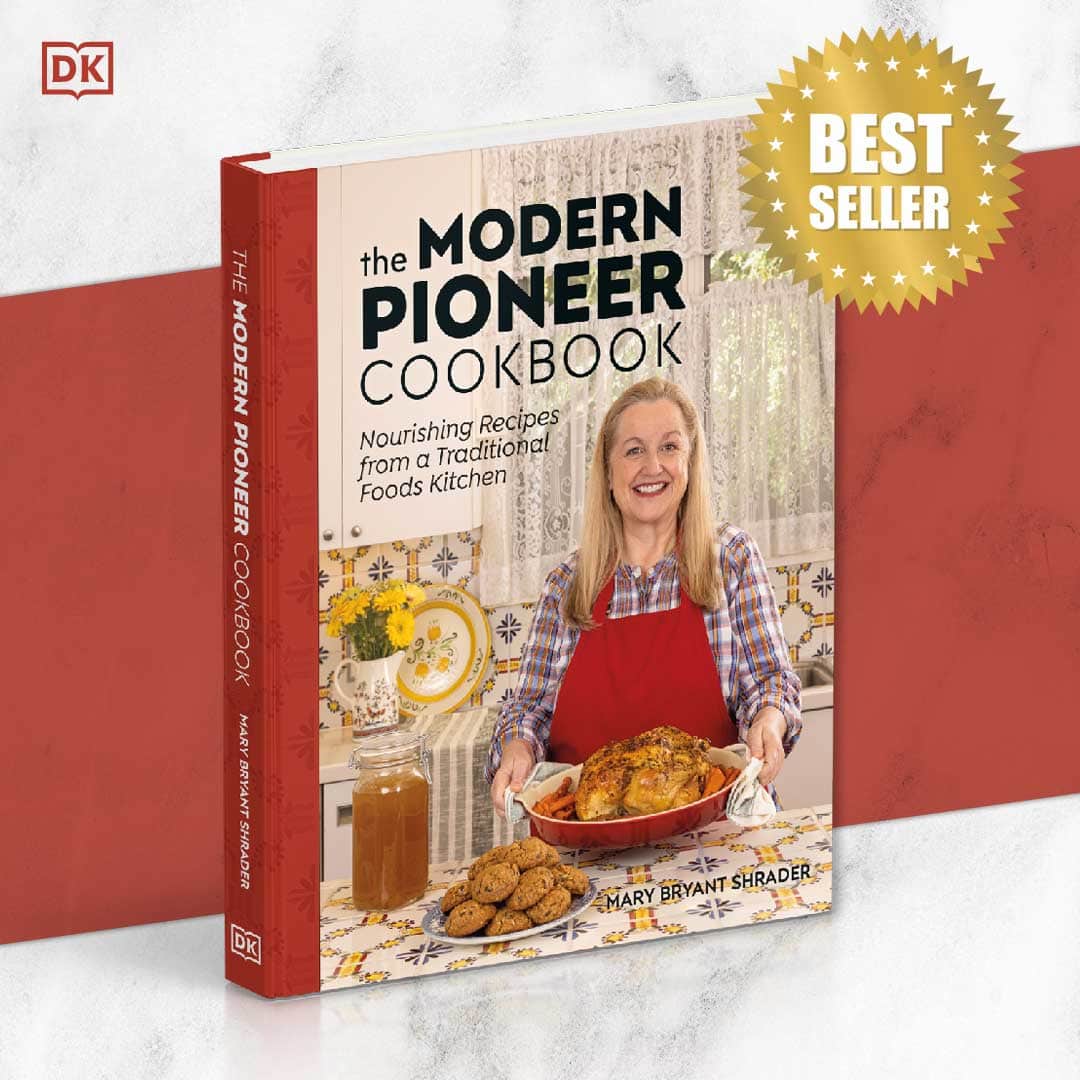
📖 Grab a copy of my bestselling book, The Modern Pioneer Cookbook
📰 Subscribe to the Mother Earth News magazine
…or mix and match!
Learn more and discover why I love my subscription to Mother Earth News.
Order YOUR COPY Now!
The Modern Pioneer Cookbook
Seasonal ingredients, traditional techniques, and nourishing recipes. Over 85 traditional, from-scratch recipes! Discover for yourself how you can use simple ingredients and traditional techniques to cook the modern pioneer way.
Order YOUR COPY Now!
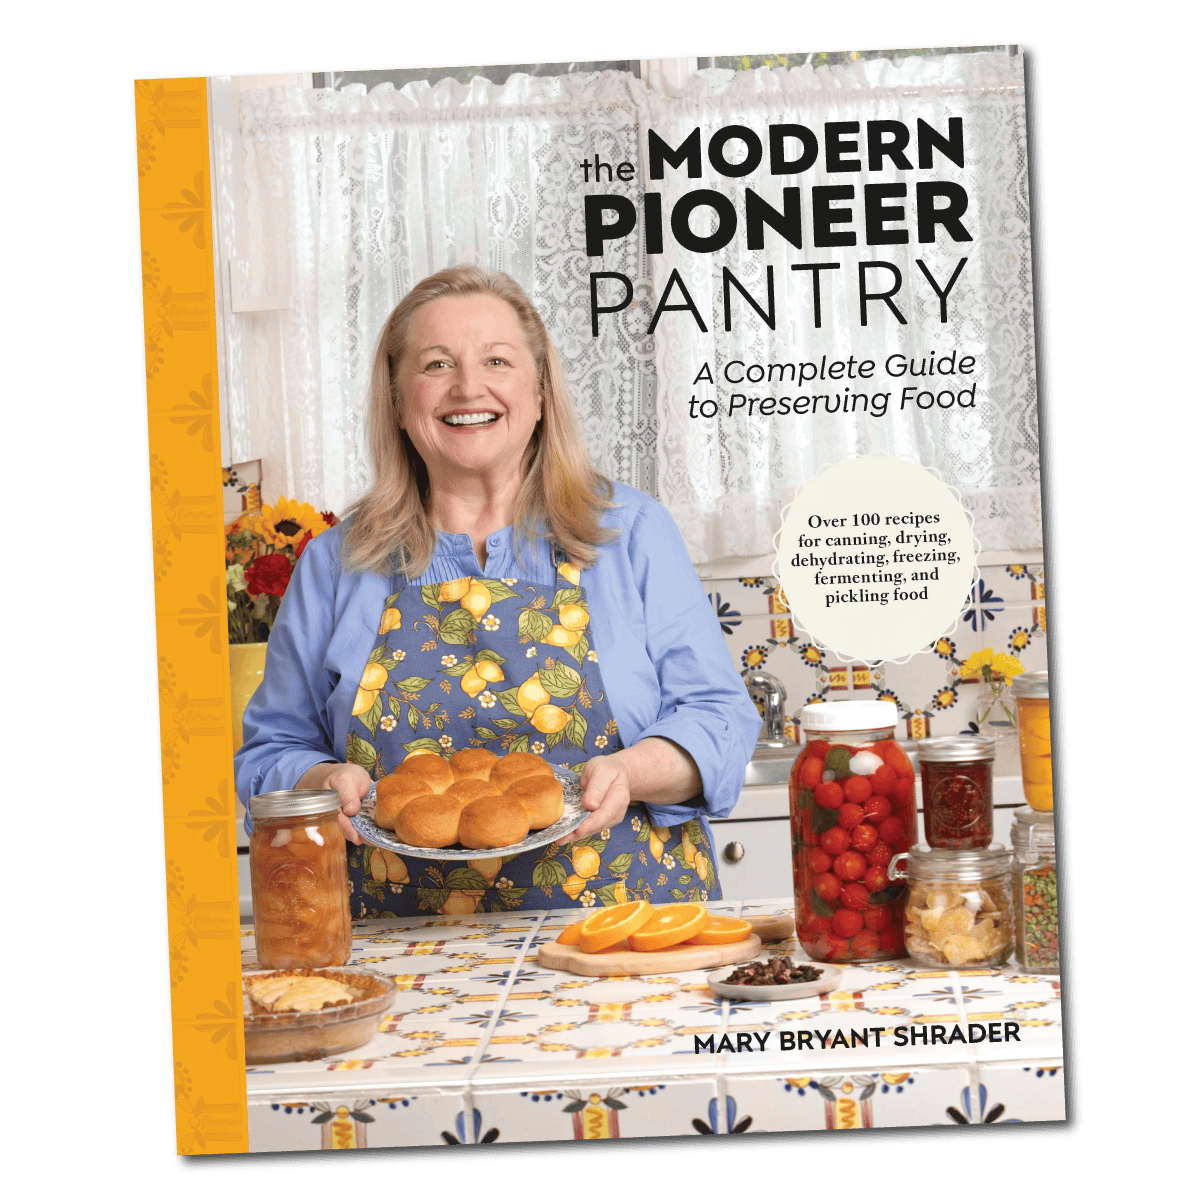
The Modern Pioneer Pantry
Simple ingredients, timeless techniques, and a well-stocked pantry. Discover over 100 nourishing recipes to preserve food and turn pantry staples into homemade meals. Build a wholesome, traditional pantry—just like a modern pioneer!
Start Your Traditional Foods Journey
Sharing my passion for traditional cooking goes beyond my YouTube cooking school—it also comes to life in the pages of my cookbooks. Both of my books, The Modern Pioneer Cookbook and The Modern Pioneer Pantry, are proudly published by Penguin Random House.
The first is filled with time-honored recipes to help you create a traditional foods kitchen, while the second is your complete guide to home food preservation. Order both books today to start or continue your traditional foods journey.
Download Your Free 36-Page Pantry List
For an extensive list of the traditional foods you can make and purchase to stock your pantry, be sure to download my free 36-page Traditional Foods Pantry List. This comprehensive eBook is full of links to recipe videos, helpful articles, and more!

Join the Traditional Foods Kitchen Academy
Are you looking for more traditional foods videos? If so, I invite you to join the Traditional Foods Kitchen Academy. Members of this optional paid YouTube community get access to exclusive videos and other members-only perks. Plus, your YouTube comments include a special members-only badge.
Kitchen Academy Videos
A Cozy Fall Kitchen: Cooking, Books, and Cherished Memories
Join me for a cozy fall visit filled with oven cooking, favorite books, and memories of my mother’s winter pantry preparations.

How to Mix Whole Grains for a Warm and Nourishing Porridge
Learn to mix oat groats, barley, and other whole grains for a warm, nourishing porridge with easy make-ahead tips and tasty toppings.

How Much of Each Natural Remedy Should You Make?
Use your family’s needs, past experience, and seasonal habits to decide how much to prepare for your Healing Pantry.
Stay in Touch with Mary’s Nest
- Subscribe to My YouTube Channel for Traditional Foods Videos (Free) - When you subscribe, be sure to click on the notification bell that will let you know each time I upload a new video.
- Subscribe to Mary’s Traditional Foods Newsletter (Free) - Get a free 36-page eBook for signing up: How to Stock Your Essential Traditional Foods Four-Corners Pantry.
- Join the Traditional Foods Kitchen Academy - For more detailed videos and exclusive members-only perks, join my YouTube membership community.
- Order The Modern Pioneer Cookbook - Get a hardcover book of Mary's nourishing recipes from a Traditional Foods Kitchen. This bestselling cookbook is published by Penguin Random House with their DK imprint.
- Order The Modern Pioneer Pantry - Get Mary's latest hardcover cookbook about preserving food and making delicious meals from your Four Corners Pantry. Mary's second cookbook is also published by Penguin Random House.
I look forward to having you join me in my Texas Hill Country Kitchen!
Shop for My Favorite Items
Favorite Supplies in This Post
- Digital Wireless Fridge and Freezer Thermometer with Alarm
- Digital Hygrometer Indoor Thermometer Humidity Monitor
- Vacuum Sealer for Mason Jars, Cordless, 10 Lids Included
- Stainless Steel One-Piece Mason Jar Lids, Regular Mouth
- Stainless Steel One-Piece Mason Jar Lids, Wide Mouth
- Stackable Clear Pantry Storage Drawers
- Spice Rack Cabinet Organizer, Non Skid
- Non-Skid Lazy Susan Organizers
- Food Storage Containers with Lids
- 5 Gallon Bucket – Food Grade w/Lid BPA-Free,6 Pack
- 120 Mylar Bags with 150 Oxygen Absorbers-168 Labels & Stand-Up Reusable
- Mesh Basket with Handle
- Thick Clear Acrylic Clipboard
- Chalkboard Labels-Waterproof Reusable Blackboard Stickers with 1 Liquid Chalk Marker
- 3-Tier Stackable Can Organizer
- Plastic Storage Bins
- Step Ladder, Folding Step Stool with Wide Anti-Slip Pedal
Amazon Shop and Shopping Guide
- Visit Mary’s Nest Amazon Shop
- Get a 30-day Audible trial with a free audiobook
- Visit my Shopping Guide page
Get up to 15% off for stocking your Traditional Foods Pantry and equipping your Modern Pioneer Kitchen, including discounts from US Wellness Meats, Farmhouse Teas, Backwoods Home, Masontops, Cultures for Health, Survival Garden Seeds, Redmond Real Salt, and More!