Making a Sourdough Starter is easier than you think. The secret is to start with rye flour. You can use freshly ground rye grain for best results. Or, if rye grain isn’t available to you, use rye flour, but make sure it’s fresh and not passed its expiration date.
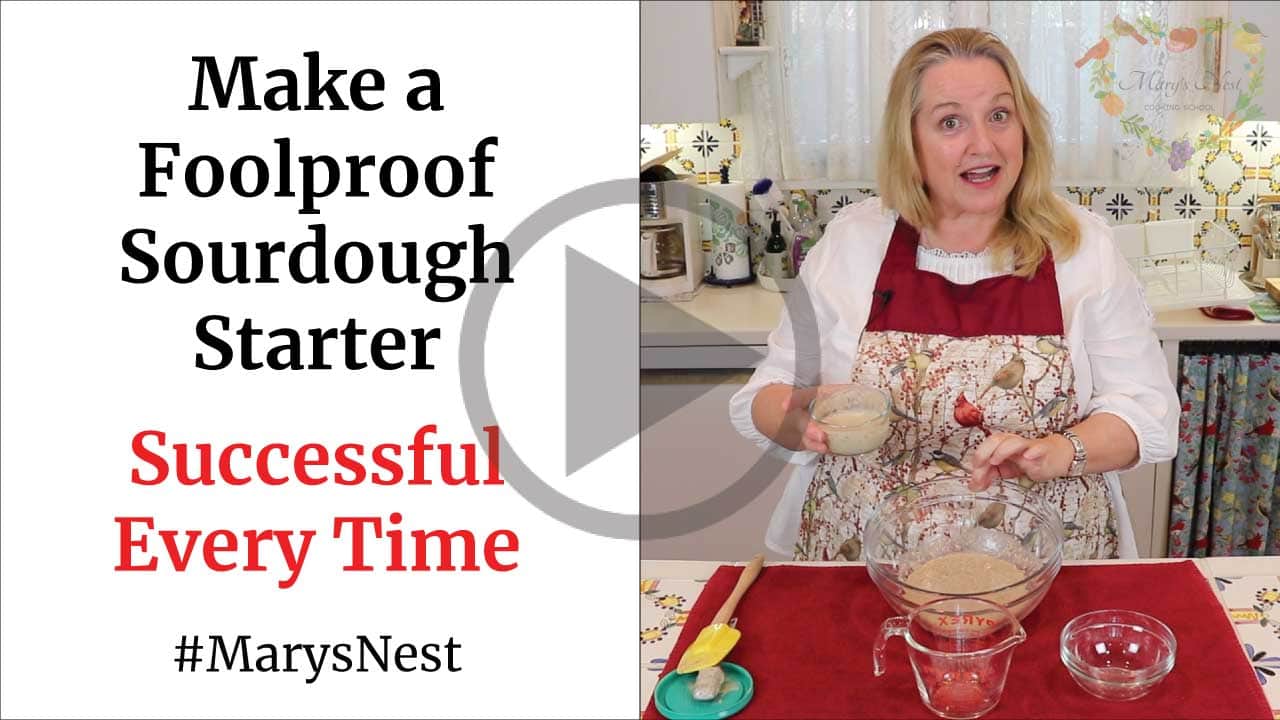
Watch the How to Make a Foolproof Sourdough Starter video
Affiliates note: As an Amazon Associate I earn from qualifying purchases. My content may contain affiliate links to products and services. If you click through and make a purchase, I’ll receive a small commission. It does not affect the price you pay.
Table of Contents
- What is a Sourdough Starter?
- Ingredients
- How to Make Sourdough Starter
- How to Store and Use Your Starter
- How to Use Sourdough Discard
- Recipe Tips
- Frequently Asked Questions
- Grind Your Own Flour with the Mockmill
- The Modern Pioneer Pantry
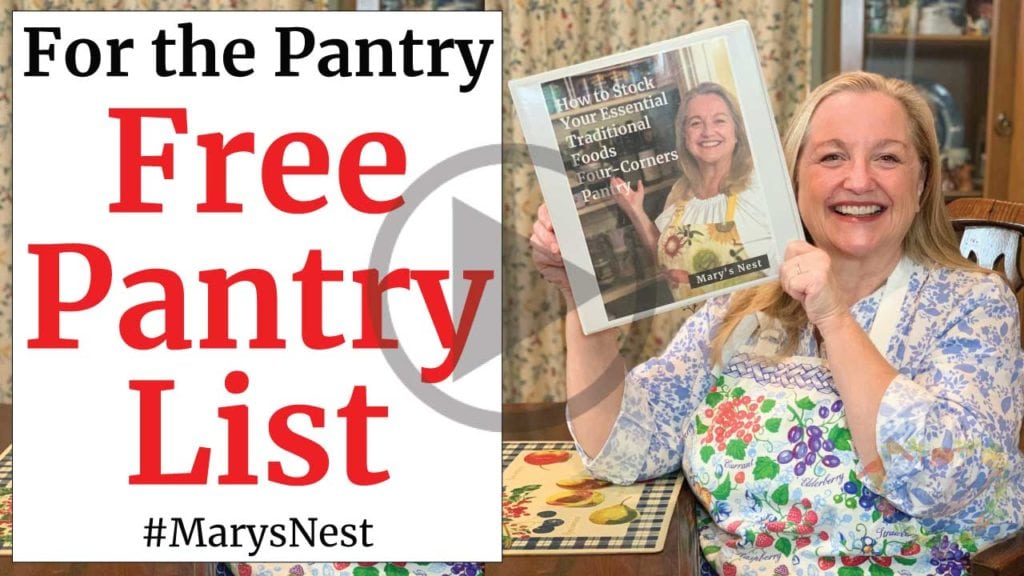
- Download Your Free 36-Page Pantry List
- Join the Traditional Foods Kitchen Academy
- More Kitchen Pioneer Videos
- How to Make a Foolproof Sourdough Starter Recipe
- Shop for My Favorite Items
Making your own sourdough started isn’t complicated but if you’re having some difficulties, be sure check out my sourdough starter troubleshooting tips for help!
What is a Sourdough Starter?
A sourdough starter is a combination of flour and water that undergoes a fermentation process when left at room temperature.
This fermentation turns the flour and water mixture into a “natural” leavening agent (as opposed to store-bought packaged yeast) that uses naturally occurring yeasts and good bacteria to help bread and other baked goods rise.
Ingredients
Find the full printable recipe with measurements below.
For this specific recipe, I recommend the following ingredients:
- Rye flour: The secret to a successful sourdough starter is to start with rye flour, preferably freshly milled for the best results. If you don’t have access to rye grain you can use rye flour but make sure it’s fresh and not passed its expiration date.
- Filtered water: For best results use chlorine-free filtered water.
How to Make Sourdough Starter
The process of making sourdough starter isn’t hard but it does take place over several days.
Step 1 – On Day 1, Combine one tablespoon of rye flour with two tablespoons of room temperature or lukewarm water (preferably filtered chlorine-free water) in a small jar or bowl that holds about one cup. Mix well incorporating lots of air. Cover the jar or bowl loosely and place in a warm spot in your kitchen at about 75°F (24°C) where it can rest undisturbed.
PRO TIP: On Day 2, you don’t need to do anything. But you may notice the starter mixture beginning to smell a little sweet—some say like honey. But if it doesn’t, don’t worry it doesn’t mean there is anything wrong.
Step 2 – On Day 3, stir in one tablespoon of rye flour (but no water) into your mixture. Give it a good stir being sure to incorporate a lot of air. Place the cover back on and put it back in its resting spot.
Step 3 – On Day 4, add two tablespoons of room temp or lukewarm water and two tablespoons of rye flour into your mixture and stir well incorporating a lot of air. After mixing put the cover back in place and return it to the same spot to rest.
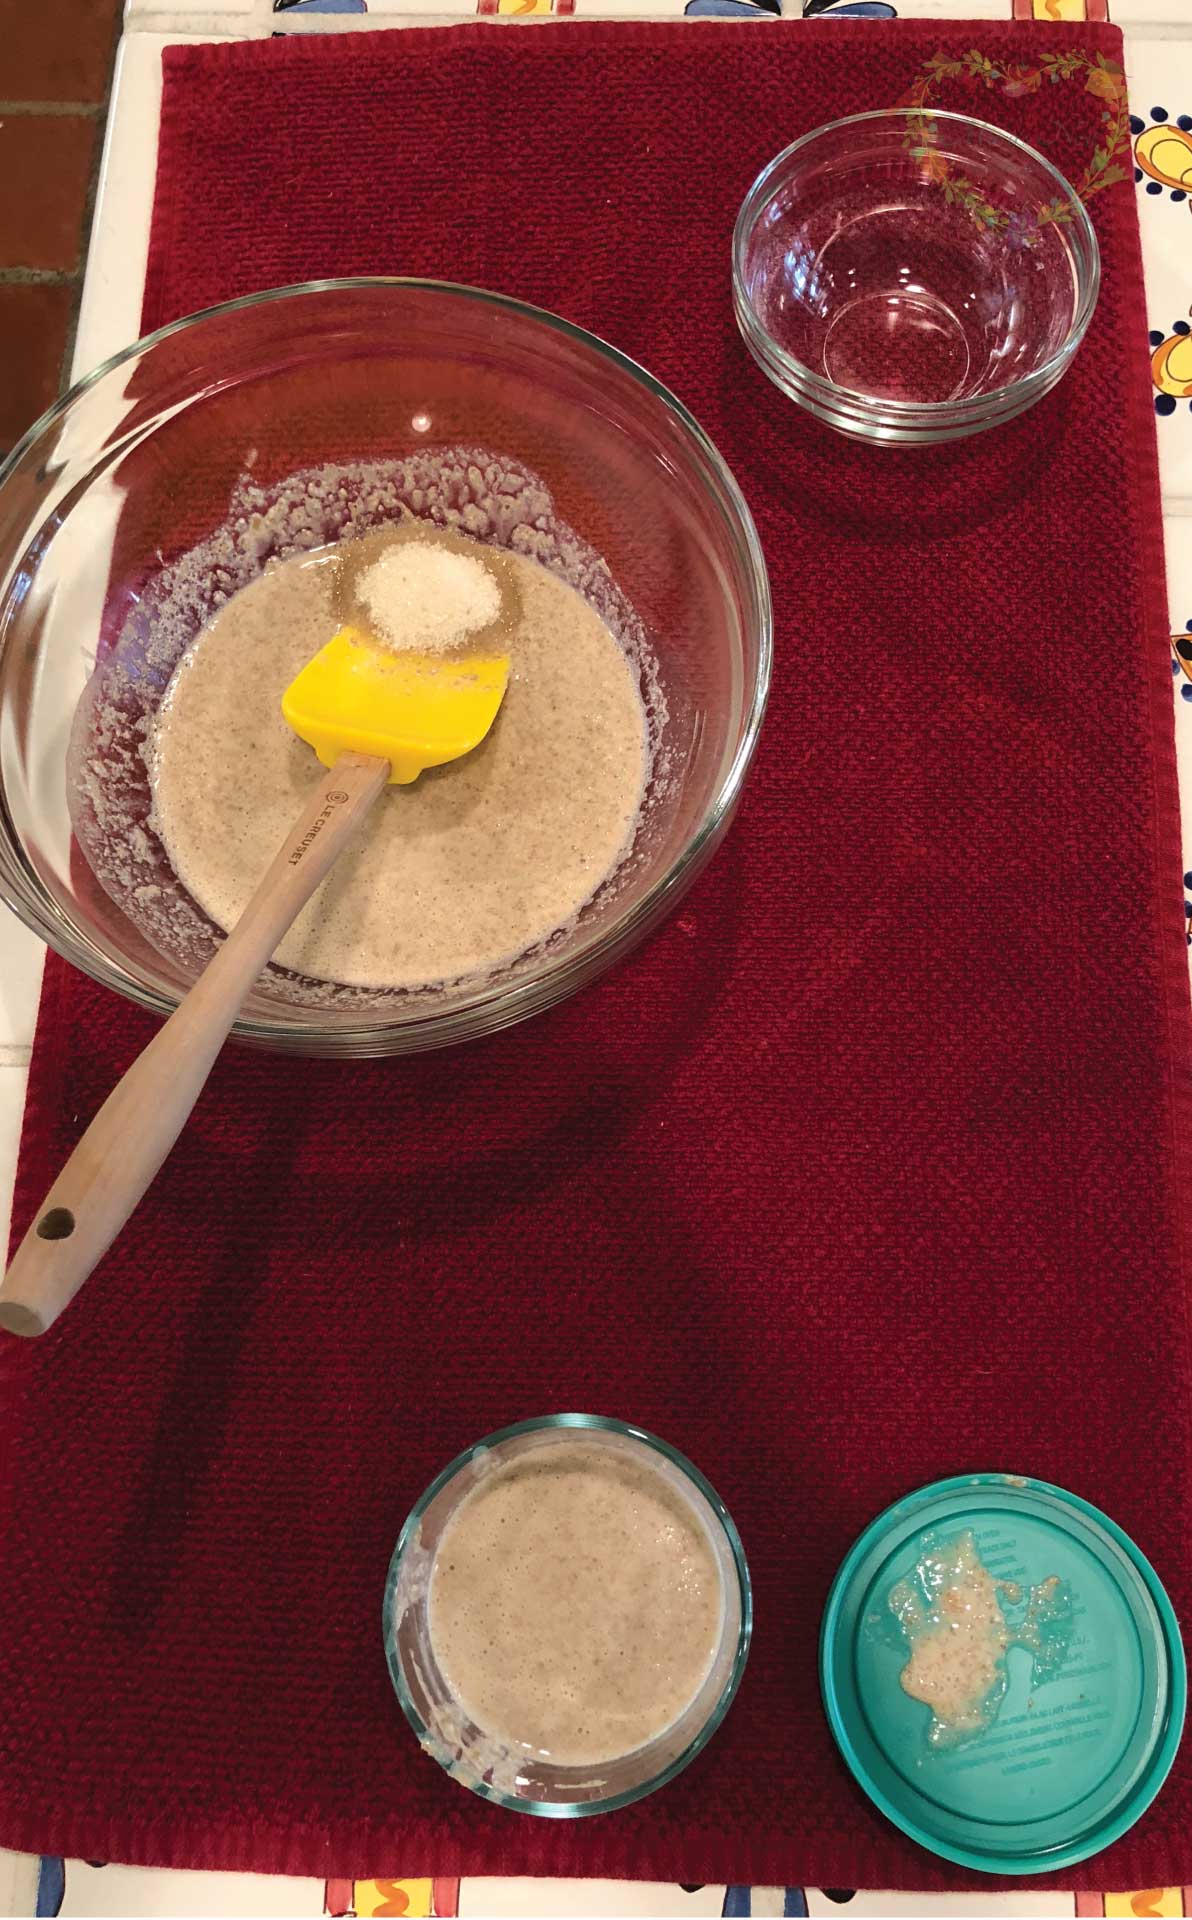
Step 4 – Check your starter again on Day 4 8 hours or up to 12 hours after adding in the water and rye flour. It should be bubbly and foamy.
Step 5 – If everything has gone well you’ve got a bubbly and foamy starter that’s thriving and ready to make into sourdough bread.
What Do I Do If My Starter Hasn’t Bubbled on Day #4?
If it has not bubbled up yet and there is no foam, leave the mixture to sit for another 12 hours. Then repeat Day 4, which is now Day 5 for you.
Check it halfway through after 12 hours on Day 5. At this point, it should be ready. If not, rye grain/rye flour was probably very old. The key to success here is to have fresh rye flour.
How to Store and Use Your Starter
Once you get your starter going, you’re ready to make a sponge and get started baking sourdough bread. You can also make a sourdough pizza crust and no-knead sourdough bread.
When it comes to storing the starter, you have three different options.
- Leave it at room temperature
- Refrigerate it
- Dehydrate it
Store Your Starter at Room Temperature
You should feed the remaining starter should with equal parts water and flour. If you leave your starter on the counter at room temperature, you should feed it every day at 12-hour intervals.
If you are not going to use your starter every day to bake bread, but you want to leave it at room temperature, you will need to remove half of the starter from the jar.
What you remove is called the “discard.” But do not discard it! Place it into a separate container in the refrigerator or freezer. When you have enough you can use it in baking recipes.
How to Store Starter in the Refrigerator
If you prefer to refrigerate your starter because you bake less frequently, you will want to still feed it, but you will only need to feed it once per week.
Remove it from the refrigerator, remove half of the starter, and add it to your discard. Then feed the starter with equal parts water and flour. Leave the fed starter on the counter at room temperature for about an hour, then re-refrigerate it.
Dehydrating Sourdough Starter
If you dehydrate your starter, you will need to rehydrate it before baking with it which you can learn about in this video on How to Dehydrate Sourdough Starter. Towards the end of the video there is info about how to hydrate it.
How to Use Sourdough Discard
Whether you store it at room temperature or in the refrigerator, every time you feed your starter, you will remove some of it called the discard.
When you have collected a few cups of discard you can use it to make various sourdough discard recipes, including homemade pancakes, waffles, sourdough crackers, casserole toppings such as in this sourdough skillet dinner, and more. It also makes a tasty homemade flatbread with starter discard.
Recipe Tips
- Don’t like the flavor of rye? While it’s necessary to make the starter, it’s ok to use any flour you want to use to make bread. This way you will not have any rye taste in your final product.
- You know your starter is ready when it’s bubbly and a foam forms on top of the flour and water mixture.
- Be sure to start your starter with freshly milled rye flour. This is essential to creating a good sourdough starter.
- If you do not have the option to mill you own, be sure to use milled rye flour purchased from a reputable source so that you know it is fresh. Hodgson Mills and Bob’s Red Mill are usually reliable sources unless you have a local option.
Frequently Asked Questions
Yes, you do. Generally, a sourdough starter is fed with equal amounts of flour and water to keep it growing. For example, if after removing the discard, you have a 1/2 cup of starter in a jar, you will want to feed it with a 1/2 cup of flour and a 1/2 cup of water. Stir well.
This will provide you with 1 1/2 cups of starter. You can use 1 cup of starter to make bread and still have a 1/2 cup of starter left which will help keep your starter alive and well when you feed it.
How frequently you need to feed it depends on whether you store it in the fridge or at room temperature.
If you find that on Day 5 your starter isn’t bubbling, it’s likely that your flour was quite old. Unfortunately you will need to start over using fresh rye flour.
Grind Your Own Flour with the Mockmill
When it comes to electric grain mills, after I did A LOT of research, I decided to buy a Mockmill. And am I so happy I did! The Mockmill is a very affordable but beautifully crafted German-made mill that stone grinds grain with settings ranging from 1 to 10—fine to coarse ground grain.
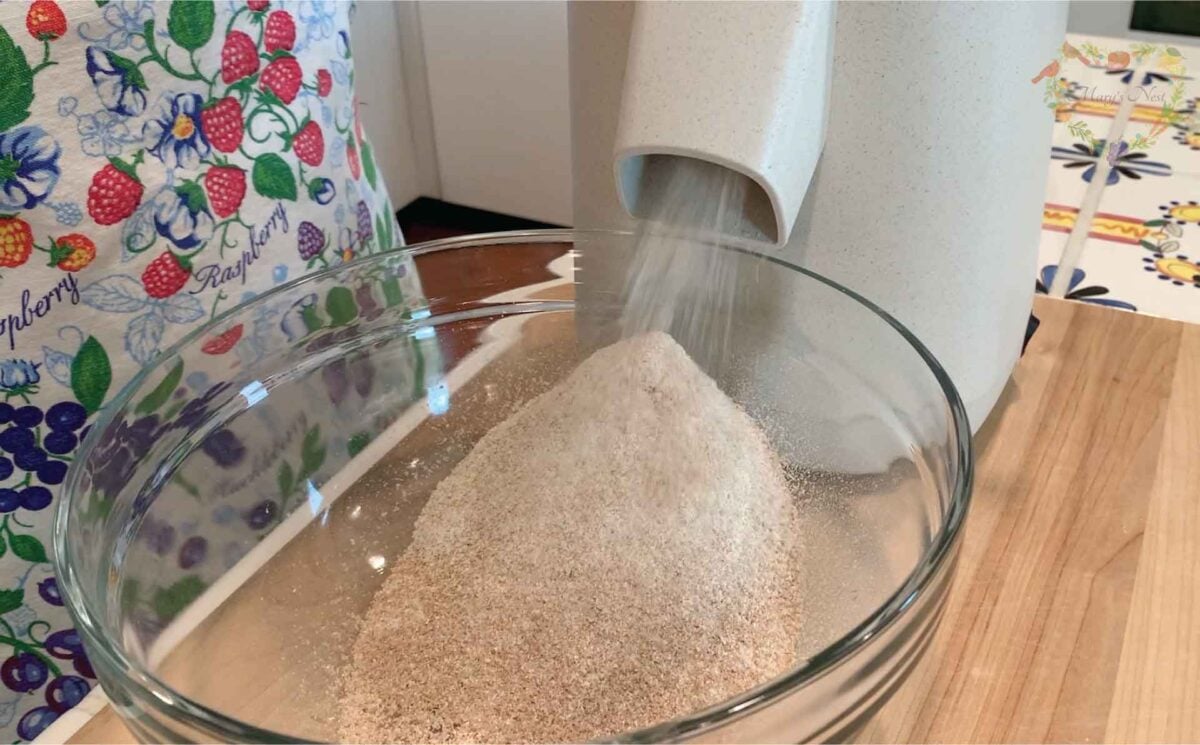
Learn more about Mockmill electric grain mills for making fresh flour and their Flake Lover’s Flaker that flakes whole grain in minutes. (This is not a sponsored post, I bought the Mockmill products that I show you, and I’m a happy user of their devices in my kitchen.)
- Mockmill 100 Grain Mill unboxing
- Get the Mockmill 100 Stone Grain Mill (Same product I show you in my unboxing video.)
- Flake Lover’s Flaker from Mockmill in action (Using this device, you can flake whole grain in minutes.)
Order YOUR COPY Now!
The Modern Pioneer Pantry
Simple ingredients, timeless techniques, and a well-stocked pantry. Discover over 100 nourishing recipes to preserve food and turn pantry staples into delicious, homemade meals. Build a wholesome, traditional pantry—just like a modern pioneer!
Download Your Free 36-Page Pantry List
For an extensive list of the traditional foods you can make and purchase to stock your pantry, be sure to download my free 36-page Traditional Foods Pantry List. This comprehensive eBook is full of links to recipe videos, helpful articles, and more!
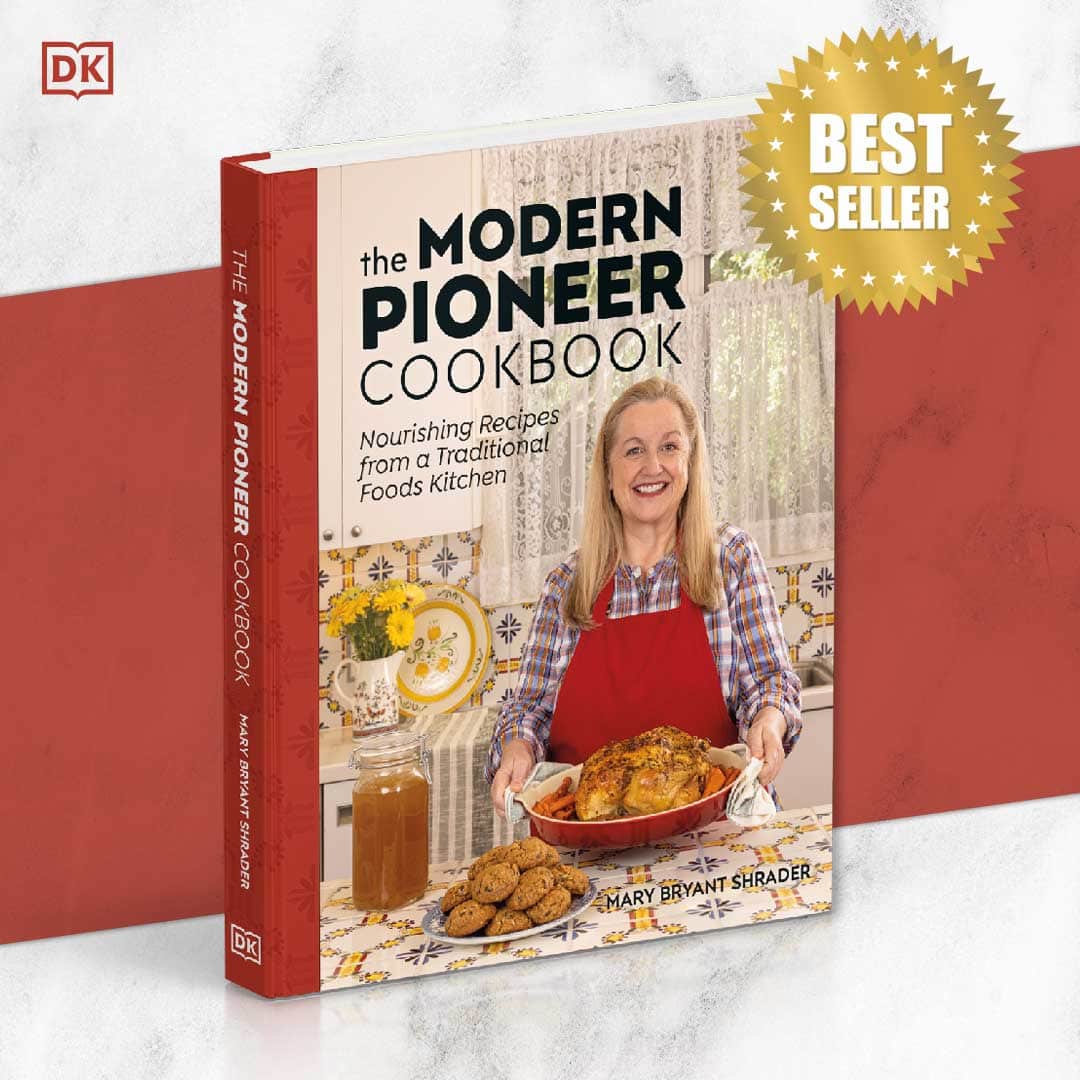
And if you’re looking for a printed book full of my traditional foods recipes to show you how to create a traditional foods kitchen, be sure to order your copy of my bestselling book, The Modern Pioneer Cookbook.
Join the Traditional Foods Kitchen Academy
Are you looking for more traditional foods videos? If so, I invite you to join the Traditional Foods Kitchen Academy. Members of this optional paid YouTube community get access to exclusive videos and other members-only perks. Plus, your YouTube comments include a special members-only badge.
More Kitchen Pioneer Videos
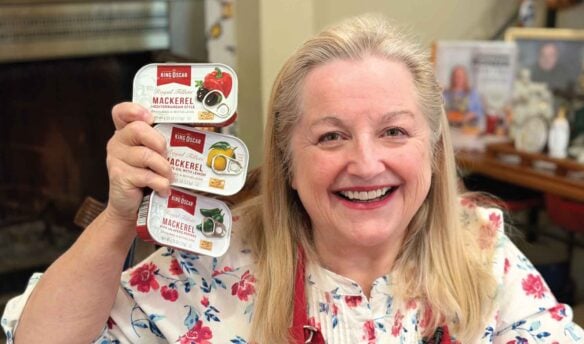
Why We Should Incorporate Mackerel Into Our Diet
Easy and nourishing ways to enjoy mackerel into your meals.
The Gentle Power of Fermented Beverages—All Year Long
Learn how fermented beverages gently support digestion year-round, shifting with the seasons to nourish the gut through traditional, living drinks.
How to Make Oatmeal Higher in Protein (The Old-Fashioned Way)
Turn simple oats into a hearty, protein-rich porridge.
Stay in Touch with Mary’s Nest
- Subscribe to My YouTube Channel for Traditional Foods Videos (Free) - When you subscribe, be sure to click on the notification bell that will let you know each time I upload a new video.
- Subscribe to Mary’s Traditional Foods Newsletter (Free) - Get a free 36-page eBook for signing up: How to Stock Your Essential Traditional Foods Four-Corners Pantry.
- Join the Traditional Foods Kitchen Academy - For more detailed videos and exclusive members-only perks, join my YouTube membership community.
- Order The Modern Pioneer Cookbook - Get a hardcover book of Mary's nourishing recipes from a Traditional Foods Kitchen. This bestselling cookbook is published by Penguin Random House with their DK imprint.
- Order The Modern Pioneer Pantry - Get Mary's latest hardcover cookbook about preserving food and making delicious meals from your Four Corners Pantry. Mary's second cookbook is also published by Penguin Random House.
I look forward to having you join me in my Texas Hill Country Kitchen!
I’d like to receive more tips and recipes from Mary’s Nest.
How to Make a Foolproof Sourdough Starter

Ingredients
- 5 tbsp Rye flour preferably freshly milled
- 4 tbsp Filtered water preferably filtered, chlorine-free
Instructions
- Day 1: Mix 1 tbsp rye flour and 2 tbsp room temp/lukewarm water (preferably filtered chlorine-free water) in a small jar or bowl that holds approximately no more than 1 cup. Mix the two ingredients well, incorporating lots of air. Cover the jar or bowl loosely. Place in a warm spot in your kitchen at about 75°F (24°C) where it can rest undisturbed.
- Day 2: Do nothing. The starter in the making will probably smell a little sweet—some say like honey. But if not, don’t worry.
- Day 3: Now stir in 1 tbsp rye flour (no water) into your mixture and stir well, incorporating a lot of air. You may see a few bubbles starting but if not, don’t worry. Re-cover loosely and re-place in its undisturbed warm spot.
- Day 4: Add 2 tbsp room temp/lukewarm water and 2 tbsp rye flour into your mixture and stir well, incorporating a lot of air. Re-cover loosely and re-place it back in its undisturbed warm spot.
- Day 4 1/2: After 8 hours or up to 12 hours later check on your starter. It should be bubbly and foamy. If not, don’t worry. If it has not bubbled up and there is no foam, leave it for another 12 hours. Then repeat Day 4—which is now Day 5 for you. Check it halfway through after 12 hours on Day 5. At this point, it should be ready. If not, rye grain/rye flour was probably very old. The key to success here is to have fresh rye flour.
- If everything has gone well, and you have a thriving starter, you are now ready to make sourdough bread. Using your rye starter, you will first want to make a "sponge" which you will use to make your sourdough bread. I have included this information in the Recipe Notes below along with a recipe for a No-Knead Sourdough Bread.
Video
Notes
Shop for My Favorite Items
- Pyrex Simply Store Glass Rectangular and Round Food Container Set
- Pyrex 4-Cup Measuring Cup
- All-Clad Stainless Steel Measuring Spoons
- 2-Cup Prep Bowl with Lid
- Bob’s Red Mill Organic Whole Grain Rye Berries, 25 Pounds
- Food to Live’s Organic Rye Berries by Food to Live, 3 Pound Bag
- Bob’s Red Mill Organic Dark Rye Flour – 22 oz – 2 pk
- Hodgson Mill Stone Ground Whole Grain Rye Flour – 5 lb. Bag (Pack of 6)
- Arrowhead Mills Organic Rye Flour, 20 oz. Bag (Pack of 6)
- Wine Colored Cotton Terry Dish Towels
Amazon Shop and Shopping Guide
- Visit Mary’s Nest Amazon Shop
- Get a 30-day Audible trial with a free audiobook
- Visit my Shopping Guide page
Get up to 15% off for stocking your Traditional Foods Pantry and equipping your Modern Pioneer Kitchen, including discounts from US Wellness Meats, Farmhouse Teas, Backwoods Home, Masontops, Cultures for Health, Survival Garden Seeds, Redmond Real Salt, and More!


i love marys nest so much information thank you so much
Hi Susan,
Thanks so much for your kind comment.
I’m so glad we’re on this traditional foods journey together! 🙂
Love and God bless,
Mary
This wonderful and informative making a starter not as scary. Love you helping me out. Keep on baking.
Hi Frances,
Thanks for your kind comment. I hope you enjoy many delicious sourdough breads in the future!
Love and God bless,
Mary