Learn how to make digestive bitters, which are a form of homemade digestive enzymes, for the best way to improve your digestion! Also considered tonics, homemade herbal digestive bitters are easy to make with a simple combination of herbs and spices.

Affiliates note: As an Amazon Associate I earn from qualifying purchases. My content may contain affiliate links to products and services. If you click through and make a purchase, I’ll receive a small commission. It does not affect the price you pay.
Table of Contents
- What Are Digestive Bitters?
- Why Do We Want to Consume Digestive Bitters?
- What Ingredients Should I Use for Making Digestive Bitters?
- What Liquid Should I Use for Making Digestive Bitters?
- More Herbal Recipes
- Books on Herbs and Saint Hildegard
- Where to Find Bottles to Decant Your Digestive Bitters?
- Baking with Spelt
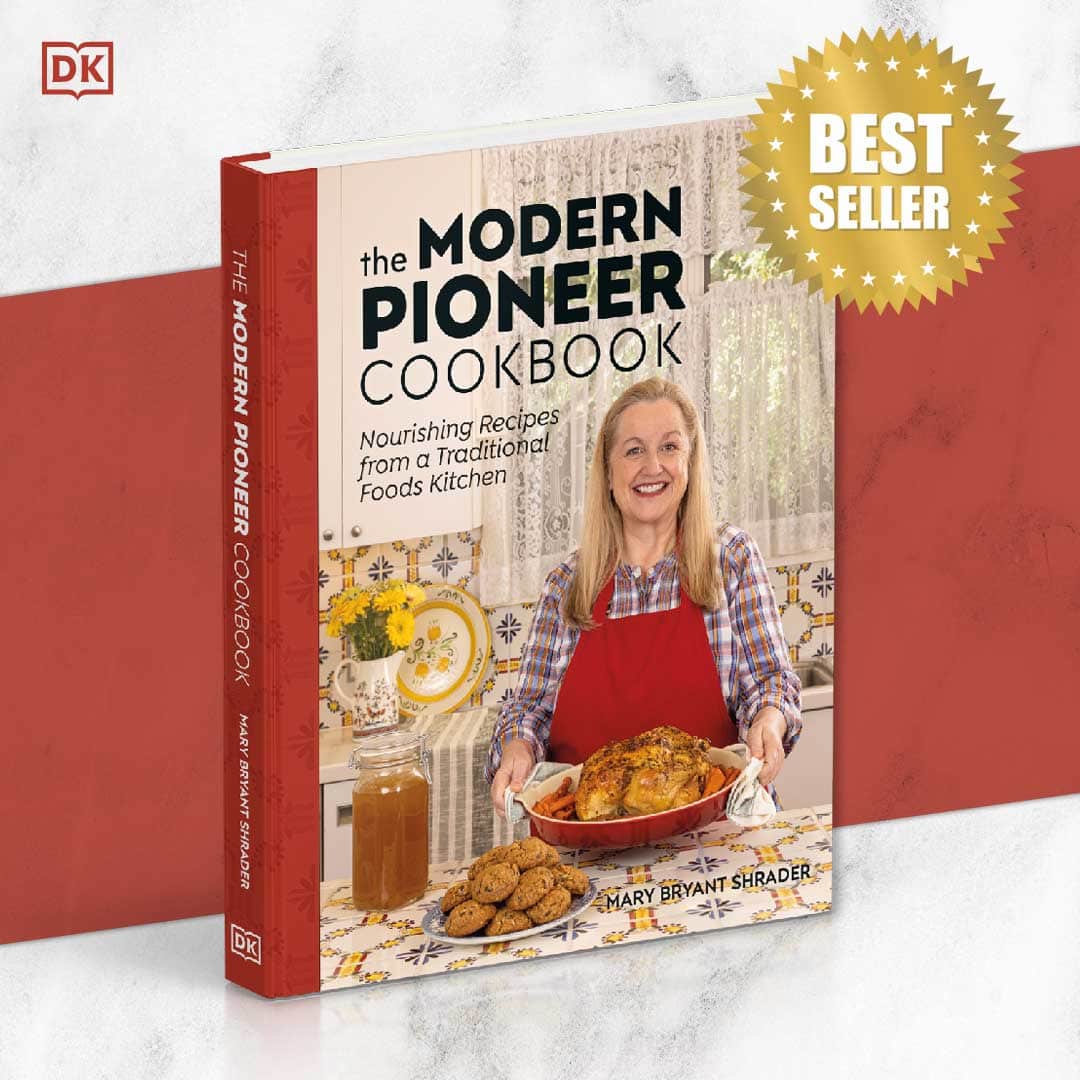
- The Modern Pioneer Cookbook
- Grind Your Own Flour with the Mockmill
- Download Your Free 36-Page Pantry List
- Kitchen Academy Videos
- How to Make Digestive Bitters Recipe
- Shop for items used in this blog post or video
What Are Digestive Bitters?
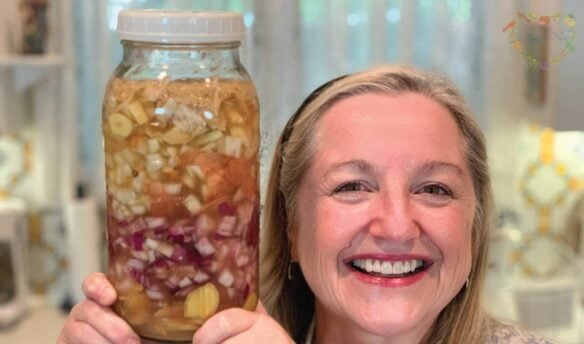
Digestive Bitters are a combination of bitter or astringent herbs and spices steeped in a liquid, usually some type of alcohol. This alcohol extracts the essential elements of these herbs and spices, creating, in essence, an herbal tincture.
You can consume this tincture, in this case specifically, a bitter tincture, in very small amounts to aid in the digestion of the food you eat. You only need to take a 1/4 teaspoon or less to aid digestion. And if you are hesitant to take it directly, you can mix the digestive bitters with a small amount of room temperature water and drink it before your meal.
Disclaimer
I am not a doctor or medical professional. If you are not feeling well, please seek professional medical attention and medicine. And if you are thinking of supplementing your treatment with home remedies, be sure to talk to your medical professional about them. It’s important that you get the medicine and treatments you need to get back to good health.
Why Do We Want to Consume Digestive Bitters?
We want to consume digestive bitters because, as we age, we do not make as many digestive enzymes as when we were young. The reduction in our digestive enzymes can begin as early as in our 20s.
When we don’t make enough digestive enzymes, we are unable to fully digest our food, which means we can’t absorb all the nutrients the food offers. That’s where digestive bitters play a helpful role.
When we take a small amount of the bitters before eating a meal, we help assist our digestive system to do its job to the best of its ability. Additionally, if you find you are plagued with indigestion after a heavy meal, digestive bitters can come to rescue.
What Ingredients Should I Use for Making Digestive Bitters?
In my recipe video, I show you how to make an herbal digestive bitter for the fall and winter seasons. This bitter mixture contains the following ingredients:
- Angelica Root
- Ginger Root
- Dandelion Root
- Ceylon Cinnamon
- Star Anise
- Orange Zest
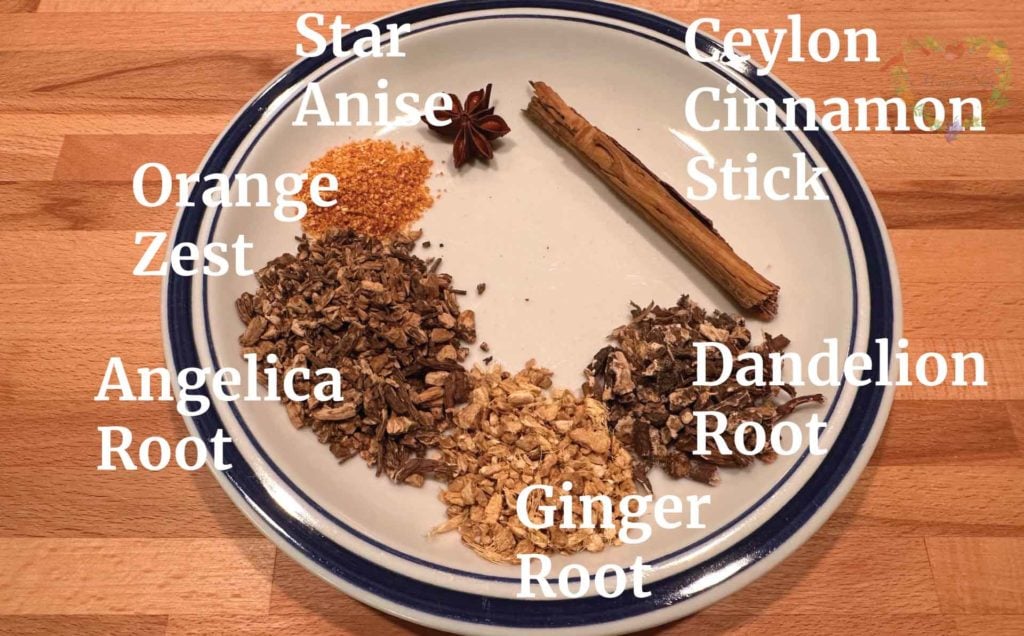
As you can see in my printable recipe, you can also make an additional combination for the spring and summer seasons.
What Liquid Should I Use for Making Digestive Bitters?
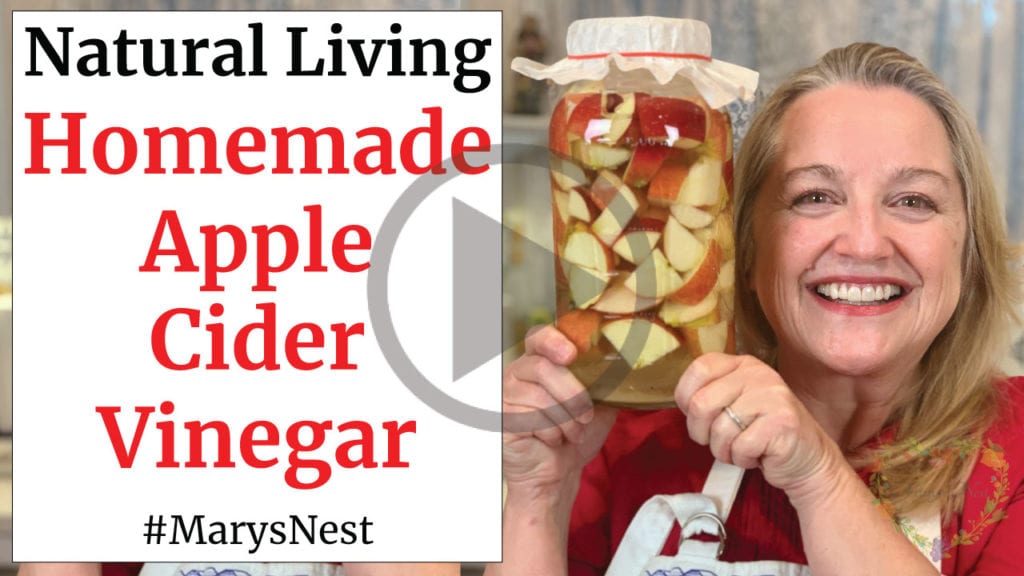
Vodka is the best liquid to use when making digestive bitters since it’s colorless and tasteless. However, if you don’t want to use alcohol, you can always use apple cider vinegar or white vinegar, which is the same vinegar you use for pickling and canning.
I’ll show you how to make homemade apple cider vinegar in the following three-part series. It’s perfect for beginners!
More Herbal Recipes
In previous videos and corresponding blog posts, I shared Master Recipes to help you make a whole host of herbal remedies. Once you know how to make a master recipe, it’s easy for you to alter the ingredients to create variations of the recipe.
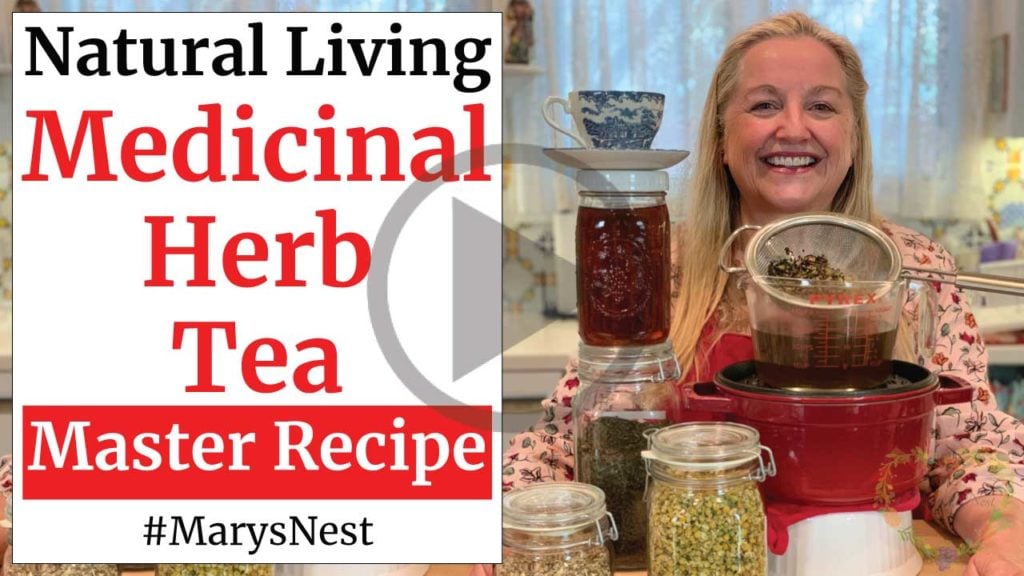
Medicinal Herb Teas
One of the easiest master recipes to get you started with herbs is how to make medicinal herb teas.
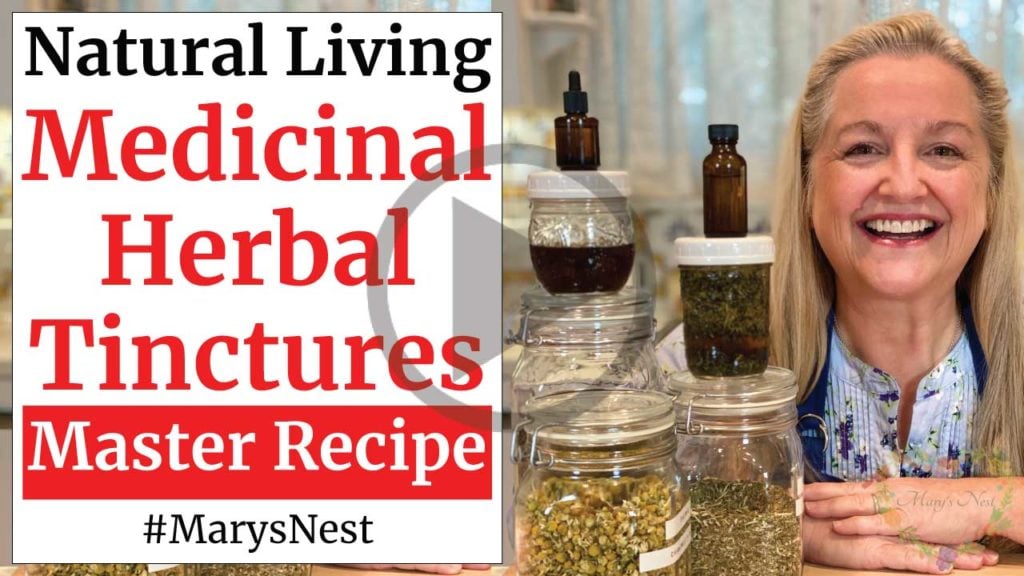
Medicinal Herbal Syrups, Tinctures, and Salves
Once you are comfortable making your own herbal tea blends, be sure to learn how to make herbal syrups, tinctures, and salves. Then, your herbal medicine cabinet will be well stocked!
Herbal Essential Oil Products
And I even show you how to make a few herbal essential oil-infused products for your hair, face, and even your feet!
Books on Herbs and Saint Hildegard
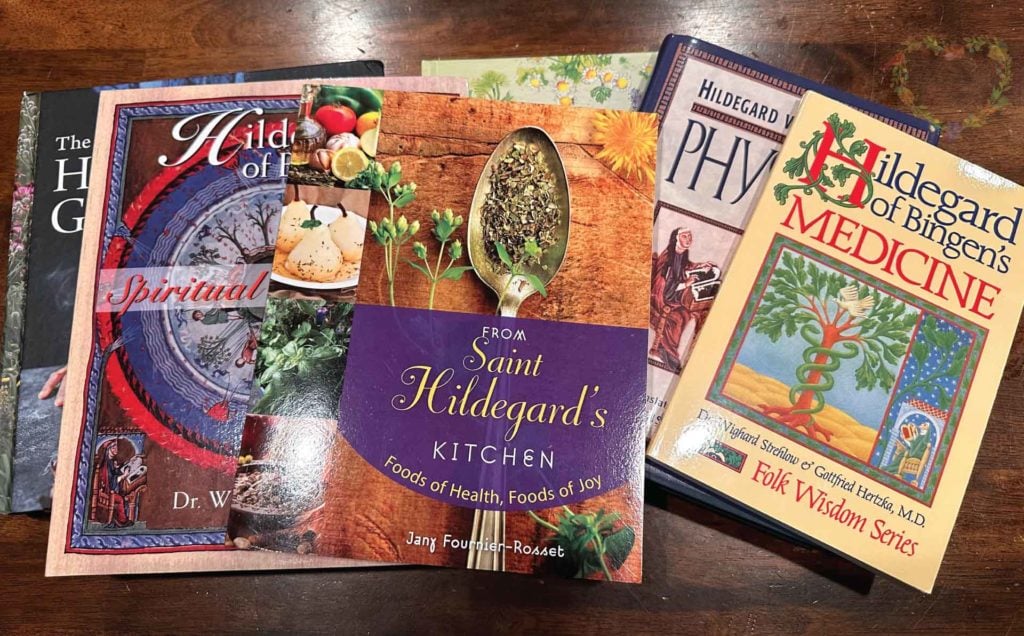
I became interested in making digestive bitters when I learned about a fascinating woman named Hildegard Von Bingen, who lived during the 12th Century. Hildegard is a Catholic Saint and holds the title of Doctor of the Church. (This is an honor of distinction, indicating that St. Hildegard wrote extensively on subjects that influenced her world at the time and continuing throughout history.)

St. Hildegard wrote a book titled Physica that was used by physicians of her day to heal their patients. Her book focused on treating illness by treating the whole person, starting with proper digestion. She concentrated on developing recipes that aided digestion, including what we call digestive bitters today.
Over the years, I have collected an assortment of books about St. Hildegard, and I highly recommend all of them. However, if I had to just pick one, my favorite is From St. Hildegard’s Kitchen: Food of Health, Foods of Joy. It’s chockfull of so many healthy and healing recipes that are as unique as St. Hildegard herself!
More Herbal Books
I also recommend Rosemary Gladstar’s Medicinal Herbs: A Beginner’s Guide book, which I talk about in my How to Make Moisturizing Herbal Hair Oil with Rosemary and Thyme recipe video. Her book helps you get to know 33 healing herbs you can grow and use.
Where to Find Bottles to Decant Your Digestive Bitters?
When it comes to decanting digestive bitters, they are best stored in amber-colored or other dark-colored bottles. But don’t rush out to buy any!
First, check what you might already have on hand. And if you come up empty, see what your friends and neighbors might be throwing out that you can repurpose. I share more about scavenging the garbage for kitchen treasures. It may sound a bit tongue-in-cheek, but you will be amazed at what I have repurposed that others would have tossed into the trash!
Baking with Spelt
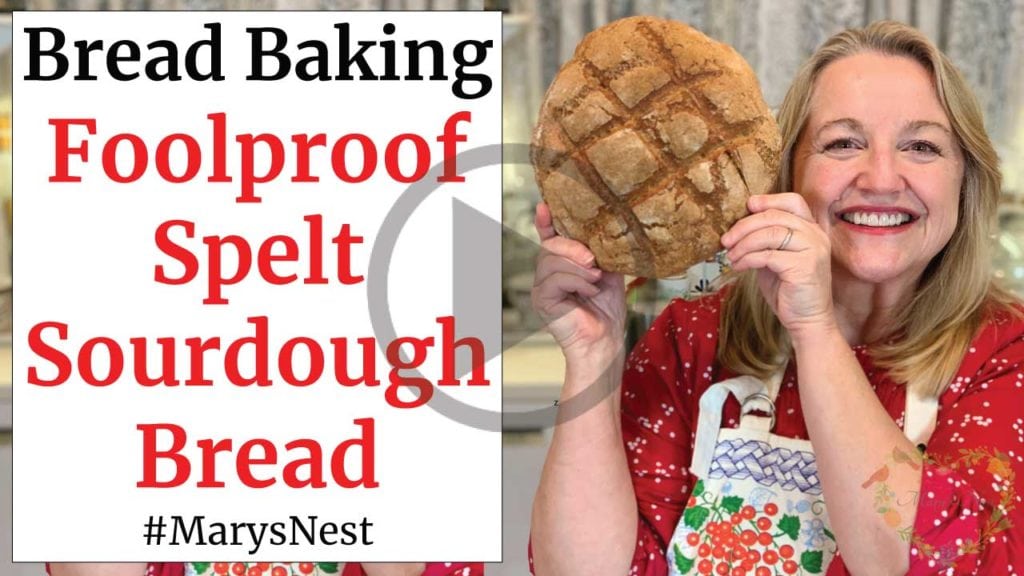
Hildegard used a lot of Spelt in her recipes for health and healing, and I do too! Spelt is a nutrient-rich ancient grain that is easy to transition to if you are accustomed to baking with whole wheat. But Spelt can be used for so much more than baking. You can cook it as a side dish as you would rice or turn it into “speltmeal,” similar to oatmeal. It’s delicious and nutritious.
In the following videos, I talk about how Spelt compares to other wheat berries, and I also show you how to bake with spelt.
Grind Your Own Flour with the Mockmill
If you store Spelt whole grains in your extended or Prepper Pantry, you’ll need a manual or electric grain mill to turn your Spelt grains into flour.
When it comes to electric grain mills, after I did A LOT of research, I decided to buy a Mockmill. And am I so happy I did! The Mockmill is a very affordable but beautifully crafted German-made mill that stone grinds grain with settings ranging from 1 to 10—fine to coarse ground grain.
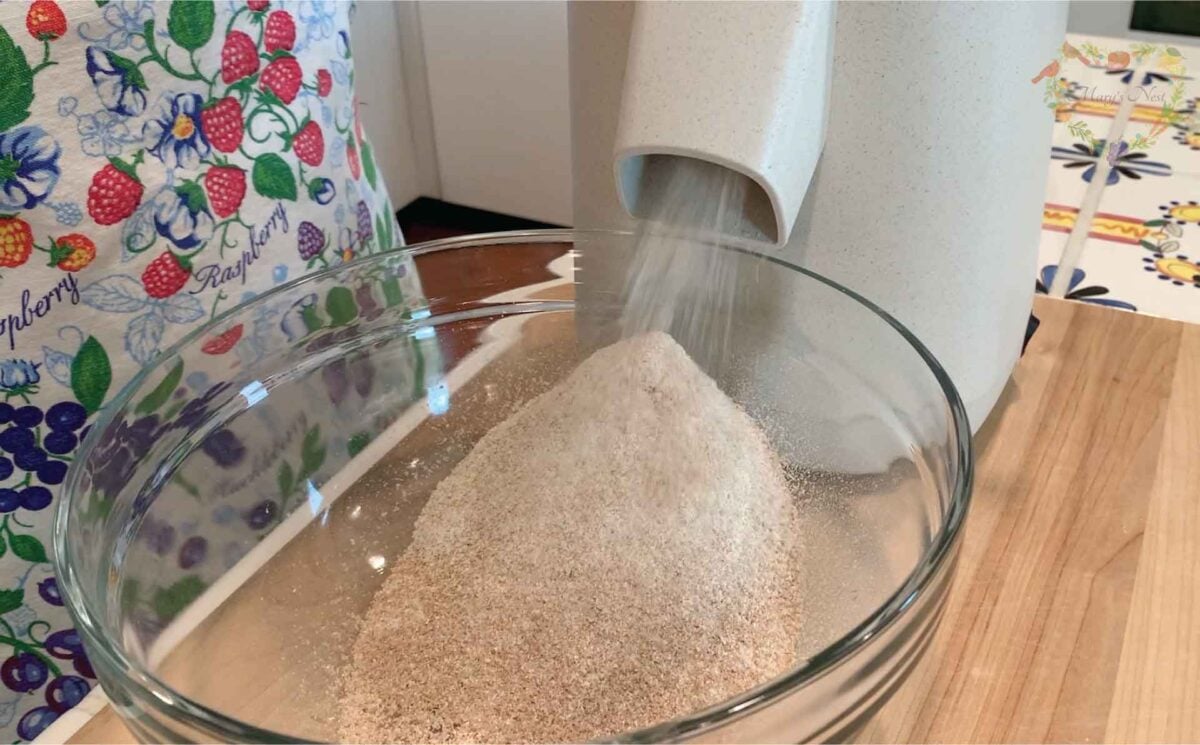
Learn more about Mockmill electric grain mills for making fresh flour and their Flake Lover’s Flaker that flakes whole grain in minutes. (This is not a sponsored post, I bought the Mockmill products that I show you, and I’m a happy user of their devices in my kitchen.)
- Mockmill 100 Grain Mill unboxing
- Get the Mockmill 100 Stone Grain Mill (Same product I show you my unboxing video.)
- Flake Lover’s Flaker from Mockmill in action (Using this device, you can flake whole grain in minutes.)
Download Your Free 36-Page Pantry List
For an extensive list of the traditional foods you can make and purchase to stock your pantry, be sure to download my free 36-page Traditional Foods Pantry List. This comprehensive eBook is full of links to recipe videos, helpful articles, and more!
Kitchen Academy Videos
Are you looking for more traditional foods videos? If so, I invite you to join the Traditional Foods Kitchen Academy. Members of this optional paid YouTube community get access to exclusive videos, live streams, and other members-only perks. Plus, your YouTube comments include a special members-only badge.
In the following members-only video, I talk about getting to know Vitamin D and Vitamin K.
Stay in Touch with Mary’s Nest
- Subscribe to My YouTube Channel for Traditional Foods Videos (Free) - When you subscribe, be sure to click on the notification bell that will let you know each time I upload a new video.
- Subscribe to Mary’s Traditional Foods Newsletter (Free) - Get a free 36-page eBook for signing up: How to Stock Your Essential Traditional Foods Four-Corners Pantry.
- Join the Traditional Foods Kitchen Academy - For more detailed videos and exclusive members-only perks, join my YouTube membership community.
- Order The Modern Pioneer Cookbook - Get a hardcover book of Mary's nourishing recipes from a Traditional Foods Kitchen. This bestselling cookbook is published by Penguin Random House with their DK imprint.
- Preorder The Modern Pioneer Pantry - Be one of the first to get Mary's hardcover book about preserving food and making delicious meals from your Four Corners Pantry. Mary's second cookbook is also published by Penguin Random House.
I look forward to having you join me in my Texas Hill Country Kitchen!
I’d like to receive more tips and recipes from Mary’s Nest.
How to Make Digestive Bitters

Ingredients
Digestive Bitters for Fall and Winter
- 2 tbsp Angelica root
- 1 tbsp Ginger root Alternatively, you can use 1 teaspoon ground ginger or a 1 inch piece of fresh ginger.
- 1 tbsp Dandelion root
- 1 3 inch Ceylon cinnamon stick Alternatively, you can use a 1/2 teaspoon of ground cinnamon.
- 1 Star anise Alternately, you can use 1/4 teaspoon anise seeds.
- 1 tsp Dried orange zest Alternatively, you can use a quarter to a half of the peel of an orange with the pitch intact. And other citrus peel can also be substituted.
- 1 1/2 cups Vodka Alternatively, you can use apple cider vinegar or white pickling vinegar.
Digestive Bitters for Spring and Summer
- 2 tbsp Angelica root
- 1 tbsp Dandelion root
- 1 tsp Fennel seed
- 1 tsp Fresh mint, minced Alternatively, you can use a 1/2 teaspoon dried mint.
- 1 sprig Fresh rosemary
- 1 tsp Dried lemon zest Alternatively, you can use a half of the peel of a lemon with the pitch intact.
- 1 1/2 cups Vodka Alternatively, you can use apple cider vinegar or white pickling vinegar.
Instructions
- Choose to make either the Fall and Winter Digestive Bitters or the Spring and Summer Digestive Bitters.
- Add the ingredients to a pint-size jar and fill the jar with vodka, leaving a one-inch headspace from the rim of the jar.
- Put a tight-fitting lid on the jar and shake it a few times.
- Place the jar in a cool, dark place, such as in a pantry.
- Shake the jar every day.
- Continue to do this for 2 to 4 weeks.
- After this time, strain the solids from the liquid. Use a fine mesh strainer placed over a large measuring cup to do this. (See video.)
- The strained liquid is the digestive bitters.
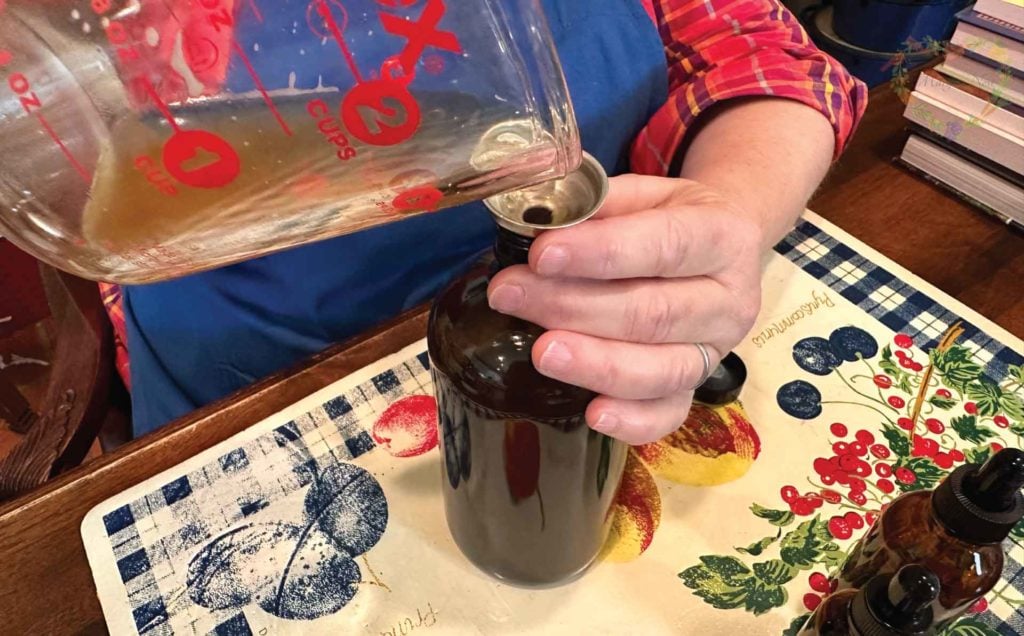
- Decant the digestive bitters into an amber-colored bottled with a tight-fitting lid.
- Store the digestive bitters in the pantry or in the refrigerator. They will stay at peak potency for at least one year.
- To take digestive bitters, put 1/4 teaspoon on a spoon and place it on to your tongue or mix a 1/4 teaspoon with a small amount of room temperature water and drink it. Do this before eating as well as after consuming a heavy meal if indigestion occurs.
Video
Notes
Shop for items used in this blog post or video
Supplies for Making Digestive Bitters
- Pint-Size Jar
- Leak-Proof Lids
- Fine Mesh Strainer
- Measuring Cup
- 1 Ounce Amber Bottle with Dropper
- 2 Ounce Amber Bottle with Dropper
- 16 Ounce Amber Bottle
- Angelica Root
- Ginger Root
- Dandelion Root
- Orange Zest
- Ceylon Cinnamon Sticks
- Star Anise
- Hildegard’s Bitters
Favorite Kitchen Supplies
- Favorite Aprons
- Spice Grinder
- Countertop Burner (On my kitchen island in many recipe videos.)
- Handheld Vacuum Sealing System
- Vacuum Lids
- Whisk
- Silica Gel Packets (Helps keep moisture from building up in your mix)
- Cast Iron Dutch Oven
- 8-Quart Slow-Cooker
- Fat Separator (Clever kitchen device to help you decant bone broth)
- Flour Sack Towels
- pH Strips (Helps you check on the acidity of your vinegar)
Amazon Shop and Shopping Guide
- Visit Mary’s Nest Amazon Shop
- Visit my Shopping Guide page
Get up to 15% off for stocking your Traditional Foods Pantry and equipping your Modern Pioneer Kitchen, including discounts from US Wellness Meats, Farmhouse Teas, Lehman's, Masontops, Cultures for Health, Survival Garden Seeds, Redmond Real Salt, Plan to Eat, and More!
Recommended Reading
- The Modern Pioneer Cookbook
- Nourishing Traditions
- The Healing Garden: Cultivating and Handcrafting Herbal Remedies
- Bitters: A Spirited History of a Classic Cure-All, with Cocktails, Recipes, and Formulas
- Books written by or about Hildegard Von Bingen:
- Books by Rosemary Gladstar:
Disclaimer:I am not a medical doctor, a medical professional, a dietician, or a nutritionist. All content found on the MarysNest.com website, including text, images, videos, eBooks or eGuides, social media, or other formats, were created solely for informational purposes only. The content is not intended to be a substitute for professional medical advice, diagnosis, or treatment. Always seek the advice of your physician or other qualified healthcare provider with any questions you may have regarding a medical condition or proper nutritional advice. Never disregard professional medical advice or delay in seeking it because of something you have watched in a video or read on this website. Use caution when following the recipe in this video. The creator and publisher of this video and website will not be held responsible for any adverse effects that may arise from the use of this recipe and method or any other recipe and method on this website or corresponding video channel.
