Affiliates note: As an Amazon Associate I earn from qualifying purchases. My content may contain affiliate links to products and services. If you click through and make a purchase, I'll receive a small commission. It does not affect the price you pay.
Oatmeal Bread Recipe Using Prepper Pantry Staples
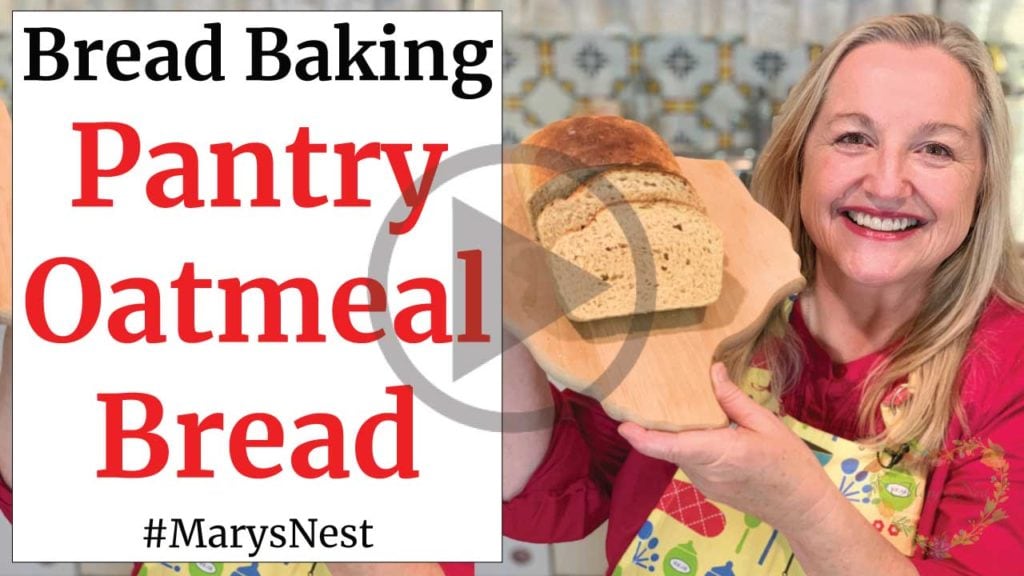
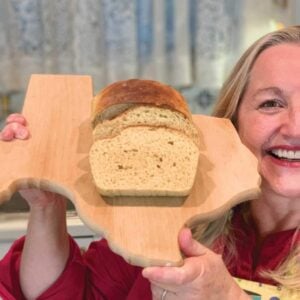
Learn How to Make this Oatmeal Bread Recipe Using Prepper Pantry Staples. Store this helpful recipe in your repertoire since it uses all non-perishable ingredients from your Main Working Pantry or Your Extended “Prepper” Pantry.
Oatmeal Bread From My Childhood
When I was growing up in the eastern part of the United States, my mother always had a Prepper Pantry. Albeit, she didn’t call it that. The nickname “Prepper” hadn’t been popularized back then. My mom simply called it being prepared. And prepared she was! We always had everything we needed on hand in the event of bad weather (blizzards were common!) and power outages (sometimes for days!).
One of my mom’s favorite recipes to make when she knew bad weather was on the way was Oatmeal Bread. Before the power went out, she’d bake up a couple of loaves and know that everyone would be well fed with this hearty bread along with a “shmear” (as they say in New York 😉) of peanut butter and homemade strawberry jam. Even during a big storm and no power, we all still ate well!
And my mom had everything she needed on hand to make this oatmeal bread right in her working pantry or her extended pantry. So there was no need to run to the grocery store when others were in a mad dash to stock up on supplies.
Baking with Non-Perishable Pantry Staples
Having a repertoire of recipes that make good use of your non-perishable foods in your working pantry or extended pantry is invaluable when an emergency hits. And this Oatmeal Bread recipe fits the bill perfectly! It’s a hearty and tasty bread that incorporates dry milk and a shelf-stable fat, such as coconut oil or other oil with a long shelf life.
This versatile bread is perfect as a sweet treat served with jam, as I shared earlier, but it’s also excellent served with more savory dishes like baked beans. Nothing sops up those delicious bean “juices” than this oatmeal bread!
Recommended Pantry Staple Recipe Cookbook
Although not originally intended as a cookbook for using non-perishable pantry staples, The Prudent Diet was one of my mom’s favorite pantry cookbooks. When it came to coming up with recipes for using the non-perishable items in her extended pantry, she often turned to this book.
The Prudent Diet is an older cookbook published in the 1970s, but if you find it at a local used bookstore or online, be sure to snap it up. You’ll be happy you did. You can find the original Oatmeal Bread recipe in this book (my mom put her personal spin on her version, and so did I) along with a host of other wonderful recipes, including a Peanut Butter Bread…another delicious pantry staple recipe!
Free Pantry List with Pantry Staple Ideas
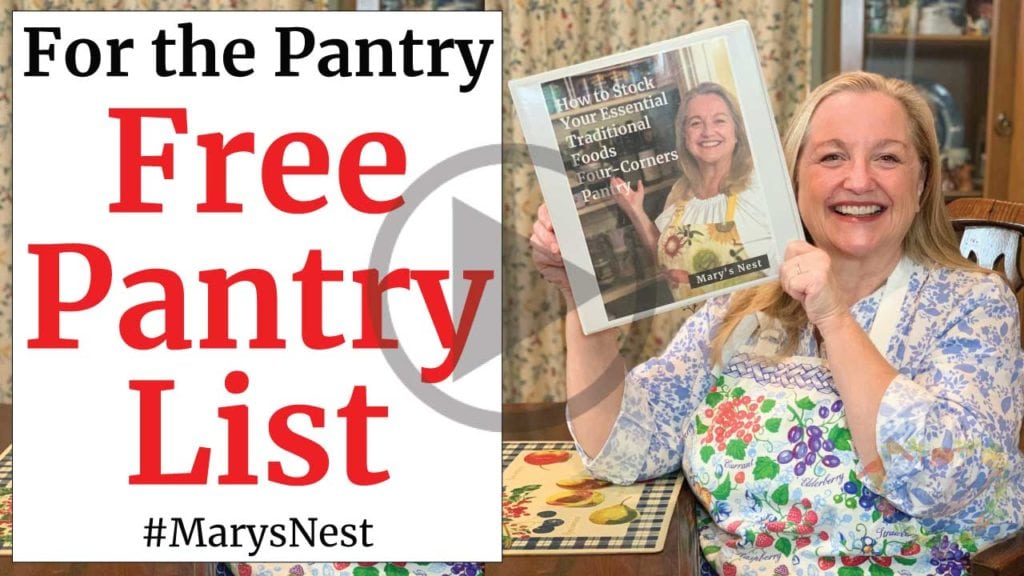
If you don’t already have a copy of my free 36-page pantry list, be sure to download your free pantry list for ideas on pantry staples to store in your Prepper Pantry.
More Bread Recipe Videos
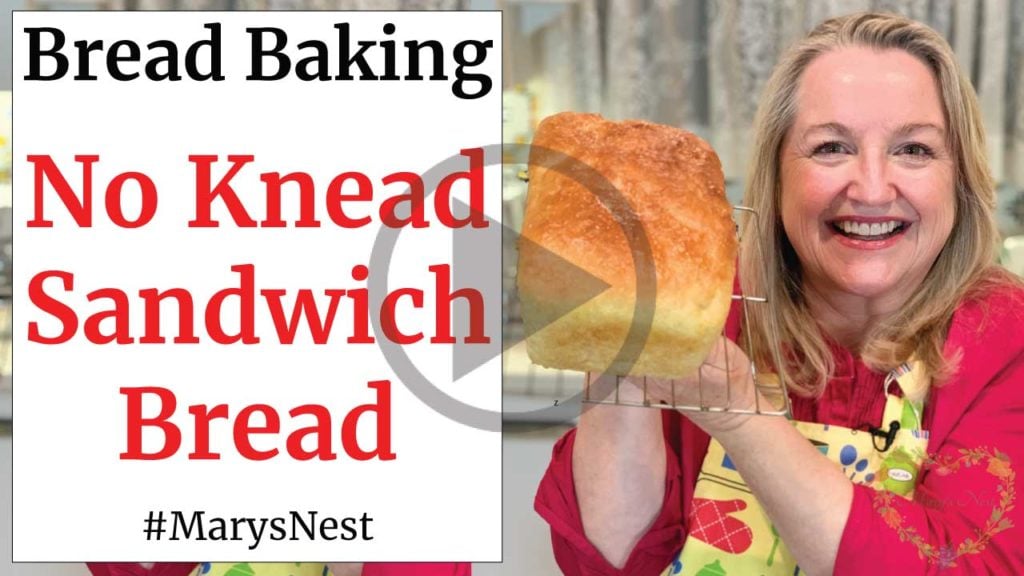
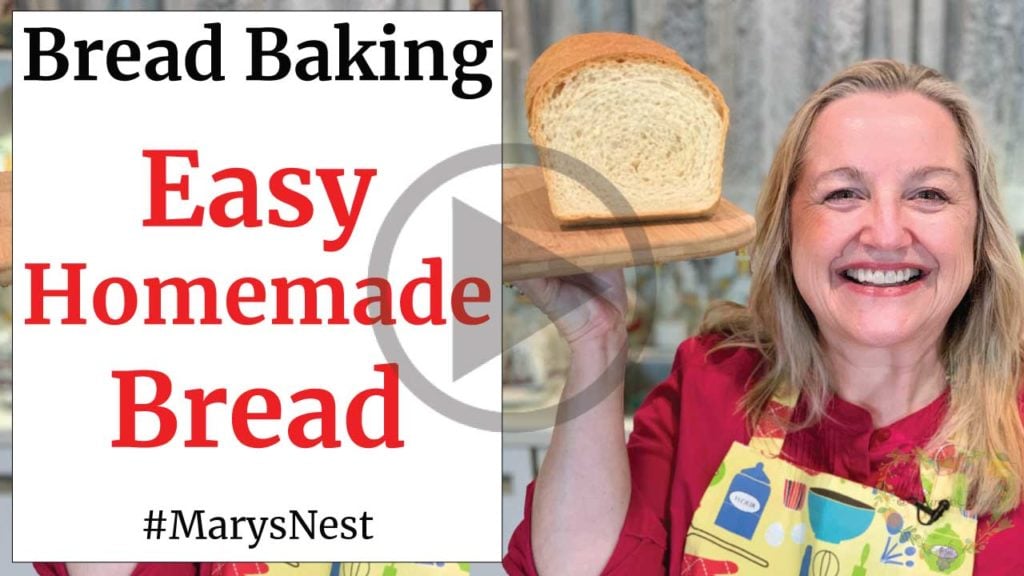
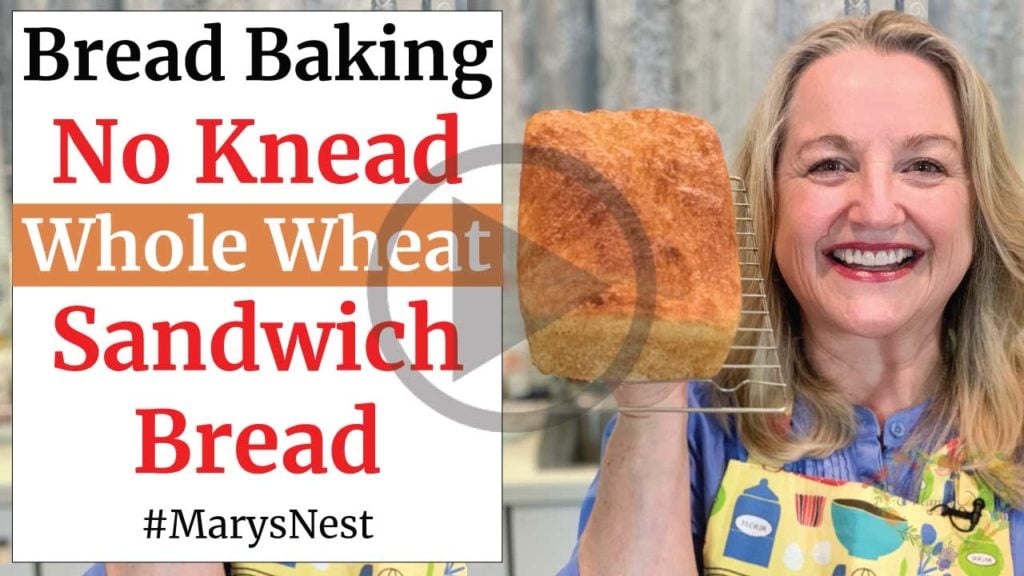
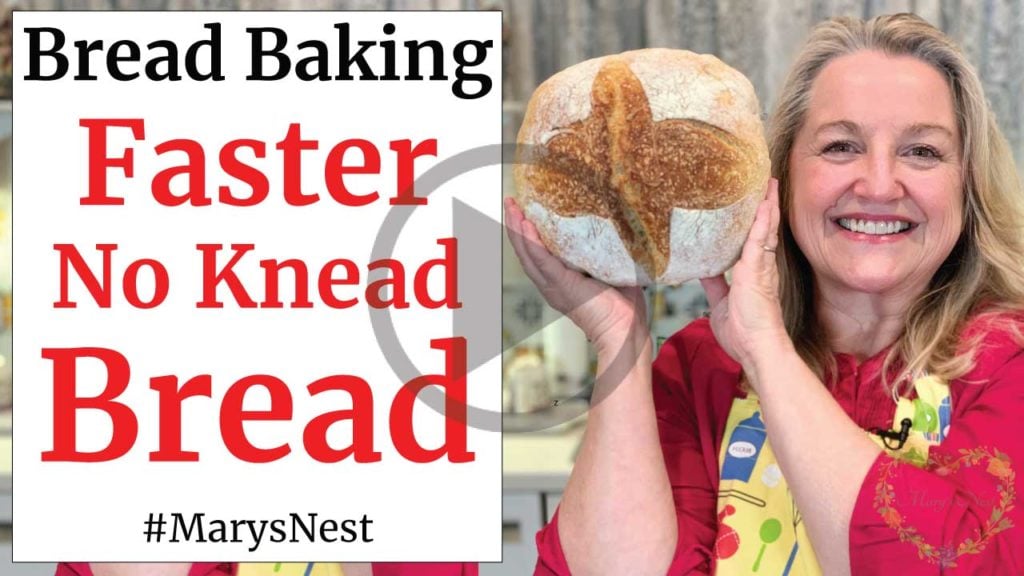
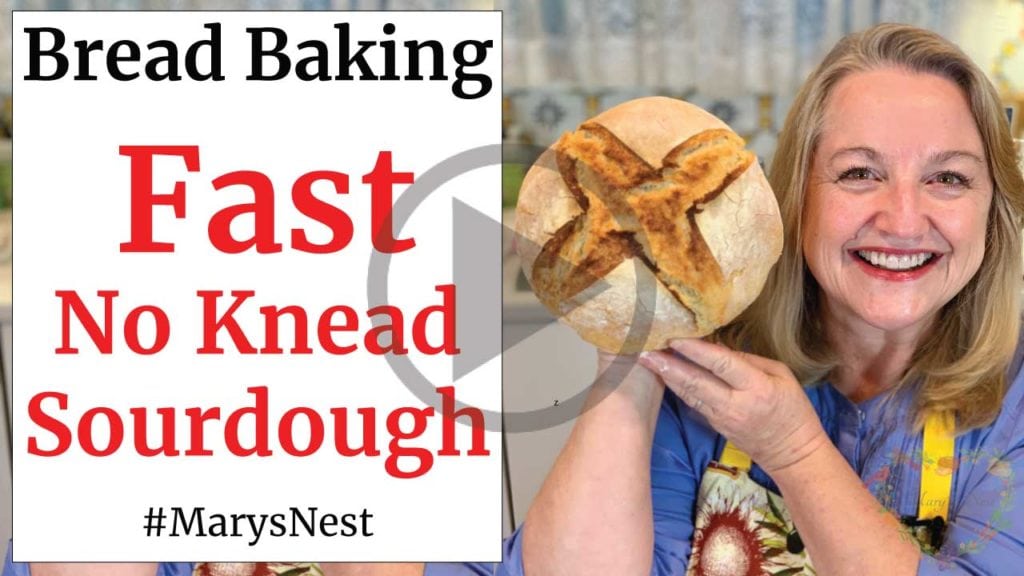
Now that you’ve learned how to make a basic Oatmeal Bread, be sure to try your hand at some of these other tasty and delicious breads, including a very soft No Knead Sandwich Bread!
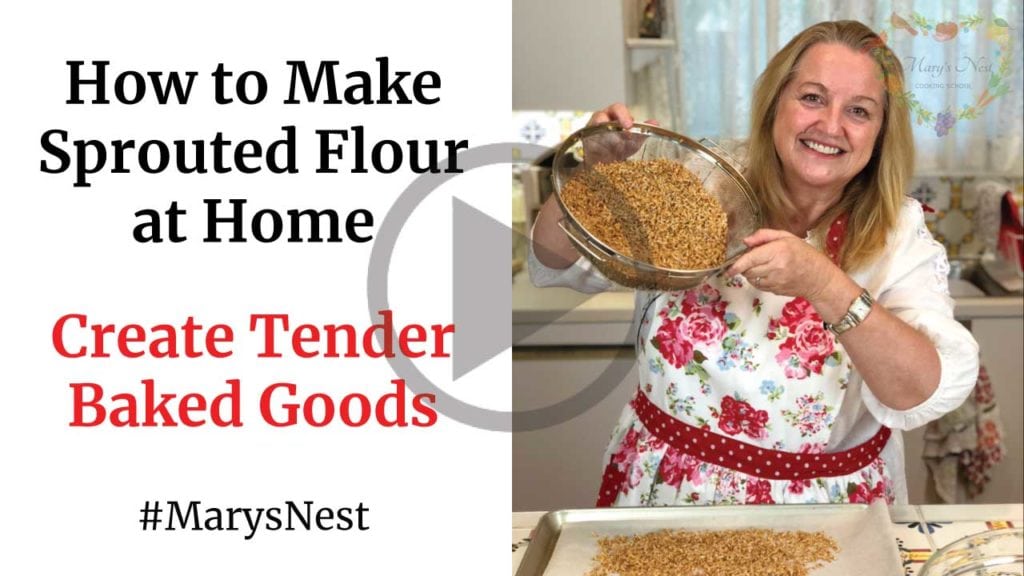
Here’s a video and recipe to help you make your own homemade sprouted flour.
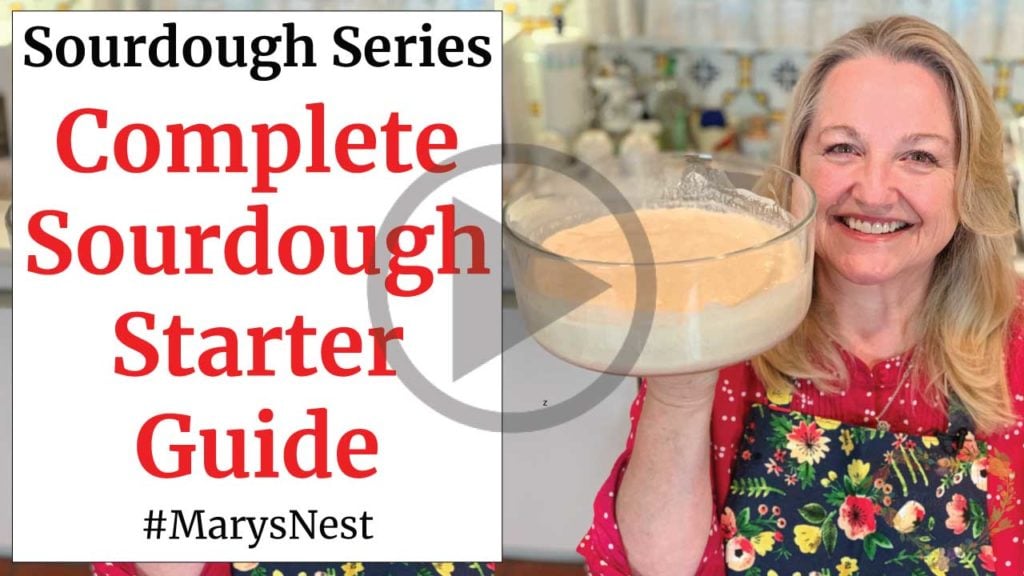
If you’re ready to start making sourdough bread, watch my complete sourdough starter guide, and you’ll be baking sourdough bread in no time!
And if you need more ideas for how to turn the non-perishable foods that you store in your extended Prepper Pantry into tasty meals, be sure to check out these easy and delicious recipes:
Stay in Touch with Mary’s Nest
- Subscribe to My YouTube Channel for Traditional Foods Videos (Free) - When you subscribe, be sure to click on the notification bell that will let you know each time I upload a new video.
- Subscribe to Mary’s Traditional Foods Newsletter (Free) - Get a free 36-page eBook for signing up: How to Stock Your Essential Traditional Foods Four-Corners Pantry.
- Join the Traditional Foods Kitchen Academy - For more detailed videos and exclusive members-only perks, join my YouTube membership community.
- Order The Modern Pioneer Cookbook - Get a hardcover book of Mary's nourishing recipes from a Traditional Foods Kitchen. This bestselling cookbook is published by Penguin Random House with their DK imprint.
- Order The Modern Pioneer Pantry - Get Mary's latest hardcover cookbook about preserving food and making delicious meals from your Four Corners Pantry. Mary's second cookbook is also published by Penguin Random House.
I look forward to having you join me in my Texas Hill Country Kitchen!
I’d like to receive more tips and recipes from Mary’s Nest.
Oatmeal Bread Using Pantry Staples
Equipment
- Two 9"x5" loaf pans
Ingredients
- 2 cups Old-fashioned rolled oats
- 2 tbsp. Coconut oil Ghee or other mild-flavored oil may be substituted.
- 2 cups Boiling water
- 2 tsp. Salt
- 2 1/4 tsp. Yeast This is the equivalent of one package of yeast. You can use active dry yeast or instant yeast.
- 2 tbsp. Sucanat Another whole sweetener may be substituted, such as maple sugar or maple syrup, coconut sugar, date sugar, or honey.
- 3/4 cup Lukewarm water
- 1 cup Dry milk powder This can be a dried whole milk powder or a non-fat dried milk powder.
- 4 – 4 1/2 cups All-Purpose or bread flour Whole grain flours may be substituted up to 3 1/2 cups
Instructions
- Put oats in a large mixing bowl and add coconut oil. Pour hot water into the bowl and mix well with oat and oil mixture.
- Add salt to the bowl and mix thoroughly.
- Allow oat mixture to cool to room temperature.
- Fill a measuring cup with lukewarm water up to the 3/4 cup mark and add Sucanat. Stir well and add in yeast. Set aside for a few minutes to allow the yeast to "bloom" (become foamy).
- Add lukewarm water with yeast into the bowl with oat mixture and stir well.
- Add the milk powder and 4 cups of flour to bowl with oat mixture and stir well until all the flour is moistened, and dough begins to come together into a ball. You can use your clean hands to mix the dough together.
- If the dough is sticky, add additional flour until the dough no longer sticks to your hands, and the dough easily pulls away from the sides of the bowl. (See video.)
- Leave the dough in the bowl and cover with a floured dishtowel. Place the bowl in a warm, draft-free area. Allow dough to double in size. This will take approximately 1 1/2 hours.
- After 1 1/2 hours, punch down the dough and transfer it to a flat surface to knead. Only flour the surface if the dough appears to be sticky. Knead the dough for 10 minutes. (See video.)
- After kneading the dough for 10 minutes, divide the dough into two halves and shape each half into a loaf. Place each loaf into their individual well-buttered or oiled loaf pan. Cover with a towel and allow both loaves to double in size. This will take approximately 30 minutes.
- While each loaf is rising in their loaf pan, preheat the oven to 400°F. Once loaves have doubled in size, place on the middle rack in the preheated oven, lower the heat to 350°F, and bake for approximately 35-45 minutes until the tops are golden brown.
- If the tops begin to over-brown before the bread is done, tent with aluminum foil and allow the bread to continue to bake until a tap on the bottom of the loaf sounds hollow.
- Transfer loaf pans to a cooling rack, and allow the loaves to cool for a few minutes. Release the loaves from their loaf pans and transfer them back to the cooling rack until they are completely cooled before slicing.
Video
Notes
Shop for items used in this blog post or video
Amazon Shop and Shopping Guide
- Visit Mary’s Nest Amazon Shop
- Visit my Shopping Guide page
Get up to 15% off for stocking your Traditional Foods Pantry and equipping your Modern Pioneer Kitchen, including discounts from US Wellness Meats, Farmhouse Teas, Backwoods Home, Masontops, Cultures for Health, Survival Garden Seeds, Redmond Real Salt, Mother Earth News, and More!
Favorite Bread Making Supplies
- Baking Apron
- Rubbermaid Food Container
- 10-Piece Glass Bowl Set
- Organic Whole Milk Powder
- Organic Non-Fat Milk Powder
- Danish Dough Whisk
- Wooden Scraping Spoon
- Plastic Bench Scrape
- Metal Loaf Pans
- Cast-Iron Dutch Oven
- Baking Stone
Favorite Baking Yeast Supplies
- SAF Instant Yeast
- SAF Premium Instant Yeast
- SAF Gold Instant Yeast
- Red Star Active Dry Yeast
- Fleischmann’s Active Dry Yeast
- Bob’s Red Mill GLUTEN FREE Active Dry Yeast
Recommended Reading
Affiliates note: As an Amazon Associate I earn from qualifying purchases. My content may contain affiliate links to products and services. If you click through and make a purchase, I’ll receive a small commission. It does not affect the price you pay.
Disclaimer:I am not a medical doctor, a medical professional, a dietician, or a nutritionist. All content found on the MarysNest.com website, including text, images, videos, eBooks or eGuides, social media, or other formats, were created solely for informational purposes only. The content is not intended to be a substitute for professional medical advice, diagnosis, or treatment. Always seek the advice of your physician or other qualified healthcare provider with any questions you may have regarding a medical condition or proper nutritional advice. Never disregard professional medical advice or delay in seeking it because of something you have watched in a video or read on this website. Use caution when following the recipe in this video. The creator and publisher of this video and website will not be held responsible for any adverse effects that may arise from the use of this recipe and method or any other recipe and method on this website or corresponding video channel.
