Rejuvelac is one of those humble, old-world foods that feels almost magical the first time you make it. With nothing more than whole grains, water, and time, you can create a lightly fermented grain drink that our ancestors valued for nourishment and digestion. While Rejuvelac became popular again during the natural foods movement of the 20th century, its roots reach much further back into traditional foodways where soaking, sprouting, and fermenting grains were simply part of everyday life.
In today’s post—and in the accompanying video—I’m going to show you how I like to soak and sprout wheat berries using a colander—a simple and clever method that allows for excellent drainage and airflow and helps avoid mold. Next, I use sprouted wheat berries to make a traditional Rejuvelac beverage based on an ancestral recipe I share in the video and in my new cookbook, The Modern Pioneer Pantry.
In the video, I not only show you how to make Rejuvelac, but I also share a home remedy marathon with simple, traditional remedies you can make and use the very same day—especially helpful during cold and flu season to gently support the body and help ease everyday seasonal discomforts. Then scroll down through this post for even more tips and insights you won’t want to miss!
Affiliates note: As an Amazon Associate I earn from qualifying purchases. My content may contain affiliate links to products and services. If you click through and make a purchase, I’ll receive a small commission. It does not affect the price you pay.
Table of Contents
- A Quick Glance: How to Make Rejuvelac
- Why Sprout Grains Before Making Rejuvelac?
- My Preferred Method for Sprouting Wheat Berries
- Making Rejuvelac with Sprouted Wheat Berries
- The Importance of Soaking, Sprouting, and Fermenting
- Watching the Rejuvelac Recipe Video
- Continue Learning: Related Traditional Techniques
- Grind Your Own Flour with the Mockmill
- Masontops Mason Jar Fermentation Kit Discount Coupon
- Farmhouse Teas (and Herbs!)
- The Modern Pioneer Cookbook
- The Modern Pioneer Pantry
- Download Your Free 36-Page Pantry List
- Join the Traditional Foods Kitchen Academy
- Kitchen Academy Videos
- Shop for My Favorite Items
A Quick Glance: How to Make Rejuvelac
- Soak whole wheat berries
- Sprout them until tiny white tails appear
- Cover sprouted grains with fresh water
- Allow to ferment at room temperature
- Strain, refrigerate, and enjoy
Why Sprout Grains Before Making Rejuvelac?
Sprouting grains before fermenting them helps wake the grain up. When a grain begins to sprout, natural enzymes are activated, phytic acid begins to break down, and the grain becomes easier to digest. This technique stems from the same wisdom our ancestors followed when they soaked and fermented grains, long before modern nutrition science gave names to these processes.
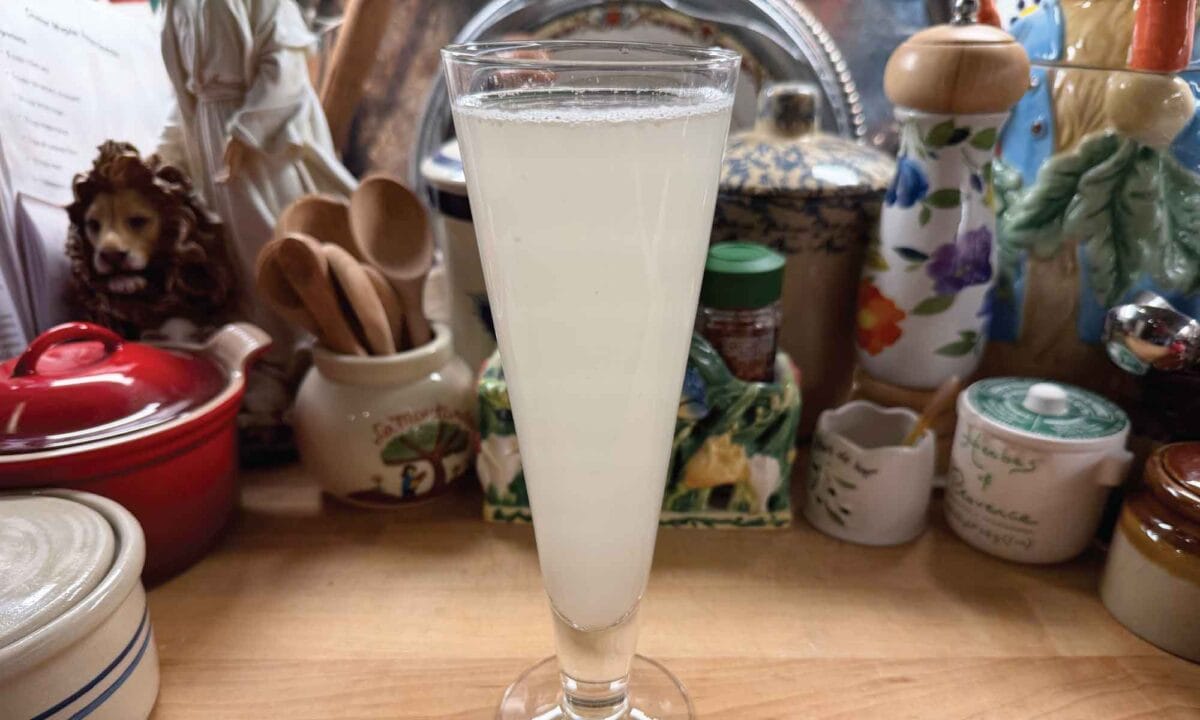
Sprouted grains also create a more lively fermentation, resulting in the Rejuvelac fermented beverage that is gently tangy, refreshing, and alive with beneficial bacteria.
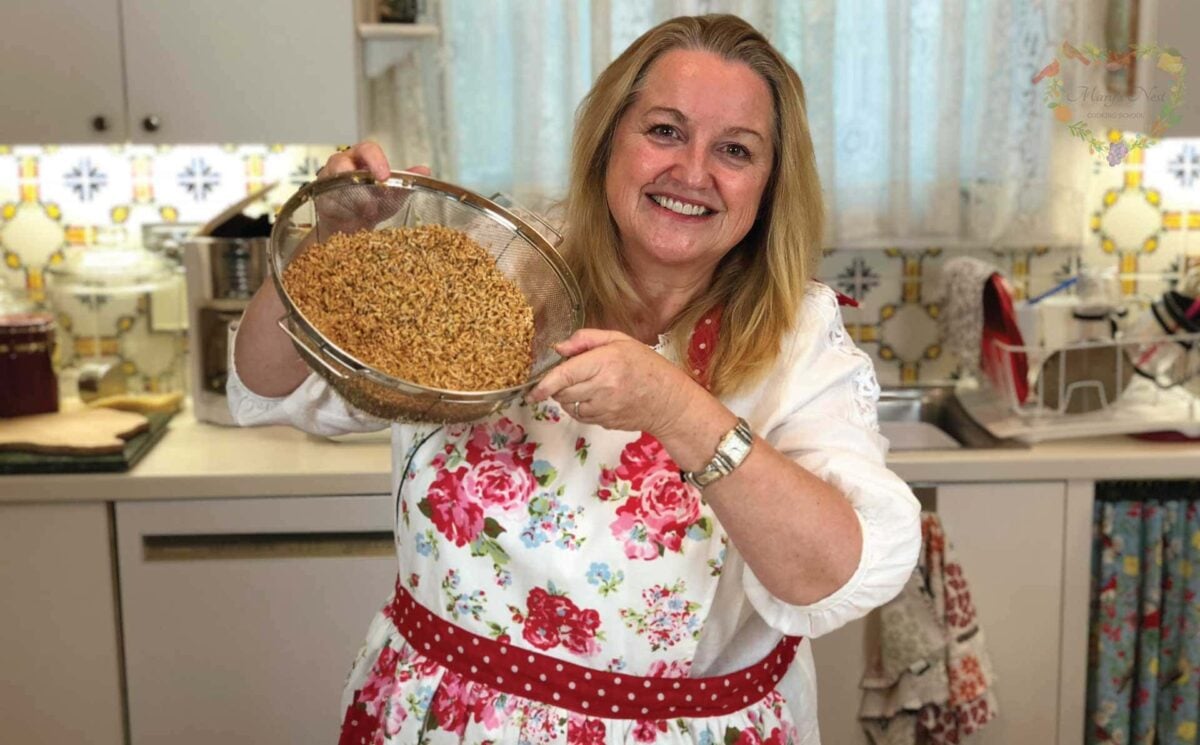
My Preferred Method for Sprouting Wheat Berries
For sprouting wheat berries, I prefer using a colander rather than a jar. This approach allows for excellent airflow and drainage and greatly reduces the risk of mold, which can sometimes occur with jar sprouting—especially in warm or humid kitchens.
In the video, I walk you through this step-by-step, but here’s the general process:
How I Soak and Sprout Wheat Berries
- Begin by rinsing whole wheat berries thoroughly.
- Soak them in plenty of water for several hours or overnight.
- Drain well, then transfer the grains to a colander.
- Set the colander over a bowl or plate so excess water can drain away.
- Rinse and drain the grains two to three times a day.
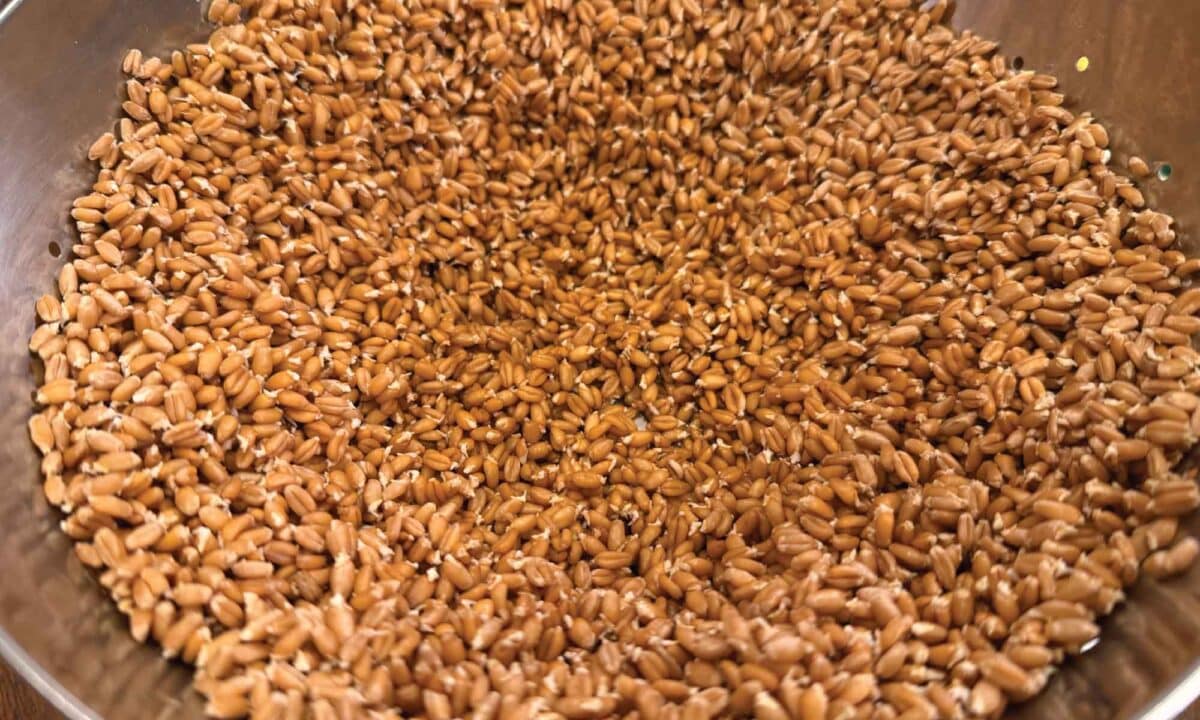
- Within a day or two, you’ll see tiny white sprouts appear.
Once those little tails emerge, your wheat berries are ready to use for Rejuvelac.
Note: If you’re interested in taking sprouted grains a step further and turning them into sprouted flour, I’ll link to a detailed tutorial in my continued learning section of this post.
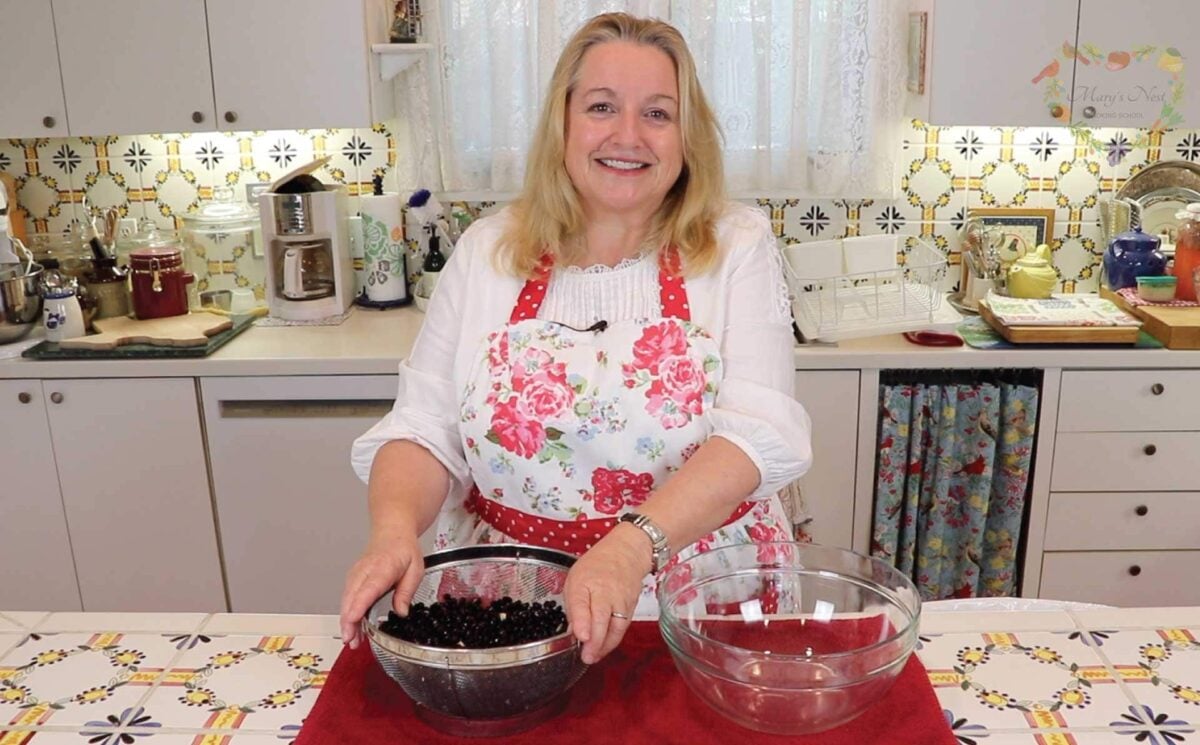
Making Rejuvelac with Sprouted Wheat Berries
After sprouting, the process of making Rejuvelac is wonderfully simple.
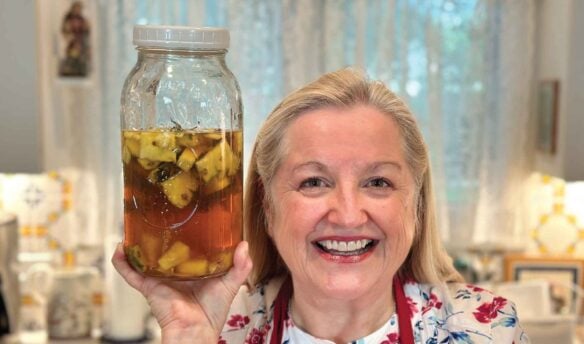
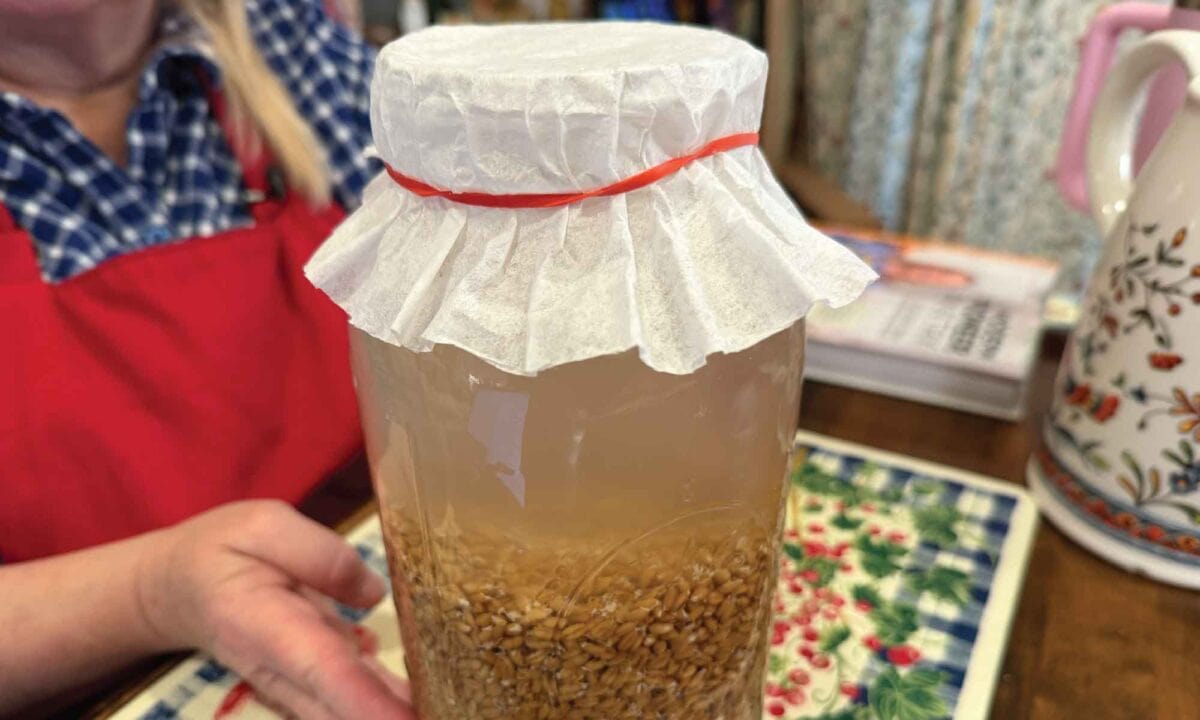
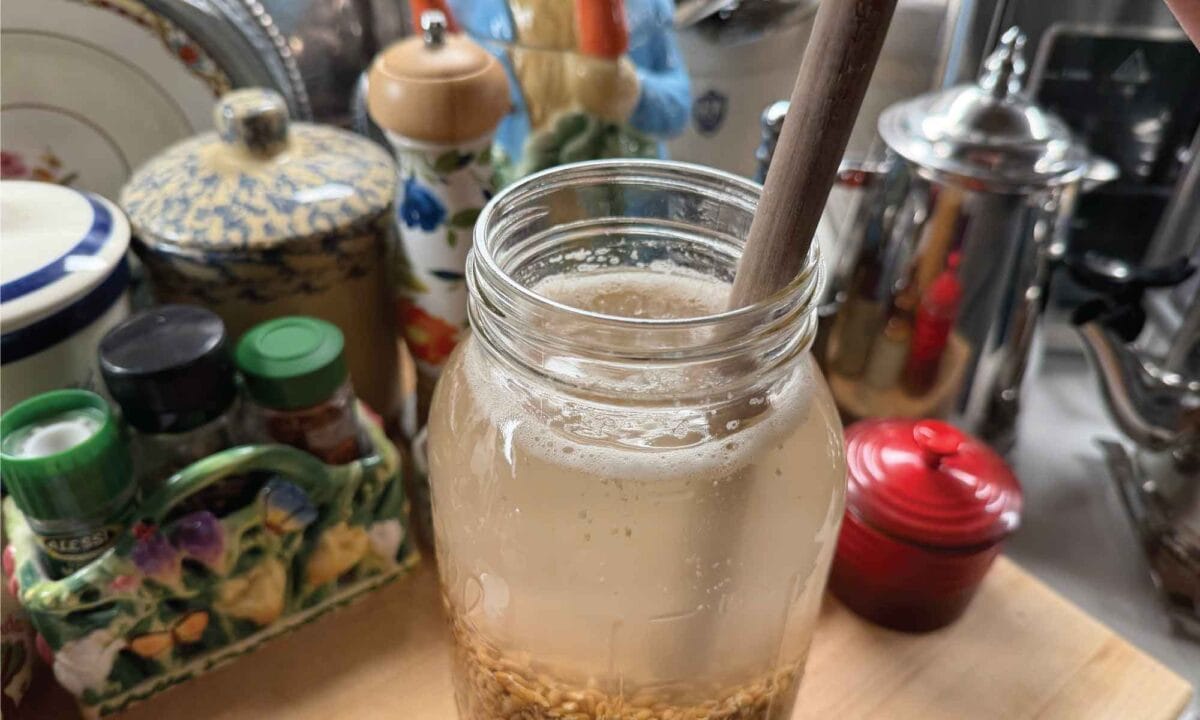
You’ll place the sprouted wheat berries in a clean jar, cover them with fresh water, and leave them at room temperature to ferment gently. Over the course of a day or two, the water becomes cloudy and develops a light, yeasty-lemony tang—this is your Rejuvelac.
This method is the same one I share in my cookbook, The Modern Pioneer Pantry, and it reflects the way fermented grain drinks would have been made traditionally—without starters, powders, or commercial cultures.
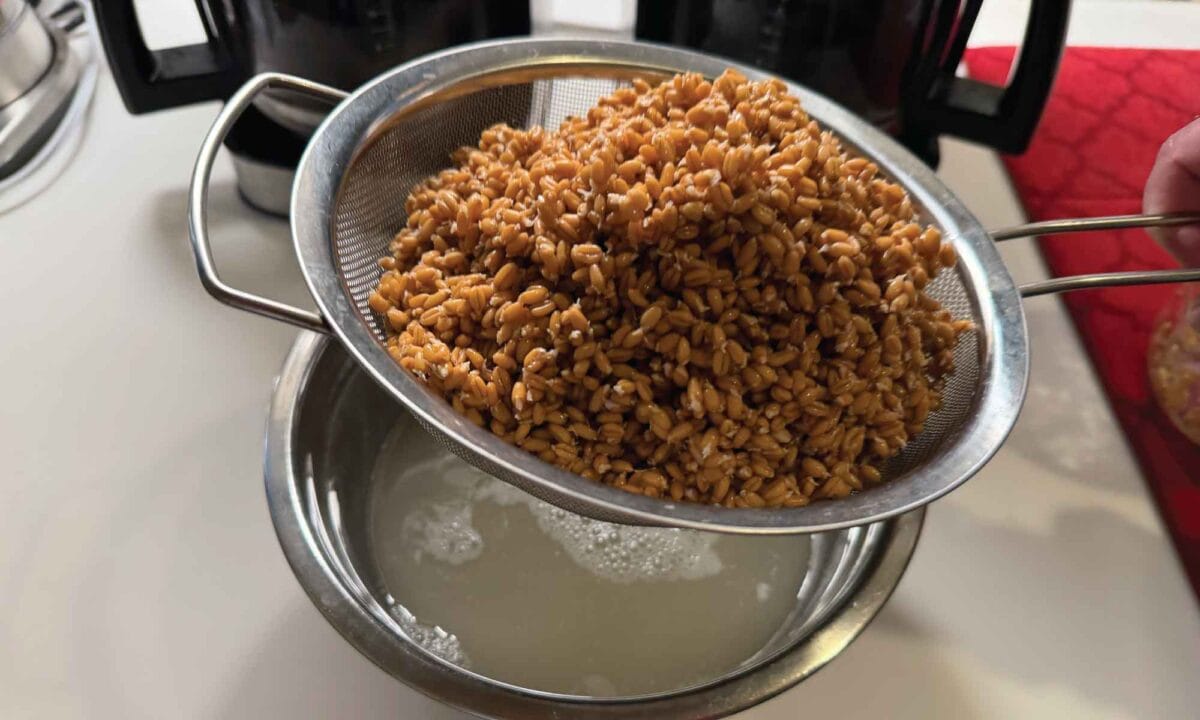
Rejuvelac should smell clean and taste pleasantly sour, never sharp or unpleasant. Once it reaches the flavor you like, strain it, refrigerate it, and enjoy it within a few days to help with good gut health.
The Importance of Soaking, Sprouting, and Fermenting
Soaking, sprouting, and fermenting were not fussy techniques for our ancestors—they were simply how food was prepared. These practices helped make whole foods more nourishing and easier to digest, especially when grains, beans, nuts, and seeds were dietary staples.
Rejuvelac fits beautifully into this tradition, alongside soaked beans, sprouted grains, soaked oats, and properly prepared nuts.
Watching the Rejuvelac Recipe Video
You can find the recipe ingredients and steps to make Rejuvelac in today’s How to Make Rejuvelac video and on pages 194-195 in my new cookbook, The Modern Pioneer Pantry.
As a bonus, today’s video contains more than just the Rejuvelac recipe, it also brings together a curated selection of popular recipes that show you how to make home remedies to help you and your family feel better.
- Ancient Home Remedy for Colds and Flu
- How to Make an Alcohol-Free Lemon Hot Toddy
- How to Make the Best Home Remedy for Colds and Flu
- Quick and Easy Home Remedy for Colds and Flu
- How to Make Turmeric Tea to Boost Your Immune System
Disclaimer
Note: I am not a doctor or medical professional. This information is provided for informational purposes only and is not intended to treat or diagnose any type of illness. If you are not feeling well, please seek professional medical attention and medicine. And if you are thinking of supplementing your treatment with home remedies, be sure to talk to your medical professional about them. It’s important that you get the medicine and treatments you need to get back to good health.
Continue Learning: Related Traditional Techniques
If you’d like to continue learning about traditional food preparation, these related techniques follow the same ancestral principles of soaking, sprouting, and proper preparation that make foods easier to digest and more nourishing.
Sprouted Flour
Learn how to take sprouted grains one step further and make sprouted flour at home with my How to Make Sprouted Flour at Home video.
Soaking and Sprouting Beans
Get a detailed guide covering seasonal differences and best practices with my How to Soak and Sprout Beans (Techniques for Seasonal Differences) video.
Soaking Nuts for Better Digestion

Understand why soaking matters and how to make nuts easier to digest with my How to Make Crispy Pecans (Easy to Digest) video.
Soaked Oatmeal Using Oat Groats

Discovera traditional way to prepare oats for maximum nourishment with my How to Make Soaked Oatmeal Using Oat Groats video.
Grind Your Own Flour with the Mockmill
When it comes to electric grain mills, after I did A LOT of research, I decided to buy a Mockmill. And am I so happy I did! The Mockmill is a very affordable but beautifully crafted German-made mill that stone grinds grain with settings ranging from 1 to 10—fine to coarse ground grain. You can use the Mockmill with regular or dried sprouted grains to make flour.
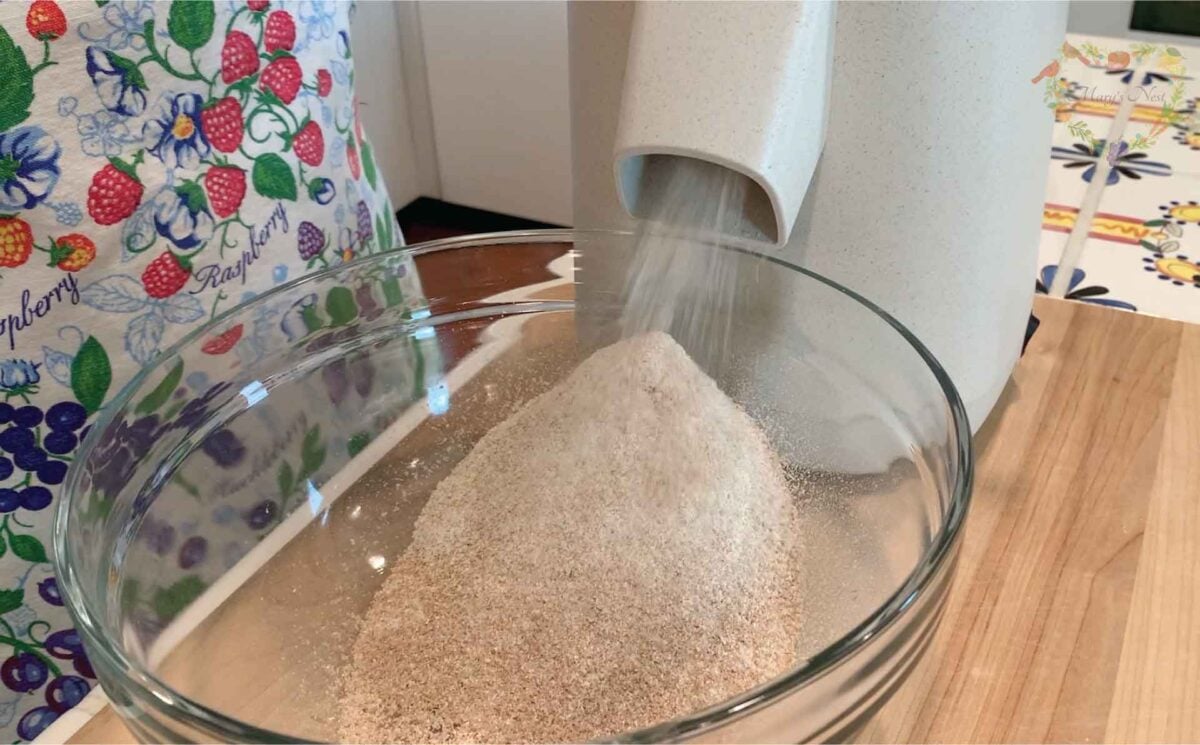
Learn more about Mockmill electric grain mills for making fresh flour and their Flake Lover’s Flaker that flakes whole grain in minutes. (This is not a sponsored post, I bought the Mockmill products that I show you, and I’m a happy user of their devices in my kitchen.)
- Mockmill 100 Grain Mill unboxing
- Get the Mockmill 100 Stone Grain Mill (Same product I show you in my unboxing video.)
- Flake Lover’s Flaker from Mockmill in action (Using this device, you can flake whole grain in minutes.)
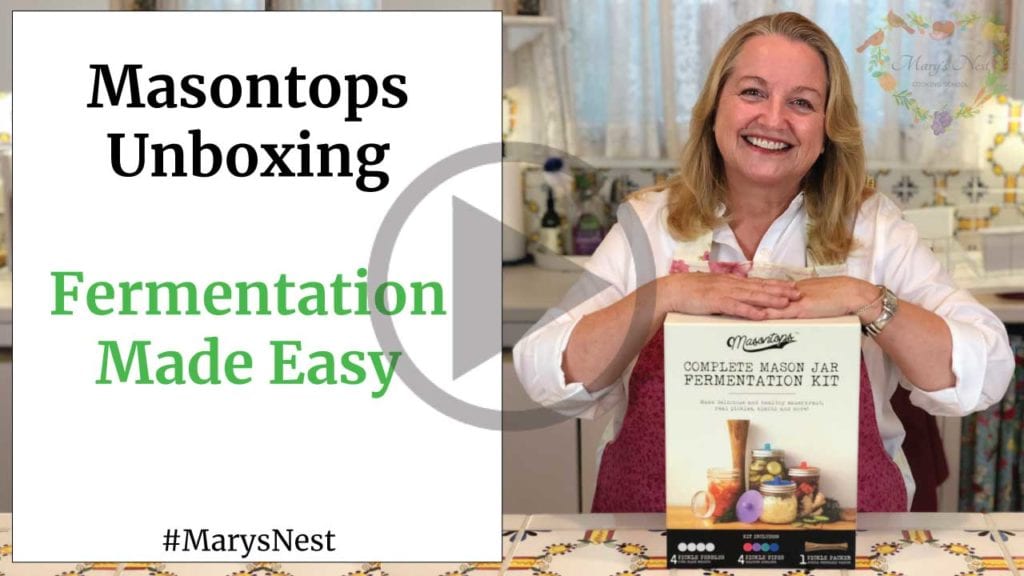
Masontops Mason Jar Fermentation Kit Discount Coupon
Although you don’t need any special equipment to start making ferments, the Masontops kit can help you simplify the process and enable you to create your ferment successfully. In my Masontops unboxing video, I show you my Masontops Complete Mason Jar Fermentation Kit and go over everything the kit includes.
- Use promo code MARYSNST for a one-time 15% off Masontops and Breadsmart products on Amazon.com. (This is not a sponsored post. Masontops provided me with a special discount code for my viewers. I like their products, and I think you will too.)
Farmhouse Teas (and Herbs!)
If you are looking for an excellent source for dry herbs or tea blends to warm up a chilly day, look no further than Farmhouse Teas. And even better, they are offering my sweet friends a 10% discount off their wide selection of herbal tea blends and individual dry herbs.
You can also use my discount code and links below to get the ingredients to make the following natural remedies that I’ve shown you how to make in earlier recipe videos.
- Anti-Inflammatory Drinks
- Herbal Acne Salve
- Star Anise Tincture
- Herbal Elixir

Order YOUR COPY Now!
The Modern Pioneer Cookbook
Seasonal ingredients, traditional techniques, and nourishing recipes. Over 85 traditional, from-scratch recipes! Discover for yourself how you can use simple ingredients and traditional techniques to cook the modern pioneer way.

Order YOUR COPY Now!
The Modern Pioneer Pantry
Simple ingredients, timeless techniques, and a well-stocked pantry. Discover over 100 nourishing recipes to preserve food and turn pantry staples into homemade meals. Build a wholesome, traditional pantry—just like a modern pioneer!
Start Your Traditional Foods Journey
Sharing my passion for traditional cooking goes beyond my YouTube cooking school—it also comes to life in the pages of my cookbooks. Both of my books, The Modern Pioneer Cookbook and The Modern Pioneer Pantry, are proudly published by Penguin Random House.
The first is filled with time-honored recipes to help you create a traditional foods kitchen, while the second is your complete guide to home food preservation. Order both books today to start or continue your traditional foods journey.
Download Your Free 36-Page Pantry List
For an extensive list of the traditional foods you can make and purchase to stock your pantry, be sure to download my free 36-page Traditional Foods Pantry List. This comprehensive eBook is full of links to recipe videos, helpful articles, and more!

Join the Traditional Foods Kitchen Academy
Are you looking for more traditional foods videos? If so, I invite you to join the Traditional Foods Kitchen Academy. Members of this optional paid YouTube community get access to exclusive videos and other members-only perks. Plus, your YouTube comments include a special members-only badge.
Kitchen Academy Videos

Why We Should Incorporate Mackerel Into Our Diet
Easy and nourishing ways to enjoy mackerel into your meals.

The Gentle Power of Fermented Beverages—All Year Long
Learn how fermented beverages gently support digestion year-round, shifting with the seasons to nourish the gut through traditional, living drinks.

How to Make Oatmeal Higher in Protein (The Old-Fashioned Way)
Turn simple oats into a hearty, protein-rich porridge.
Stay in Touch with Mary’s Nest
- Subscribe to My YouTube Channel for Traditional Foods Videos (Free) - When you subscribe, be sure to click on the notification bell that will let you know each time I upload a new video.
- Subscribe to Mary’s Traditional Foods Newsletter (Free) - Get a free 36-page eBook for signing up: How to Stock Your Essential Traditional Foods Four-Corners Pantry.
- Join the Traditional Foods Kitchen Academy - For more detailed videos and exclusive members-only perks, join my YouTube membership community.
- Order The Modern Pioneer Cookbook - Get a hardcover book of Mary's nourishing recipes from a Traditional Foods Kitchen. This bestselling cookbook is published by Penguin Random House with their DK imprint.
- Order The Modern Pioneer Pantry - Get Mary's latest hardcover cookbook about preserving food and making delicious meals from your Four Corners Pantry. Mary's second cookbook is also published by Penguin Random House.
I look forward to having you join me in my Texas Hill Country Kitchen!
Shop for My Favorite Items
Favorite Equipment to Make Rejuvelac
Favorite Kitchen Supplies
- Favorite Aprons
- Spice Grinder
- Countertop Burner (On my kitchen island in many recipe videos.)
- Handheld Vacuum Sealing System
- Vacuum Lids
- Whisk
- Silica Gel Packets (Helps keep moisture from building up in your mix)
- Cast Iron Dutch Oven
- 8-Quart Slow-Cooker
- Fat Separator (Clever kitchen device to help you decant bone broth)
- Flour Sack Towels
- pH Strips (Helps you check on the acidity of your vinegar)
Amazon Shop and Shopping Guide
- Visit Mary’s Nest Amazon Shop
- Get a 30-day Audible trial with a free audiobook
- Visit my Shopping Guide page
Get up to 15% off for stocking your Traditional Foods Pantry and equipping your Modern Pioneer Kitchen, including discounts from US Wellness Meats, Farmhouse Teas, Backwoods Home, Masontops, Cultures for Health, Survival Garden Seeds, Redmond Real Salt, and More!
Recommended Reading
Disclaimer:I am not a medical doctor, a medical professional, a dietician, or a nutritionist. All content found on the MarysNest.com website, including text, images, videos, eBooks or eGuides, social media, or other formats, were created solely for informational purposes only. The content is not intended to be a substitute for professional medical advice, diagnosis, or treatment. Always seek the advice of your physician or other qualified healthcare provider with any questions you may have regarding a medical condition or proper nutritional advice. Never disregard professional medical advice or delay in seeking it because of something you have watched in a video or read on this website. Use caution when following the recipe in this video. The creator and publisher of this video and website will not be held responsible for any adverse effects that may arise from the use of this recipe and method or any other recipe and method on this website or corresponding video channel.