Here are the best kitchen tools and kitchen equipment for the new traditional foods cook.
Affiliates note: As an Amazon Associate I earn from qualifying purchases. My content may contain affiliate links to products and services. If you click through and make a purchase, I’ll receive a small commission. It does not affect the price you pay.
Table of Contents
- Best Kitchen Tools Categories
- Bone Broth Kitchen Tools and Equipment
- Fermentation Kitchen Tools and Equipment
- Home Baking Kitchen Tools and Equipment
- Take Notes in Your Kitchen Journal
- The Modern Pioneer Cookbook
- Download Your Free 36-Page Pantry List
- Get Started Water Bath Canning
- The Modern Pioneer Pantry
- Join the Traditional Foods Kitchen Academy
- Shop for items used in this blog post or video
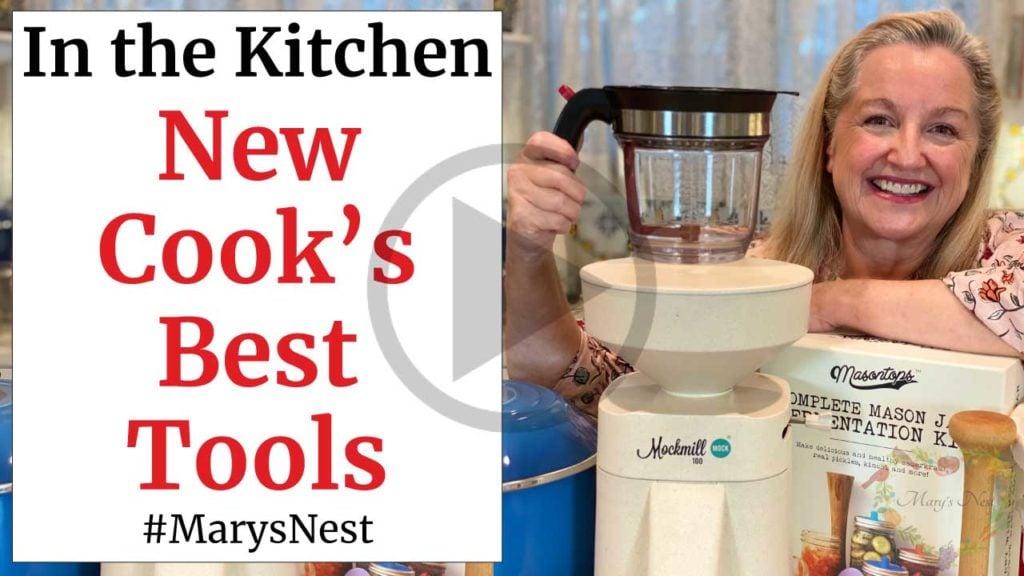
Best Kitchen Tools Categories
For each of these three categories, I show you the basic essential kitchen tools and equipment you will need to get started. I also review additional supplies you can add to your traditional foods kitchen as you become a more experienced home cook.
In this blog post, I describe each of the three traditional foods categories along with recipes to get you started. However, you can jump ahead to the complete list of kitchen tools and equipment.
Note: This post is not sponsored. I purchased and use all the kitchen tools you see in the video and in this blog post.
Bone Broth Kitchen Tools and Equipment
Many of my sweet friends often ask me how they should start making the transition from a processed foods kitchen to a traditional foods kitchen. I always recommend starting on your traditional foods journey with the following recipes:
- Roast a chicken.
- Make chicken bone broth with your cooked chicken carcass. (And if you have a few chicken feet, be sure to throw those in the stockpot to make your bone broth more gelatinous!)
Here are two easy recipe videos to help you get started:
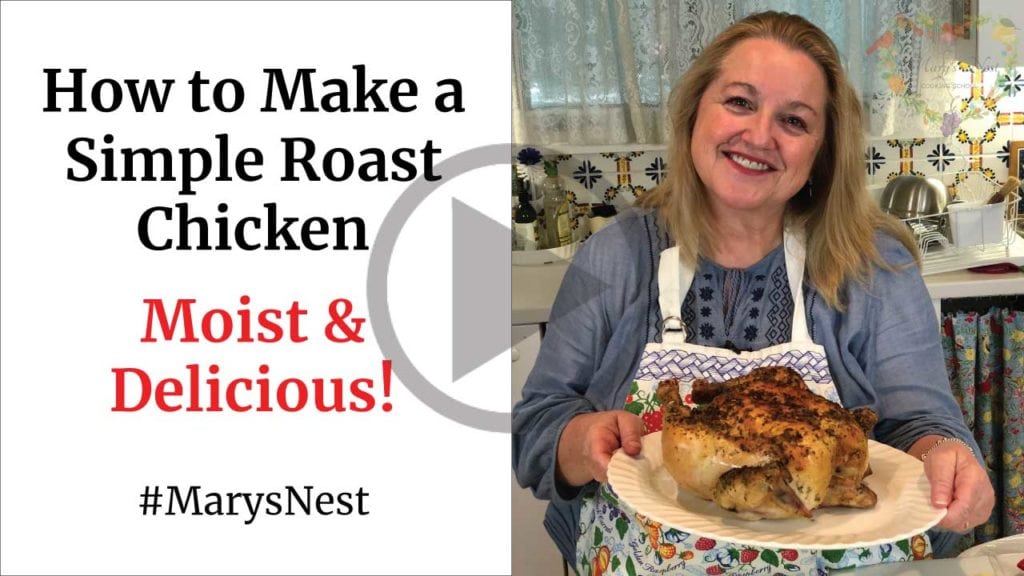
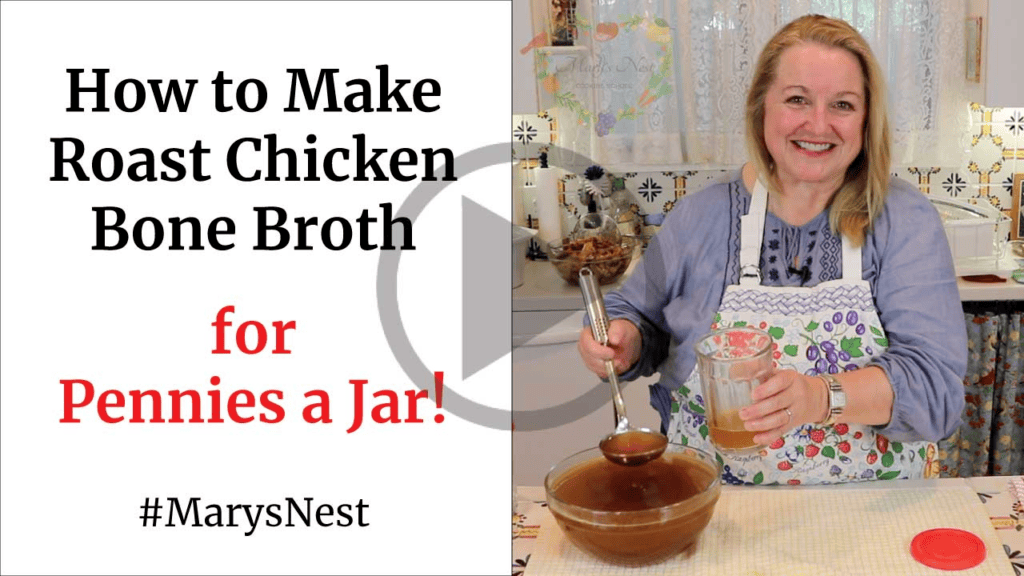
Certainly, all types of bone broth are beneficial, but for the new traditional foods cook, chicken bone broth is one of the easiest to make. It’s also the most affordable. You can readily make this type of bone broth from scraps, so it only costs you pennies!
Ways to Use Bone Broth
Bone broth is the workhorse of the traditional foods kitchen. Here are just a few ways you can use your homemade bone broth:
- Drink warmed bone broth as a sipping broth. (Adding a little sea salt gives it a nice flavor.)
- Use bone broth as the liquid base for making soups and stews.
- Substitute bone broth for water when cooking grains. (I like doing this when making rice or barley.)
- Get a collagen boost by using bone broth as the liquid base for smoothies.
Watch the following video, 5 Ways to Use Bone Broth, to discover more ways to use and enjoy bone broth.

Why the Fat Separator is Perfect for Making Bone Broth
I list all the kitchen tools and equipment that are useful when making bone broth at the end of this blog post. However, I want to highlight one particular kitchen tool here: the fat separator. Many of you have shared with me that this kitchen tool is a game-changer!
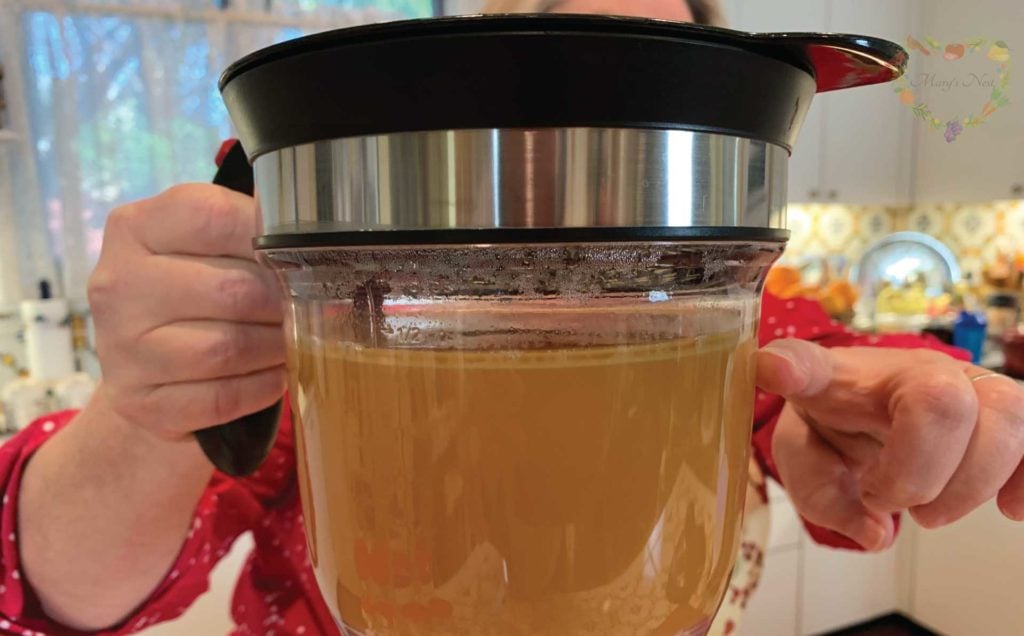
If you have watched my bone broth videos, you’ve seen me use this incredible device. If you like to defat your broth before refrigerating or freezing it, the fat separator makes quick work of it!
However, don’t throw out the fat that you collect in your fat separator. Instead, save your accumulated fat and use it for cooking. Animal fats are a traditional cook’s secret ingredient to making the tastiest sautéed and fried foods.
Get Bone In Meats from Shirttail Creek Farm
I’d like to introduce you to Shirttail Creek Farm, located in Brenham, Texas. They offer a wide range of grass-fed and finished beef, pastured pork, chicken, and eggs, and lots more through their online store.
In addition to Bone-In Chuck Roasts and Pastured Stewing Hens, you can find lots of nutritious meats and products to help you make the most healthy and gelatinous beef bone broth:
More Beef and Bone Options from US Wellness Meats
If you can’t find cartilage-rich beef bones at your neighborhood supermarket or farmer’s market, check out US Wellness Meats. They have a wide selection of pastured red meats, chickens, pork, and bones perfect for making all kinds of bone broth.
- Use discount code MARYNEST and my link for a one-time 15% off regular-priced items on your US Wellness Meats order. You can shop for a variety of products, including:
This post is not sponsored. I’m a long-time customer of US Wellness Meats because I have always been impressed by the quality of their products. Check out my US Wellness Meats unboxing video to see the types of products you can get, including bones for beef bone broth!
Fermentation Kitchen Tools and Equipment
Mastering the art of fermentation can take a bit of trial and error, not to mention patience. As I have shared in the past, ferments—especially vegetable ferments—can be very persnickety!
But take heart. You only need a few kitchen tools and equipment to make ferments, and chances are you already have them on hand. For the very basics to get started, all you need is the following:
- Half gallon-sized jar
- Small jelly jar
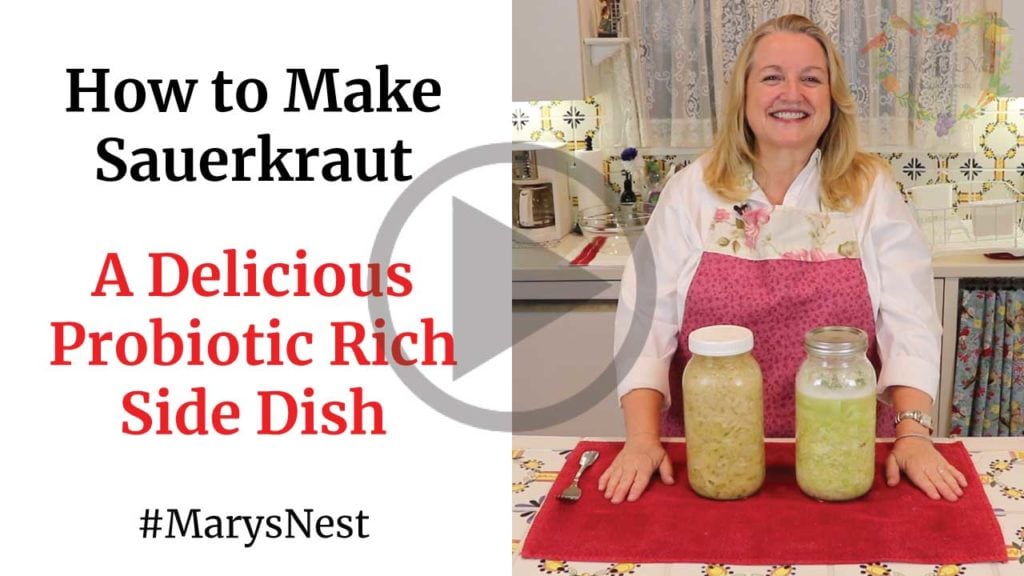
You can get more specialized equipment to help you make ferments, but just using your two jars and some of the basic kitchen equipment you already have, I show you how to make sauerkraut in the following video. Once you see how easy it is, you’ll never want to purchase store-bought again!
Kitchen Tools for Making Yogurt and Kefir
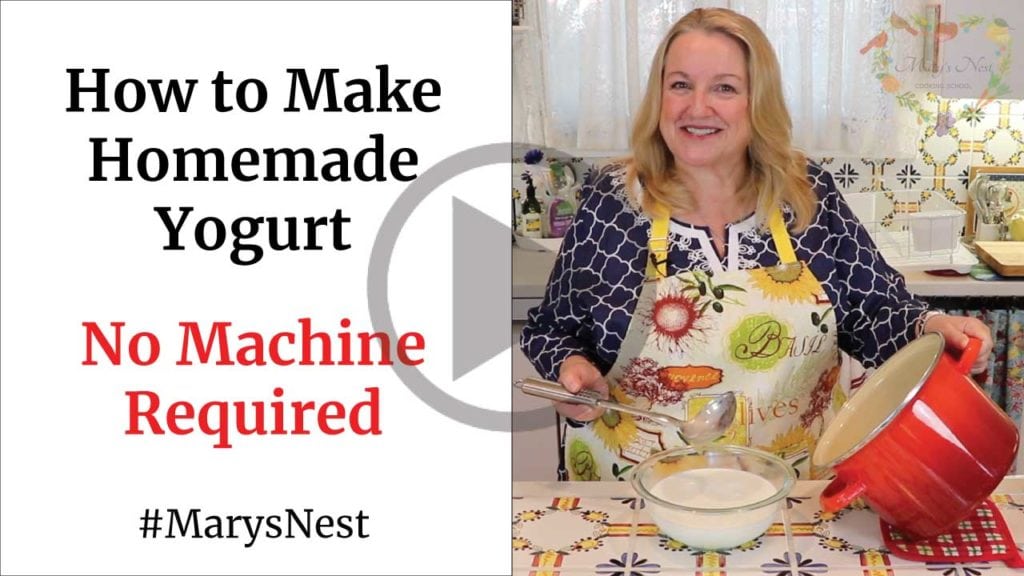
I focused on vegetable ferments in the previous section, but cultured dairy and sourdough are also forms of fermentation. For cultured dairy, all you really need are two bowls to make yogurt.
In the following video, I show you how to make homemade yogurt without a machine. All you need is those two bowls along with your basic kitchen equipment.
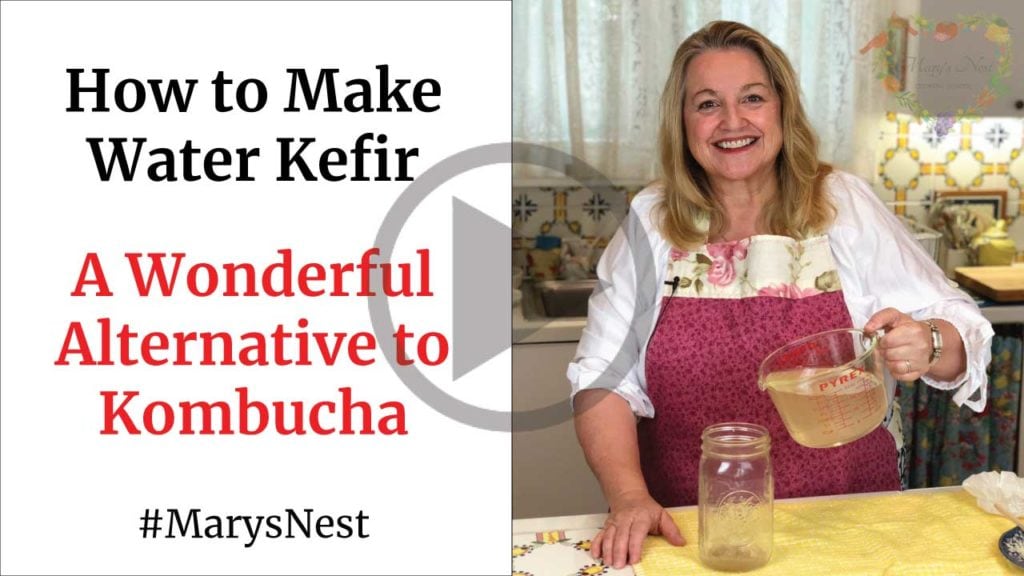
Kefir is a cultured dairy beverage. You’ll need to source the kefir grains before you make this traditional foods beverage, and after you get your grains, you just need a jar with a lid to get started making kefir.
I show you how easy it is to make both milk kefir and water kefir in the following videos.

Leveling Up Your Fermentation Game
Once you find that you really like making vegetable ferments and including them as a regular part of your traditional foods menu, you can start to get a little fancy and add specialized kitchen tools and equipment to make ferments.
In particular, the wonderful folks at Masontops provided a discount coupon code for my Sweet Friends to use for their fermentation products!
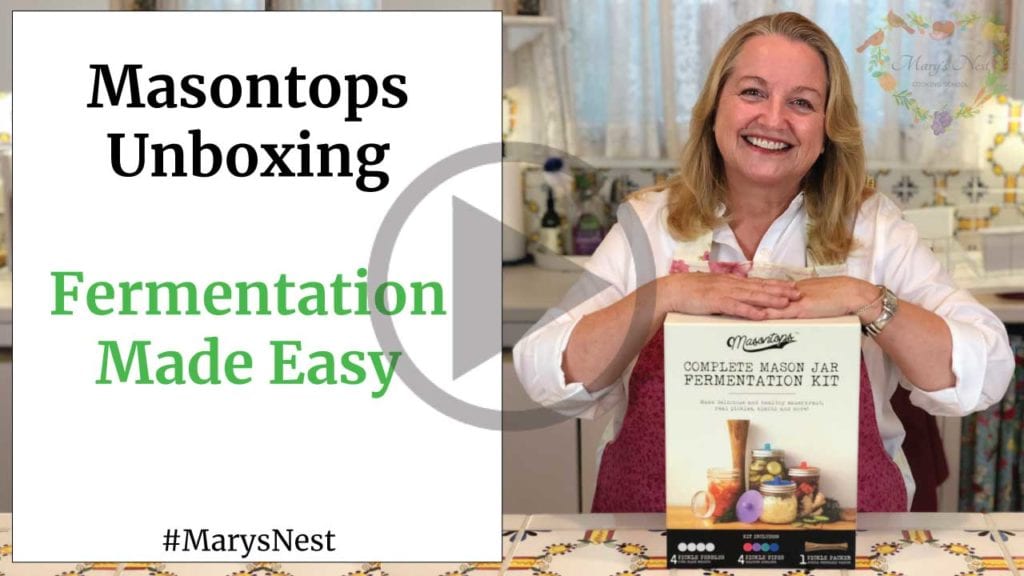
Masontops Mason Jar Fermentation Kit Discount Coupon
Although you don’t need any special equipment to start making ferments, the Masontops kit can help you simplify the process and enable you to create your ferment successfully. In my Masontops unboxing video, I show you my Masontops Complete Mason Jar Fermentation Kit and go over everything the kit includes.
- Use promo code MARYSNST for a one-time 15% off Masontops and Breadsmart products on Amazon.com. (This is not a sponsored post. Masontops provided me with a special discount code for my viewers. I like their products, and I think you will too.)
Home Baking Kitchen Tools and Equipment
There is nothing like making and enjoying homemade bread or other homemade baked goods, including quick breads, muffins, and cookies. You can control the ingredients you use to make your baked goods as wholesome and healthy as possible. And as an added bonus, home baking fills your kitchen with the most delicious aromas!
In the following sections, I highlight some of the best kitchen tools you can use to get started baking.
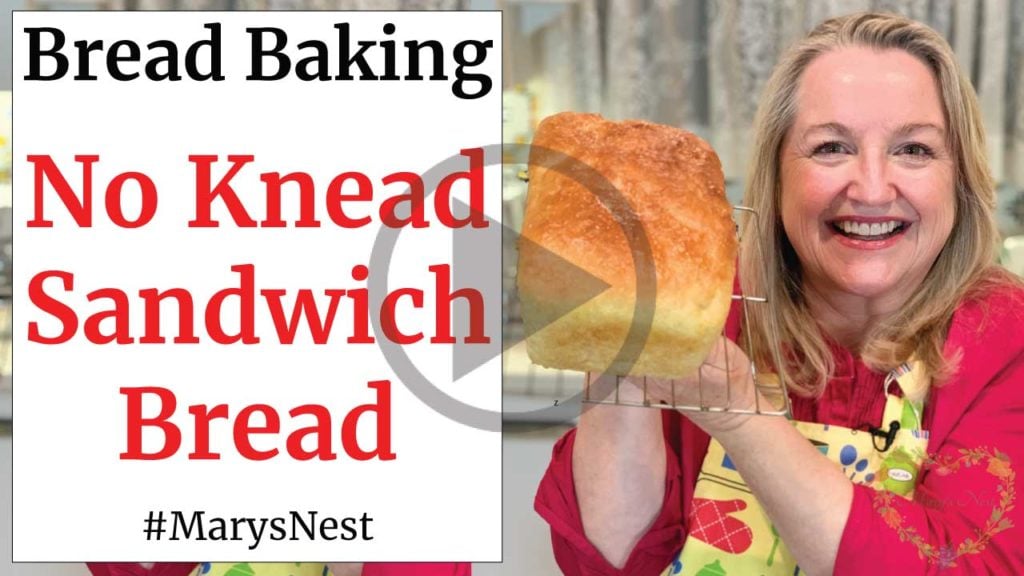
How to Get Started with Home Baking
If you are new to home baking and want an easy recipe to make homemade bread, a great place to start is with a simple sandwich bread. You will love the recipe and technique that I share in the following video. (This recipe video is so popular that it has received over 1 million views on YouTube!)
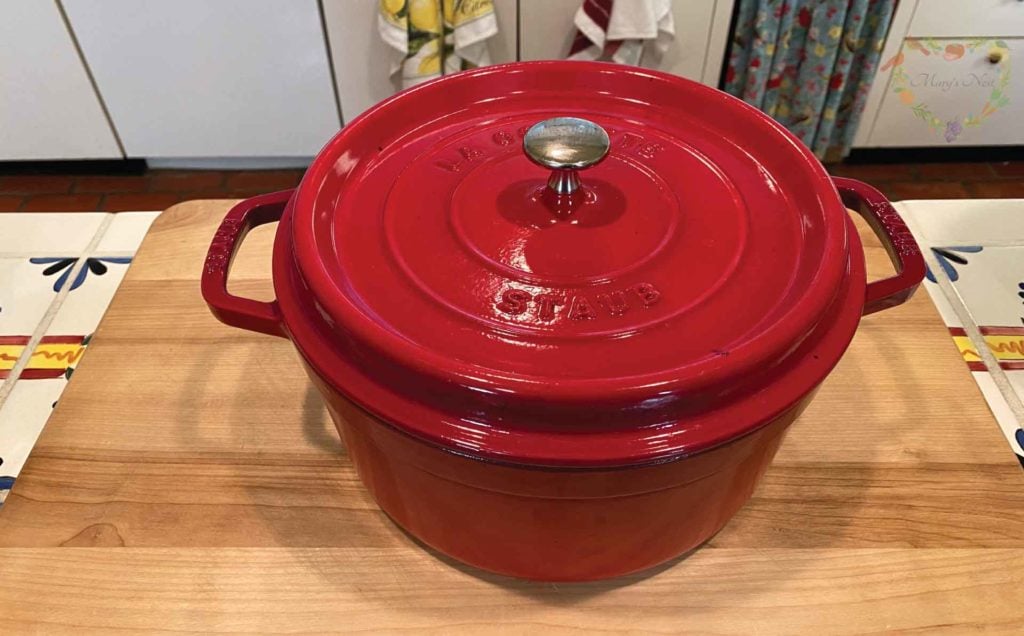
Using a Cast Iron Dutch Oven for Baking
When it comes to making artisan breads at home, you can’t beat the benefits gained by baking your boules (bread rounds) in a Dutch oven. Using a Dutch oven comes close to creating the environment that professional bakers have with their commercial ovens.
I have lots of no-knead artisan bread recipes that I make in a Dutch oven. And I have always been pleased with the results. In the following video, I show you how to make a simple no-knead bread using a Dutch oven.

Drawbacks to Using Conventional Dutch Ovens
However, there are drawbacks to using conventional Dutch ovens. When you use them to bake bread, you have to heat your Dutch oven to a very high temperature. So when it comes time to drop your dough into the hot Dutch oven to bake your bread, you have to be very careful not to burn your hands.
However, I just discovered a new type of Dutch oven that makes the job of placing your dough into your oven much easier. This cast-iron Lodge Dutch Oven has a special lid that covers the Dutch oven.

The lid of the Lodge Dutch oven serves as a frying pan. So you can drop your dough onto the frying pan and then cover it with the deep Dutch oven to avoid having to put your hands near the hot sides of the Dutch oven.
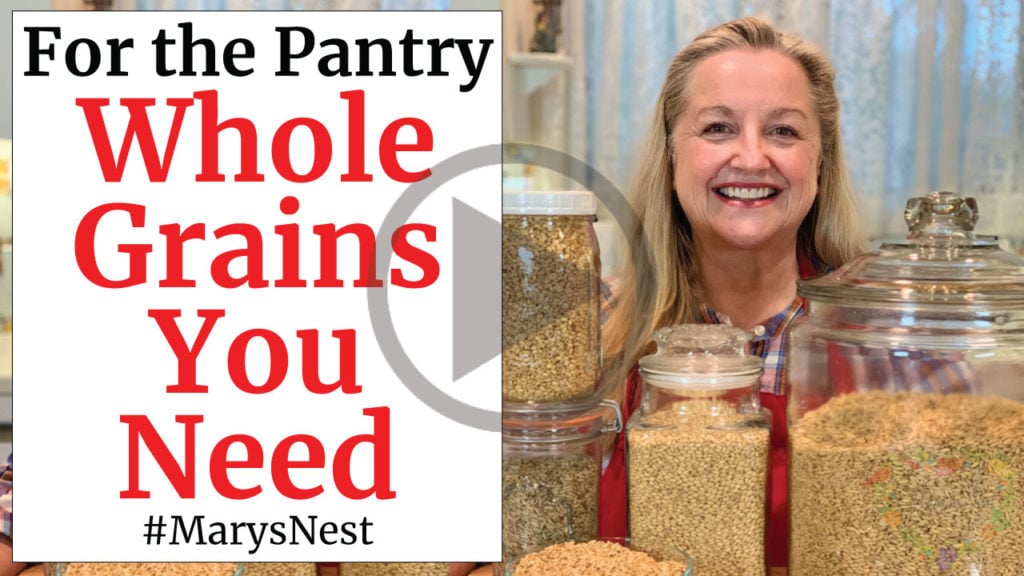
Grains and Flours for Home Baking
Once you start making homemade baked goods, you may want to take the next step to buy whole grains and grind your own flour. It is the freshest possible option!
To learn about the essential whole grains you will want to stock in your pantry, watch the following video. Among other helpful tips, you will be amazed to learn that the shelf life for whole grains is significantly longer than that of flour.
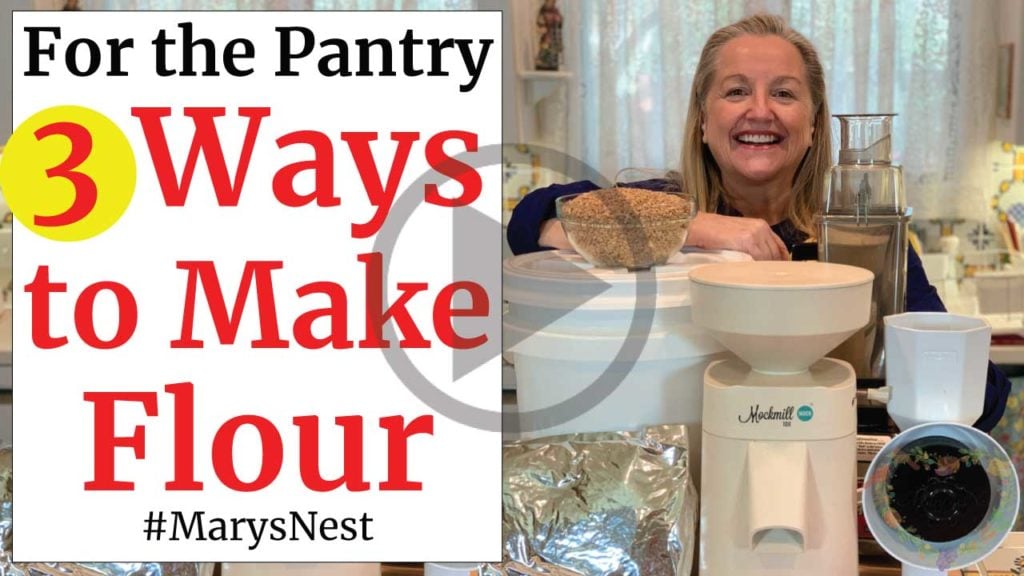
Once you begin stocking whole grains in your pantry, you will need a way to grind the grains into flour. I’ll show you three ways to grind grain, including manual and electric options.
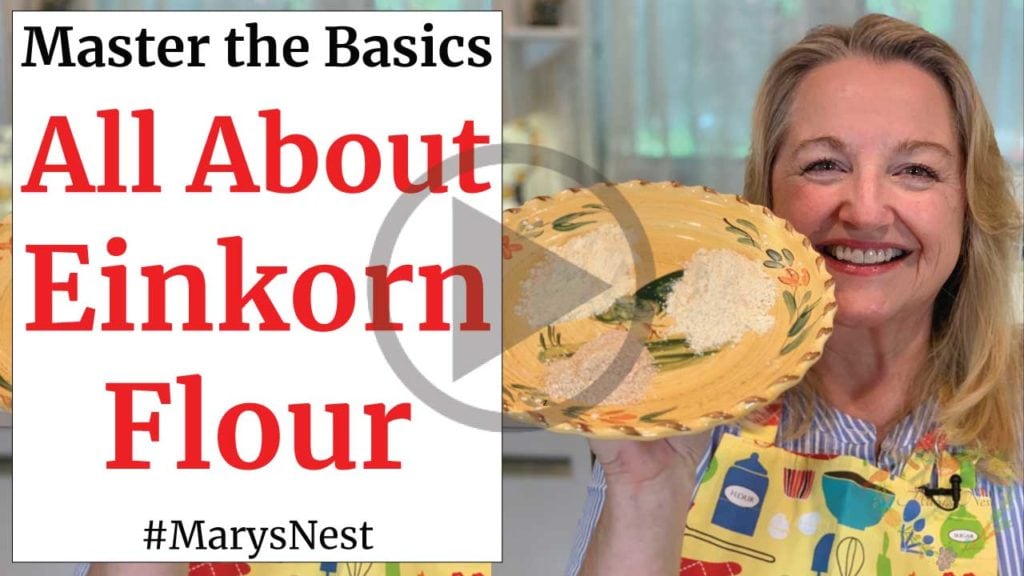
In case you are wondering if you can turn your freshly ground whole grain flour into all-purpose flour, the answer is yes. And it’s easy to do! In my Einkorn Flour video, I show you how to grind this ancient grain into whole grain flour and then how to turn that whole grain flour into all-purpose flour.
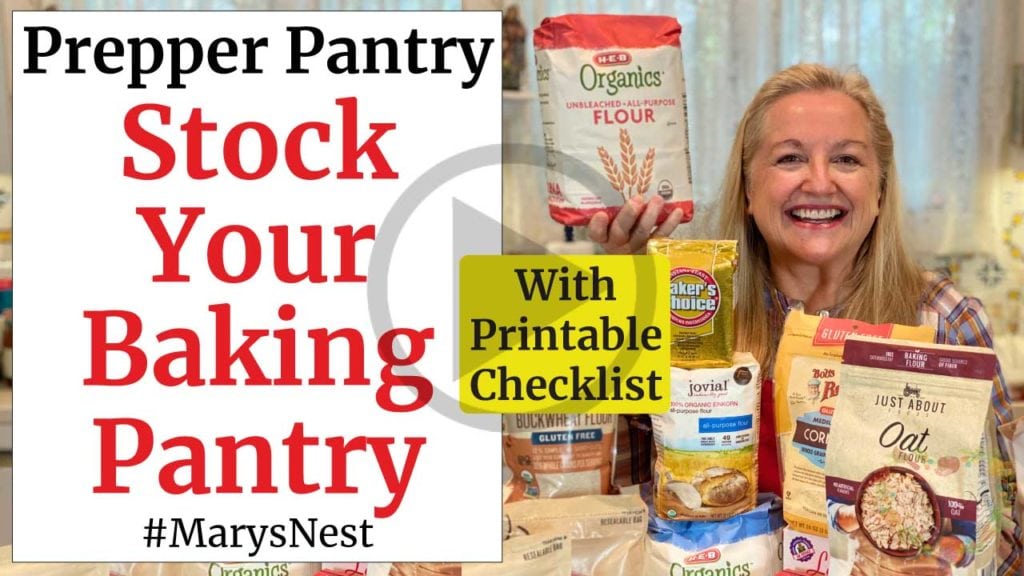
In addition to keeping whole grains on hand, it can also be very convenient to have some flours in your pantry along with a whole host of other ingredients called for in various baking recipes.
I share a comprehensive review of everything home bakers should have in their baking pantry in the following video. And I make the shopping trip to your local grocery store easy for you with a FREE printable baking ingredients checklist.
Grand Teton Ancient Grains
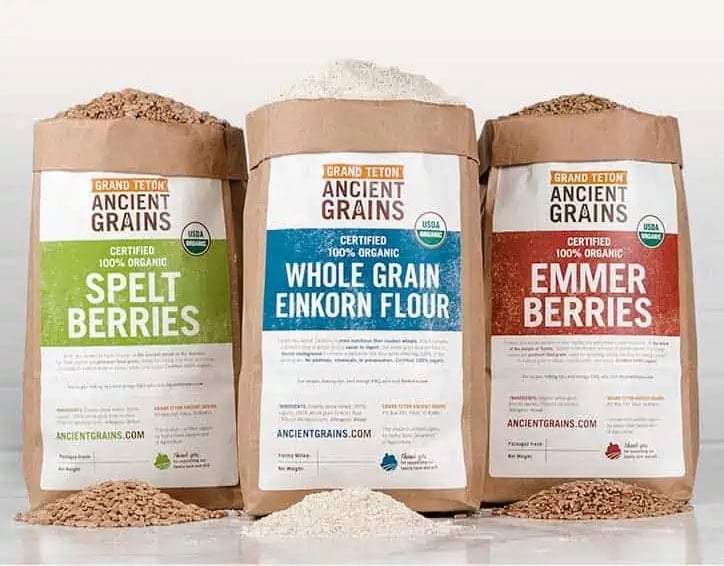
Check out the organic berries and flours available from Grand Teton Ancient Grains. I love their high-quality Einkorn, Emmer, Spelt, Millet, and more you can get to create nutritious and delicious baked goods.
Exclusive Newsletter Discount Code
Sign up for my Mary’s Nest newsletter for an exclusive discount code you can use on your order of berries and flours. This discount is available for a limited time, so be sure to stock up on the Ancient Grains you would enjoy using to bake delightful breads, desserts, and more.
And if you’re looking for a grain mill to make fresh flour from your wheat berries, I recommend the Mockmill electric grain grinder. (See below.)
Grind Your Own Flour with the Mockmill
When it comes to electric grain mills, after I did A LOT of research, I decided to buy a Mockmill. And am I so happy I did! The Mockmill is a very affordable but beautifully crafted German-made mill that stone grinds grain with settings ranging from 1 to 10—fine to coarse ground grain.
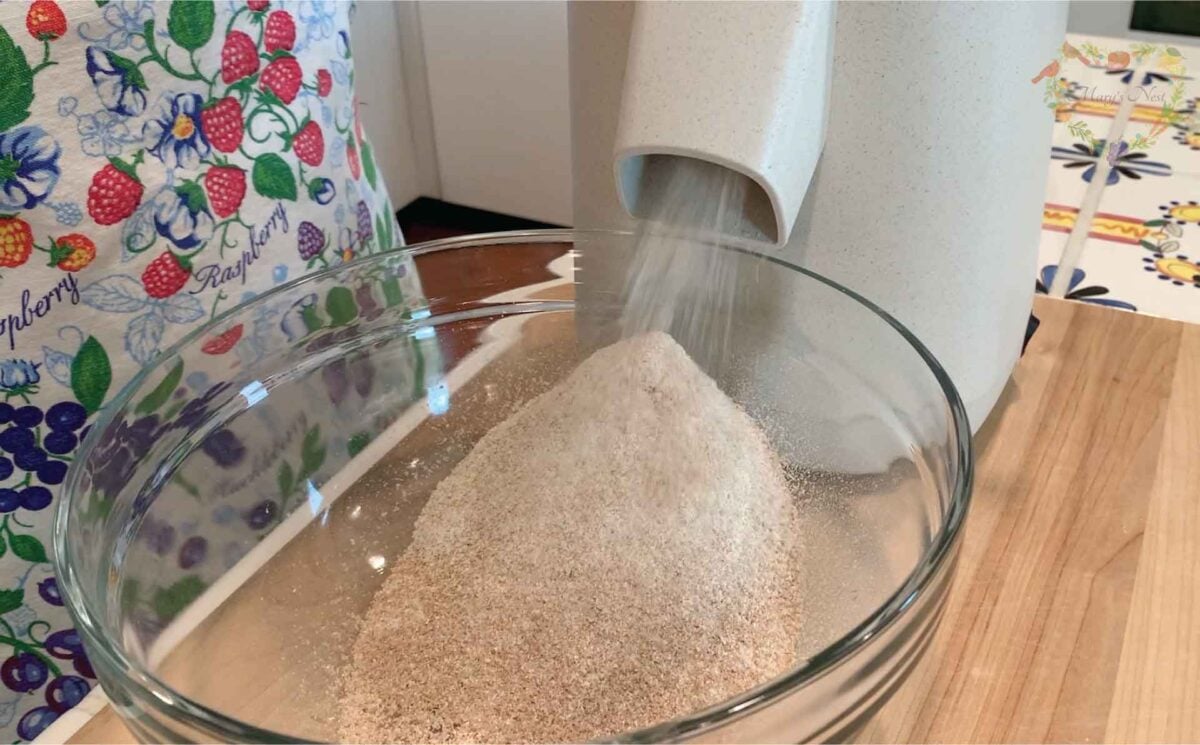
Learn more about Mockmill electric grain mills for making fresh flour and their Flake Lover’s Flaker that flakes whole grain in minutes. (This is not a sponsored post, I bought the Mockmill products that I show you, and I’m a happy user of their devices in my kitchen.)
- Get the Mockmill 100 Stone Grain Mill (Same product I show you in my unboxing video.)
- Mockmill 100 Grain Mill unboxing
- Flake Lover’s Flaker from Mockmill in action (Using this device, you can flake whole grain in minutes.)
When It Comes Time for Sourdough
When you decide you want to create a sourdough starter to make sourdough bread, you won’t need any special equipment if you have already started stocking your traditional foods kitchen with the basic kitchen tools and equipment for baking.
In my complete sourdough starter guide, I show you how easy it is to make a sourdough starter with all-purpose flour and water. Plus, in the second half of the video, I include a question and answer discussion to help you overcome any problems you may incur. So, definitely try your hand at making sourdough. You can do this, and I’m here to help!
Once you create your sourdough starter, follow my no knead sourdough bread recipe to create a fast and delicious homemade sourdough boule.

Take Notes in Your Kitchen Journal
If you don’t have a kitchen journal, be sure to create one soon! Having one place where you keep all your traditional foods information is so handy. In the following video, I show you my journal and how you can create your own kitchen journal.
Your kitchen journal is a handy place to keep all your notes on what went right (and sometimes wrong) when making traditional nutrient-dense foods. When you take notes and look back at your experiences, you can customize recipes for the steps and ingredients you like to further your success as a traditional foods home cook.

Order YOUR COPY Now!
The Modern Pioneer Cookbook
Seasonal ingredients, traditional techniques, and nourishing recipes. Over 85 traditional, from-scratch recipes! Discover for yourself how you can use simple ingredients and traditional techniques to cook the modern pioneer way.
Download Your Free 36-Page Pantry List
As a beginner, you may be unsure as to what foods you should remove from your pantry and what foods you should be stocking. Don’t worry! I have you covered with a FREE 36-page pantry list that will make the job of stocking your traditional foods pantry so easy.
Plus, I also share lots of links to videos in my comprehensive pantry list eBook to help you make many pantry staples homemade. You can use these recipes to learn how to use your pantry items to make delicious and nutritious meals! (Be sure to download this free resource today and add it to your kitchen journal!)

Get Started Water Bath Canning
Although not covered in today’s best kitchen tools video, I have a separate series of videos all about how to get started with water bath canning. Be sure to check out the videos below to see what kitchen tools and equipment you’ll need as well as some of the best books for your canning bookshelf.
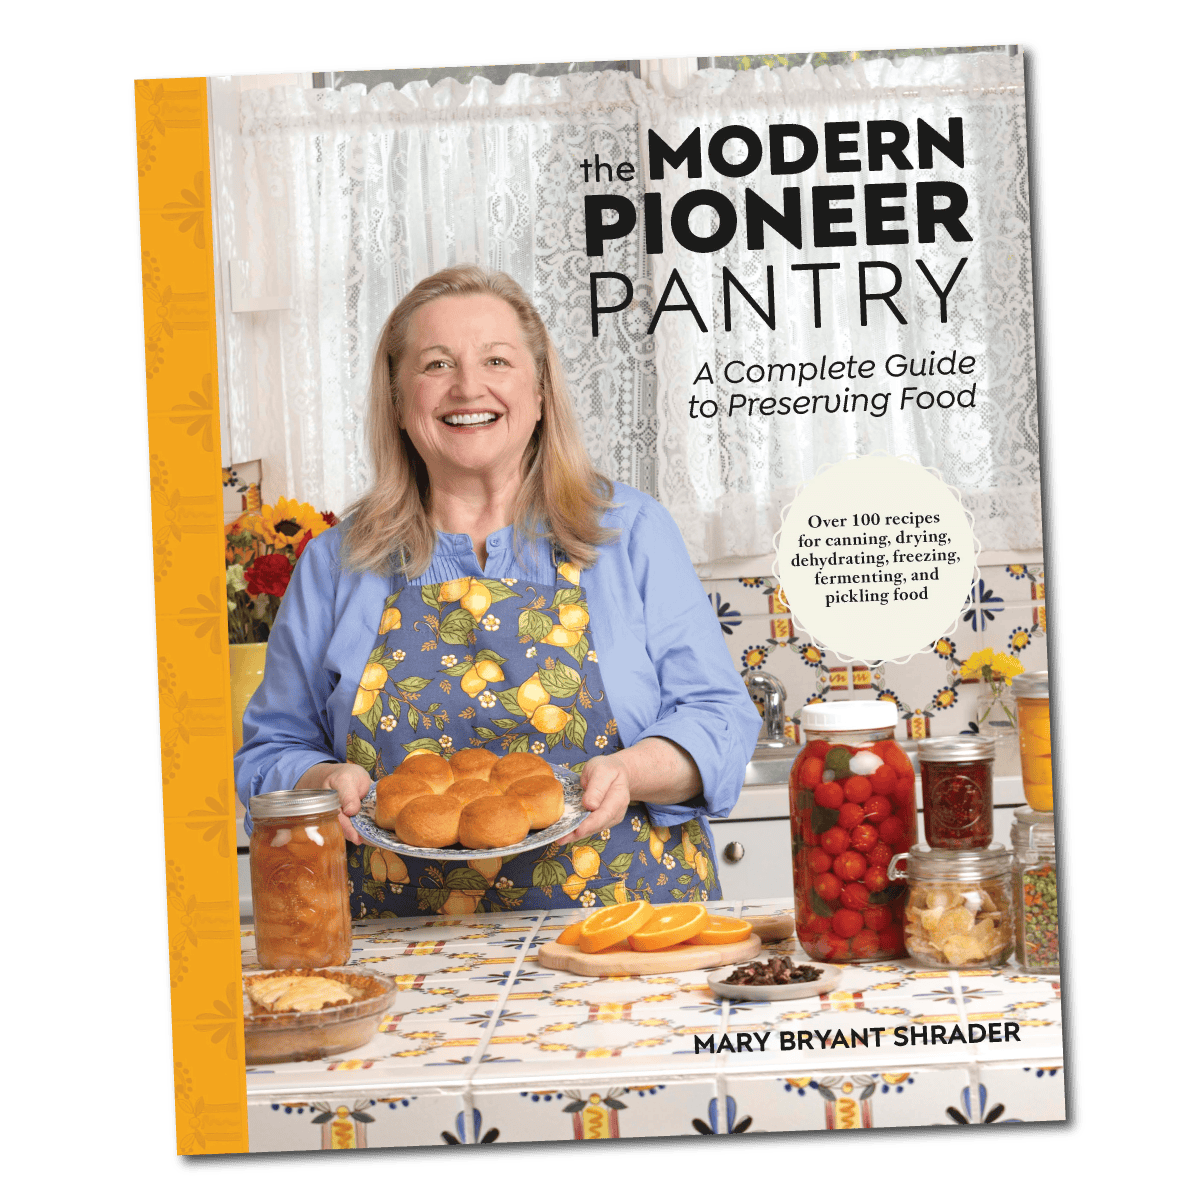
Order YOUR COPY Now!
The Modern Pioneer Pantry
Simple ingredients, timeless techniques, and a well-stocked pantry. Discover over 100 nourishing recipes to preserve food and turn pantry staples into homemade meals. Build a wholesome, traditional pantry—just like a modern pioneer!
Join the Traditional Foods Kitchen Academy
Are you looking for more traditional foods videos? If so, I invite you to join the Traditional Foods Kitchen Academy. Members of this optional paid YouTube community get access to exclusive videos and other members-only perks. Plus, your YouTube comments include a special members-only badge.
In the following members-only videos, I talk about how to equip the Traditional Foods Kitchen.
Stay in Touch with Mary’s Nest
- Subscribe to My YouTube Channel for Traditional Foods Videos (Free) - When you subscribe, be sure to click on the notification bell that will let you know each time I upload a new video.
- Subscribe to Mary’s Traditional Foods Newsletter (Free) - Get a free 36-page eBook for signing up: How to Stock Your Essential Traditional Foods Four-Corners Pantry.
- Join the Traditional Foods Kitchen Academy - For more detailed videos and exclusive members-only perks, join my YouTube membership community.
- Order The Modern Pioneer Cookbook - Get a hardcover book of Mary's nourishing recipes from a Traditional Foods Kitchen. This bestselling cookbook is published by Penguin Random House with their DK imprint.
- Order The Modern Pioneer Pantry - Get Mary's latest hardcover cookbook about preserving food and making delicious meals from your Four Corners Pantry. Mary's second cookbook is also published by Penguin Random House.
I look forward to having you join me in my Texas Hill Country Kitchen!
Shop for items used in this blog post or video
Here you’ll find the kitchen tools and equipment that are specific to making the traditional foods categories of bone broth, ferments, and homemade bread. I don’t include basic kitchen equipment that you may already have.
Favorite Bone Broth Supplies
- Fat Separator
- Flour Sack Towels
- Instant Pot (8-quart)
- Ladle
- Slow Cooker (8-quart)
- Stainless Steel Strainer
- Stock Pots
- 2-Cup Glass Storage Jars with Lids
Favorite Fermentation Supplies
- 15% Off (One time) Masontops and Breadsmart with code MARYSNST
- Masontops Complete Mason Jar Fermentation Kit (Be sure to use the above discount code.)
- Half Gallon Canning Jars
- pH Strips
Favorite Baking Supplies
- Favorite Aprons
- Country Living Grain Mill
- Sourdough Culture
- Baking Tools
- Baskets, Bowls, Containers, Plates
- Bench Scrapes
- Dutch Ovens
- Measuring Cups
- Pans, Sheets, and Tins
- Rolling Pins
Amazon Shop and Shopping Guide
- Visit Mary’s Nest Amazon Shop
- Get a 30-day Audible trial with a free audiobook
- Visit my Shopping Guide page
Get up to 15% off for stocking your Traditional Foods Pantry and equipping your Modern Pioneer Kitchen, including discounts from US Wellness Meats, Farmhouse Teas, Backwoods Home, Masontops, Cultures for Health, Survival Garden Seeds, Redmond Real Salt, and More!
Recommended Reading
- The Modern Pioneer Cookbook
- The Modern Pioneer Pantry
- Nourishing Traditions
- Nourishing Broth: An Old-Fashioned Remedy for the Modern World
- Wild Fermentation: The Flavor, Nutrition, and Craft of Live-Culture Foods (2nd edition)
- The Art of Fermentation: An In-Depth Exploration of Essential Concepts and Processes from around the World
- Artisan Bread in 5 Minutes a Day
- The Kefir Cookbook: An Ancient Healing Superfood for Modern Life, Recipes from My Family Table and Around the World