Wow! The holidays are almost here, and you’ve probably started thinking about what to get your traditional foods cooks, including yourself! There are so many bright and shiny gadgets out there, but which ones would bring a smile to your favorite cooks to help them make delicious recipes? In today’s video and blog post, I’ll show you the seven best kitchen tools for home cooks to have in their Modern Pioneer Kitchen.
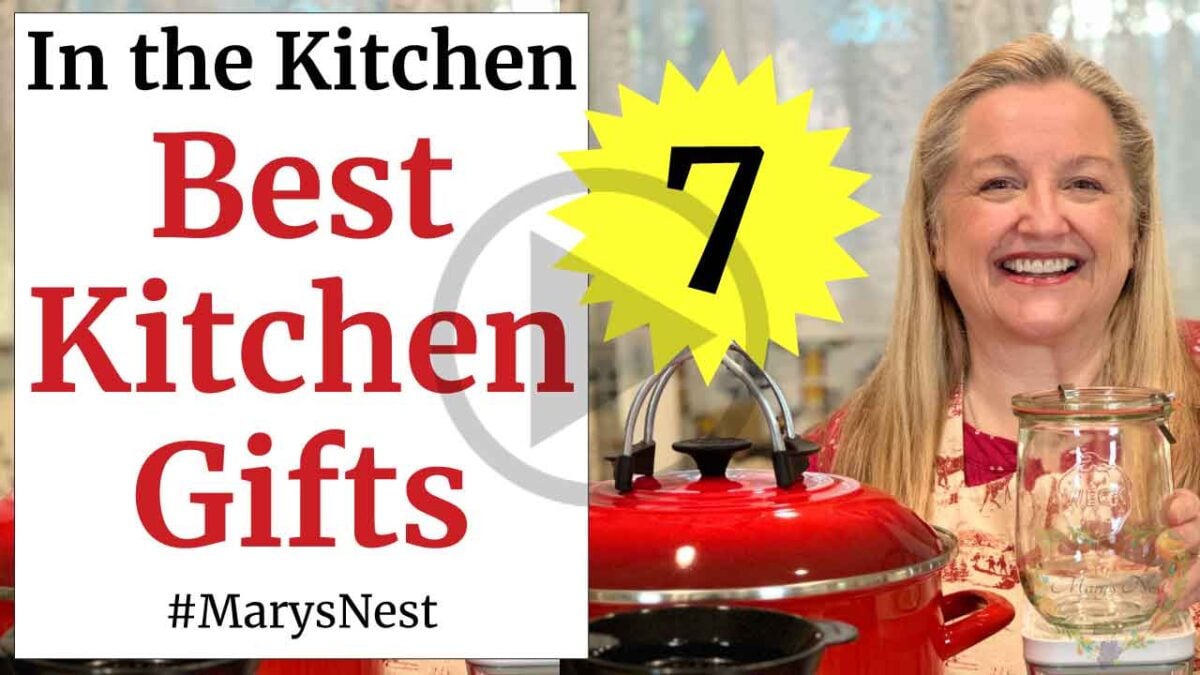
And true to form, I can’t show you just seven items. Instead, have seven categories of kitchen tools that will delight your favorite cooks. I review them in this blog post, and in my video, I also add more bonus tools.
- Note: This is not a sponsored post. I purchased and use the products I show you, and I’m happy to recommend them. (And in my video, I also talk about why I’ve started using some different kitchen tools than you may have seen me use in previous videos.)
Affiliates note: As an Amazon Associate I earn from qualifying purchases. My content may contain affiliate links to products and services. If you click through and make a purchase, I’ll receive a small commission. It does not affect the price you pay.
Table of Contents
- The Modern Pioneer Cookbook
- Baking Kitchen Tools
- Fermentation Kitchen Tools
- Culturing Kitchen Tools
- Bone Broth Kitchen Tools
- Water Bath Canning Kitchen Tools
- Food Storage Kitchen Tools
- Clean Up Kitchen Tools
- Christmas Recipes and Gifts
- Download Your Free 36-Page Pantry List
- Kitchen Academy Videos
- Shop for items used in this blog post or video
Baking Kitchen Tools
There’s nothing like the smell and taste of fresh baked goods, especially a nice loaf of bread. You can store flour in your working pantry, but flour doesn’t have a long shelf life, especially whole wheat flour.
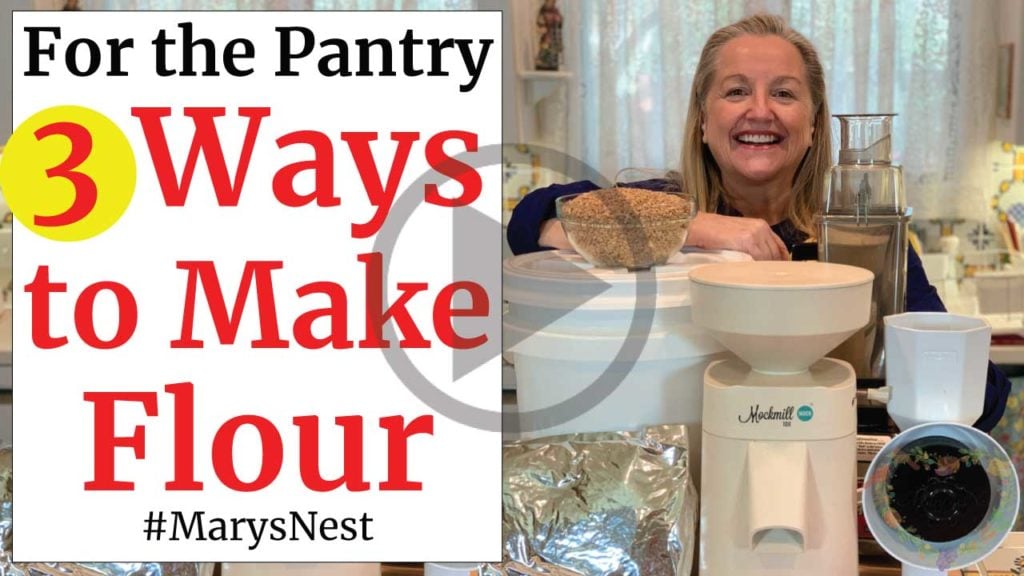
It’s better to store whole grains since they’ll last a long time in your extended or Prepper Pantry. You can also choose which whole grains you want to store, such as ancient grains like Einkorn and Spelt. And when you’re ready to turn that whole grain into flour, you’ll need a manual or electric grain mill.
Mockmill Grain Mill
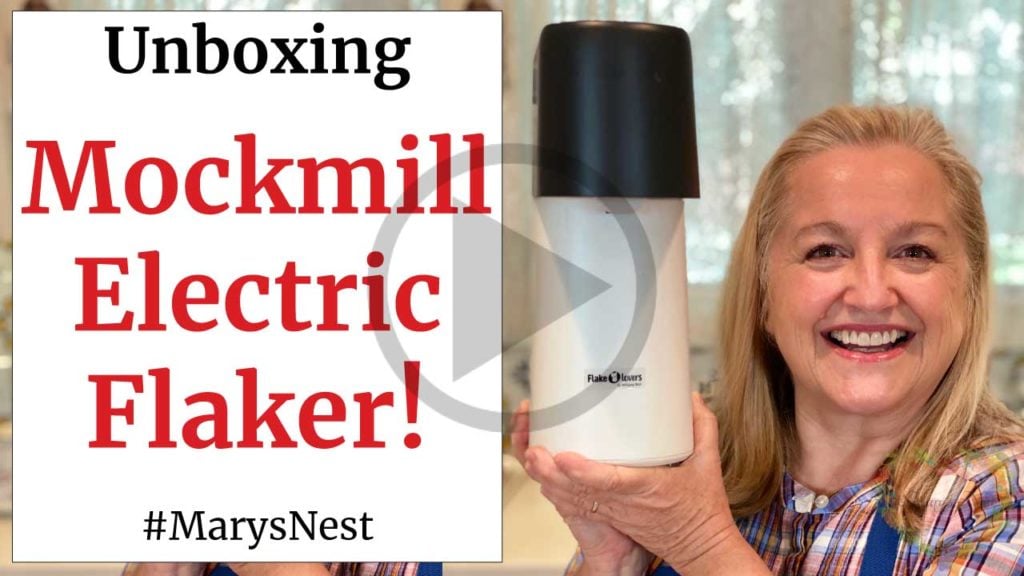
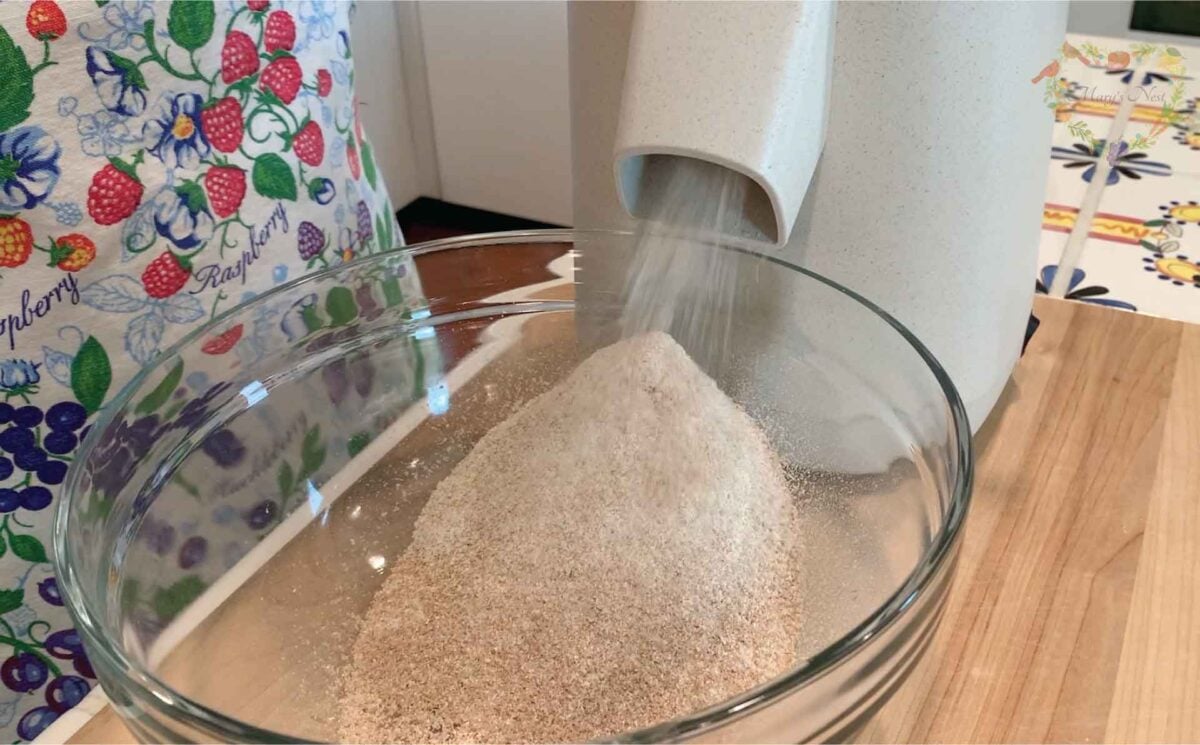
For the baking category kitchen tool, I recommend that you surprise your Modern Pioneer cook with a Mockmill grain mill. This affordable and beautifully crafted German-made mill lets you stone grind grain with settings ranging from 1 to 10—fine to coarse ground grain. (Watch my Mockmill unboxing video to learn more about this amazing tool.)
Make Homemade Flour
In the following video, I show you three ways to turn whole grain into homemade flour. You’ll see the Mockmill in action too.
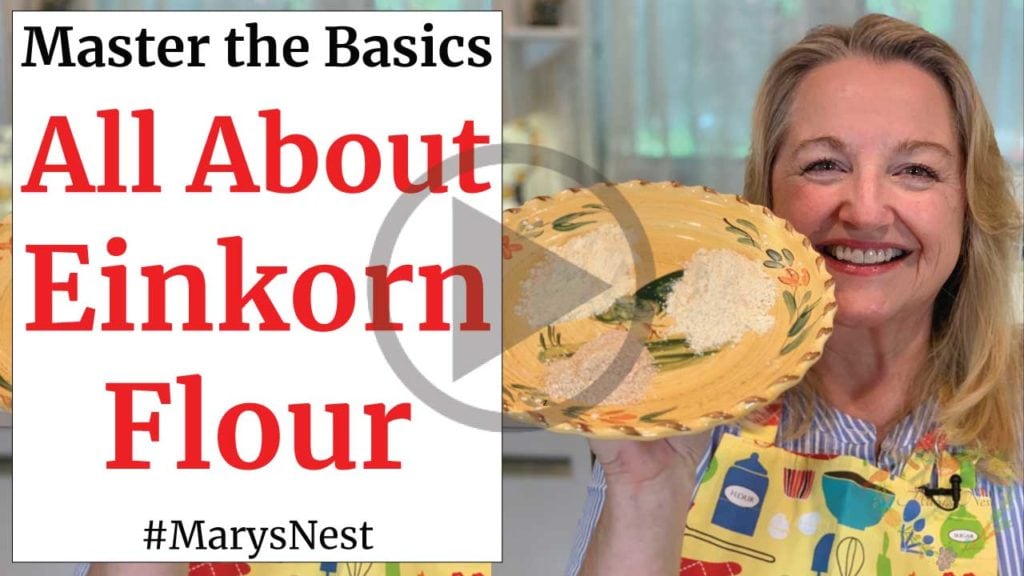
If you have Einkorn berries, I’ll show you how to make all-purpose Einkorn flour at home. I demonstrate how to sift the grain to get some of the bran and the germ out so you can make a lighter flour. (I recommend keeping some of the bran and the germ in so you’ll gain all of their healthy benefits, but also wind up with a lighter flour to bake with. It’s the best of both worlds!)
Wheat Berries and Ancient Grains
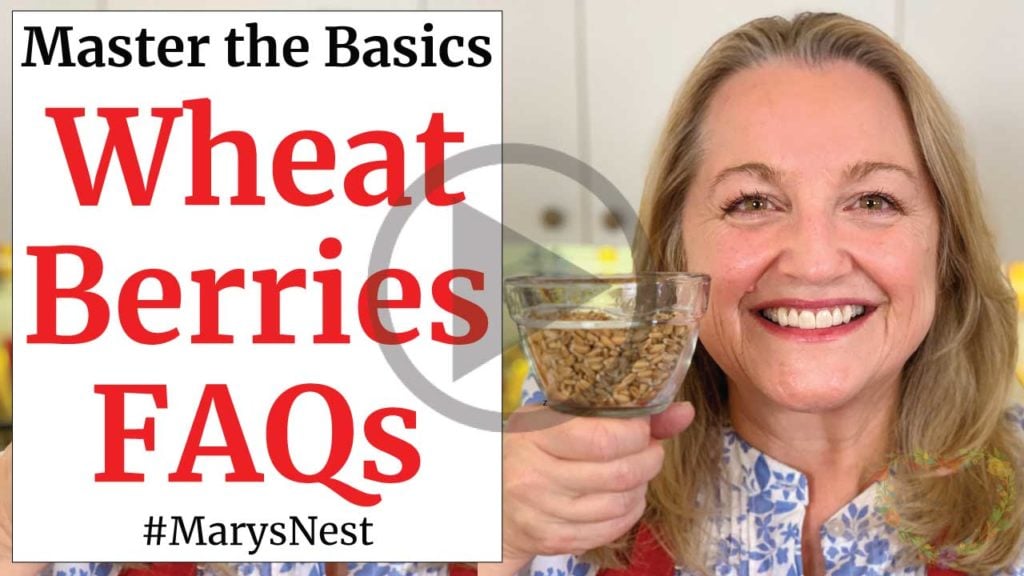
And if you’re not sure what ancient grains to get, watch my wheat berries FAQ video. I give you the grand tour of Rye, Spelt, Hard White Wheat, Emmer/Farro, Hard Red Wheat, and Einkorn. (Say, a bag of ancient grain might make a nice gift accompaniment with a Mockmill under the tree!)
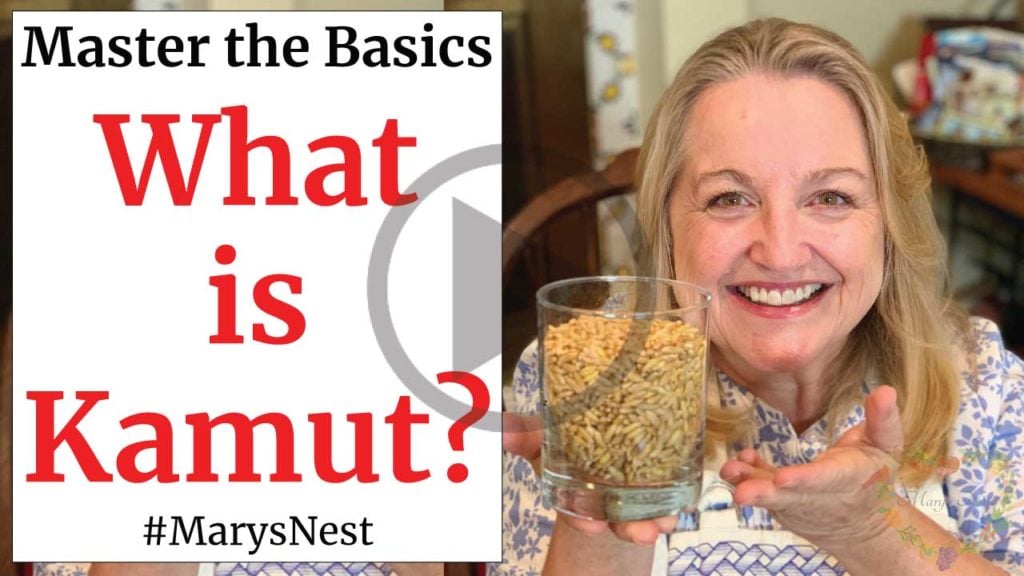
But what about Kamut? I also have a special video that talks about Kamut and what you can do with it.
Flake Lover’s Flaker
You can also get the new Flake Lover’s Flaker from Mockmill. Using this device, you can flake whole grain in minutes. Flake some fresh oats for oatmeal or whatever you’d like with this easy-to-use device.
Baking Gift Ideas
Fermentation Kitchen Tools
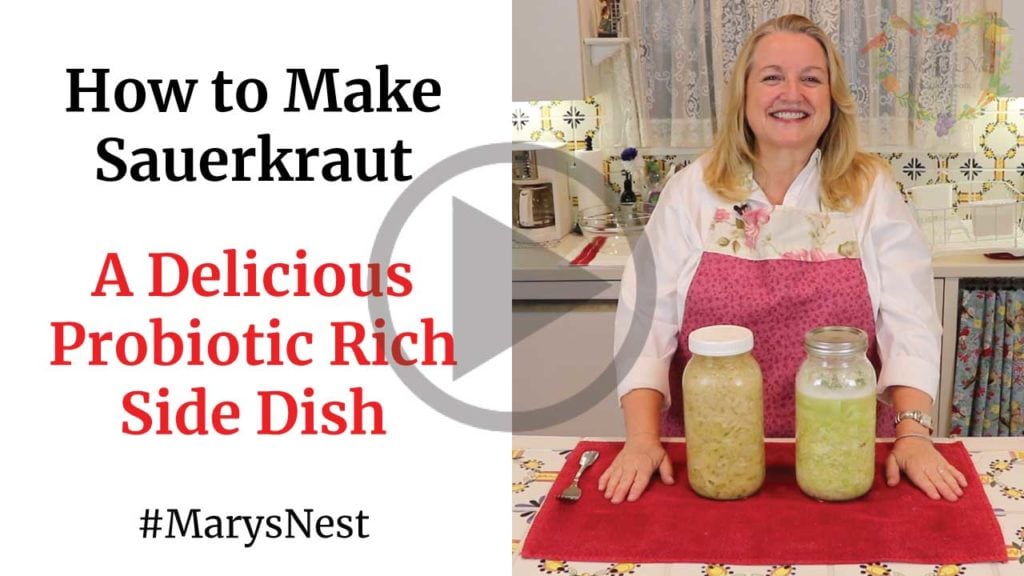
Perhaps your favorite home cook likes to make sauerkraut or would like to if only they had the right fermentation equipment. Well, the nice thing about ferments is that you don’t need any special equipment to get started. Typically, all you need is a jar and a lid.
Humm. How about a second smaller jar to place into the top of the larger jar to keep the ingredients submerged? And maybe a bowl to put the jar in so you can catch any fermentation liquid that might bubble out. And perhaps a potato masher or kraut pounder would be nice, too, to help compact the ingredients in the jar.
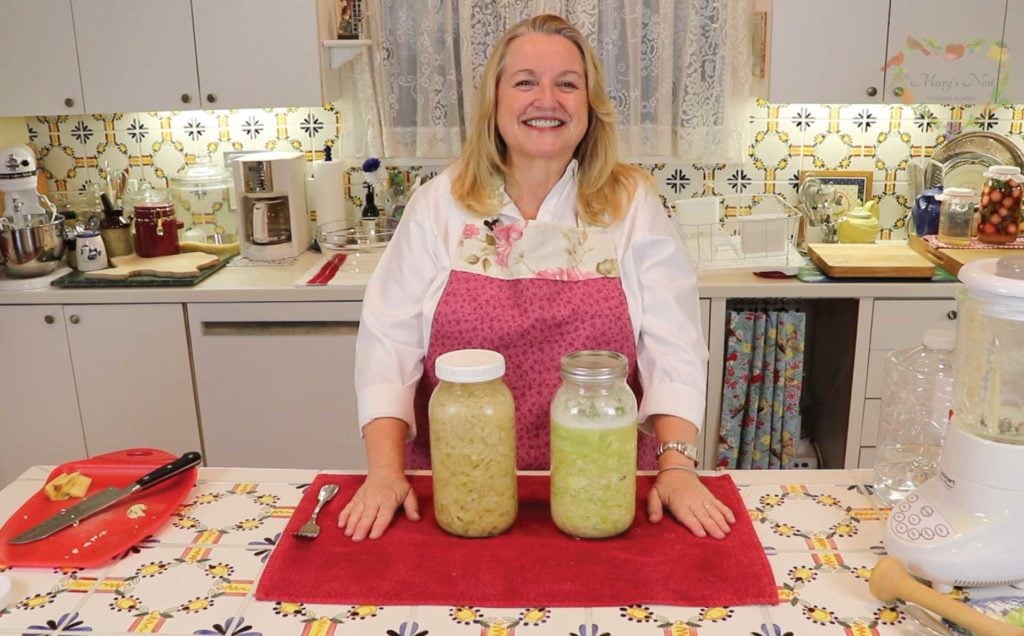
Come to think of it, having some special kitchen tools would make fermentation a lot easier and help increase the chances that your favorite cook’s fermentations are successful. (I always say that ferments are persnickety!)
Complete Mason Jar Fermentation Kit
I’m glad Masontops has put together almost all of the helpful fermentation items in their Complete Mason Jar Fermentation Kit. You’ll find glass weights, a kraut pounder, and pickle pipes. You just need to add a mason jar, canning jar band (or what some call a ring), and that always helpful bowl to put your jar in. (You can watch my Masontops unboxing video to learn about all the items in the kit.)
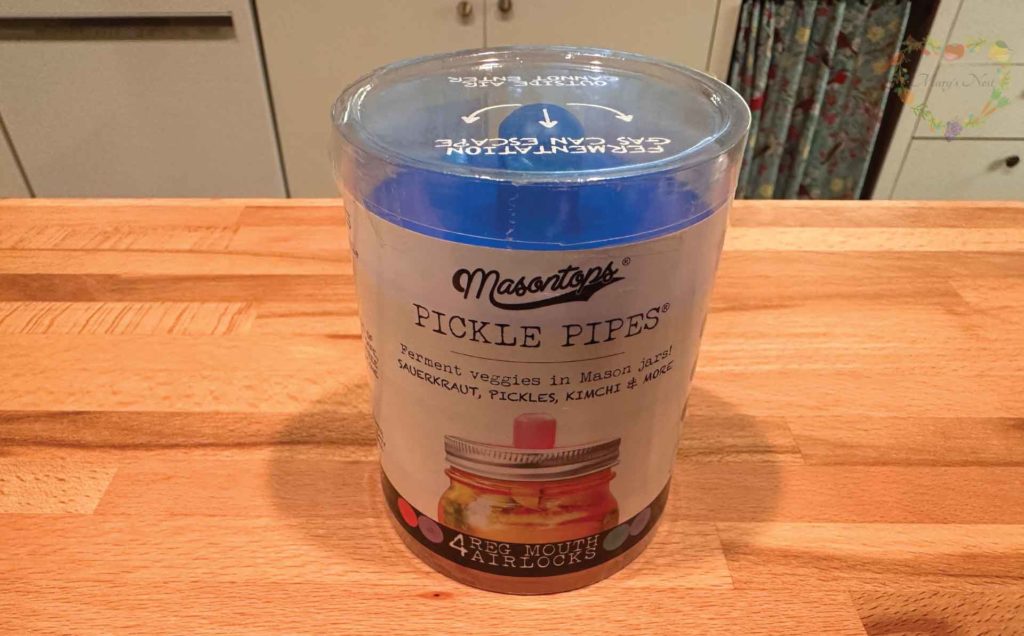
Pickle Pipes are quite clever. Normally, you’ll have to “burp” your ferment daily by unscrewing the lid to help release some of the gas building up inside. With a pickle pipe, you don’t have to manually burp your ferment. Instead, when the gases build up inside, the pickle pipe will automatically release them and keep the fermentation process going.
Fermentation Kit Discount Coupon
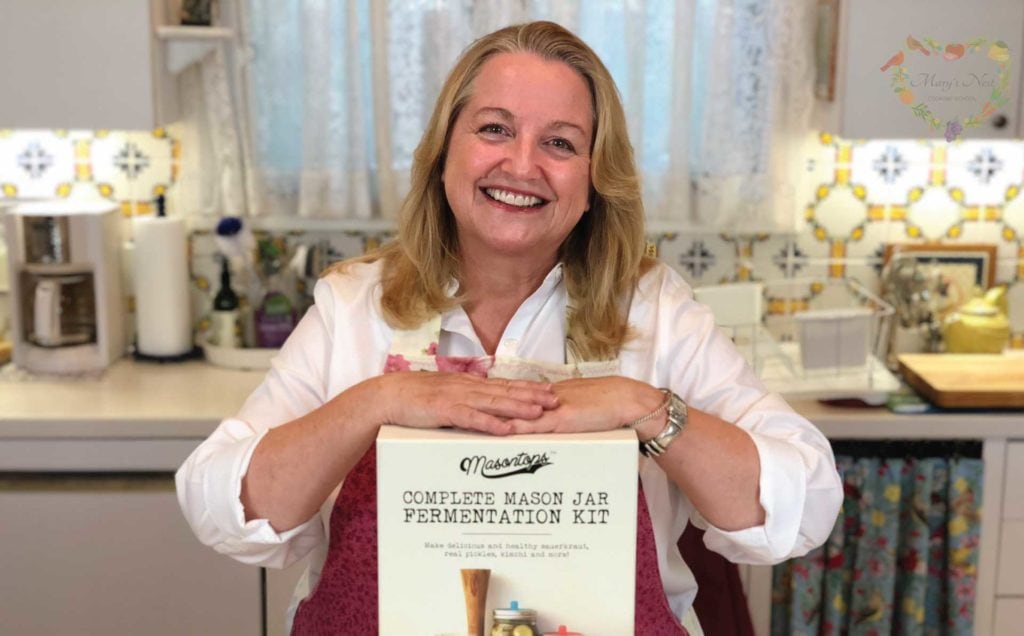
If you’re ready to put a fermentation kit under your favorite home cook’s Christmas tree, be sure to use my special MARYSNST promo code for a one-time 15% off Masontops and Breadsmart products on Amazon.com.
Fermentation Recipes for Beginners
With your new kitchen tools, try out the following beginner-friendly fermentation recipes.
Fermentation Gift Ideas
Note: Be sure to use the MARYSNST promo code for a one-time 15% off Masontops and Breadsmart products on Amazon.com.
Culturing Kitchen Tools
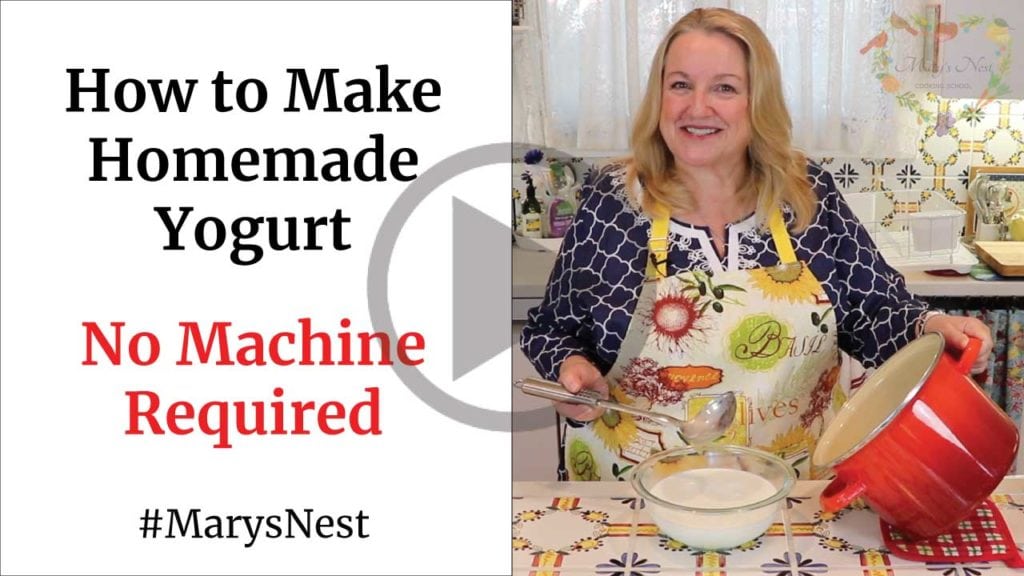
Have you ever heard of a special machine for making yogurt? I’m sure they exist in legend somewhere, but you don’t need such a magical device to make homemade yogurt. I show you how to make yogurt with just a few bowls and some basic kitchen tools.
You will find that having two big bowls, one that fits within the other, makes the job of creating yogurt a lot easier, since you can put your culturing yogurt in the smaller bowl and place the smaller bowl in the larger one. Afterward, fill the space between the larger and smaller bowls with warm water and cover all the bowls with a lid or cheesecloth to let your milk culture into yogurt.
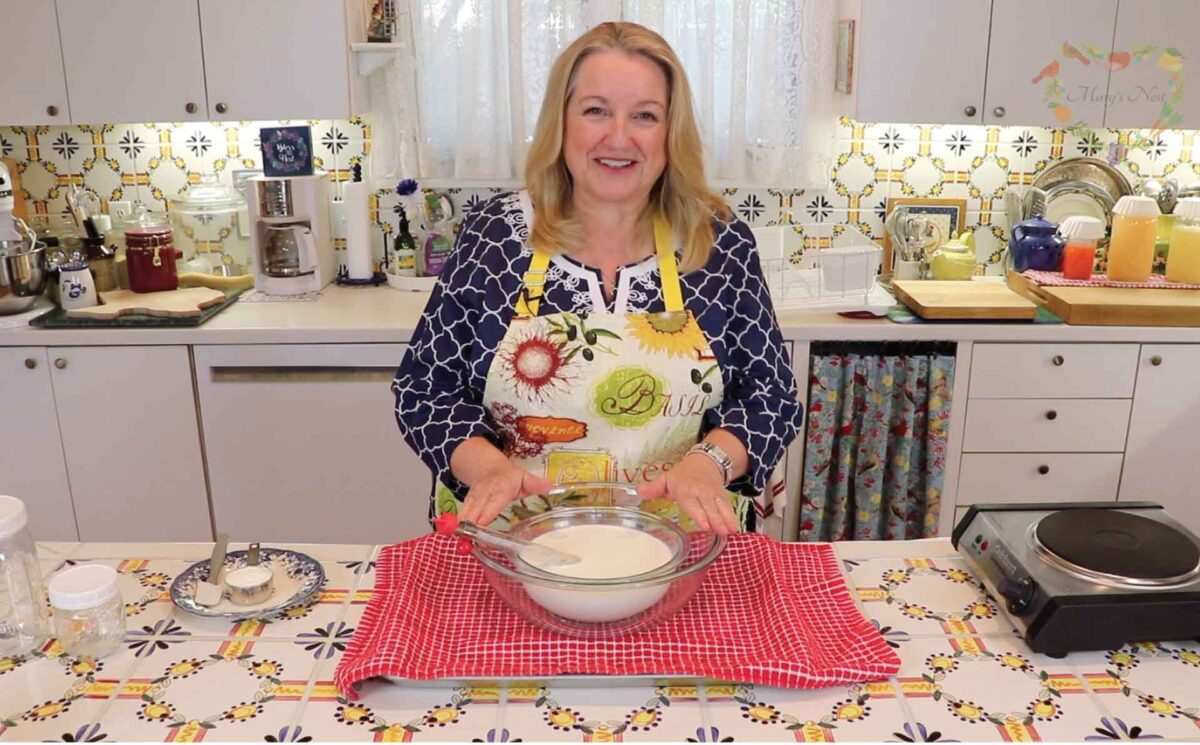
So if you’re looking for a useful gift for your favorite yogurt fan, those two big bowls would be perfect. And they’re not just for making yogurt. Your home cook will find lots of uses for them in recipes and more.
Milk Kefir Culturing Kitchen Tools
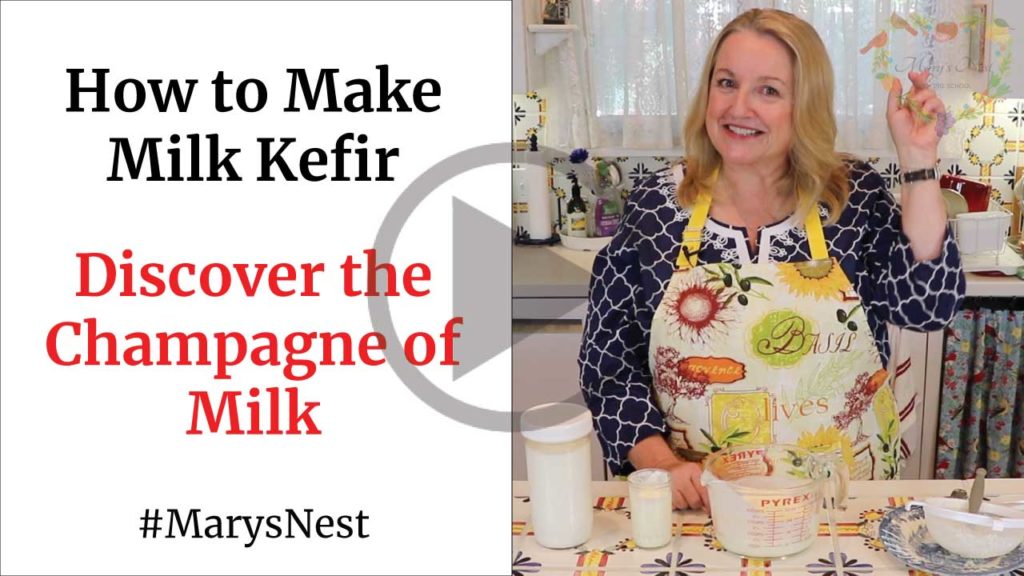
Ah, have you ever tried the champagne of milk? That’s what they call the effervescent drink milk kefir. In both today’s video and my Milk Kefir recipe video, I show you the grains you can use to make milk kefir.
But where to get those milk kefir grains? Well, before we get to that, let’s talk about kombucha.
Kombucha Culturing Kitchen Tools
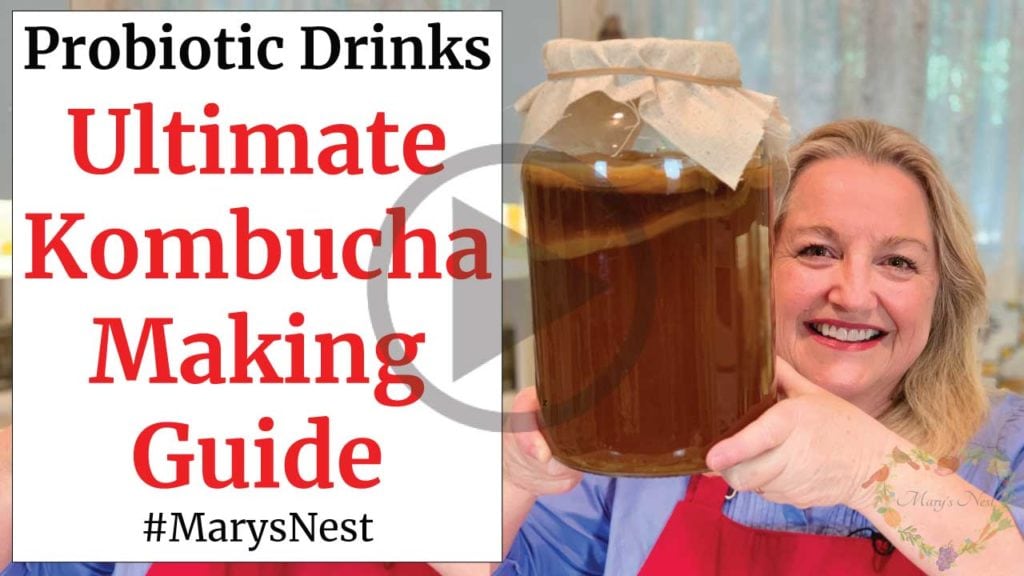
You can also make kombucha at home. If your favorite home cook is an aspiring culturing aficionado and ready to tackle making a symbiotic culture of bacteria and yeast (SCOBY), I recommend gifting the following:
- A gallon jar
- Cloth and rubber band
- A SCOBY starter culture
Fortunately, you can get a Kombucha starter culture, Milk Kefir grains, and other starter cultures from Cultures for Health. And be sure to use discount code MARYSNEST to get 15% off your purchase. (If you browse around their site, you might find some other goodies, too, like a Milk Kefir starter culture.)
To learn more about how to make kombucha, be sure to watch my Ultimate Kombucha Making Guide video.
Culturing Gift Ideas
- Glass Bowls with Lids
- Kombucha Jar
- Cultures for Health Starter Kits (Be sure to use discount code MARYSNEST to get 15% off your purchase.)
Bone Broth Kitchen Tools
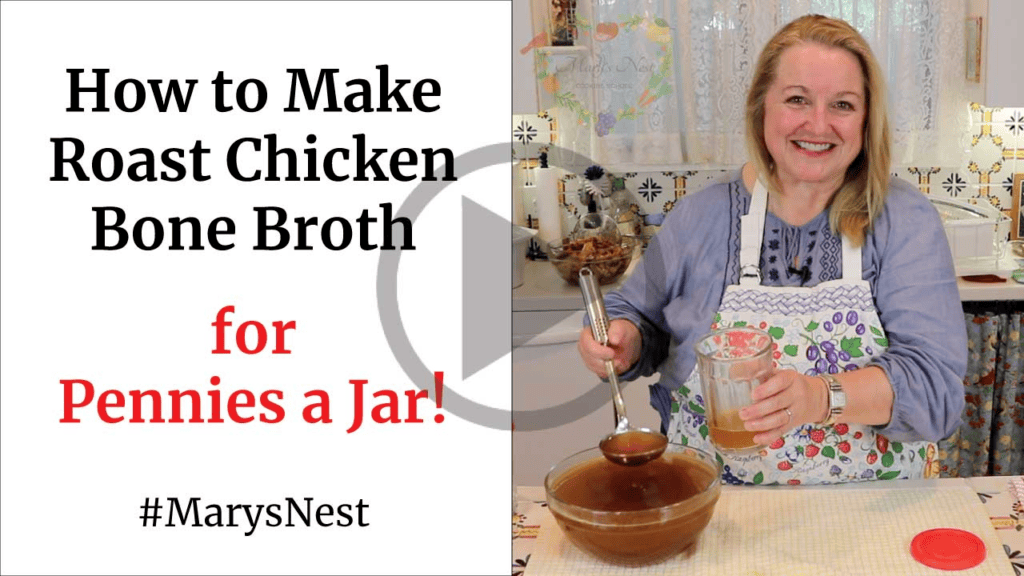
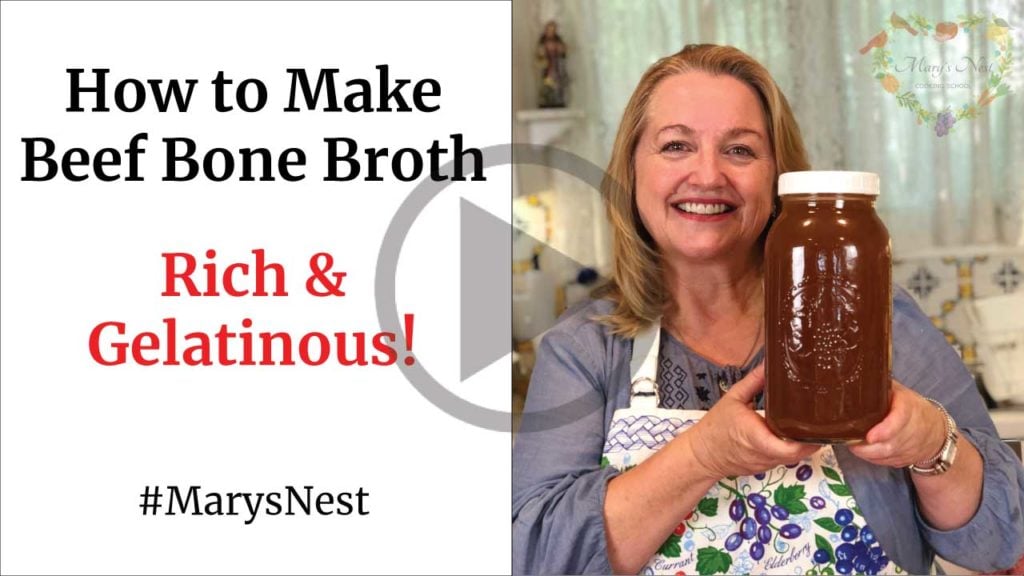
Did you know that two of my first set of traditional foods videos on YouTube were about making bone broth? The first was a chicken bone broth that you can just make for pennies a jar, and the second was on how to make a rich and gelatinous beef bone broth. You can watch them both below.
As you can tell from the videos I’ve produced since then, I love making this nourishing liquid, which also includes fish, pork, and turkey bone broth. (And making turkey bone broth is perfect for this time of year when you’ll have a fresh turkey carcass after your Thanksgiving meal.)
You use bone broth to boost the nutritional profile of many recipes, such as using it in place of water when making rice or using bone broth as a base for soups. I also like drinking warm bone broth, especially beef bone broth, in a mug with a pinch of sea salt.
Fourth Burner Pot
In the past, I would just place my frozen bone broth in a small saucepan and let it warm up before pouring it into my mug. Now, I’ve found such an amazing device called a fourth burner pot, because you can place it on your stove’s small fourth burner and let it heat up over time.
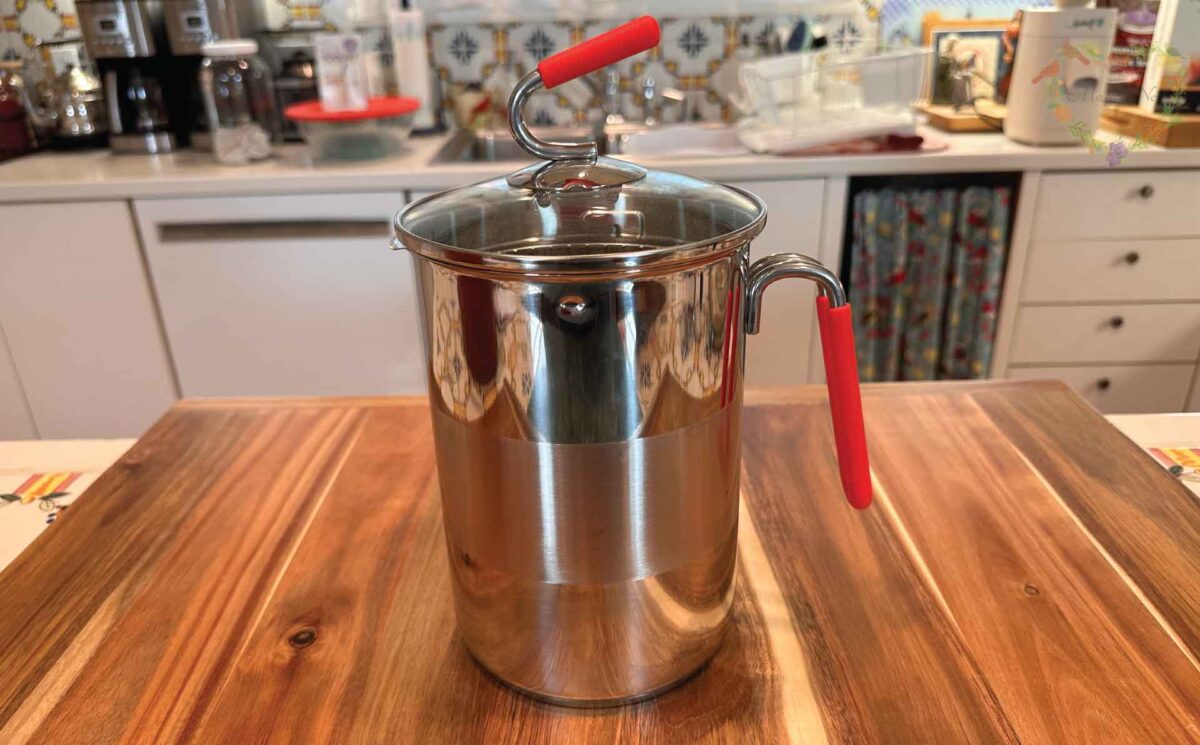
In today’s video, I show you the inside of the pot and how I use it to warm up bone broth. If your favorite cook enjoys sipping bone broth too, this fourth burner pot will make it easy to always have this healthy beverage warm and handy.
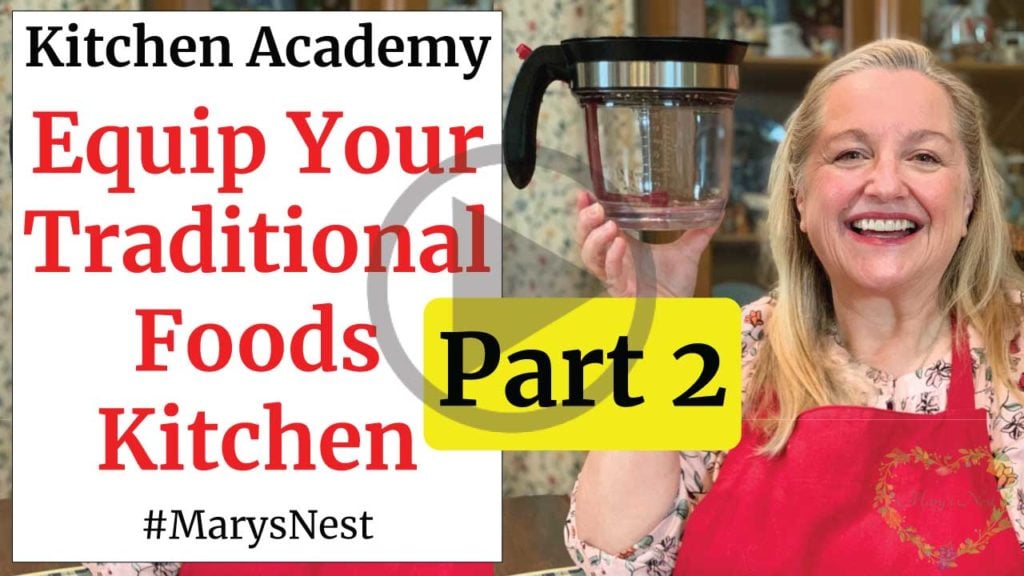
The Amazing Fat Separator Device
But before you can enjoy sipping bone broth, you have to make it first. As I mentioned earlier, you can make all kinds of bone broth (beef, chicken, etc.) in all kinds of ways (slow cooker, Instant Pot, etc.). And when you strain out the solids, you’ll be left with your golden bone broth and liquified fat.
You can put the strained liquid into a jar in the refrigerator, and the fat will congeal at the top to form a nutritious fat cap that will preserve the cooled bone broth for a few extra days. However, I like a clarified bone broth, especially for sipping, but how to remove the fat? (You don’t want to get rid of the fat since it’s still good for you, and you can use it for cooking and the like.)
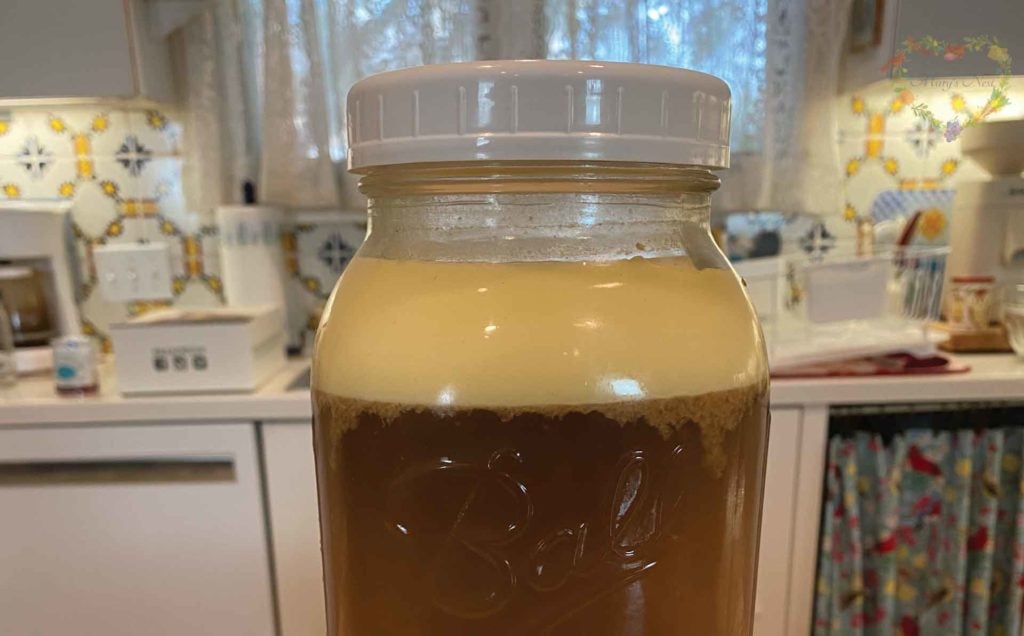
You can remove the fat cap from your refrigerated bone broth to get to the gelatinous bone broth underneath. Or, and I find this much easier, you can use a fat separator device to defat your bone broth while it’s still warm. This enables you to decant your bone broth into French jelly jars (also called French working glasses) and freeze them after they’ve cooled to room temperature.
Here’s how to use the fat separator:
- Pour your strained bone broth into the fat separator. The fat will naturally rise to the top of the warm broth in the fat separator.
- Place the fat separator over the jar you want to decant your bone broth into.
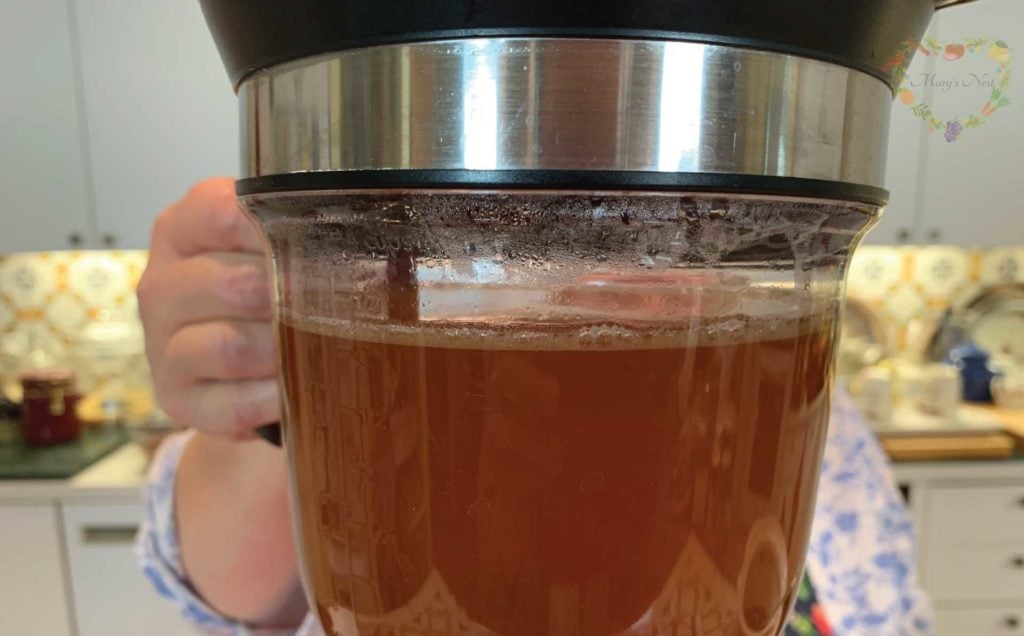
- Press the lever on the fat separator to release the bone broth through the opening at the bottom. (See the picture below.)
- Stop before you get to the fat line. (You can store the fat in a separate container.)
- Repeat the process until you’ve decanted all your bone broth.
Voila! You’ve created clarified bone broth that you can easily freeze and rewarm later for sipping or for the many other recipes in which you can use bone broth.
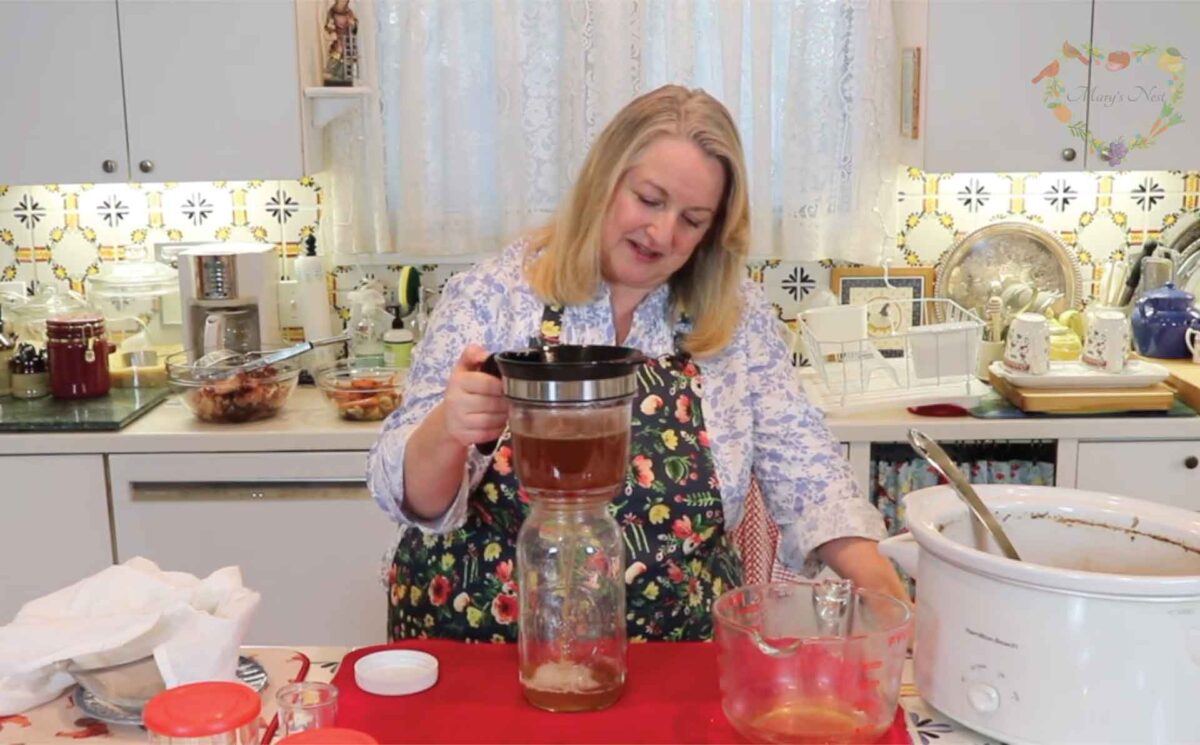
Like the fourth burner pot, the fat separator is an excellent kitchen tool for the bone-broth-making cook in your life.
Looking for Beef Bones?
If you can’t find grass-fed beef bones in your neighborhood supermarket or farmer’s market, check out US Wellness Meats for their wide selection of bones, as well as other nutrient-dense foods. (And they also sell chicken feet, which helps to make any bone broth even more gelatinous.)
- Use discount code MARYNEST and my link to save 15% off regular-priced items on your US Wellness Meats order. You can shop for a variety of products, including:
Check out my US Wellness Meats unboxing video to see the types of products you can get, including the bones I use for beef bone broth. (I also review the best bones to use for making beef bone broth.)
Bone Broth Gift Ideas
- Fat Separator
- Spider Strainer
- Flour Sack Towels
- Colander
- Mesh Strainer
- Fourth Burner Pot
- Glass Tea Kettle
- Slow Cooker
- Instant Pot
- Stockpot
Water Bath Canning Kitchen Tools
When you think of a Modern Pioneer in the kitchen, you probably think of lots of home canned goods with all kinds of delicious goodies inside. Canning is perfect for preserving the bounty of your harvest or making food even tastier, such as with pickling spices, since you can create shelf-stable food that you can store for the long term.
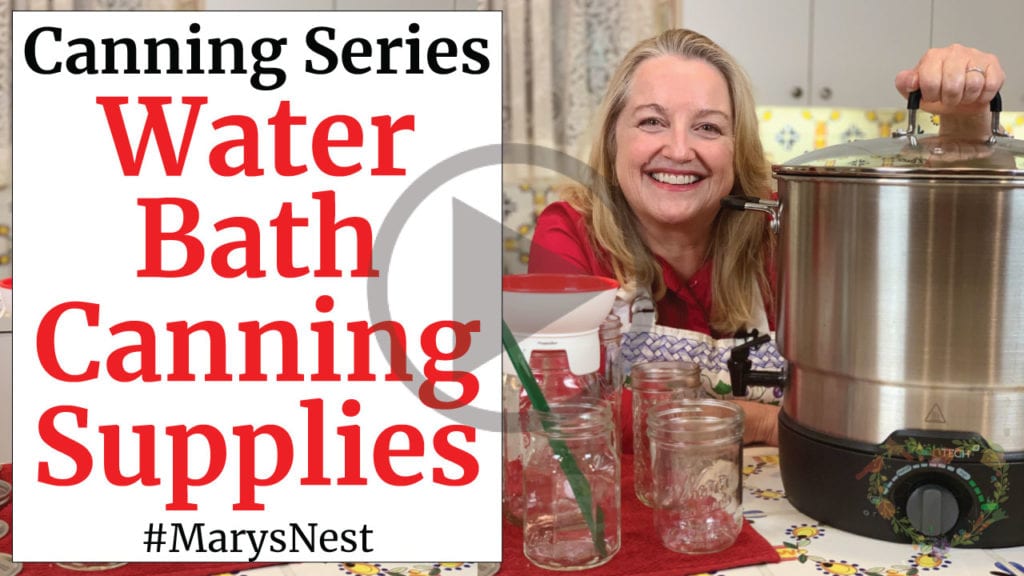
Some foods are best preserved through water bath canning, such as jams and vinegar pickles, and others through pressure canning, such as meats and low-acid foods. If you or your favorite cook wants to start canning, I recommend water bath canning. It’s easy to do, and you just need a few special supplies that I show you in the following video.
I used to have an electric water bath canner, but I stopped using it. The glass lid developed a crack, and although the manufacturer was so kind as to send me a replacement, I’m concerned about returning to using it in case my new lid cracks again.
Stovetop Water Bath Canners
Instead, I’ve moved to a water bath canner that I can use directly on my stovetop. And as I explain in my video, there are two different kinds of water bath canners that you can consider depending on what kind of stovetop you have.
Some stovetop water bath canners have a flat bottom, and others have a slightly concave bottom. I have a glass stovetop, so that means that I want a water bath canner with a flat bottom, so it doesn’t create a suction underneath that might damage my stovetop.
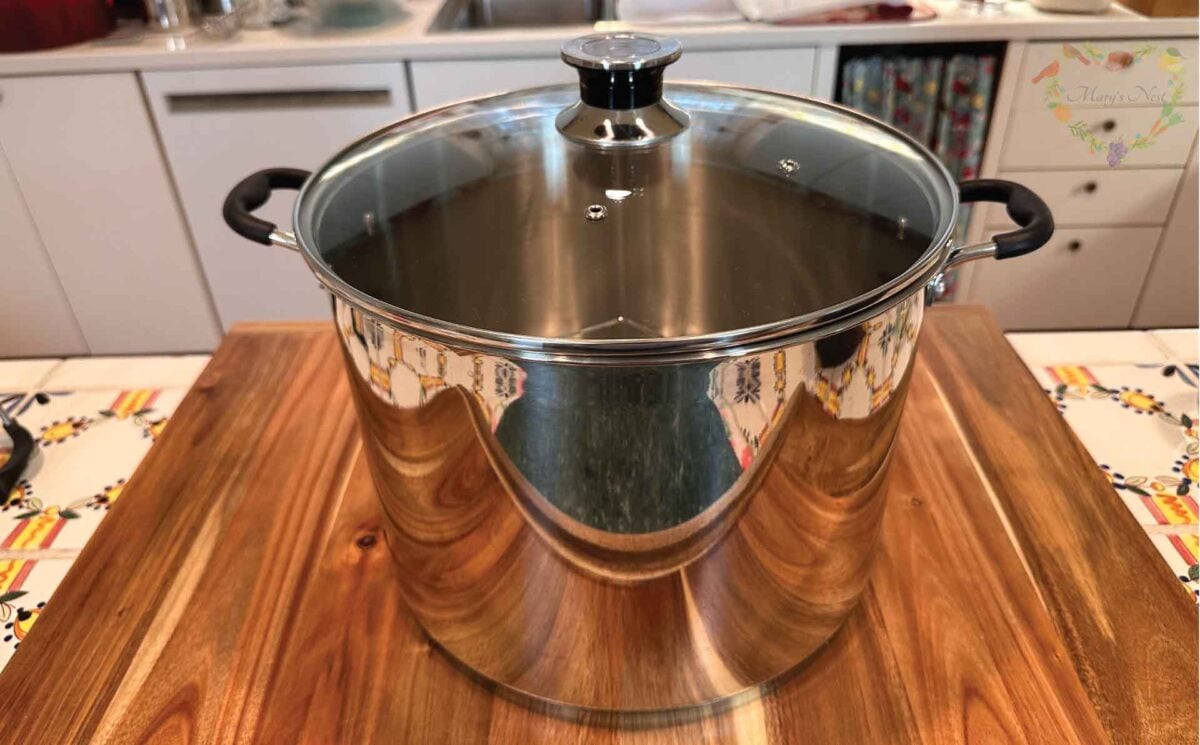
Here’s the flat-bottom water bath canner that I started using that includes a removable rack inside that you can place your canning jars on top of. If you decide to get a water bath canner, keep in mind what kind of stovetop your favorite cook uses, and be sure to get the accompanying water bath canning supplies, such as a jar lifter. (I like the deluxe spring-loaded jar lifter!)
Water Bath Canning Recipes for Beginners
And here are just a few of the recipes your favorite cook can make with a water bath canner.
Water Bath Canning Gift Ideas
- Water Bath Canner
- Water Bath Canner for Glass Top Stove
- Regular Mouth Canning Jars
- Wide Mouth Canning Jars
- Regular Mouth Canning Lids and Bands (Rings)
- Wide Mouth Canning Lids and Bands (Rings)
- Spring Loaded Jar Lifter
- Colorful Wax Papers
- Colorful Twine
Food Storage Kitchen Tools
The large FoodSaver device helps you store a lot of food in plastic bags, but many of you have asked me if there’s an option to help you store food in glass containers. I found a perfect food storage system that I gifted to myself! It’s great to use with glass containers and plastic bags.
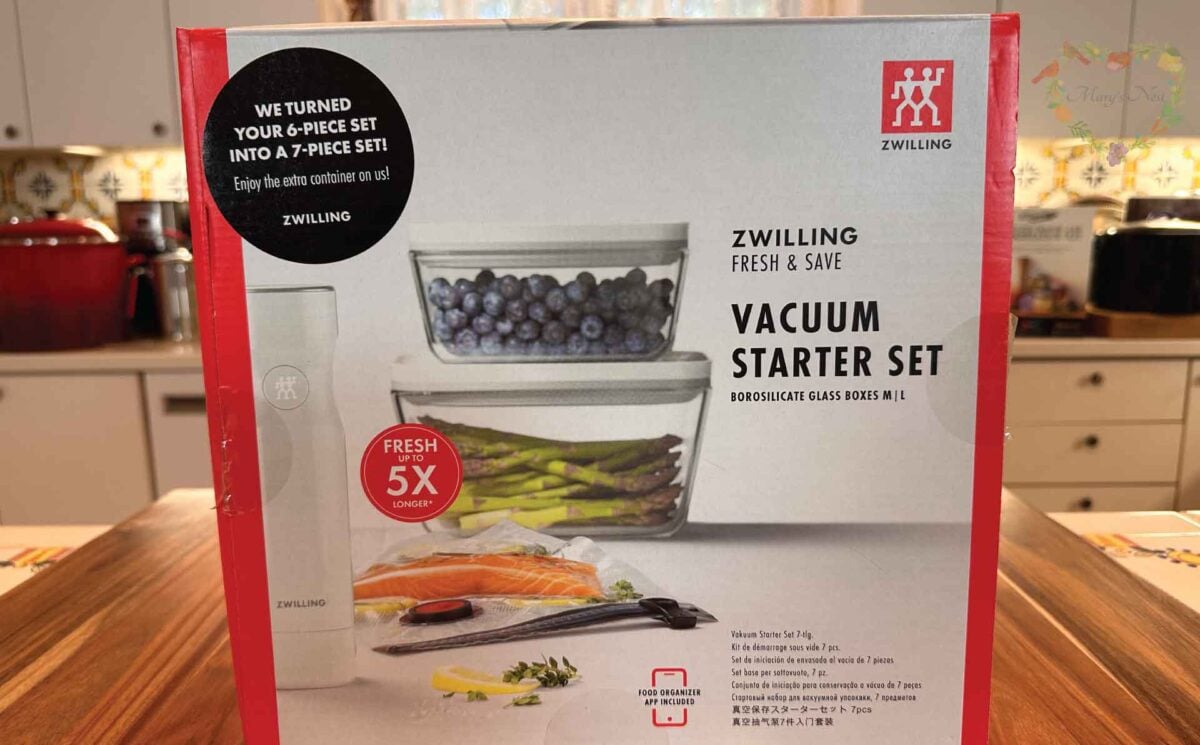
With the Zwilling vacuum starter set, you can store your food in glass containers and plastic bags of different sizes and keep them fresh in your refrigerator. The starter set comes with the following:
- Vacuum pump
- Vacuum glass “boxes” (0.9 L and 2.0 L)
- Vacuum bags (two small and two medium)
Once you (or your favorite cook) start using the Zwilling storage system, you’ll be hooked!
Food Storage Gift Ideas
Clean Up Kitchen Tools
Well, your favorite cook has spent a day cooking a wonderful meal for your family, and now it’s time to clean up. Of course, it’s always nice to have an extra set of hands to help clear the table, but there are a few clean-up kitchen tools that I recently found to be helpful and fun to use.
Original Swedish Dishcloth
At the end of a day of cooking when it’s time to clean up, I like using the Original Swedish Dishcloth from Super Scandi. They’re like paper towels, but better since you can reuse them. The dishcloths are very absorbent and machine washable. They’re also eco-friendly and compostable when you’re done reusing them.
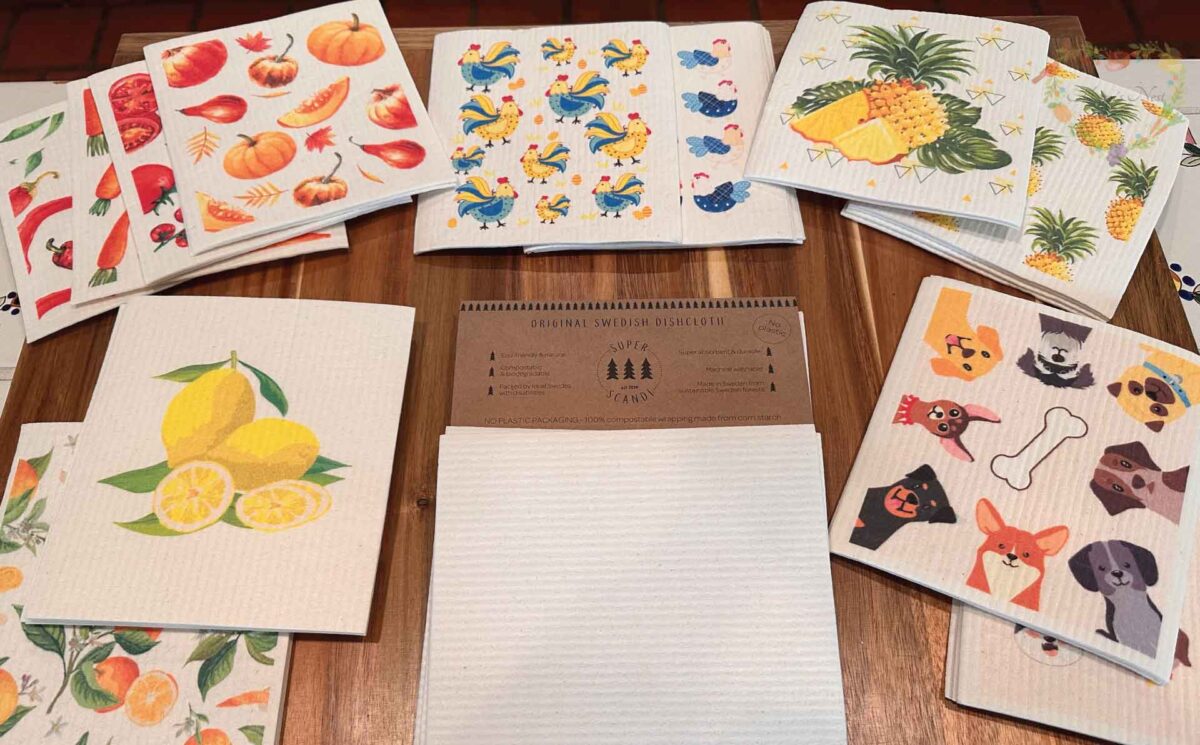
Super Scandi offers different solid-colored Swedish dishcloths, but other manufacturers also offer a wide variety of patterns. For example, they have ones with seasonal patterns you can use to help soak up and wipe away spills. And I like to reserve the ones with dog designs to clean up after my pup Indy. He can be quite the sloppy eater, but these Swedish Dishcloths make cleaning up easy.
Mamaforest dish soaps
Mamaforest soaps are another outstanding clean-up gift since you can use them to wash your dishes and utensils in place of your liquid dish soap. It’s biodegradable and made out of plant-based ingredients.
Their soaps are also easy on your hands, and you can safely use them to wash fruits and vegetables. You’ll also love that it doesn’t contain triclosan, synthetic fragrances, dyes, parabens, phosphates, or sulfates.
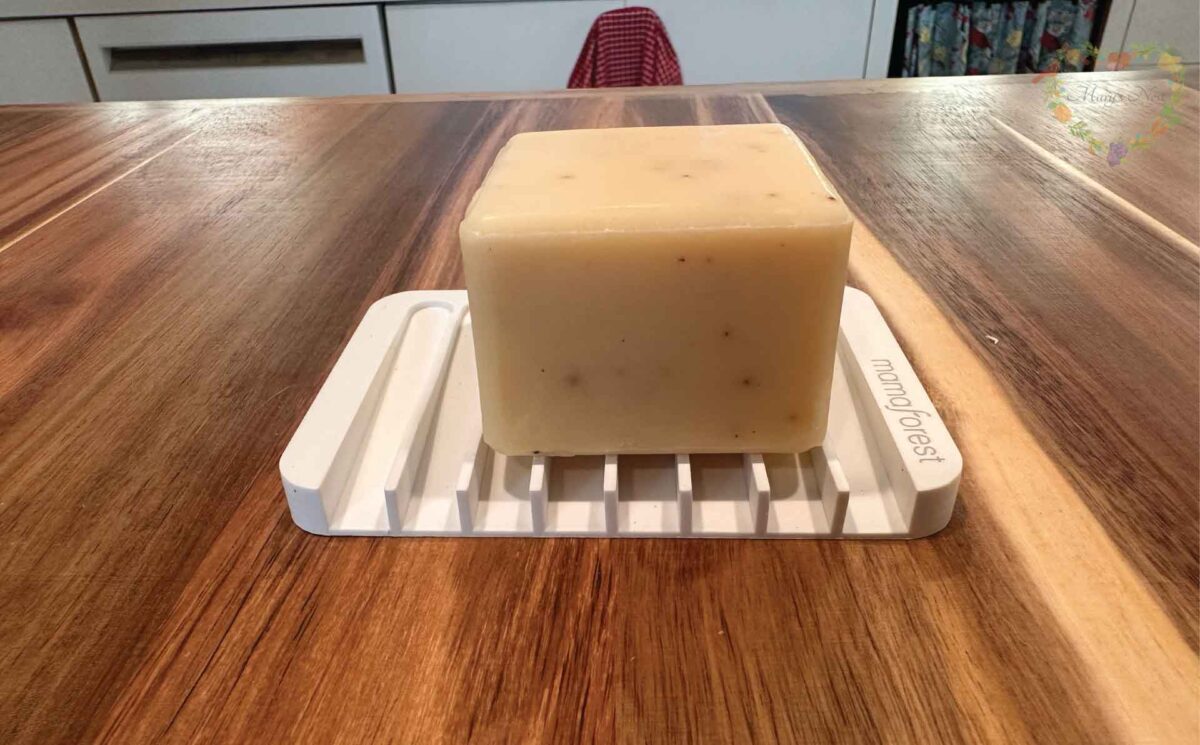
I like the dish soap holder you can get with them since the grooves have a slope that helps to guide excess water away and into your sink. (And in my video, I show you another clean-up kitchen tool that you’ll enjoy using too!)
Clean Up Gift Ideas
- Mamaforest Dish Bar Soap
- Swedish Dish Cloths (solid color)
- Swedish Dish Cloths (multi-colored)
- Swedish Dish Cloths for Pets
- Best Microfiber Cloths
Christmas Recipes and Gifts
At the Table with Ted & Mary, Episode 1 — Christmas Favorites: Books, Movies, Games & More!
We share our favorite books, movies, music, games, and traditions to make the season warm, simple, and memorable.
The Essential Christmas Gifts for the Traditional Foods Cook and More!
A festive guide to thoughtful gifts and joyful traditions for every traditional foods cook.
Thoughtful Holiday Homemade Gifts and Best Board Games for Families
Spread holiday joy with easy homemade food gifts and the best board games for family fun.
Download Your Free 36-Page Pantry List
For an extensive list of the traditional foods you can make and purchase to stock your pantry, be sure to download my free 36-page Traditional Foods Pantry List. This comprehensive eBook is full of links to recipe videos, helpful articles, and more!
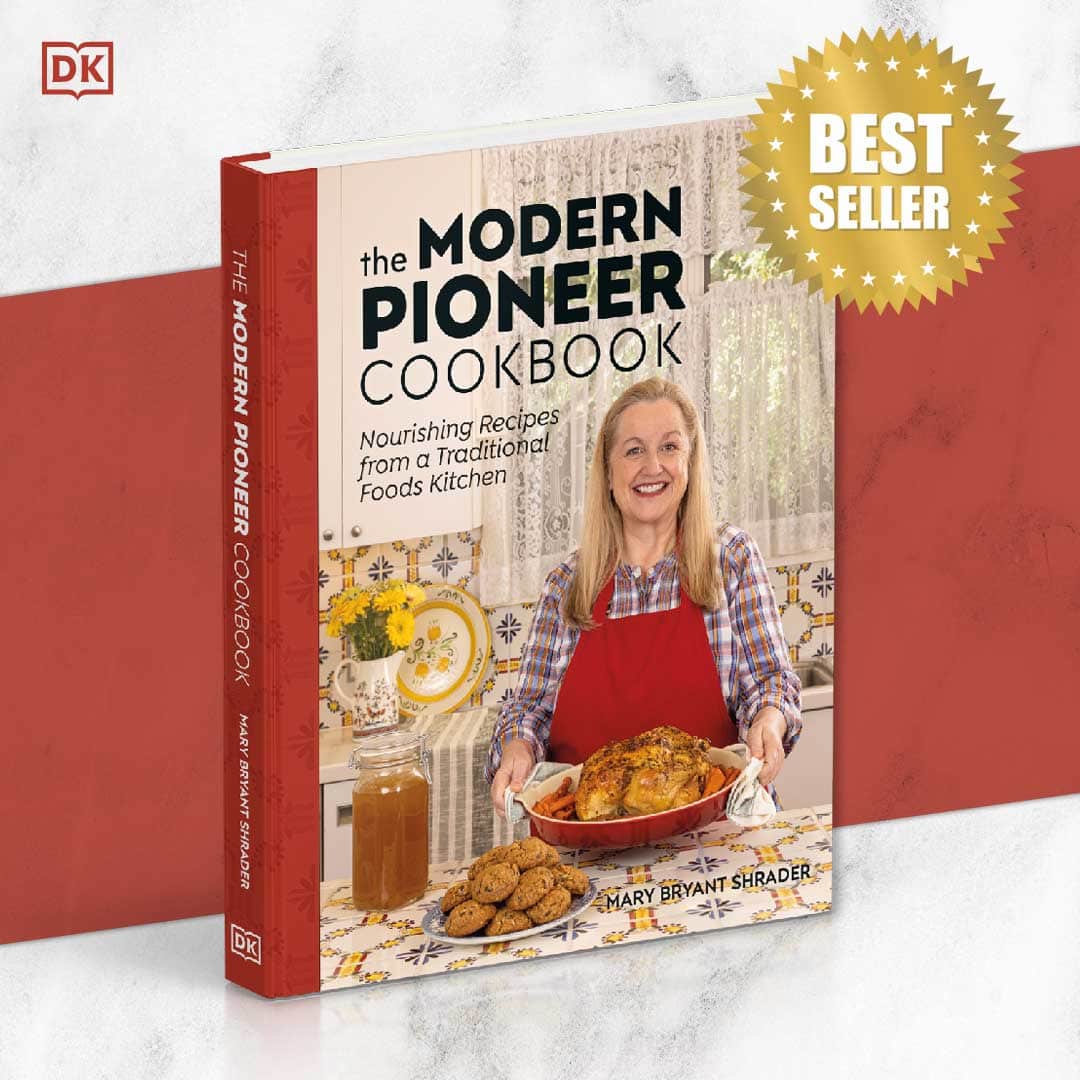
And if you’re looking for a printed book full of my traditional foods recipes that shows you how to create a traditional foods kitchen, be sure to order your copy of my new bestselling book, The Modern Pioneer Cookbook.
Kitchen Academy Videos
Are you looking for more traditional foods videos? If so, I invite you to join the Traditional Foods Kitchen Academy. Members of this optional paid YouTube community get access to exclusive videos, live streams, and other members-only perks. Plus, your YouTube comments include a special members-only badge.
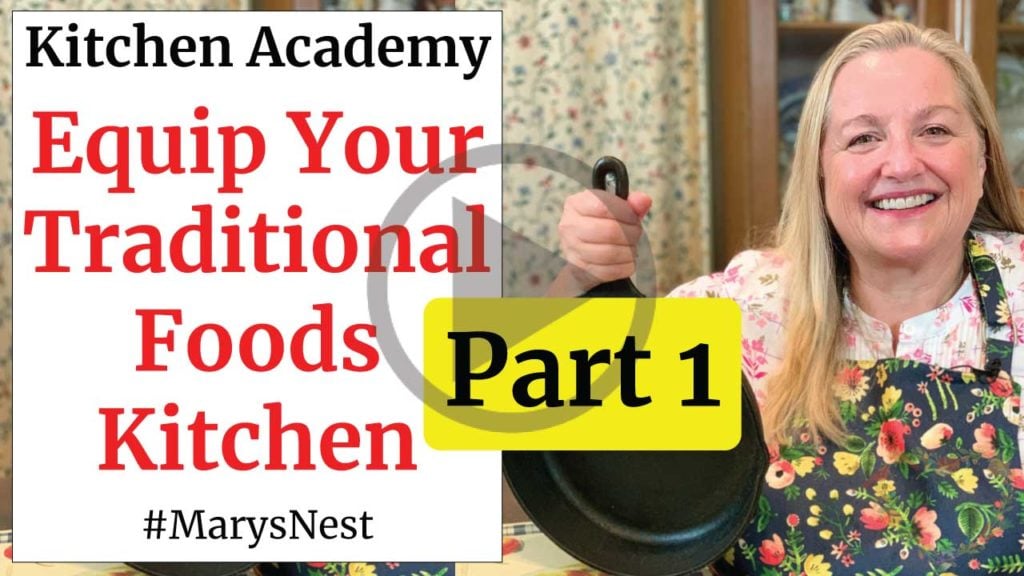
If you love kitchen tools, in the following members-only videos, I talk about the essential and optional equipment that you can use for your traditional foods kitchen.
Stay in Touch with Mary’s Nest
- Subscribe to My YouTube Channel for Traditional Foods Videos (Free) - When you subscribe, be sure to click on the notification bell that will let you know each time I upload a new video.
- Subscribe to Mary’s Traditional Foods Newsletter (Free) - Get a free 36-page eBook for signing up: How to Stock Your Essential Traditional Foods Four-Corners Pantry.
- Join the Traditional Foods Kitchen Academy - For more detailed videos and exclusive members-only perks, join my YouTube membership community.
- Order The Modern Pioneer Cookbook - Get a hardcover book of Mary's nourishing recipes from a Traditional Foods Kitchen. This bestselling cookbook is published by Penguin Random House with their DK imprint.
- Order The Modern Pioneer Pantry - Get Mary's latest hardcover cookbook about preserving food and making delicious meals from your Four Corners Pantry. Mary's second cookbook is also published by Penguin Random House.
I look forward to having you join me in my Texas Hill Country Kitchen!
Shop for items used in this blog post or video
Each of the kitchen tool sections in this blog post contains a few recommended gift ideas for that category. The following supply lists provide additional ideas for your Prepper Pantry or traditional foods kitchen.
Favorite Prepper Pantry Supplies
- Wireless Fridge and Freezer Exterior Thermometer
- Life Straw
- Water Disinfection Tablets
- Water BOB Tub Liner
- Cast Iron Trivet
- Tea Lights
- Glass Kettle
- Manual Can Opener
- Battery Powered Can Opener
- Long Lasting Ice Packs
- Igloo Cooler
- YETI Cooler
- Electric Cooler
- Jackery Solar Power Station
- Jackery Portable Solar Panels
- 10 Gauge Power Cord
- Kill A Watt EZ
- Hand Crank Flashlight
- High Powered Flashlight
- Hand Crank Emergency Radio
Favorite Kitchen Supplies
- Favorite Aprons
- Spice Grinder
- Countertop Burner (On my kitchen island in many recipe videos.)
- Handheld Vacuum Sealing System
- Vacuum Lids
- Whisk
- Silica Gel Packets (Helps keep moisture from building up in your mix)
- Cast Iron Dutch Oven
- 8-Quart Slow-Cooker
- Fat Separator (Clever kitchen device to help you decant bone broth)
- Flour Sack Towels
- pH Strips (Helps you check on the acidity of your vinegar)
Amazon Shop and Shopping Guide
- Visit Mary’s Nest Amazon Shop
- Visit my Shopping Guide page
Get up to 15% off for stocking your Traditional Foods Pantry and equipping your Modern Pioneer Kitchen, including discounts from US Wellness Meats, Farmhouse Teas, Backwoods Home, Masontops, Cultures for Health, Survival Garden Seeds, Redmond Real Salt, Mother Earth News, and More!
Recommended Reading
Disclaimer:I am not a medical doctor, a medical professional, a dietician, or a nutritionist. All content found on the MarysNest.com website, including text, images, videos, eBooks or eGuides, social media, or other formats, were created solely for informational purposes only. The content is not intended to be a substitute for professional medical advice, diagnosis, or treatment. Always seek the advice of your physician or other qualified healthcare provider with any questions you may have regarding a medical condition or proper nutritional advice. Never disregard professional medical advice or delay in seeking it because of something you have watched in a video or read on this website. Use caution when following the recipe in this video. The creator and publisher of this video and website will not be held responsible for any adverse effects that may arise from the use of this recipe and method or any other recipe and method on this website or corresponding video channel.
